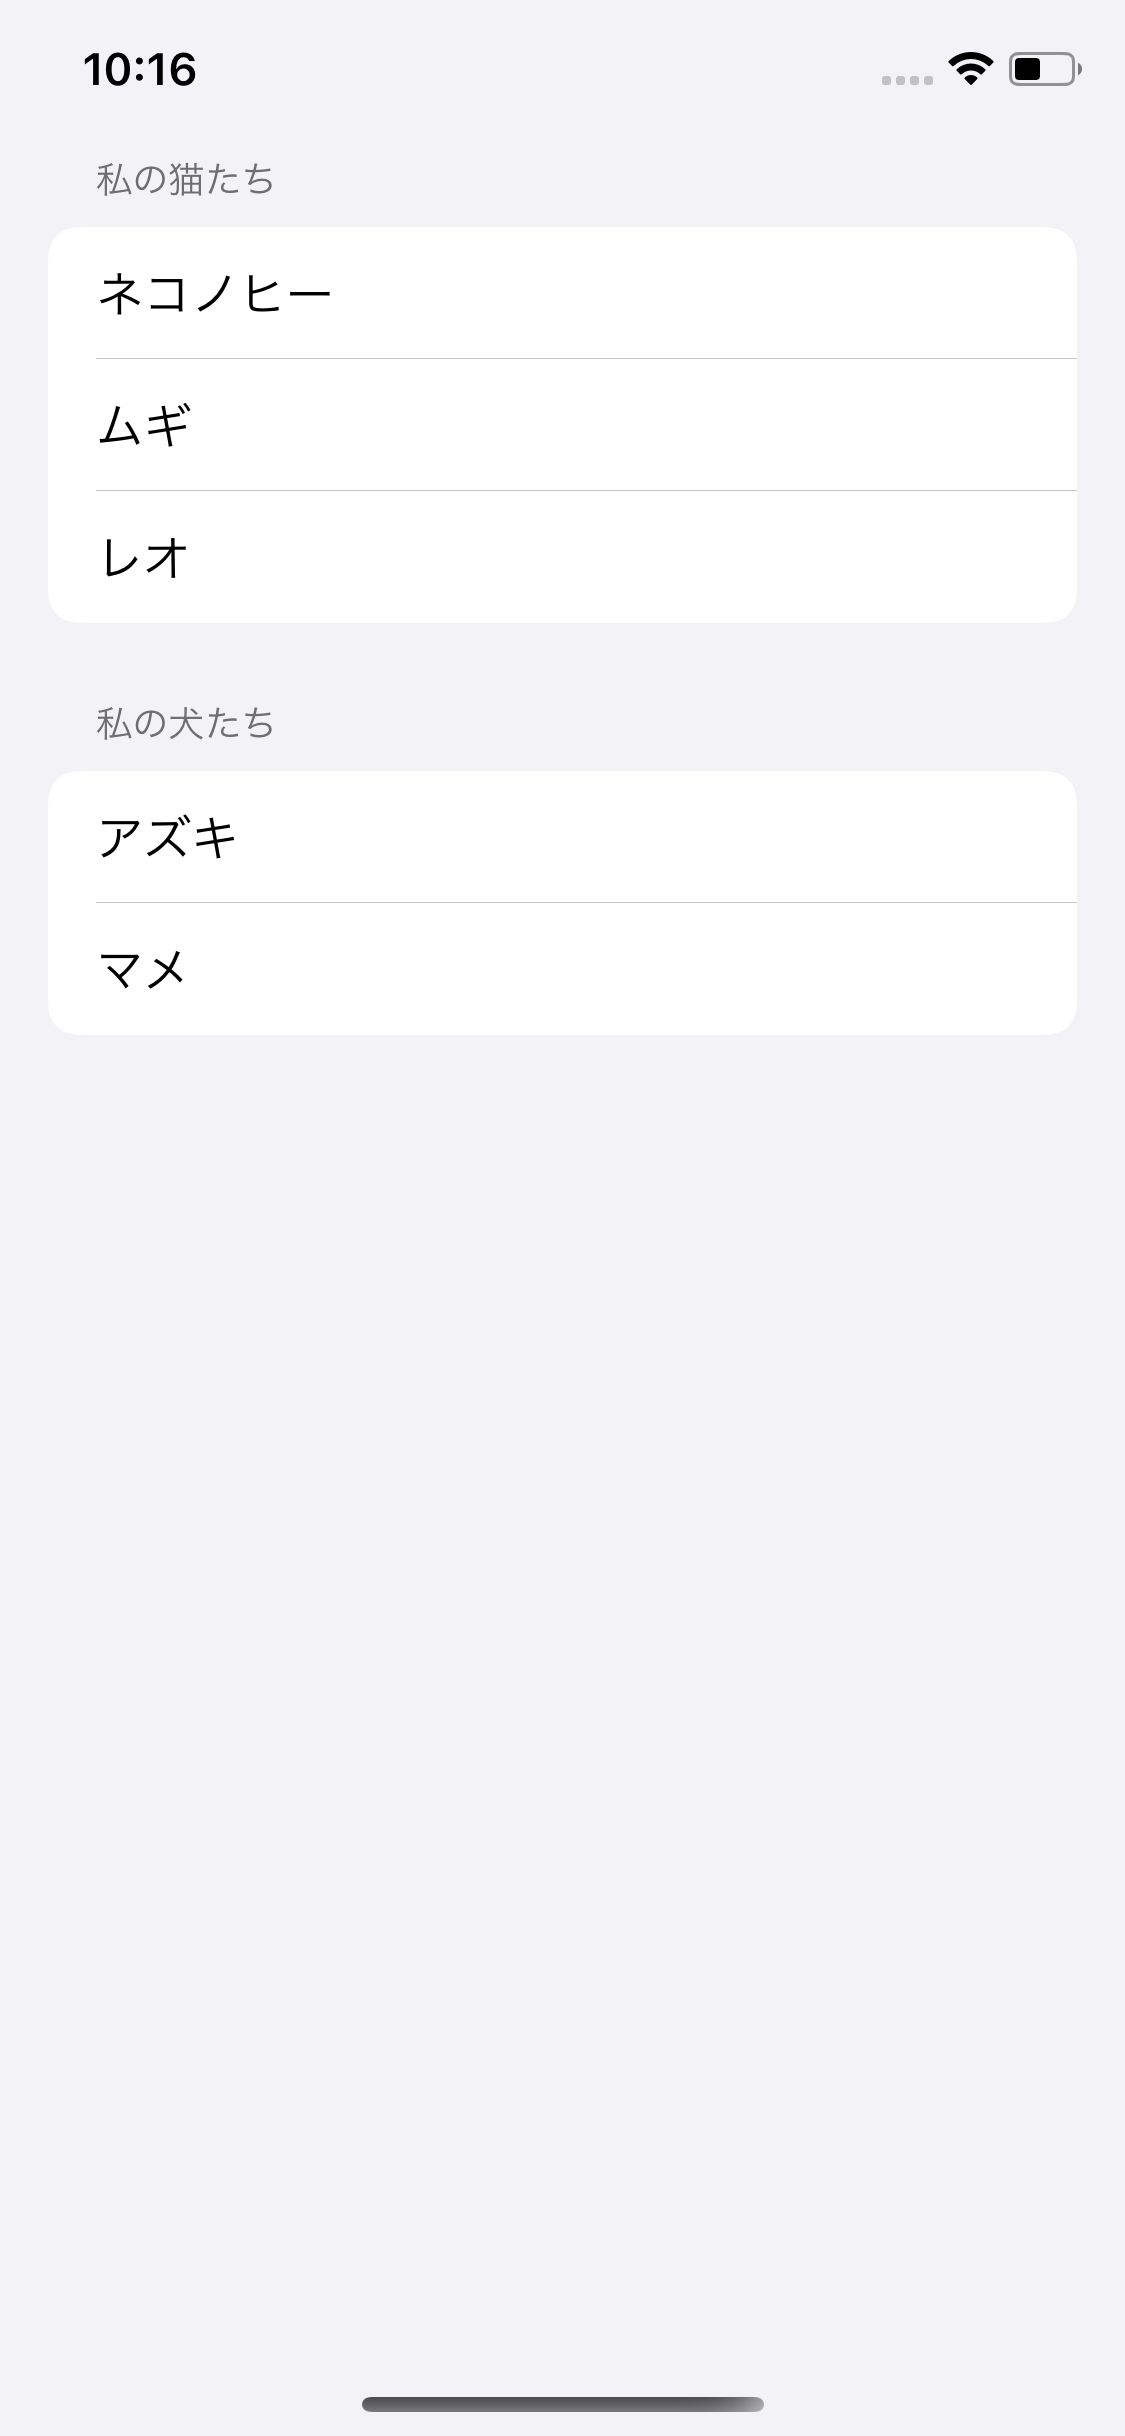
約65行のコードとストーリーボードで、UICollectionView が iOS 14 ではこのように表示されます
UIStoryboard と IBOutlet を設定します
最初に UICollectionView オブジェクトを作成し、ユーザーの storyboard にリンクさせます。
@IBOutlet weak var collectionView: UICollectionView!
インターフェースのレイアウトを設定する
UICollectionViewをUITableViewのように見せたい場合、次のコードをViewDidLoadに追加します。
var layoutConfig = UICollectionLayoutListConfiguration(appearance: .insetGrouped)
let layout = UICollectionViewCompositionalLayout.list(using: layoutConfig)
collectionView.collectionViewLayout = layout
各セクションのヘッダービューを作成することができます。ヘッダーのタイトルをデータ配列の最初の文字列テキストにしたい場合は、次のコードを使用します。
layoutConfig.headerMode = UICollectionLayoutListConfiguration.HeaderMode.firstItemInSection
または、以下のコードを使用してカスタムヘッダーを提供することもできます。
layoutConfig.headerMode = supplementary
そして、カスタムヘッダーを設定したい場合は、この記事の次の部分で説明する tableDataSource クラス用の viewForSupplementaryElementOfKind 関数を書く必要があります。
データソースを設定する
この例では、各テーブルビュー行で、文字列テキストをアイテムとして使用します。文字列の代わりに、カスタム プログラム オブジェクトを使うこともできます。
class tableDataSource: UICollectionViewDiffableDataSource<Section, String> {

    init(collectionView: UICollectionView) {
        let cell = UICollectionView.CellRegistration<UICollectionViewListCell, String> { (cell, indexPath, item) in
            var content = cell.defaultContentConfiguration()
            content.text = item
            // content.image, content.secondaryText
            cell.contentConfiguration = content
        }
        super.init(collectionView: collectionView, cellProvider: { (collectionView, indexPath, item) -> UICollectionViewCell? in
            return collectionView.dequeueConfiguredReusableCell(using: cell, for: indexPath, item: item)
        })
    }

    //override func collectionView(_ collectionView: UICollectionView,     viewForSupplementaryElementOfKind kind: String, at indexPath: IndexPath) -    > UICollectionReusableView {
        //TODO. Optional
    //}

}
データを設定する
この例では、私の猫 myCats と私の犬 myDogs の2つのセクションがあります。このプログラム定義を追加します:
enum Section {
    case myCats
    case myDogs
}
これらのローカル変数を追加します
var myCats = ["My cats" ,"Cat 1", "Cat 2", "Cat 3"] //この配列(アレイ)内の最初の文字列は、セクションのタイトルです
var myDogs = ["My dogs", "Dog 1", "Dog 2"]

var collectionViewDataSource: UICollectionViewDiffableDataSource<Section, String>!
さらにこれらのコードを viewDidLoad 関数で追加します
self.collectionViewDataSource = tableDataSource(collectionView: self.collectionView)
collectionView.dataSource = self.collectionViewDataSource
reloadList()
データのロード
データを UICollectionView へロードするには、NSDiffableDataSourceSnapshot を作成します
func reloadList(){
    var snapshot = NSDiffableDataSourceSnapshot<Section, String>()
    snapshot.appendSections([Section.myCats, Section.myDogs])
    snapshot.appendItems(self.myCats, toSection: .myCats)
    snapshot.appendItems(self.myDogs, toSection: .myDogs)
    self.collectionViewDataSource.apply(snapshot)
    self.collectionView.reloadData()
}
プログラムの実行
これで、プログラムを実行し、どのように表示されるかを確認できます。
こちらのウェブページにアクセスすると、私の公開されているQiitaの記事のリストをカテゴリー別にご覧いただけます。
UICollectionView #WWDC2020
➡️ Shiz が書いた UICollectionView についての詳細な記事がもう一つあります: https://qiita.com/shiz/items/4227accc7d13ae439d1d
