はじめに
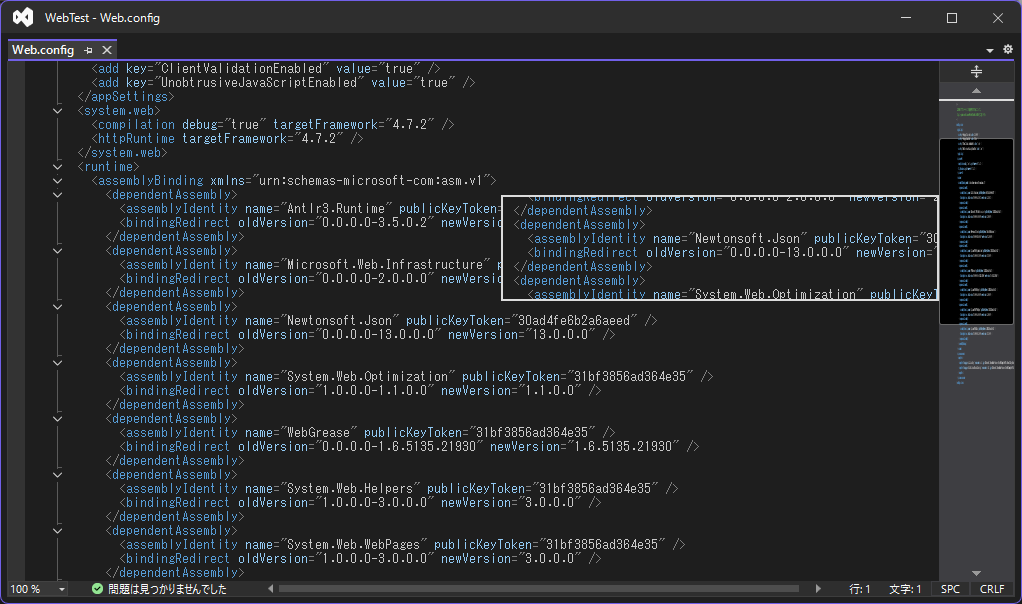
Visual Studioのコンフィグファイルの表示を見て、この右側の表示をWebページで再現したいと思い作ってみました。
調べたところ、これはミニマップと呼ぶそうです。
サンプル
See the Pen Untitled by masayasu_t (@cjlsrdxi-the-builder) on CodePen.
ポイント
1.ミニマップの画像はElementをsvgにしてbase64形式に変換し、backgroundImageに設定
Element ⇒ svg ⇒ base64 ⇒ backgroundImage
const main = document.getElementById('main');
const img = document.getElementById('mapImg');
const xmls = new XMLSerializer();

const svg = '<svg xmlns="http://www.w3.org/2000/svg" width="' + main.offsetWidth + '" height="' + main.offsetHeight + '">'
          + '<style>'
          + document.getElementsByTagName('style')[0].innerText
          + '</style>'
          + '<foreignObject width="100%" height="100%">'
          + xmls.serializeToString(main)
          + '</foreignObject>'
          + '</svg>';

const mainImg = 'url(data:image/svg+xml;utf8;base64,'
              + btoa(encodeURIComponent(svg).replace(/%([0-9A-F][0-9A-F])/g, function (match, regexpMatch1) {return String.fromCharCode('0x' + regexpMatch1);}))
              + ')';

img.style.backgroundImage = mainImg;
2.マウスオーバーで表示させる画像の範囲は「backgroundPosition」で設定
map.addEventListener('mousemove', dispGide, false);

function dispGide(e) {
  const gide = document.getElementById('mapGide');

  gide.style.backgroundPosition = '0 -' + (((e.pageY - window.scrollY)
                                           * document.documentElement.scrollHeight / document.documentElement.clientHeight
                                           * gide.offsetWidth / main.offsetWidth
                                           - gide.offsetHeight / 2)) + 'px';

  gide.style.top = Math.max(Math.min(e.pageY - gide.offsetHeight / 2, document.documentElement.clientHeight + window.scrollY - gide.offsetHeight), window.scrollY) + 'px';
}
3.長文はChatGPTに書いてもらう。
ChatGPTに4節で、各節が3小節に分かれていて、各小節が2段落の文章を書いてもらいました。
内容に誤りがあるかは分かりませんが、htmlのサンプルとしては十分なものが簡単に作れます。
