目的
以下の構成でアプリケーションの雛形と疎通確認を行う
バックエンド:rails(APIモード)
フロント:React(typescript)
DB:MySQL(from docker)
環境情報
OSバージョン
macOS Catalina(10.15.4)
1.MySQL の準備
ホストOS上に直接 install すると別アプリなどでDBを分けたりバージョンを変えたりするのが面倒そうなので docker で構築する
前提
Docker(docker-compose) を install 済みであること
Docker(docker-compose) の install についてはこちら
https://docs.docker.com/docker-for-mac/install
mysql-client の準備
mysql-client を install する
brew install mysql-client
環境変数を追加##
echo '' >> ~/.zprofile
echo '# mysql-client' >> ~/.zprofile
echo 'export PATH="/usr/local/opt/mysql-client/bin:$PATH"' >> ~/.zprofile
echo 'export PKG_CONFIG_PATH="/usr/local/opt/mysql-client/lib/pkgconfig"' >> ~/.zprofile

source ~/.zprofile
MySQL(docker) の準備
MySQL(docker) 用のディレクトリを作成
mkdir mysql-docker
cd ./mysql-docker

# データを永続化するためにデータ用のディレクトリを作成しておく
mkdir data
docker-compose.ymlを作成
version: '3'
services:
  mysql:
    image: mysql:5.7
    env_file:
      - .env
    volumes:
      - ./data:/var/lib/mysql
    ports:
      - 13306:3306
    tty: true
.env を作成
MYSQL_ROOT_PASSWORD=mysql
TZ=Asia/Tokyo
BIND-ADDRESS=0.0.0.0
MySQL(docker)を起動する
docker-compose up -d
接続設定 & 接続確認
/etc/hosts を編集する
ホストからコンテナの MySQL にアクセスする際に -h localhost ではアクセスできないため別名でアクセスするようにする
以下の様に 「mysql-server」を追記する
127.0.0.1 localhost mysql-server
接続確認
mysql -P13306 -u root -h mysql-server -pmysql
2.rails の準備
前提
ruby & rails を install しておくこと
ruby & rails の install についてはこちら
https://qiita.com/masatoshi_watanuki/private/fc2d8b4702e881a97768
mysql2 install の準備
mysql2 の install 時に以下のエラーが発生してしまうため bundle config ... を実施しておく
参考:https://kuzugr.com/article/30
mysql2 install 時の エラー
ld: library not found for -lssl
clang: error: linker command failed with exit code 1 (use -v to see invocation)
以下のコマンドを実行する
bundle config --global build.mysql2 --with-opt-dir="$(brew --prefix openssl)"
rails をapiモードで生成する
rails new sample_app -d mysql -T --api

cd sample_app
DB の設定
config/database.yml を以下の様に変更する
default: &default
  adapter: mysql2
  encoding: utf8mb4
  pool: <%= ENV.fetch("RAILS_MAX_THREADS") { 5 } %>
  username: root
  password: mysql
  host: mysql-server
  port: 13306
DB を作成
rails db:create
rack-cors を有効にする
Client(React) と Backend(Rails)は別オリジンとなるため rack-cors を使用して Client <=> Backend 間でアクセスできる様にする
Gemfile の以下の部分のコメントアウトを外す
gem 'rack-cors'
bundle install
config/application.rb に以下を追加する
config.middleware.insert_before 0, Rack::Cors do
  allow do
    origins 'http://localhost:3000' # React の Origin
    resource '*', :headers => :any, :methods => [:get, :post, :put, :delete, :options], :expose => ['access-token']
  end
end
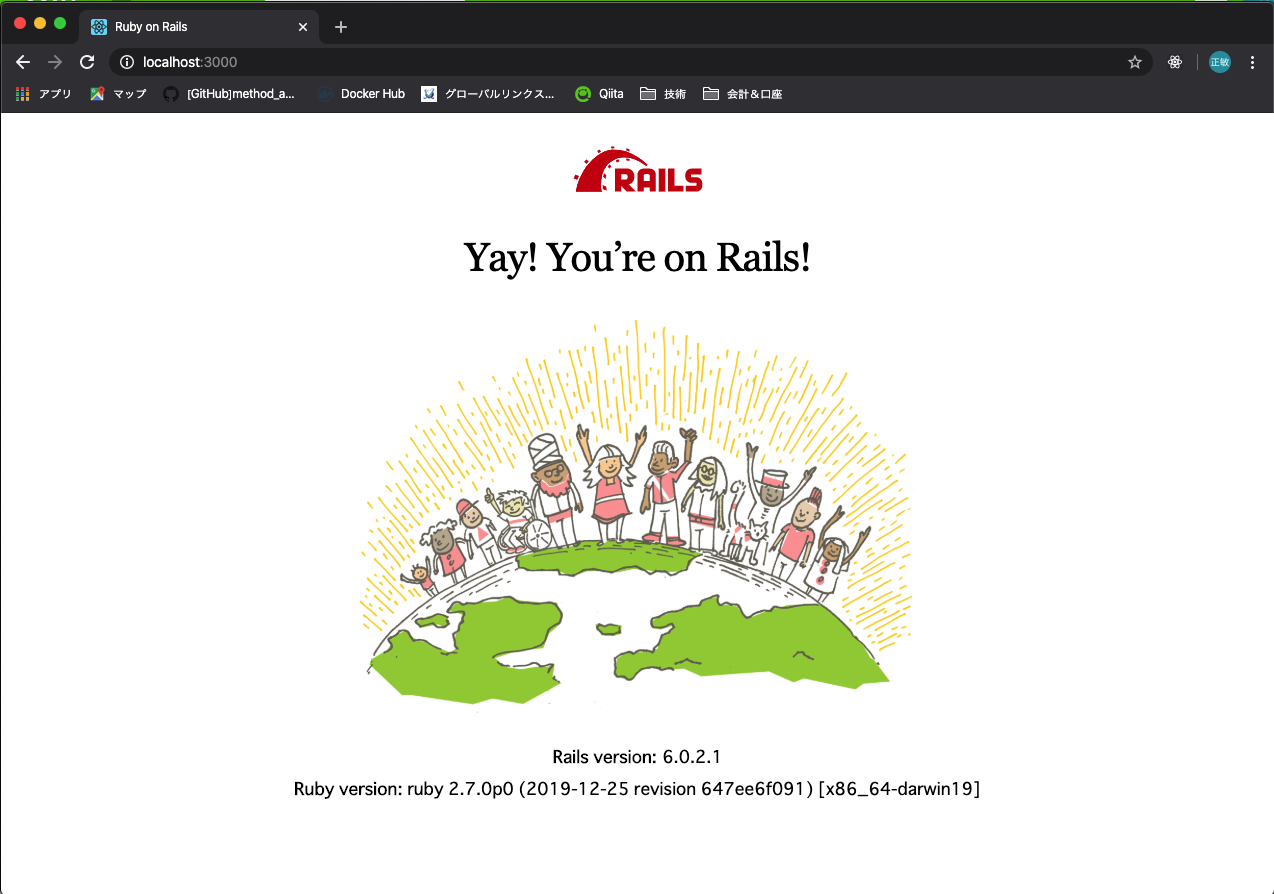
起動確認
rails を起動する
rails s
以下にアクセスして確認する
http://localhost:3000/

アプリに機能を追加する
商品(product)を登録・参照・削除できる機能を実装する
product関連の Controller, Model 等を生成しテーブルを作成する
# ControllerやModel等を生成
rails generate scaffold product name:string price:integer comment:string

# DBにテーブルを作成
rails db:migrate
動作確認
rails c
# Productを登録
Product.create(name: '商品1', price: 50000, comment: 'コメント')
exit

rails s
以下のURLにアクセスしてJSONの配列が帰ってくればOK
http://localhost:3000/products
[{"id":1,"name":"商品1","price":50000,"comment":"コメント","created_at":"2020-04-04T02:53:20.406Z","updated_at":"2020-04-04T02:53:20.406Z"}]
3.Reactの準備
前提
nodejs & npm が install 済みであること
nodejs & npm の install についてはこちら
https://qiita.com/masatoshi_watanuki/items/b8eef771ab3e2ca3d525
雛形を作成する
任意のディレクトリで以下のコマンドを実行する
npx create-react-app sample-client --typescript
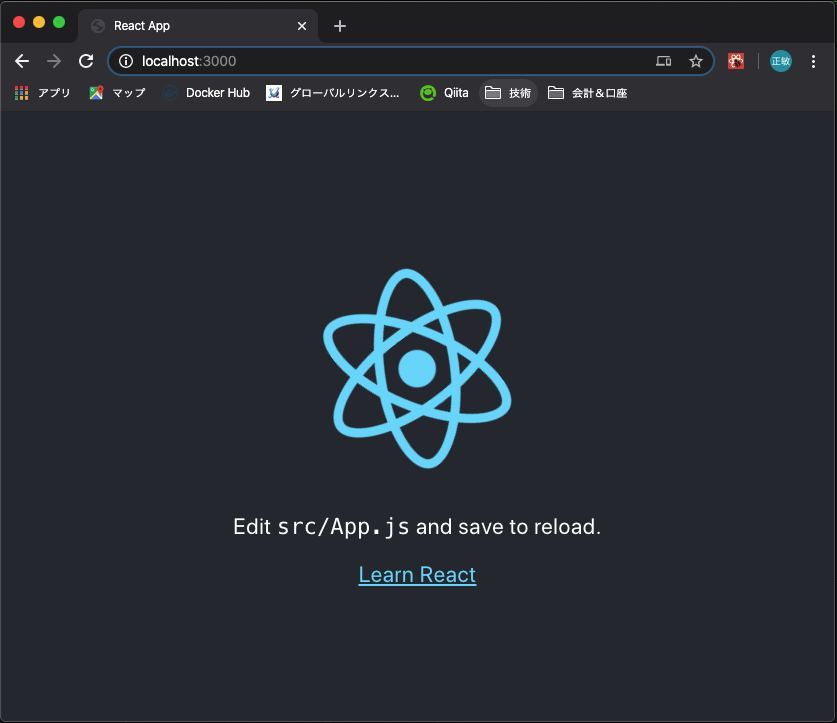
動作確認
cd sample-client

npm start
API呼び出しを行うため axios を install する
npm install axios
Rails からProductのデータを取得して表示できるようにする
src/App.tsx
import React from 'react';
import './App.css';

import axios from 'axios';

const PRODUCTS_API_URL = 'http://localhost:3001/products';

class App extends React.Component<any, any> {
  constructor(props: any) {
    super(props)
    this.state = { products: [] }
  }

  // renderの中でsetStateすると再描画しようとしてrenderが呼ばれるため無限ループとなってしまう
  // componentDidMountではComponentがMountされたタイミングで実行されるため無限ループを回避できる
  componentDidMount() {
    axios
      .get(PRODUCTS_API_URL)
      .then((results) => {
        this.setState({ products: results.data });
      })
      .catch((error) => {
        alert(error);
      });
  }

  renderProducts() {
    return (
      <div>
        {this.state.products.map((v: any) => {
          return (
            <div>
              <p>name: {v.name}</p>
              <p>price: {v.price}</p>
              <p>comment: {v.comment}</p>
            </div>
          );
        })}
      </div>
    );
  }

  render() {
    return (
      <div className="App">
        <h1>-- Products --</h1>
        {this.renderProducts()}
      </div>
    );
  }
}

export default App;
動作確認
cd {Rails のROOTディレクトリ}

# デフォルトの3000ポートは React が使用するため3001で起動する
rails s -p 3001
cd {React のROOTディレクトリ}

npm start
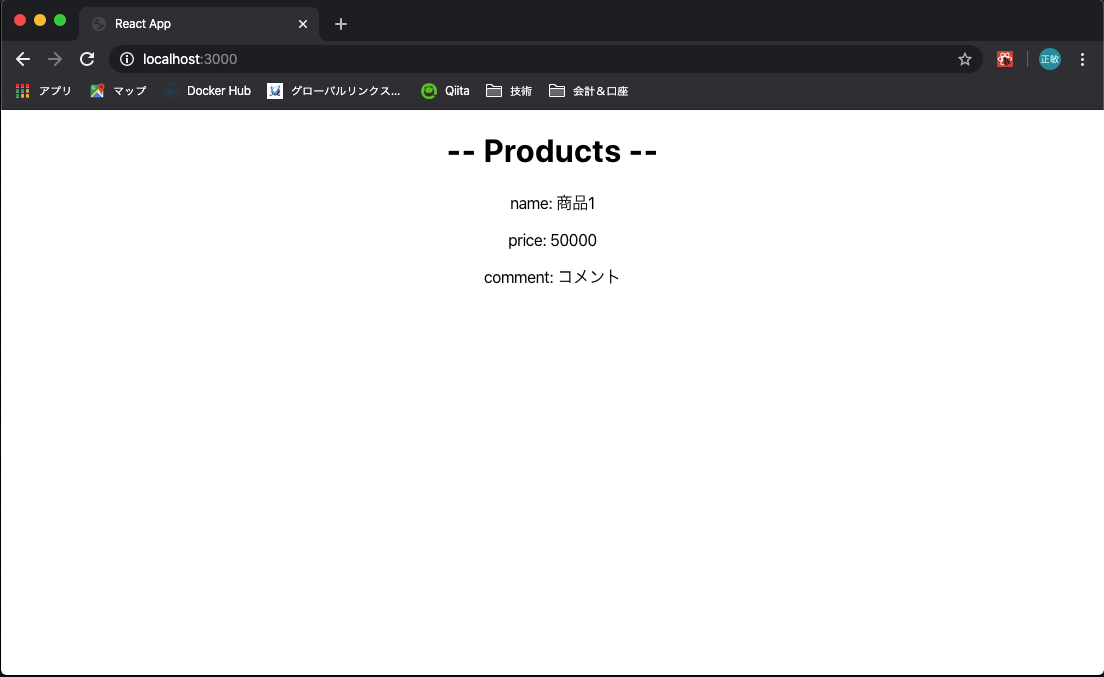
ブラウザで http://localhost:3000 にアクセスする
(突っ込みどころは多々あると思うけど)疎通確認までできたため今回はここまで

