Introduction
This document describes the installation and configuration of bhyve and the some OS installtion procedures after installint FreeBSD 14.0 RELEASE on a physical machine.
For FreeBSD installation, please refer to Chapter 2. Installing FreeBSD, install FreeBSD on Share FreeBSD based information, etc.
Note that this document does not use a desktop environment, so you can use various OS even if you do not have X Window System installed.
- Naturally, the desktop environment is not available for the various OS installed using bhyve.
- If you want to use desktop environment on various OS, you must install desktop environment on FreeBSD, but this document does not cover desktop environment.
What is bhyve?
The bhyve is hyperviser that uses FreeBSD as host OS. It as virtual machine environment similar VMware Player or Oracle VM VirtualBox.
Specification of used PC
I installed FreeBSD on LUV MACHINES iH700XN PC of MOUSE COMPUTER.
- CPU: Core i7-8700 (6 cores, 12 threads, 3.20 GHz/ TB: 4.6 GHz)
- Memory: 64 GB (2 GB or more is fine, but 4GB or more may be better.)
- HDD: 4 TB (64 GB or more is fine.)
Please consider "Memory 2 GB or more and HDD 64 GB or more" as the minimum capacity required to run a virtual machinve. If you use multiple virtual machines, you will need more Memory and HDD. In this document, we use HDD but of course you can use SSD.
CPU feature
To use bhyve, Intel Extended Page Tables (EPT) or AMD Rapid Virtualization indexint (PVI) or Nested Page Tables (NPT) must be enabled on the CPU. To use Linux or FreeBSD as a guest OS, you will also need VMX unrestricted mode support (UD).
These features check the contents of dmesg.boot as follows:
Intel CPU:
$ egrep '(EPT|UG|VT-x)' /var/run/dmesg.boot
  VT-x: PAT,HLT,MTF,PAUSE,EPT,UG,VPID
EPT and UG are shown following VT-x, so bhyve can be used.
AMD CPU:
$ grep 'POPCNT' /var/run/dmesg.boot
Features2=0x7ed8320b<SSE3,PCLMULQDQ,MON,SSSE3,FMA,CX16,SSE4.1,SSE4.2,MOVBE,POPCNT,AESNI,XSAVE,OSXSAVE,AVX,F16C,RDRAND>
POPCNT is shown following Features2, so bhyve can be used.
- POPCNT is not a virtualization function, but CPUs that are provided with function are likery to be provided with virtualization functions.
If the corresponding function does not appeare as a result of executing above grep command, it may be possible to enable in the UEFI configuration.
bhyve installation and configuration
Installation of bhyve is described in 24.6. FreeBSD as a Host with bhyve of FreeBSD Handbook. There is also FAQ described on https://wiki.freebsd.org/bhyve.
The procedures listed below are based on the above documents.
After installing and rebooting FreeBSD, install and configure bhyve with super user.
Use su command to obtain superuser privilege or run sudo command and execute pkg install sudo command to install sudo command. Use visudo command to configure your user or wheel group to be able to execute the sudo command and then run sudo COMMAND.
- All examples in this document use the sudo command.
- To execute various commands using su command instead of sudo command, remove "sudo" from the begginning of the execution example.
Example: sudo command:
$ sudo pkg install -y vm-bhyve bhyve-firmware
Password:
Example: su command:
$ su
Password:
# pkg install -y vm-bhyve bhyve-firmware
Execute the command as above to install the binary packages vm-bhyve and bhyve firm-ware. In the following examples, only using sudo command are shown.
When you run the above pkg install command, you will get the below message.
=====
Message from vm-bhyve-1.5.0:

--
To enable vm-bhyve, please add the following lines to rc.conf,
depending on whether you are using ZFS storage or not. Please note
that the directory or dataset specified should already exist.

    vm_enable="YES"
    vm_dir="zfs:pool/dataset"

OR

    vm_enable="YES"
    vm_dir="/directory/path"

Then run 'vm init'.
Follow the messages to create a directory and run the vm init command.
The above message show an example of setting vm_dir for ZFS or UFS. This document show an example of run using UFS.
$ sudo mkdir /work
$ sudo sh -c 'cat >> /etc/rc.conf'
vm_enable="YES"
vm_dir="/work"
^D
$ sudo vm init
$ ls -a /work
.               .config         .iso
..              .img            .templates
In the example above, "^D" pressed the CTRL and D key at the same time.
After executing the vm init command, several directories will be created under /work as shown above. The following examples, so it is not necessary to use the vmrun.sh or bhyve command, so it is not necessary to use the directories created by the vm init command.
Creating a bridge interface
Create a bridge interface to allow the OS on the virtual machine to access the LAN to which FreeBSD is running as a hypervisor.
$ sudo ifconfig tap0 create
$ sudo sysctl net.link.tap.up_on_open=1
net.link.tap.up_on_open: 0 -> 1
$ sudo ifconfig bridge0 create
$ sudo ifconfig bridge0 addm YOURIF addm tap0
$ sudo ifconfig bridge0 up
Where YOURIF above specifies the network inteface that your FreeBSD connect to your LAN. To see what interface are actually being used, use the ifconfig command.
$ ifconfig
em0: flags=1008843<UP,BROADCAST,RUNNING,SIMPLEX,MULTICAST,LOWER_UP> metric 0 mtu 1500
        options=4e504bb<RXCSUM,TXCSUM,VLAN_MTU,VLAN_HWTAGGING,JUMBO_MTU,VLAN_HWCSUM,LRO,VLAN_HWFILTER,VLAN_HWTSO,RXCSUM_IPV6,TXCSUM_IPV6,HWSTATS,MEXTPG>
        ether 00:1b:21:85:39:f7
        inet 192.168.10.116 netmask 0xffffff00 broadcast 192.168.10.255
        inet6 fe80::21b:21ff:fe85:39f7%em0 prefixlen 64 scopeid 0x1
        inet6 2001:f71:4ee0:2100:21b:21ff:fe85:39f7 prefixlen 64 autoconf pltime 300 vltime 300
        media: Ethernet autoselect (1000baseT <full-duplex>)
        status: active
        nd6 options=23<PERFORMNUD,ACCEPT_RTADV,AUTO_LINKLOCAL>
em1: flags=8802<BROADCAST,SIMPLEX,MULTICAST> metric 0 mtu 1500
        options=4e504bb<RXCSUM,TXCSUM,VLAN_MTU,VLAN_HWTAGGING,JUMBO_MTU,VLAN_HWCSUM,LRO,VLAN_HWFILTER,VLAN_HWTSO,RXCSUM_IPV6,TXCSUM_IPV6,HWSTATS,MEXTPG>
        ether 70:85:c2:8a:b5:8b
        media: Ethernet autoselect
        status: no carrier
        nd6 options=29<PERFORMNUD,IFDISABLED,AUTO_LINKLOCAL>
lo0: flags=1008049<UP,LOOPBACK,RUNNING,MULTICAST,LOWER_UP> metric 0 mtu 16384
        options=680003<RXCSUM,TXCSUM,LINKSTATE,RXCSUM_IPV6,TXCSUM_IPV6>
        inet 127.0.0.1 netmask 0xff000000
        inet6 ::1 prefixlen 128
        inet6 fe80::1%lo0 prefixlen 64 scopeid 0x3
        groups: lo
        nd6 options=21<PERFORMNUD,AUTO_LINKLOCAL>
In the above example, infomation on three intercaces em0, em1 and lo0 is shown. In the case of this PC, em0 is connected to the LAN, so em0 is speceifed for *YOURIF".
If the bridge interface is configured correctly, the ifconfig bridge0 command should show member: tap0 and member: YOURIF as below.
$ ifconfig bridge0
bridge0: flags=1008843<UP,BROADCAST,RUNNING,SIMPLEX,MULTICAST,LOWER_UP> metric 0 mtu 1500
        options=0
        ether 58:9c:fc:10:ff:c7
        id 00:00:00:00:00:00 priority 32768 hellotime 2 fwddelay 15
        maxage 20 holdcnt 6 proto rstp maxaddr 2000 timeout 1200
        root id 00:00:00:00:00:00 priority 32768 ifcost 0 port 0
        member: tap0 flags=143<LEARNING,DISCOVER,AUTOEDGE,AUTOPTP>
                ifmaxaddr 0 port 4 priority 128 path cost 2000000
        member: em0 flags=143<LEARNING,DISCOVER,AUTOEDGE,AUTOPTP>
                ifmaxaddr 0 port 1 priority 128 path cost 20000
        groups: bridge
        nd6 options=9<PERFORMNUD,IFDISABLED>
Add bridge configuration to /etc/rc.conf.
- In the following example, YOURIF should be change to the actual interface name before execution.
$ sudo sh -c 'cat >> /etc/rc.conf'
cloned_interfaces="bridge0 tap0"
ifconfig_bridge0="addm YOURIF addm tap0"
^D
Installing grub2-bhyve
To use OpenBSD, NetBSD, etc. in a virtual machine on bhyve, a tool grub2-bhyve is required.
Follow the instructions below to install grub2-bhyve.
To use OpenBSD (certainly 7.4 or newer), you need to install grub2-bhyve from latest ports instead of the binary package.
If you will not using OpenBSD (certainly 7.4 or newer), you can use grub2-bhyve from install by binary package as sudo pkg install -y grub2-bhyve.
$ sudo mv /usr/ports /usr/orig-ports
$ sudo pkg install -y git
$ sudo git clone https://git.FreeBSD.org/ports.git /usr/ports
$ sudo pkg install -y help2man flex bison gcc13
$ cd /usr/ports/sysutils/grub2-bhyve
$ sudo make install
On the PC I used this time, when installing FreeBSD, I selected ports in Selecting Components to Install, so I moved the existing /usr/ports to /usr/orig-ports. If /usr/ports does not exist, the mv command is not required.
The tools that help2man, flex, bison and gcc13 are required to build grub2-bhyve. If these packages are not installed, they will built and installed from ports when building grub2-bhyve. But it takes many times. So, you can install those tools from binary package.
In addition, GNU Make is required, but since GNU Make in the binary package is an older version than required by brub2-bhyve. It is built and installed when *building grub2-bhyve.
When you build GNU Make, the following screen will appear to confirm the build settings. There is nothing to change. So, press Enter key.
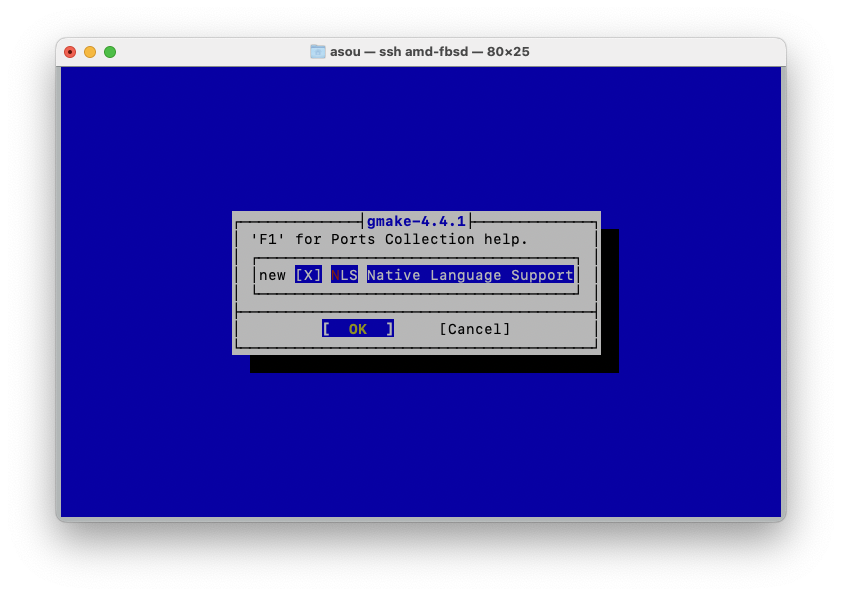
You are now ready to use the virtual machinve with bhyve.
Installing OpenBSD 7.4
This section describe how to create a virtual machine on FreeBSD + bhyve and install OpenBSD 7.4.
$ cd /work
$ sudo mkdir openbsd
$ cd openbsd
$ sudo fetch https://cdn.openbsd.org/pub/OpenBSD/7.4/amd64/SHA256
$ sudo fetch https://cdn.openbsd.org/pub/OpenBSD/7.4/amd64/install74.iso
$ shasum -c SHA256 2>/dev/null | grep OK
install74.iso: OK
If install74.iso: OK is not displayed when executing the shasum command, it is possible that SHA256 or install74.iso was not obtained correctly. Please execute the fetch command again to retrive it.
$ sudo truncate -s 16G openbsd.img
$ sudo sh -c 'cat > openbsd-device.map'
(hd0) /work/openbsd/openbsd.img
(cd0) /work/openbsd/install74.iso
^D
$ printf "kopenbsd -h com0 (cd0)/7.4/amd64/bsd.rd\nboot\n" | sudo grub-bhyve -m /work/openbsd/openbsd-device.map -r cd0 -M 2G openbsd
If the following error occurs when executing the print command above,
Could not create VM openbsd
Error in initializing VM
Please check again as the following may be possible.
- The file /work/openbsd/openbsd.img or /work/openbsd/install74.iso specified in openbsd-device.map created with cat command is incorrect.
- UEFI's virtualization feature is disabled.
$ sudo bhyve -A -c 2 -m 2G -w -u -H -l com1,stdio -s 0:0,hostbridge -s 1:0,lpc -s 2:0,virtio-net,tap0 -s 3,ahci-cd,/work/openbsd/install74.iso -s 4,virtio-blk,/work/openbsd/openbsd.img openbsd
If the OpenBSD installer screen is displayed as below, the virtual machine has started successfully.
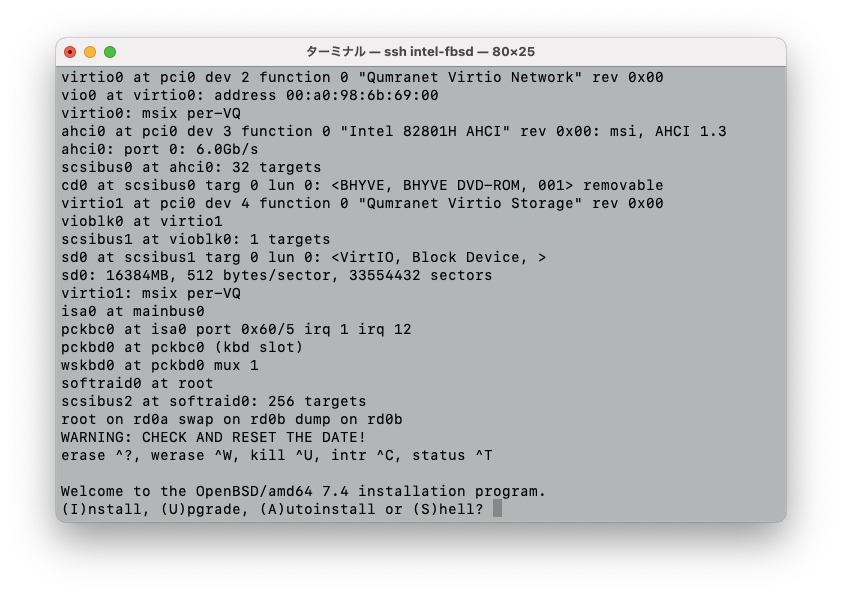
Please install OpenBSD.
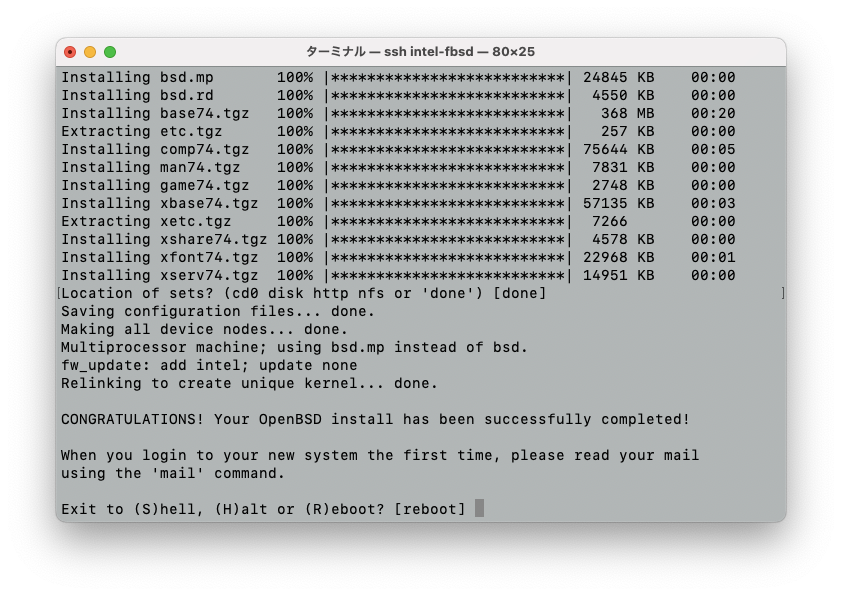
When the OpenBSD installation is complete, press Enter key when you see Exit to (S)hell, (H)alt or (R)eboot? [reboot] as shown above.
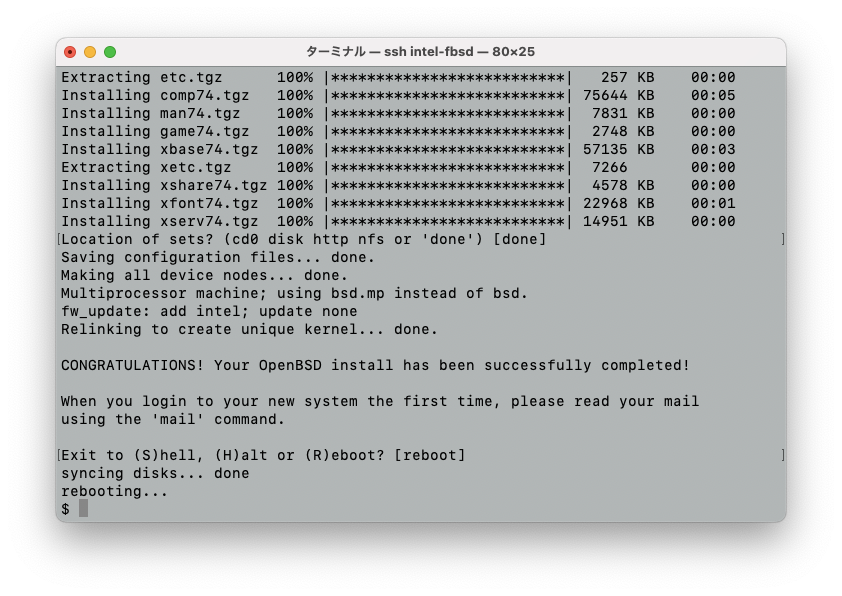
Although rebooting... is displayd, virtual machine is actually terminated without rebooting.
Starting OpenBSD
$ printf "kopenbsd -h com0 -r sd0a (hd0,openbsd1)/bsd\nboot\n" | sudo grub-bhyve -m /work/openbsd/openbsd-device.map -M 2G openbsd
$ sudo bhyve -A -c 2 -m 2G -w -u -H -G 19999 -l com1,stdio -s 0:0,hostbridge -s 1:0,lpc -s 2:0,virtio-net,tap0 -s 3,virtio-blk,/work/openbsd/openbsd.img openbsd
The OpenBSD will start.
- If `-A' is not specified when executing the above bhyve command, the operation may become very slow after com0 is displayed.
- In this case, execute the command sudo bhyvectl --vm=openbsd --destroy from another terminal.
Installing FreeBSD
This section describe how to create a virtual machine on FreeBSD + bhyve and install FreeBSD 14.0.
$ cd /work
$ sudo mkdir freebsd
$ cd freebsd
$ sudo fetch https://download.freebsd.org/releases/amd64/amd64/ISO-IMAGES/14.0/CHECKSUM.SHA512-FreeBSD-14.0-RELEASE-amd64
$ sudo fetch https://download.freebsd.org/releases/amd64/amd64/ISO-IMAGES/14.0/FreeBSD-14.0-RELEASE-amd64-bootonly.iso
$ shasum -c CHECKSUM.SHA512-FreeBSD-14.0-RELEASE-amd64 2>/dev/null | grep OK
FreeBSD-14.0-RELEASE-amd64-bootonly.iso: OK
If FreeBSD-14.0-RELEASE-amd64-bootonly.iso: OK is not displayed when executing shasum command, it is possible thet CHECKSUM.SHA512-FreeBSD-14.0-RELEASE-amd64 or FreeBSD-14.0-RELEASE-amd64-bootonly.iso was not obtained correctly. Please execute the fetch command agein to retrive it.
$ sudo truncate -s 16G freebsd.img
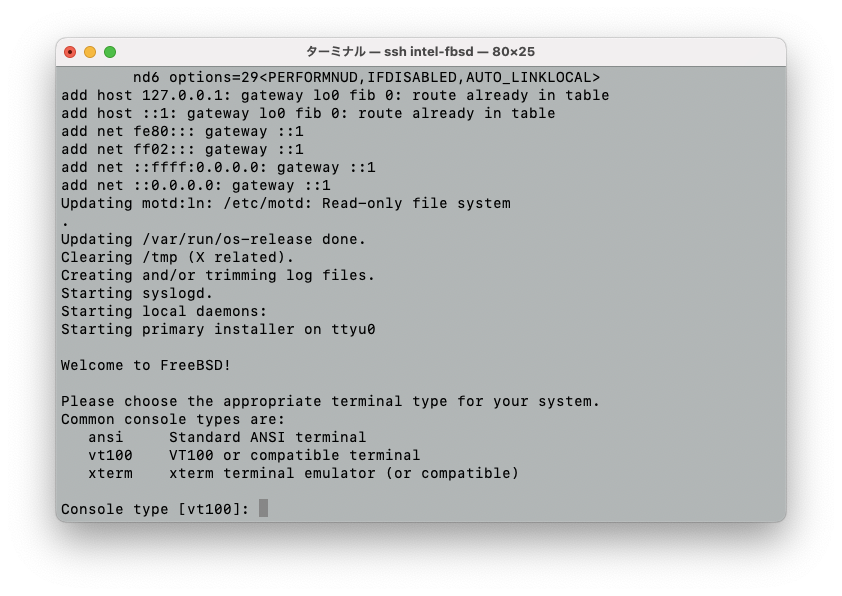
$ sudo sh /usr/share/examples/bhyve/vmrun.sh -c 2 -m 2048M -t tap0 -d freebsd.img -i -I FreeBSD-14.0-RELEASE-amd64-bootonly.iso freebsd
If *Console type [vt100]: * is displayed as below, the virtual machinne has started successfully.

When you press Enter Key, the FreeBSD installer screen will be displayed, so please install FreeBSD.
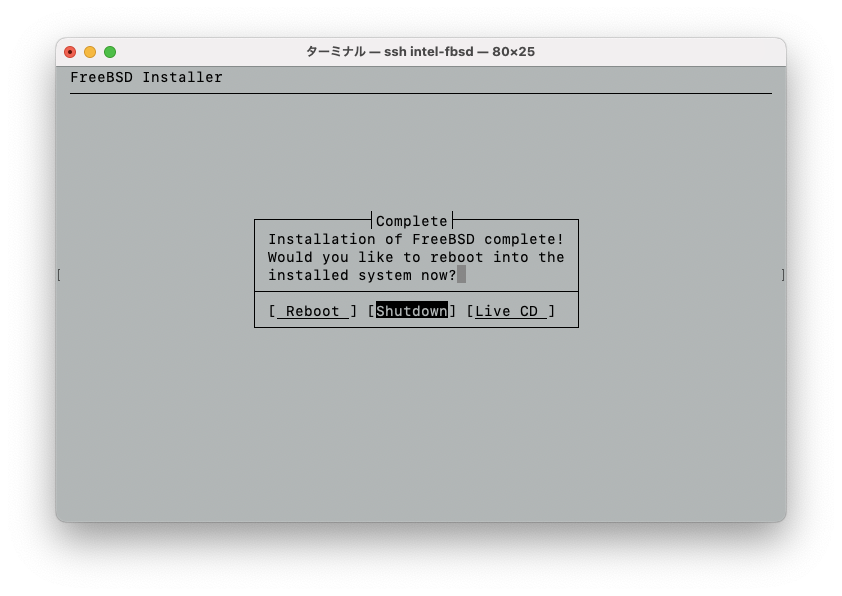
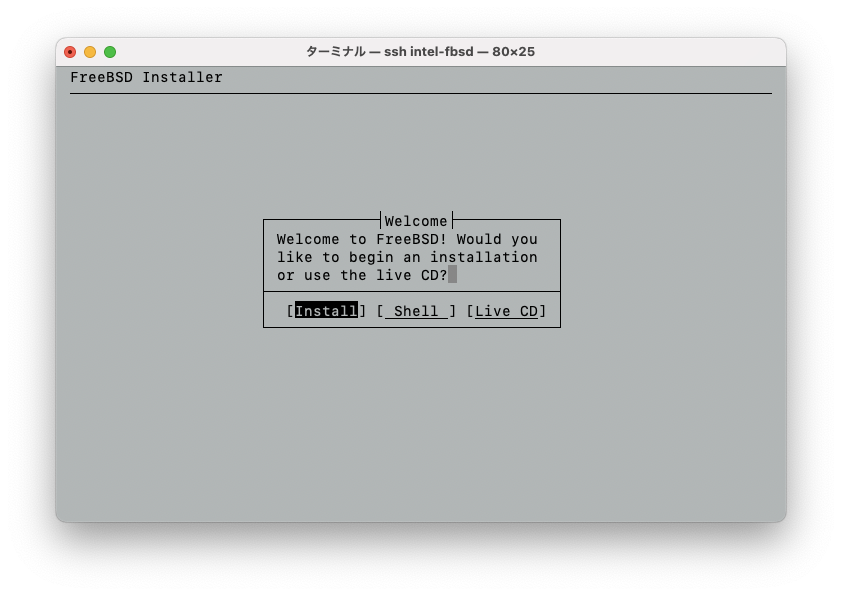
The FreeBSD instlation is complete and the following screen will be displayed.
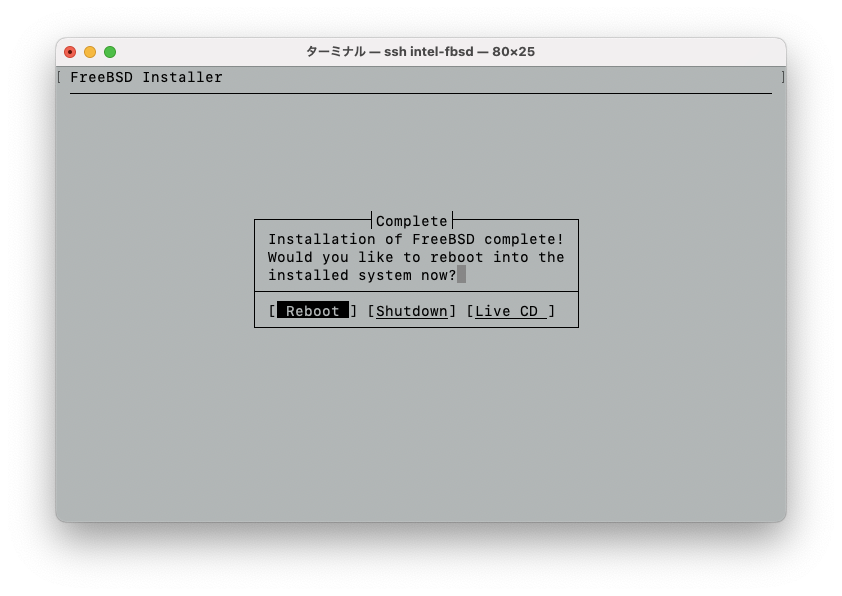
If you press the Enter Key, the FreeBSD installer will start up again. So, press the TAB key to selest Shtdown and press Enter Key as shown below.
If you press Enter key while in Reboot, press the Enter key when *Cosole type [vt100]: is displayed,
when the installer screen paaears again, select Shell with TAB key and press Enter key.
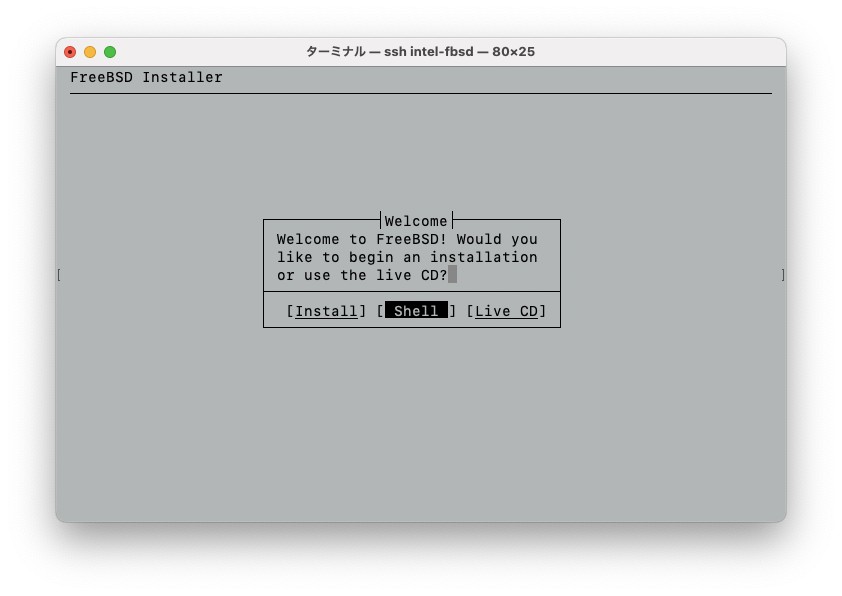
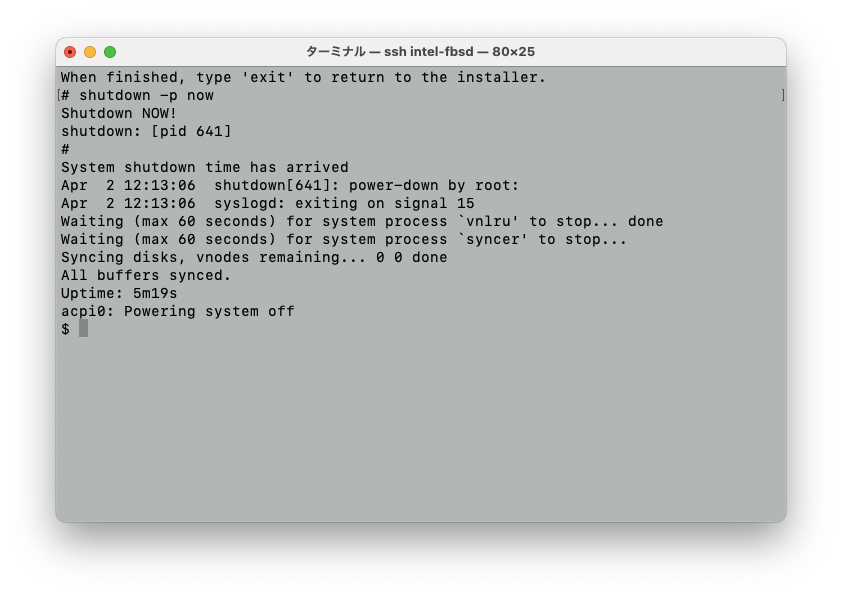
Shell is invoked and type shutdown -p now and Enter key.
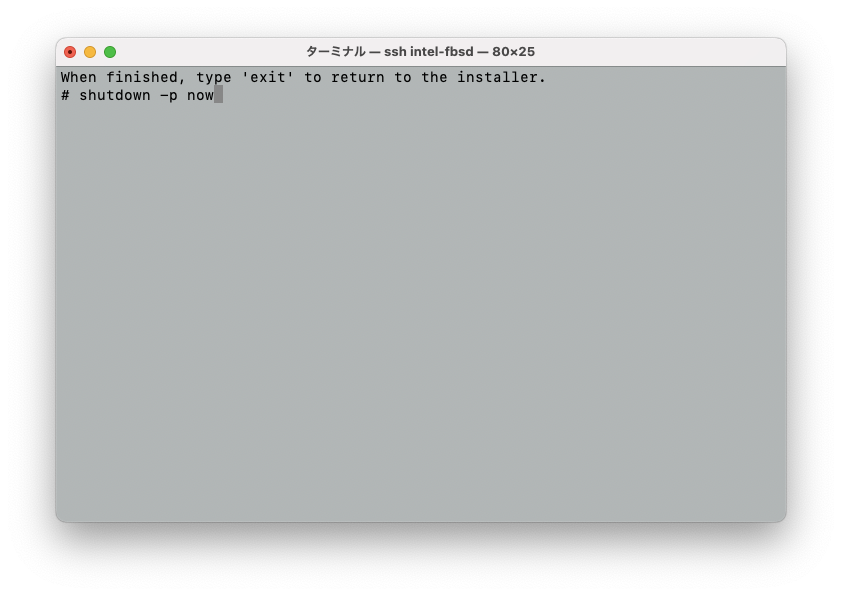
The virtual machine will stop.
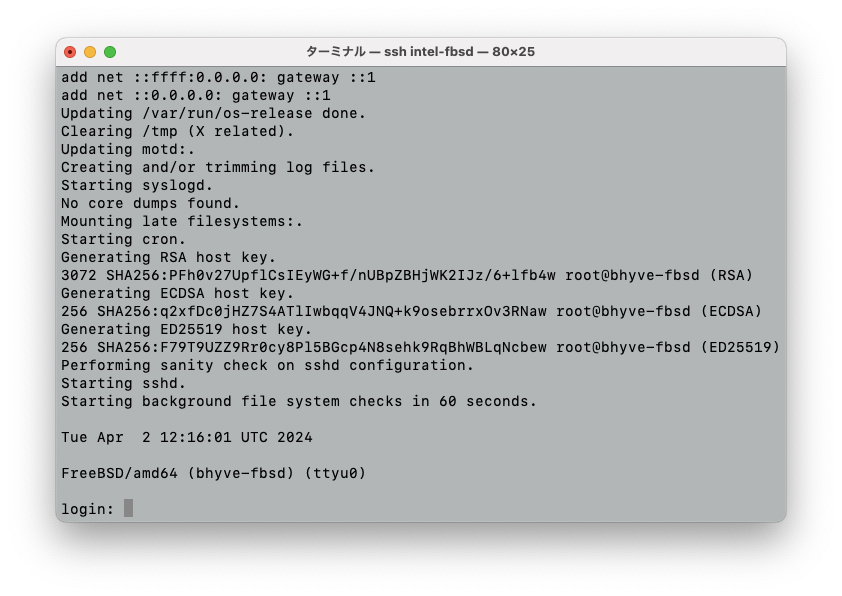
Starting FreeBSD
$ sudo sh /usr/share/examples/bhyve/vmrun.sh -c 2 -m 2048M -t tap0 -d freebsd.img freebsd
The FreeBSD will start.
Installing NetBSD 9.3
This section describe how to create a virtual machine on FreeBSD + bhyve and install NetBSD 9.3.
$ cd /work
$ sudo mkdir netbsd
$ cd netbsd
$ sudo fetch https://cdn.netbsd.org/pub/NetBSD/NetBSD-9.3/images/SHA512
$ sudo fetch https://cdn.netbsd.org/pub/NetBSD/NetBSD-9.3/images/NetBSD-9.3-amd64.iso
$ shasum -c SHA512 2>/dev/null | grep OK
NetBSD-9.3-amd64.iso: OK
Is NetBSD-9.3-amd64.iso: OK is not displayed when executing shasum command, it is possible that SHA512 or NetBSD-9.3-amd64.iso was not obtained correctly. Please use the fetch command again to retrive it.
$ sudo truncate -s 16G netbsd.img
$ sudo sh -c 'cat > netbsd-device.map'
(hd0) /work/netbsd/netbsd.img
(cd0) /work/netbsd/NetBSD-9.3-amd64.iso
^D
$ printf "knetbsd -h -r cd0a (cd0)/netbsd\nboot\n" | sudo grub-bhyve -m /work/netbsd/netbsd-device.map -r cd0 -M 2G netbsd
If the following error occurs when executing the print command above,
Could not create VM netbsd
Error in initializing VM
Please check again as the following may be possible.
- The file /work/netbsd/netbsd.img or /work/netbsd/NetBSD-9.3-amd64.iso specified in netbsd-device.map created with cat command is incorrect.
- UEFI's virtualization feature is disabled.
$ sudo bhyve -A -c 2 -m 2G -w -u -H -l com1,stdio -s 0:0,hostbridge -s 1:0,lpc -s 2:0,virtio-net,tap0 -s 3,ahci-cd,/work/netbsd/NetBSD-9.3-amd64.iso -s 4,virtio-blk,/work/netbsd/netbsd.img netbsd
If *Terminal type (just hit ENTER for 'vt220'): * is displayed as below, the virtual machive has started successfully.
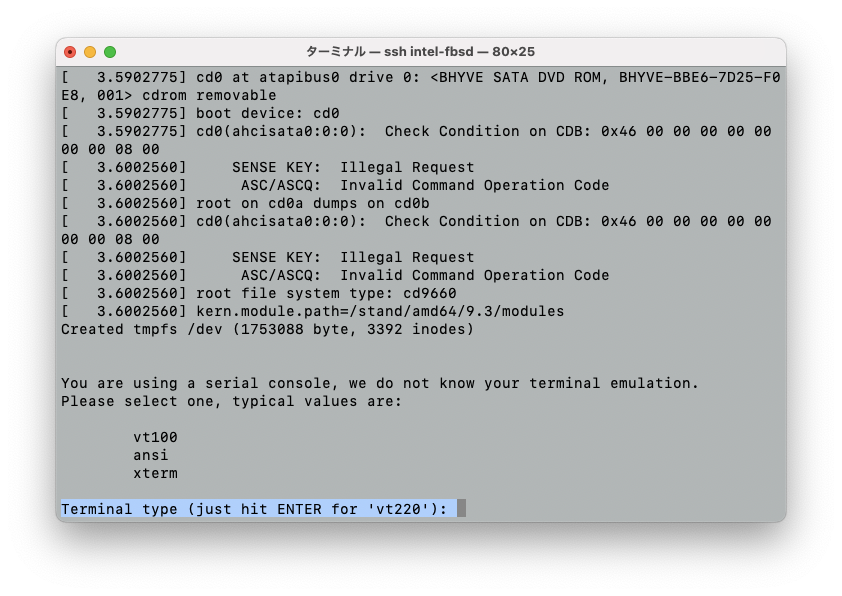
When you press Enter Key, the NetBSD installer screen will be displayed, so please install NetBSD.
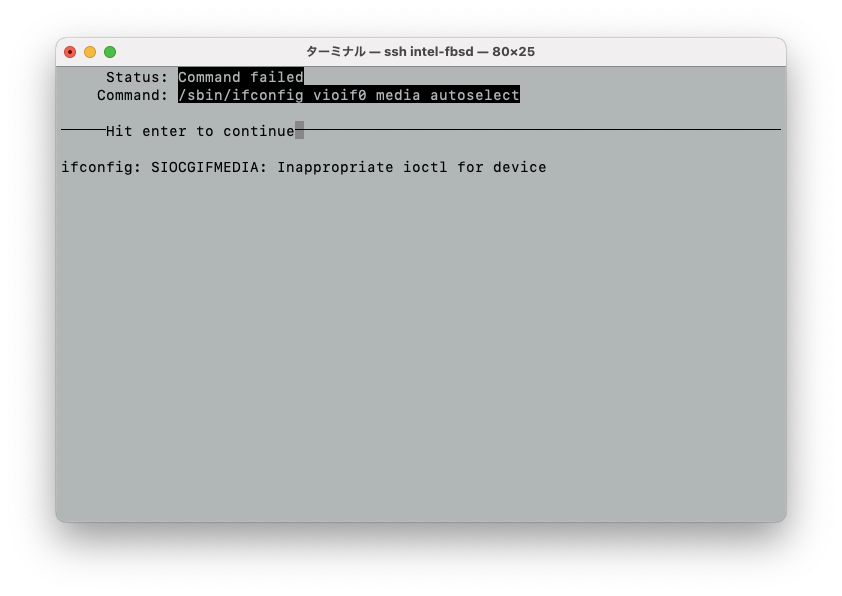
When configuring network settings, if you specify autoselect for *Network media type[]: *, an error will occur as shown below. So, please specify manual.
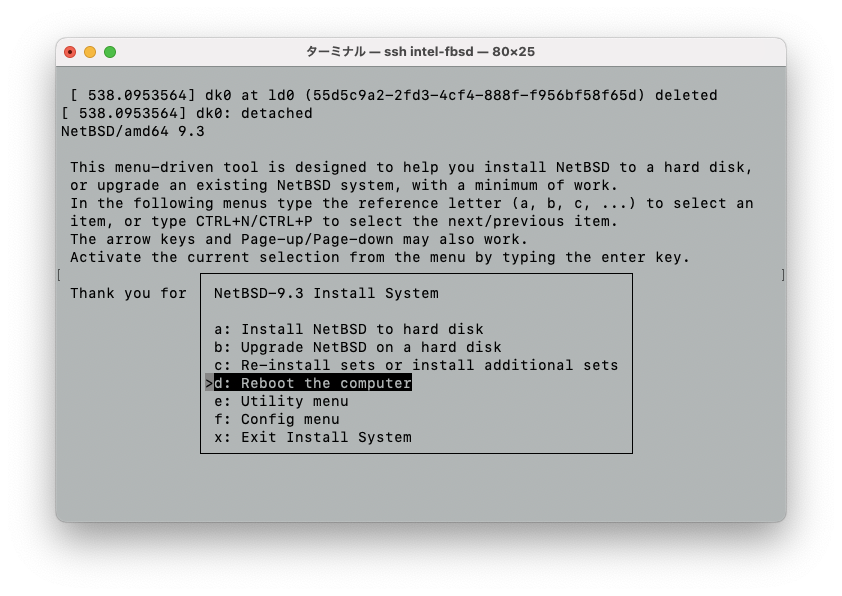
When the installation is complete, the following screen will appear.
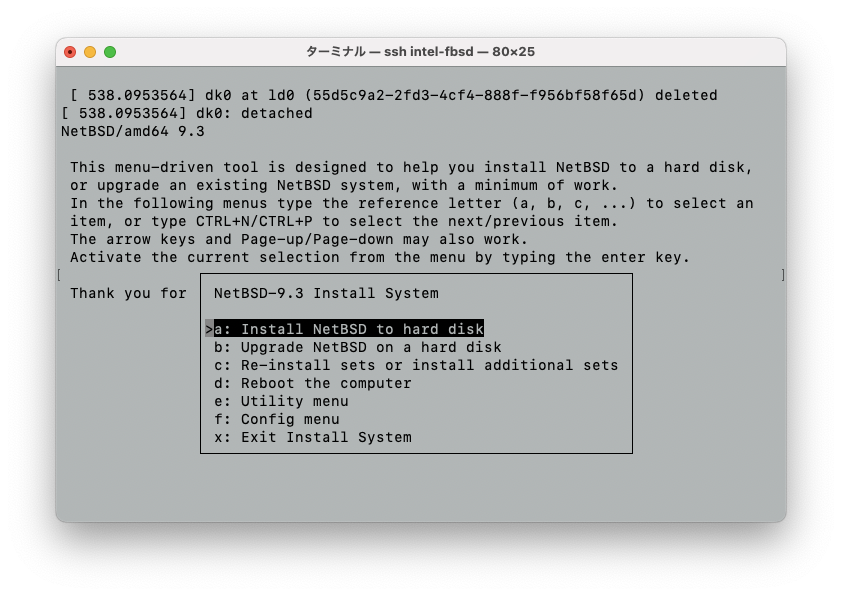
Select the Reboot the computer with d key and press the Enter key.
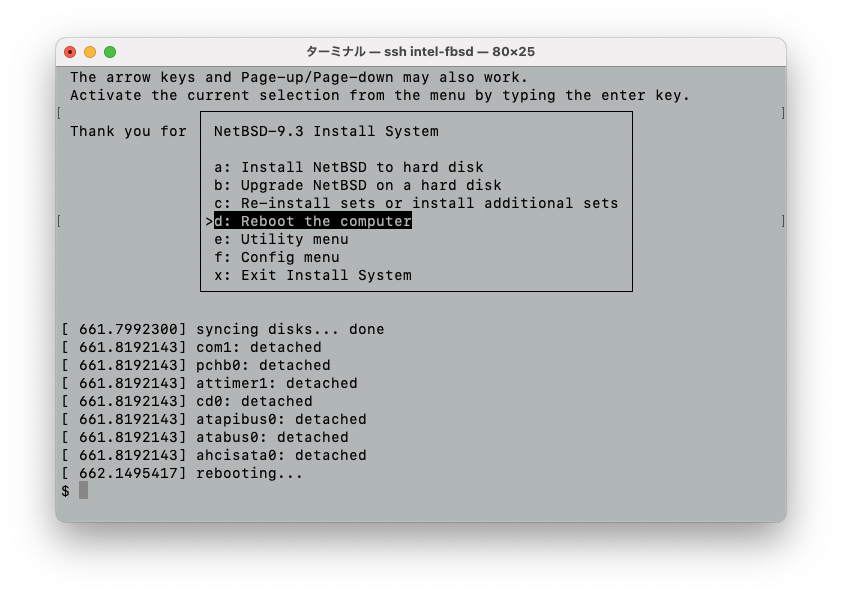
Although rebooting... is displayd, virtual machine is actually terminated without rebooting.
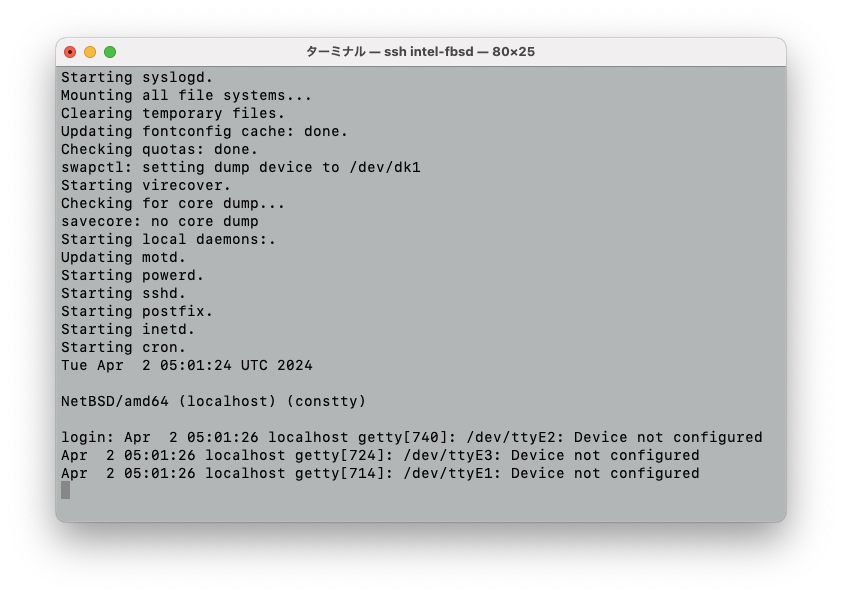
Starting NetBSD
$ printf "knetbsd -h -r dk0a (hd0,gpt1)/netbsd\nboot\n" | sudo grub-bhyve -m /work/netbsd/netbsd-device.map -r cd0 -M 2G netbsd
$ sudo bhyve -A -c 2 -m 2G -w -u -H -l com1,stdio -s 0:0,hostbridge -s 1:0,lpc -s 2:0,virtio-net,tap0 -s 3,virtio-blk,/work/netbsd/netbsd.img netbsd
The NetBSD will start.
Installing Ubuntu 23.10 server
This section describe how to create a virtual machine on FreeBSD + bhyve and install Ubuntu 23.10 server.
$ cd /work
$ sudo mkdir ubuntu
$ cd ubuntu
$ sudo fetch https://ftp.iij.ad.jp/pub/linux/ubuntu/releases/23.10.1/SHA256SUMS
$ sudo fetch https://ftp.iij.ad.jp/pub/linux/ubuntu/releases/23.10.1/ubuntu-23.10-live-server-amd64.iso
$ shasum -c SHA256SUMS 2>/dev/null | grep OK
ubuntu-23.10-live-server-amd64.iso: OK
If ubuntu-23.10-live-server-amd64.iso: OK is not displayed when executing *shasum command, it is possible that SHA256SUMS or ubuntu-23.10-live-server-amd64.iso was not obtained correctly. Please execute the fetch command again to retrive it.
$ sudo truncate -s 16G ubuntu.img
$ sudo sh -c 'cat > ubuntu-device.map'
(hd0) /work/ubuntu/ubuntu.img
(cd0) /work/ubuntu/ubuntu-23.10-live-server-amd64.iso
^D
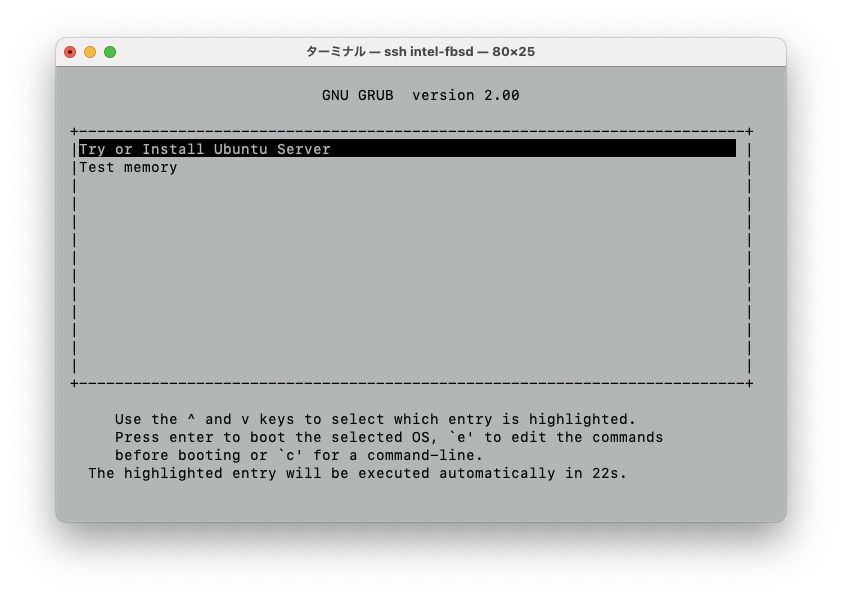
$ sudo grub-bhyve -r cd0 -m /work/ubuntu/ubuntu-device.map -M 2G ubuntu
When the grub-bhyve command is executed, the following screen is displayed and press the Enter key with `Try or install Ubuntu Server' selected.
$ sudo bhyve -A -c 2 -m 2G -w -u -H -l com1,stdio -s 0:0,hostbridge -s 1:0,lpc -s 2:0,virtio-net,tap0 -s 3,ahci-cd,/work/ubuntu/ubuntu-23.10-live-server-amd64.iso -s 4,virtio-blk,/work/ubuntu/ubuntu.img ubuntu
When the installer screen appears as below, the virtual machine has started successfully.
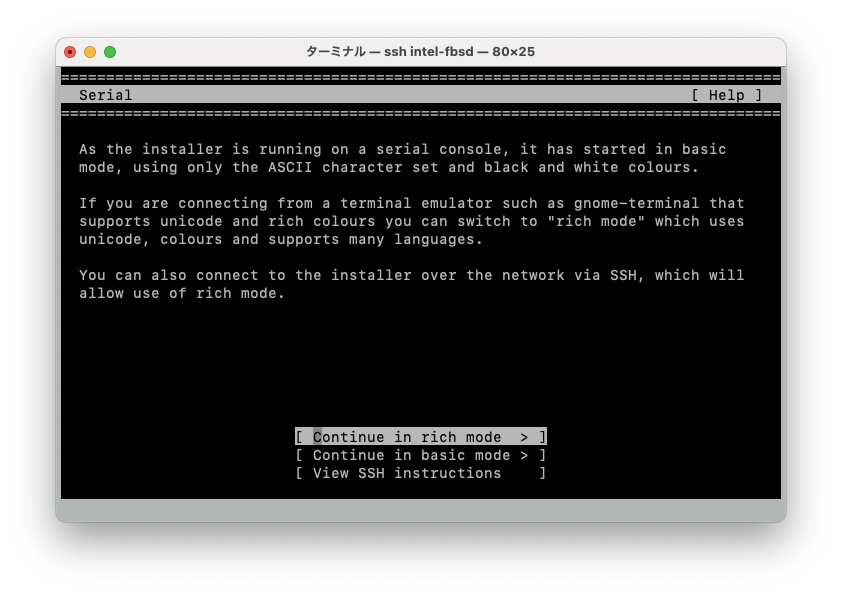
Press the TAB key to select `Continue in basic mode' and press the Enter key to install Ubuntu.
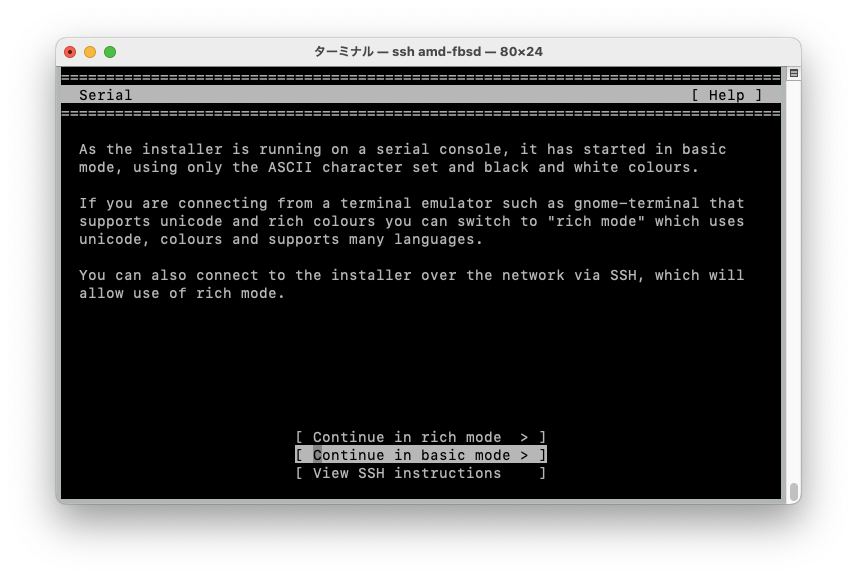
If you leave the default Continue in rich mode', subsequens will displayed in color and depending on the environment of the terminal, the screen may not be visible. It is recommended to select Continue in basec mode'.
After installation is complete, press the TAB key
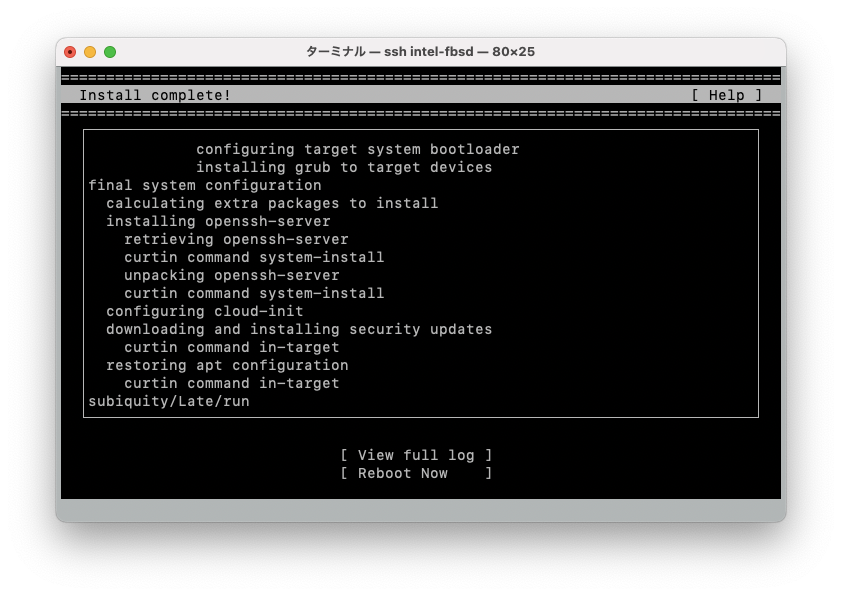
to select `Reboot Now' and press Enter key.
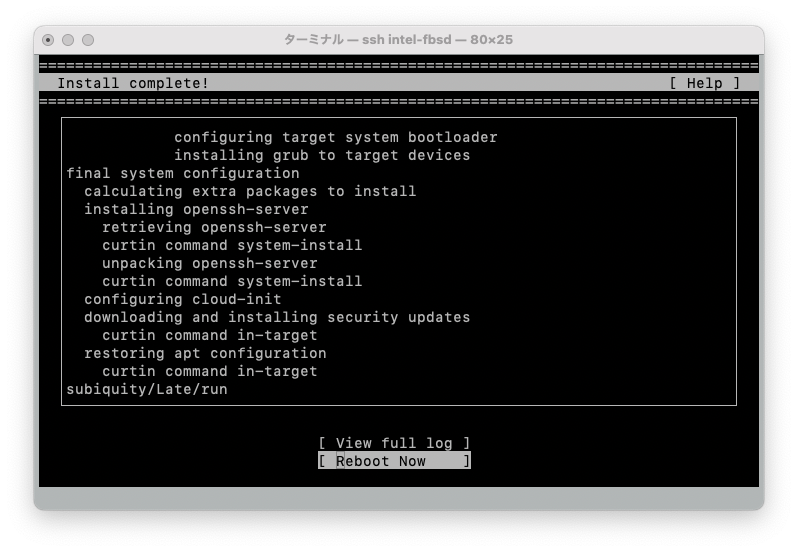
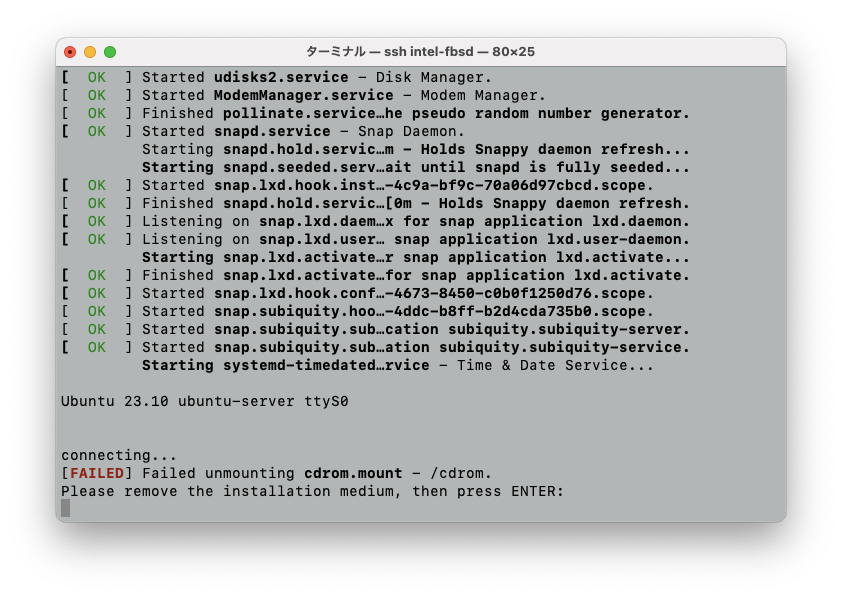
When the `Please remove the installation mediume, then press ENTER:' is shown, please press Enter key.
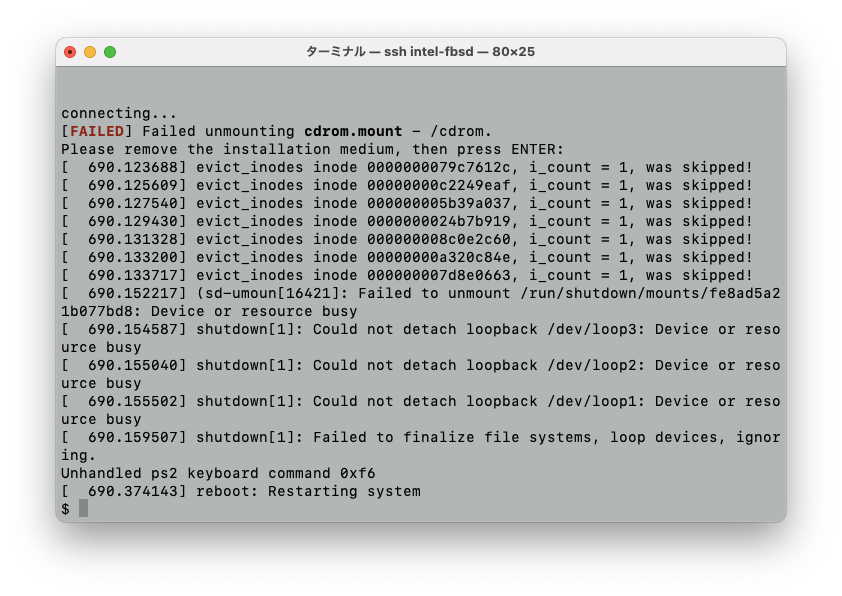
Although reboot: Restarting system is displayd, virtual machine is actually terminated without rebooting.