3行で
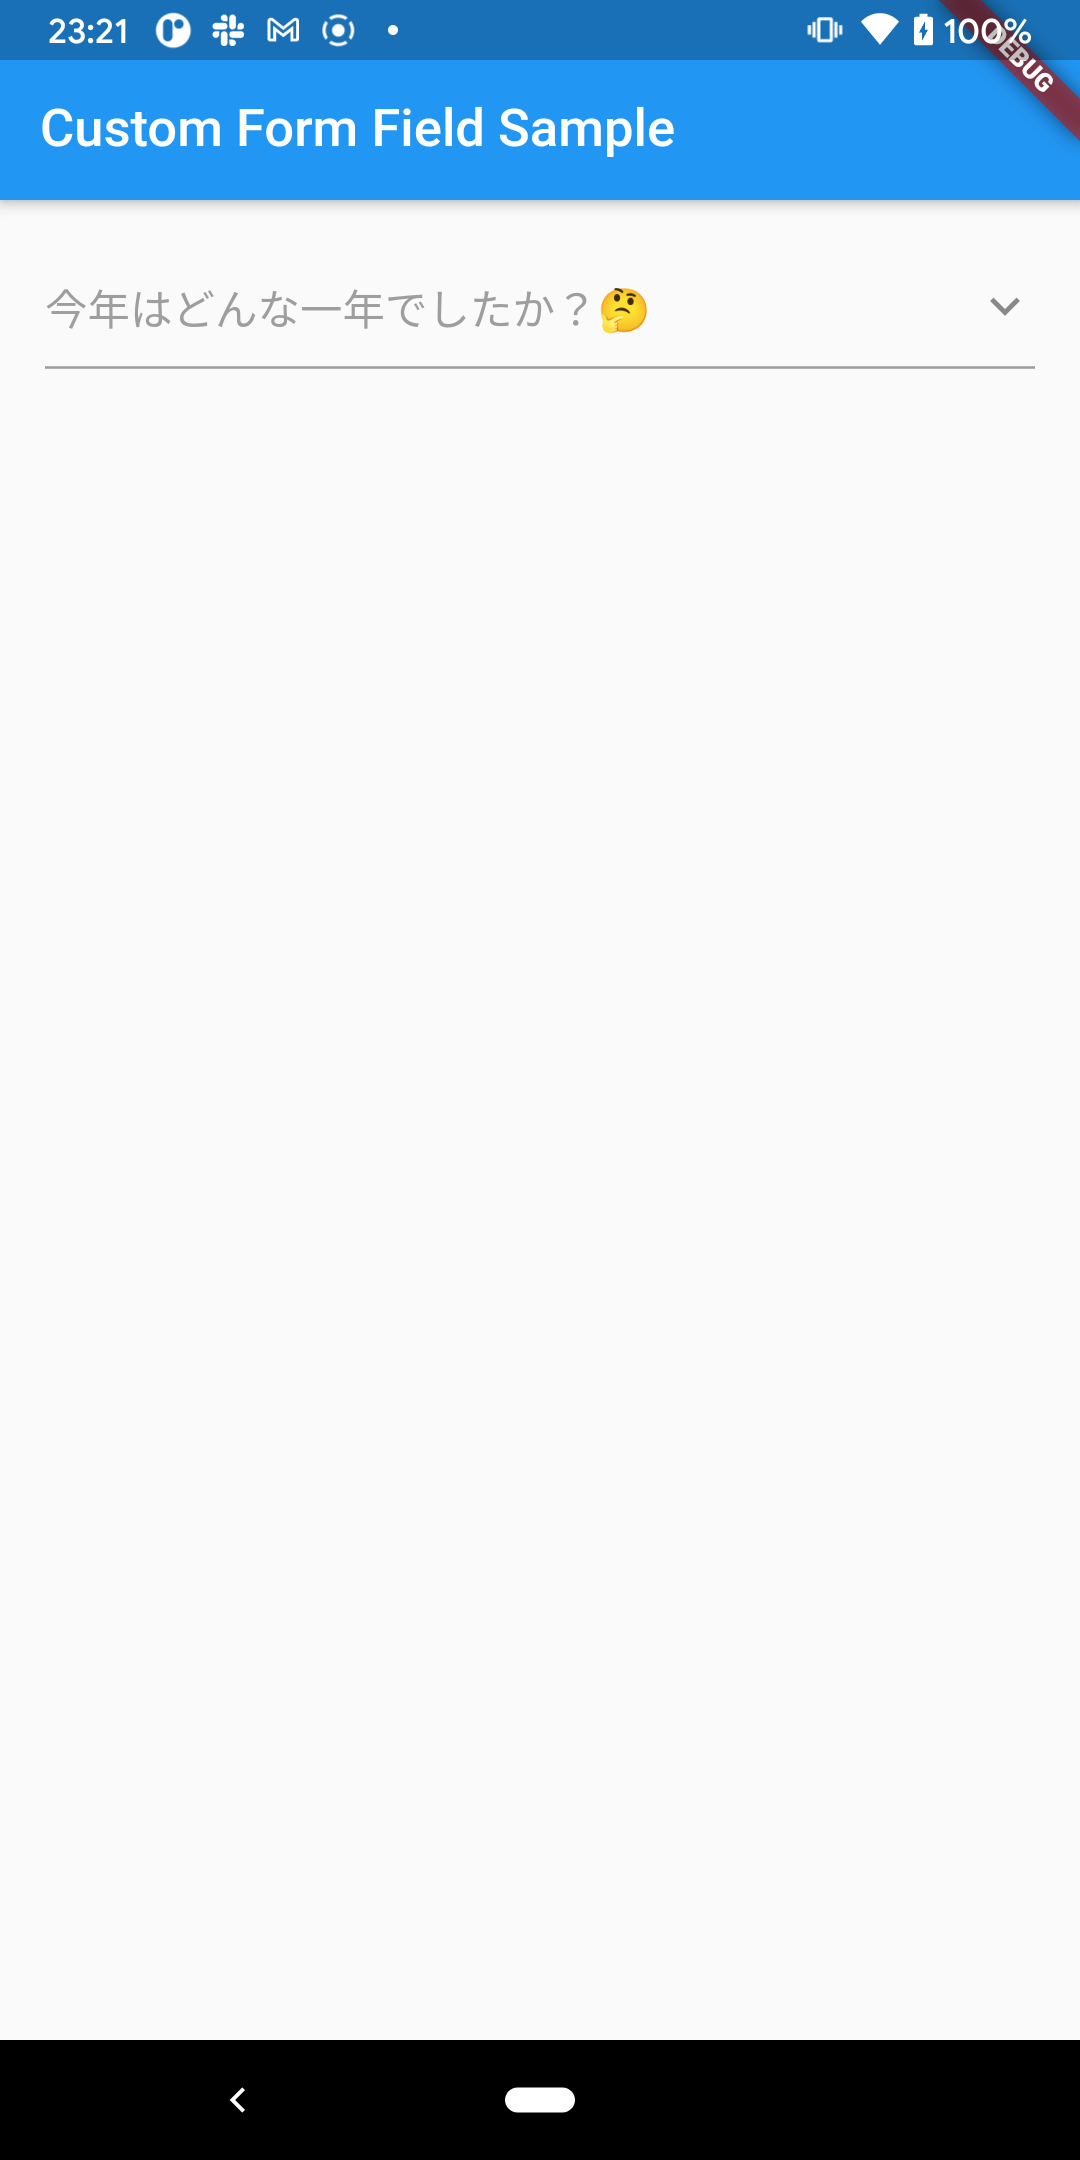
- ここでの「独自入力フィールド」とは、入力フィールドをタップすると、ピッカーやモーダルなど単純なキーボード文字入力ではない方法で値を入力できるフィールドのことを指します
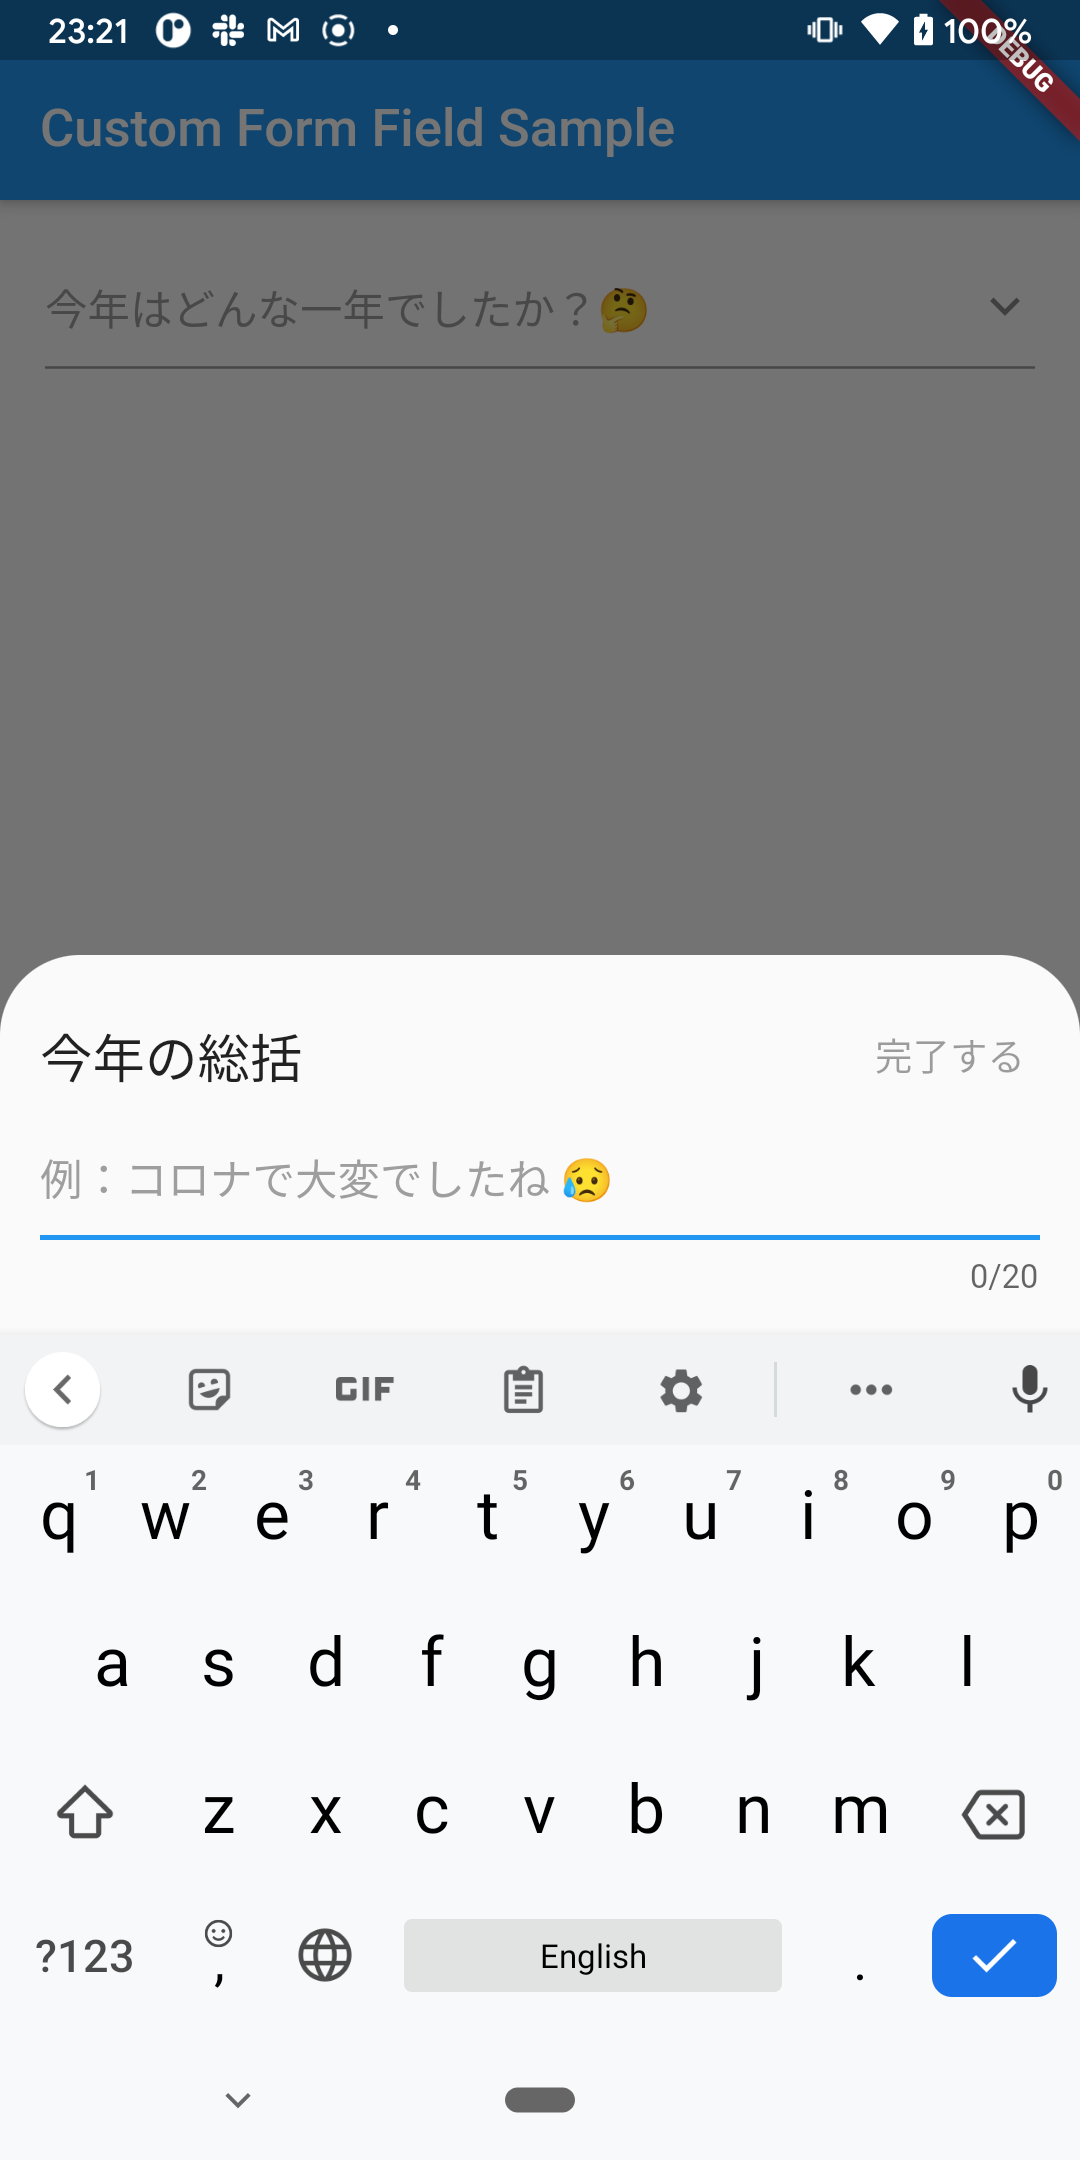
- 今回はモーダル表示した領域にTextFieldを置いてiOS風の入力ができるサンプルを例に説明します
- 継承元の親クラス(
FormField,FormFieldState)のメソッドを活用すると、フォームの実装が楽になるので良かったです
独自入力フィールドの例
|
|
|
|
|
|---|---|---|---|
 |
 |
 |
 |
実装ポイント
1. FormFieldのbuilderで入力フィールドを組み立てる
-
FormFieldのbuilderで入力された値をどう表示するか組み立てます - サンプルでは
InputDecoratorで表示しています
custom_form_field.dart#L27-L46
builder: (FormFieldState<String> field) {
  final effectiveDecoration = decoration.applyDefaults(
    Theme.of(field.context).inputDecorationTheme,
  );

  return InputDecorator(
    decoration: effectiveDecoration.copyWith(
      errorText: field.errorText,
    ),
    isEmpty: value?.isEmpty ?? true,
    child: Padding(
      padding: const EdgeInsets.only(right: 6),
      child: Text(
        value ?? '',
        maxLines: 1,
        overflow: TextOverflow.ellipsis,
      ),
    ),
  );
},
2. FormFieldStateのbuildで親クラスのsuper.buildを呼び、GestureDetectorでタップを検知する
- 入力専用の独自のWidgetはタップのイベントで表示したいので、便宜的に親クラスの
super.build(context)を渡します
custom_form_field.dart#L67-L74
@override
Widget build(BuildContext context) {
  return GestureDetector(
    behavior: HitTestBehavior.opaque,
    onTap: () => _handleTap(context),
    child: super.build(context),
  );
}
3. FormFieldStateでタップした後の入力フィールドを組み立てる
- 2.の
GestureDetectorのonTapに反応して、表示させたい独自入力フィールドを組み立てます - サンプルプロジェクトでは、
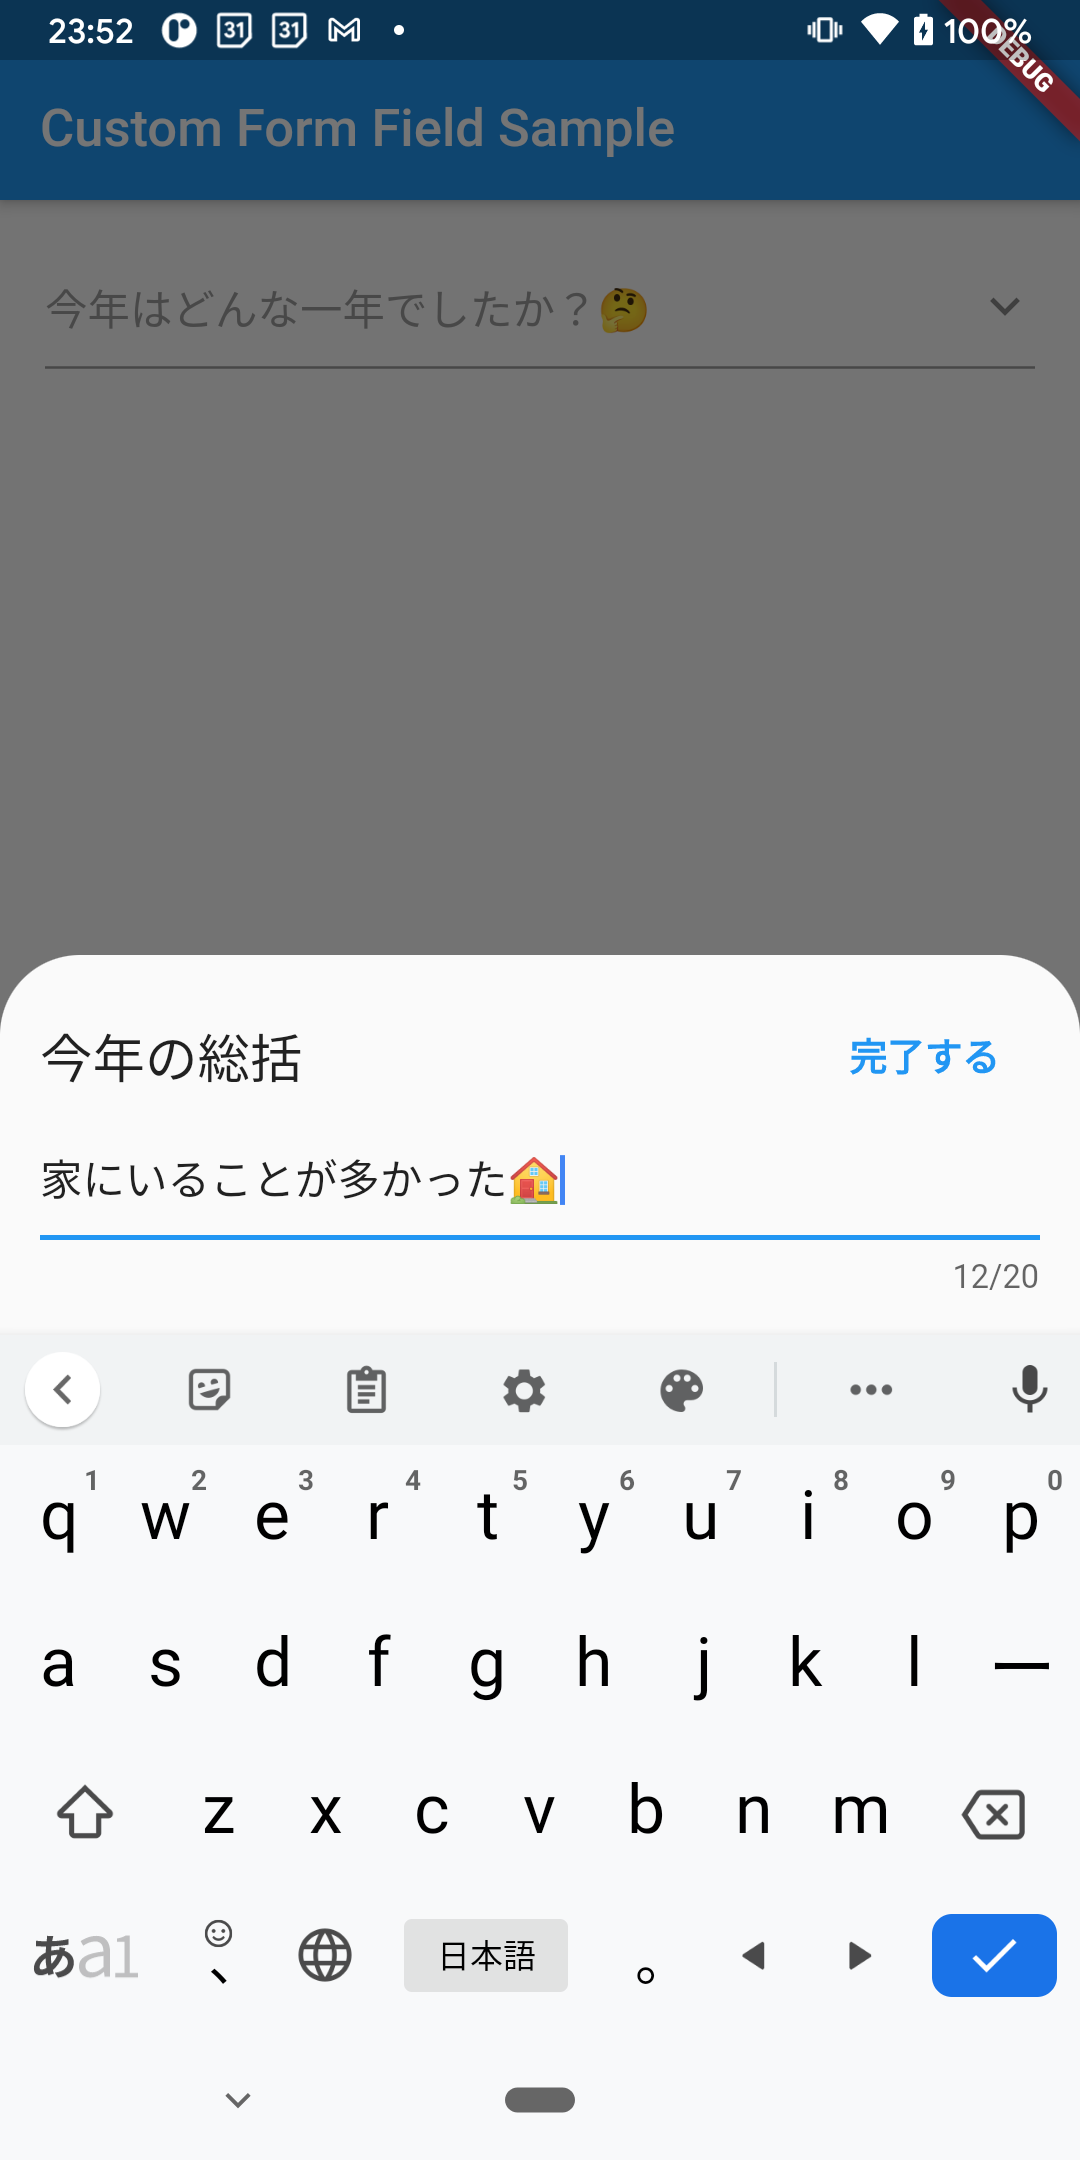
showModalBottomSheetでiOS風の半モーダルの入力領域を表現して、そこに入力専用のTextFieldを配置しました
custom_form_field.dart#L76-L99
void _handleTap(BuildContext context) {
  FocusScope.of(context).unfocus();
  final initText = widget.initialValue ?? '';
  _textChangedNotifier.value = initText;
  _textController.text = initText;

  showModalBottomSheet<String>(
    context: context,
    isScrollControlled: true,
    shape: const RoundedRectangleBorder(
      borderRadius: BorderRadius.only(
        topLeft: Radius.circular(32),
        topRight: Radius.circular(32),
      ),
    ),
    builder: _textFieldModalSheet,
  ).whenComplete(() {
    // NOTE: 完了するボタンを押さずに選択画面を閉じた場合は選択前に戻す
    if (!_isTapDoneButton) {
      super.reset();
      super.save();
    }
  });
}
4. FormFieldStateの状態管理メソッドを利用して、入力値を制御する
-
FormFieldStateには入力値の状態を制御するメソッドがいくつかあります - 下記のメソッドを、入力値を設定したいとき、リセットしたいとき、保存したいときに呼びましょう
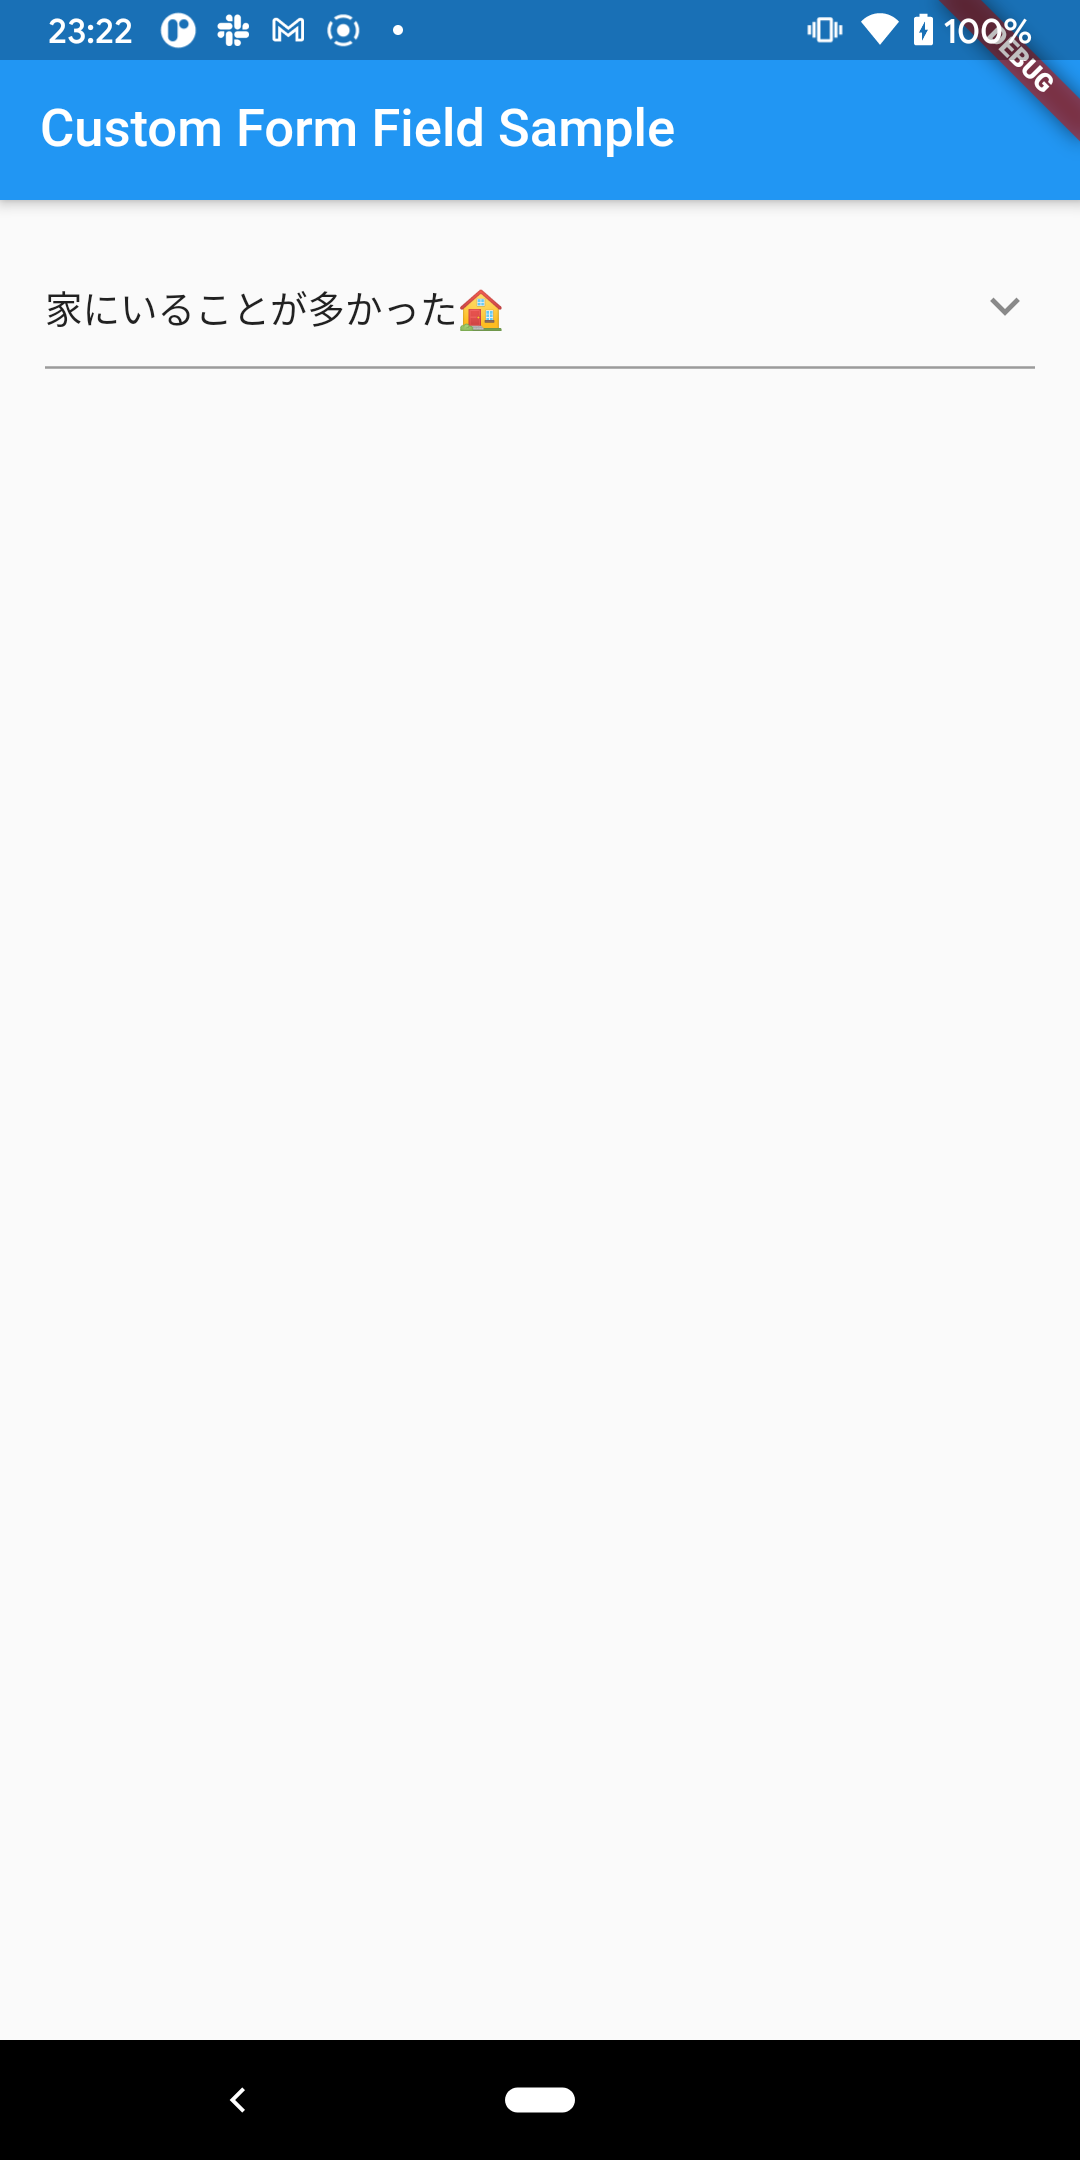
- 下記のコードは完了ボタンを押したときの処理です
custom_form_field.dart#L123-L147
ValueListenableBuilder<String>(
  valueListenable: _textChangedNotifier,
  builder: (context, editingText, __) {
    final enableDoneButton =
        editingText.characters.length <= widget.maxLength;
    return FlatButton(
      textTheme: ButtonTextTheme.primary,
      child: Text(
        '完了する',
        style: TextStyle(
          fontWeight: enableDoneButton
              ? FontWeight.bold
              : FontWeight.normal,
        ),
      ),
      onPressed: enableDoneButton
          ? () {
              _isTapDoneButton = true;
              super.setValue(editingText);
              super.save();
              FocusScope.of(context).unfocus();
              Navigator.pop(context);
            }
          : null,
    );
  },