Jekyllの記事を読んでいて、新規にテンプレートのようにサイトを作ることができることを知りました。
先にdockerを使っていたので、自分でdocker-compose.ymlを編集を試みたのですが、上手く行きませんでした。
そのため検索していたら、この記事を見つけました。
私がやりたいことを網羅していたので、早速試しました。
でも、Macがmakeコマンドのインストールを始めたので、諦めました。
ネット回線の問題もあり、諦めました。
GitとJekyllのインストール
こちらの記事に従って進めました。
Gemfile 修正の注意点
 source "https://rubygems.org"
# Hello! This is where you manage which Jekyll version is used to run.
# When you want to use a different version, change it below, save the
# file and run `bundle install`. Run Jekyll with `bundle exec`, like so:
#
#     bundle exec jekyll serve
#
# This will help ensure the proper Jekyll version is running.
# Happy Jekylling!
gem "jekyll", "~> 4.2.2"
# This is the default theme for new Jekyll sites. You may change this to anything you like.
gem "minima", "~> 2.5"
# If you want to use GitHub Pages, remove the "gem "jekyll"" above and
# uncomment the line below. To upgrade, run `bundle update github-pages`.
# gem "github-pages", "~> GITHUB-PAGES-VERSION", group: :jekyll_plugins
# If you have any plugins, put them here!
group :jekyll_plugins do
  gem "jekyll-feed", "~> 0.12"
end

# Windows and JRuby does not include zoneinfo files, so bundle the tzinfo-data gem
# and associated library.
platforms :mingw, :x64_mingw, :mswin, :jruby do
  gem "tzinfo", "~> 1.2"
  gem "tzinfo-data"
end
一行目に#をつけると、エラーが出てしまいます。
気をつけてください。
gem "jekyll", "~> 4.2.2"
#を付けるのは、上記の行です。
私は下記のエラーが出ますが、ビルドできました。
$ bundle install
Your RubyGems version (2.7.6)) has a bug that prevents `required_ruby_version` from working for Bundler. Any scripts that use `gem install bundler` will break as soon as Bundler drops support for your Ruby version. Please upgrade RubyGems to avoid future breakage and silence this warning by running `gem update --system 3.2.3`
Could not locate Gemfile
このコマンドを実行しました。
gem update --system 3.2.3`
でも、下記のエラーが出ました。
uninitialized constant Gem::BasicSpecification (NameError)
この状態でも、ビルドできました。
自動生成されたサイトの修正方法、テーマの変更方法は、こちらの記事が参考になります。
おまけ
私は、VSCODEで日本語入力できなかったので
下記の記事を参考にして、コマンドでインストールと実行をしました。
コマンドを使ってインストールしたときは、
code
と入力するとVSCODEを起動できます。
記事を修正するときの注意点
description: >- # We'll be your cat's paw.
 私は、ウェブサイトを制作しています。私は、WordPressやDrupalなどのCMSを使うことが出来ます。
 このページは、Jekyllで作りました。私は、docker、VirtualBox、multipassなどの仮想化も学びスキルアップを続けています。
baseurl: "/mysite1" # the subpath of your site, e.g. /blog
この日本語の先頭ですが、半角で一文字分のスペースがあります。
このスペースがないと、":"が無いとエラーが出てしまいます。
記事を編集するときは、気をつけてください。
ローカルからGitHubに接続するときの注意
ネットで見つかる記事の中には、ローカルからGitHubに接続するときに、ユーザー名とパスワードの説明になっている記事もあります。
ですが、現在は、パスワードの代わりに個人認証トークンが使われます。
初回更新
git add .
git commit -m '変更理由'
git remote add origin https://github.com/ユーザー名/リポジトリ名.git
git push origin ブランチ名
この後ユーザー名のにゅう力と、個人認証トークンの入力を求められます。
2回目以降上記の流れを順番に進めるとエラーが、出ると思います。
git add .
git commit     #入力できる画面が表示されます。
git push origin ブランチ名
のみで良いみたいです。
下記の表示が出て、プッシュできないときは、下記のGitHubで公開されている手順を行うと良いです。
Everything up-to-date
コミットの書き方の勉強になりました。
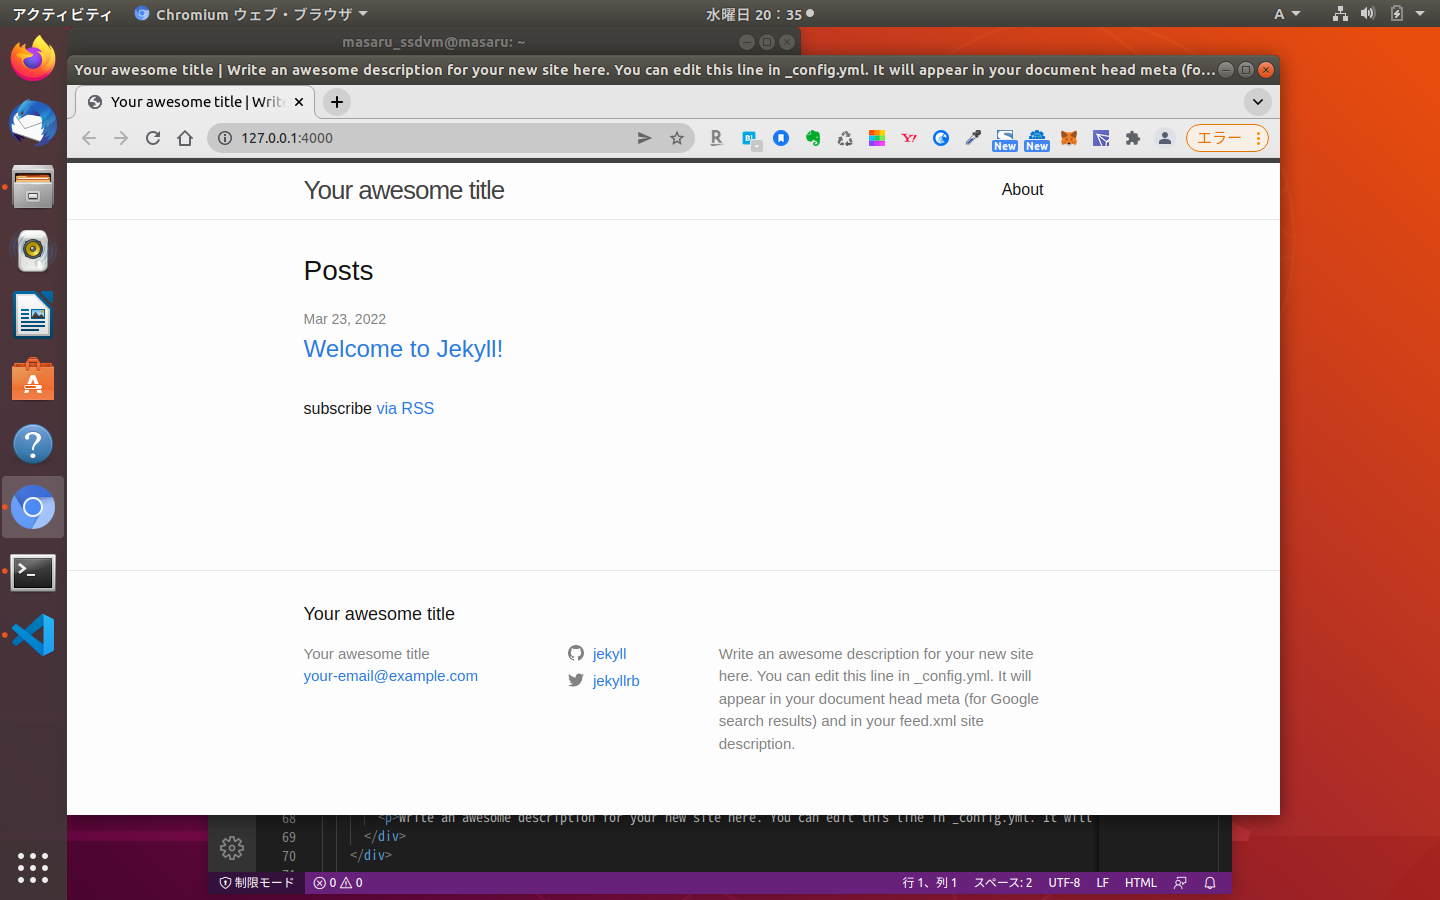
ローカルブラウザで確認する時
ディレクトリをサイトのフォルダの場所まで移動しておく。
ディレクトリを間違えると下記のエラーが出ます。
Could not locate Gemfile
ビルドせずに進めると、このエラーが出ます。
Could not locate Gemfile or .bundle/ directory
ローカルでテストするときは、この手順で進めてください。
cd hoge  #サイトのディレクトリに移動
bundle install
bundle exec jekyll serve  #ウェブサーバーが起動します。
エラーが出た時
fatal: remote origin already exists.
は、既にoriginが既にあるので、削除してください。
git remote rm origin
error: src refspec master does not match any.
は、
同じブランチの名前が、既にあるという意味のようです。
git branch
と入力して次に表示された名前で、登録を進めてください。
画像などのフォルダを配置するときは、位置に注意
_site の中にフォルダを追加すると、フォルダごとファイルが消えてしまいます。
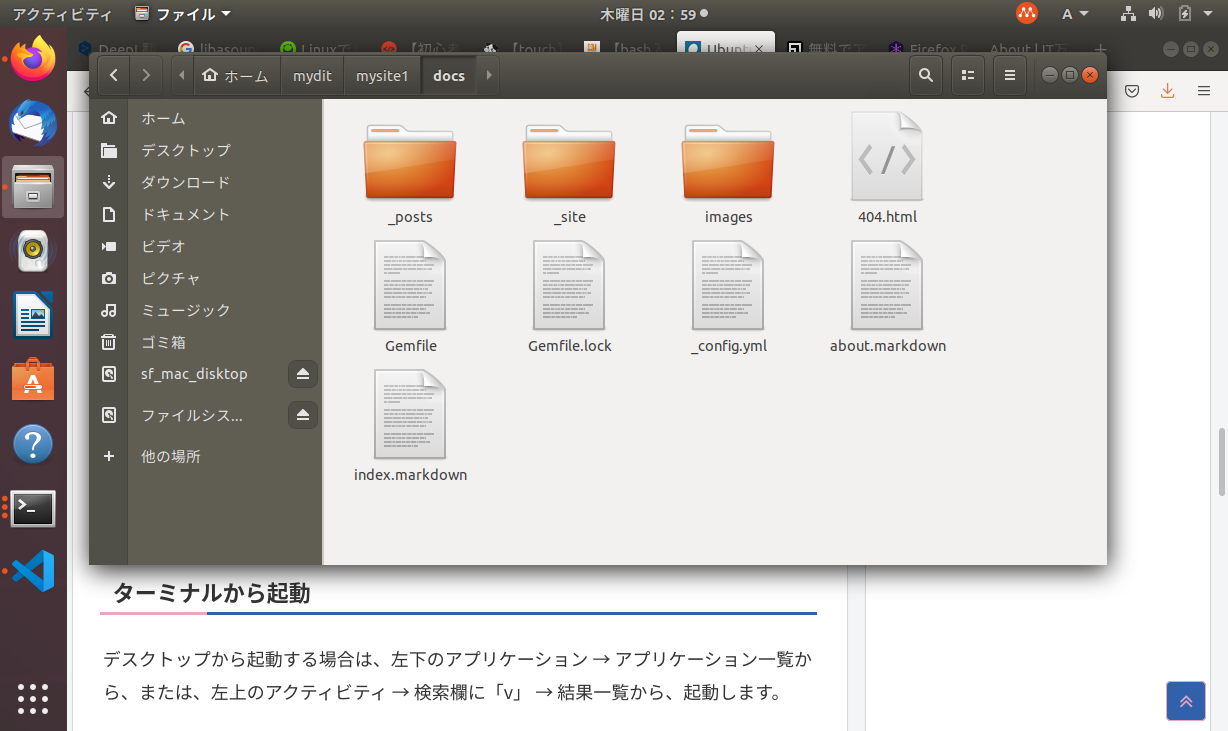
このような配置の方が、安全だと思います。
## 公開したWebページ
取り急ぎ公開したので、地道に更新を続けます。