今回はNext.jsとFirebaseの認証機能であるFirebase Authenticationを使って、
- ユーザー登録
- ログイン
- ログアウト
- パスワード再設定
の機能を実装する方法を解説していきます。
※デザインに関してはReactstrapというReactでBootstrapを使うためのライブラリを使っています。
開発環境
- macOS Catalina 10.15.7
- Next.js 13.1.1
- Firebase 9.15.0
- Reactstrap 9.1.5
※Next.jsはJavaScriptを使っています。
プロジェクトの作成
まずはnext.jsのアプリを作成します。
npx create-next-app
アプリのディレクトリに移動して、以下のコマンドを実行します。
npm install
npm run dev
http://localhost:3000/ にアクセスし、Next.jsの初期画面が表示されることを確認します。
Firebaseの設定
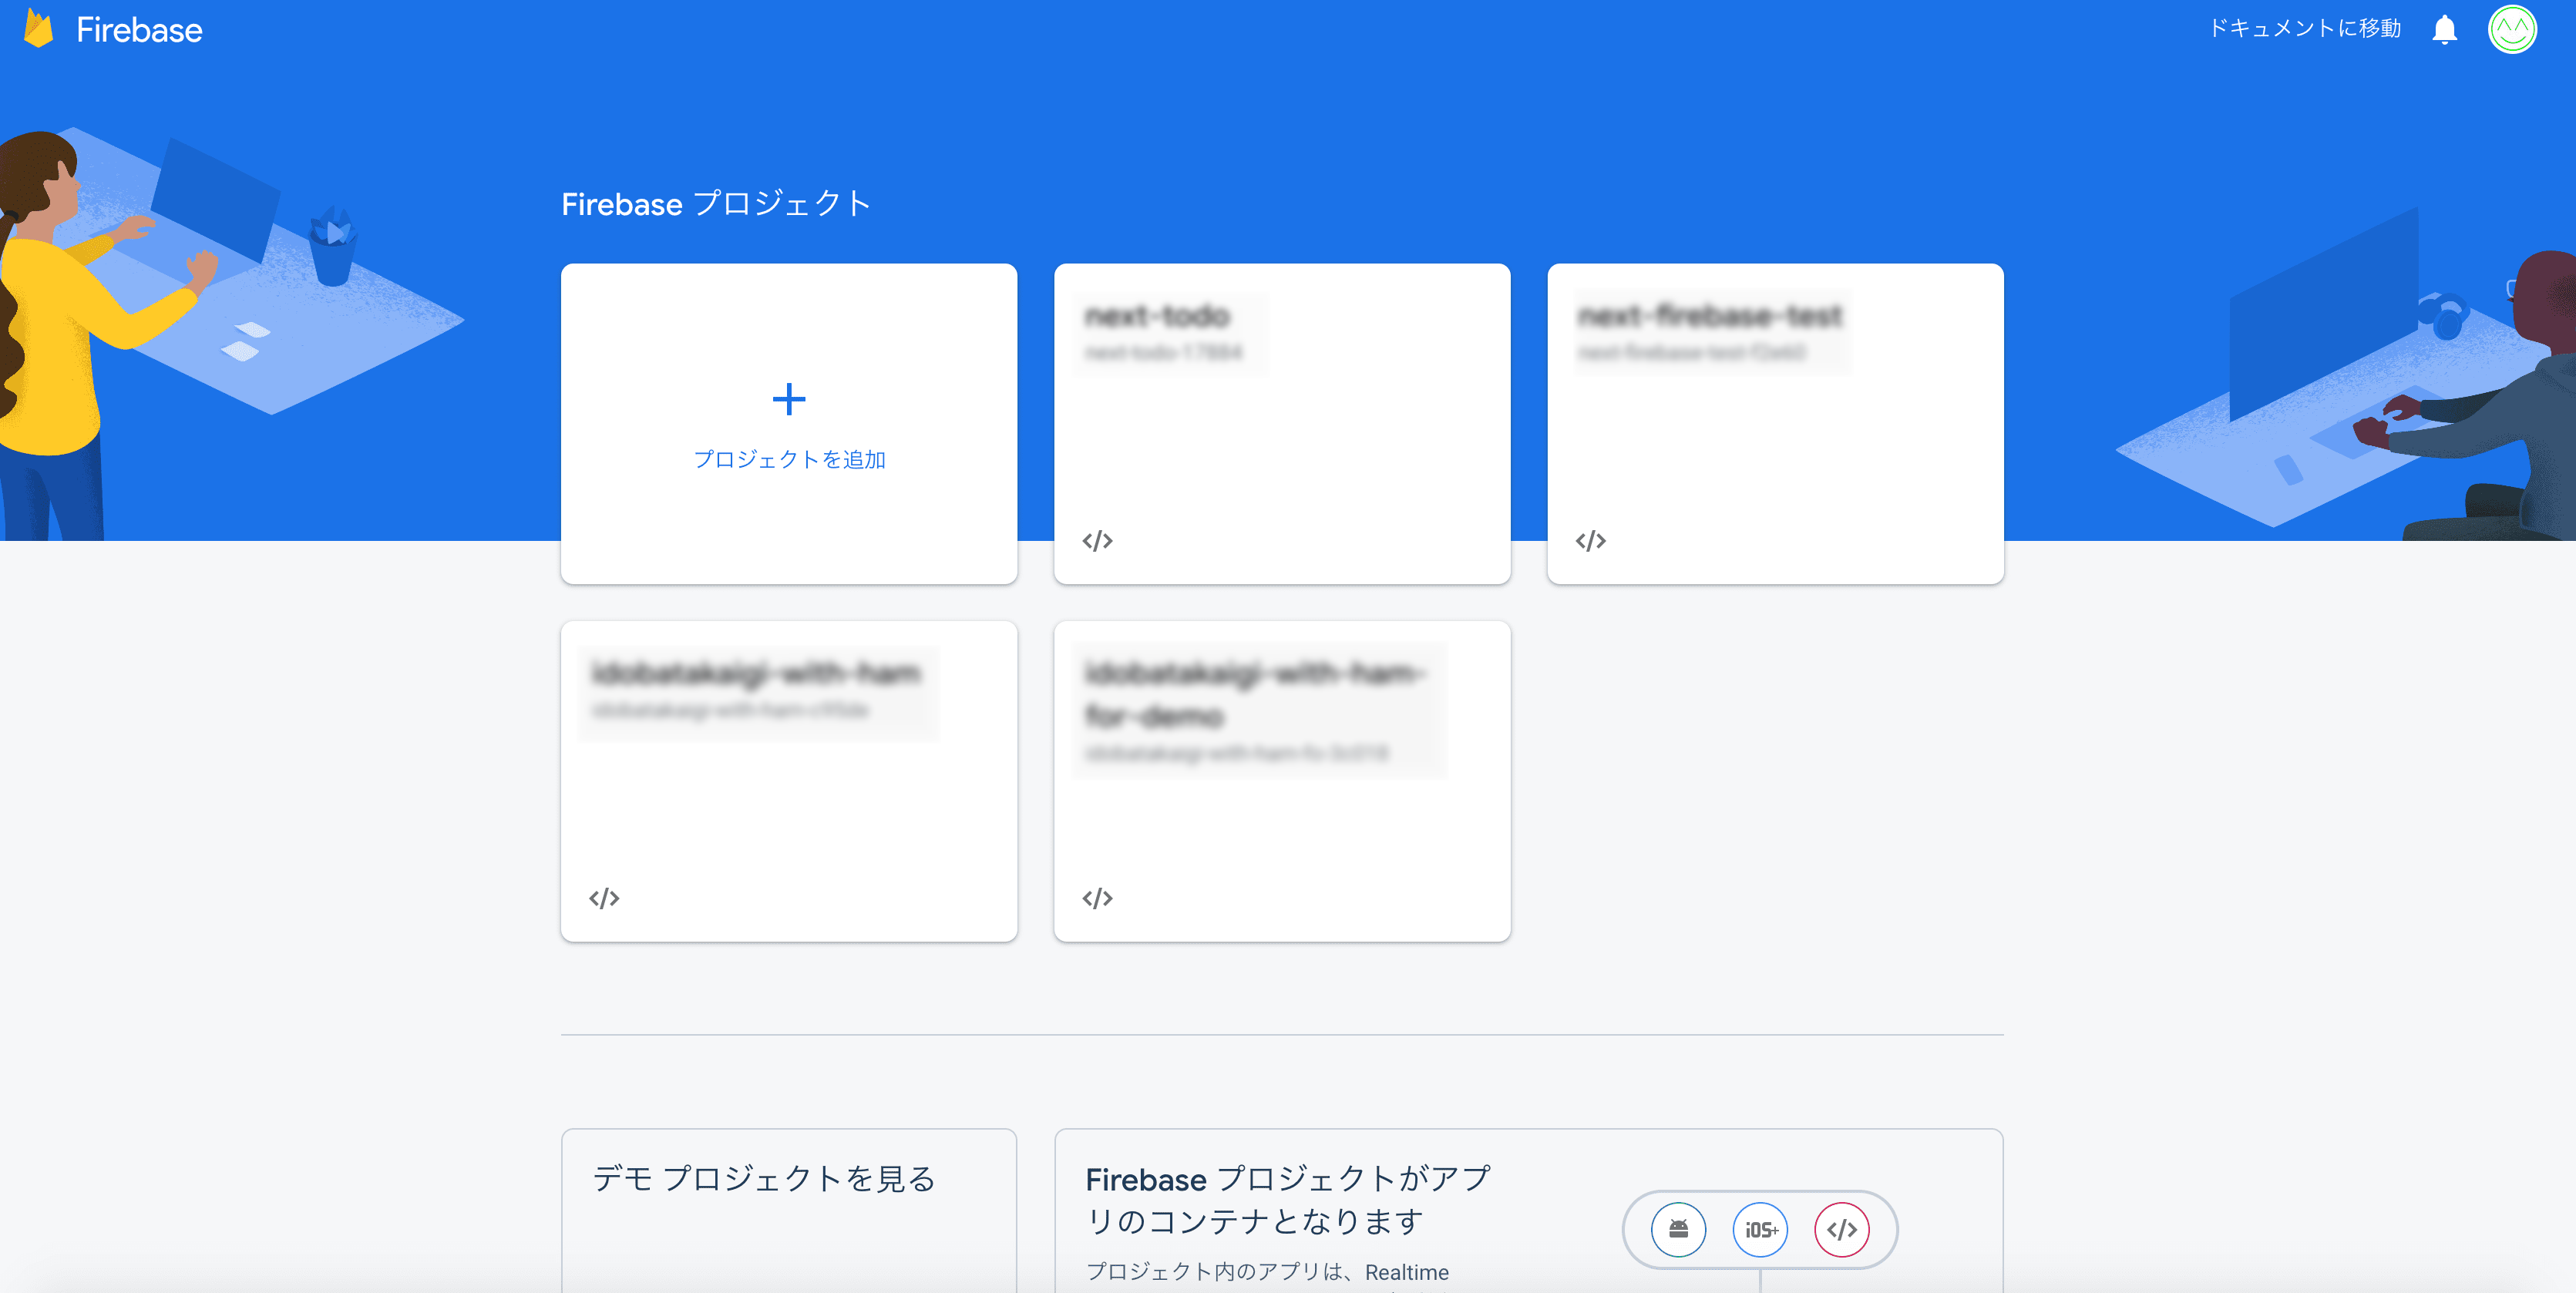
次は、Firebaseのコンソールにアクセスし、新しいプロジェクトを作成します。
プロジェクトの画面からwebのマークをクリックして、Firebaseに新しいアプリを追加します。
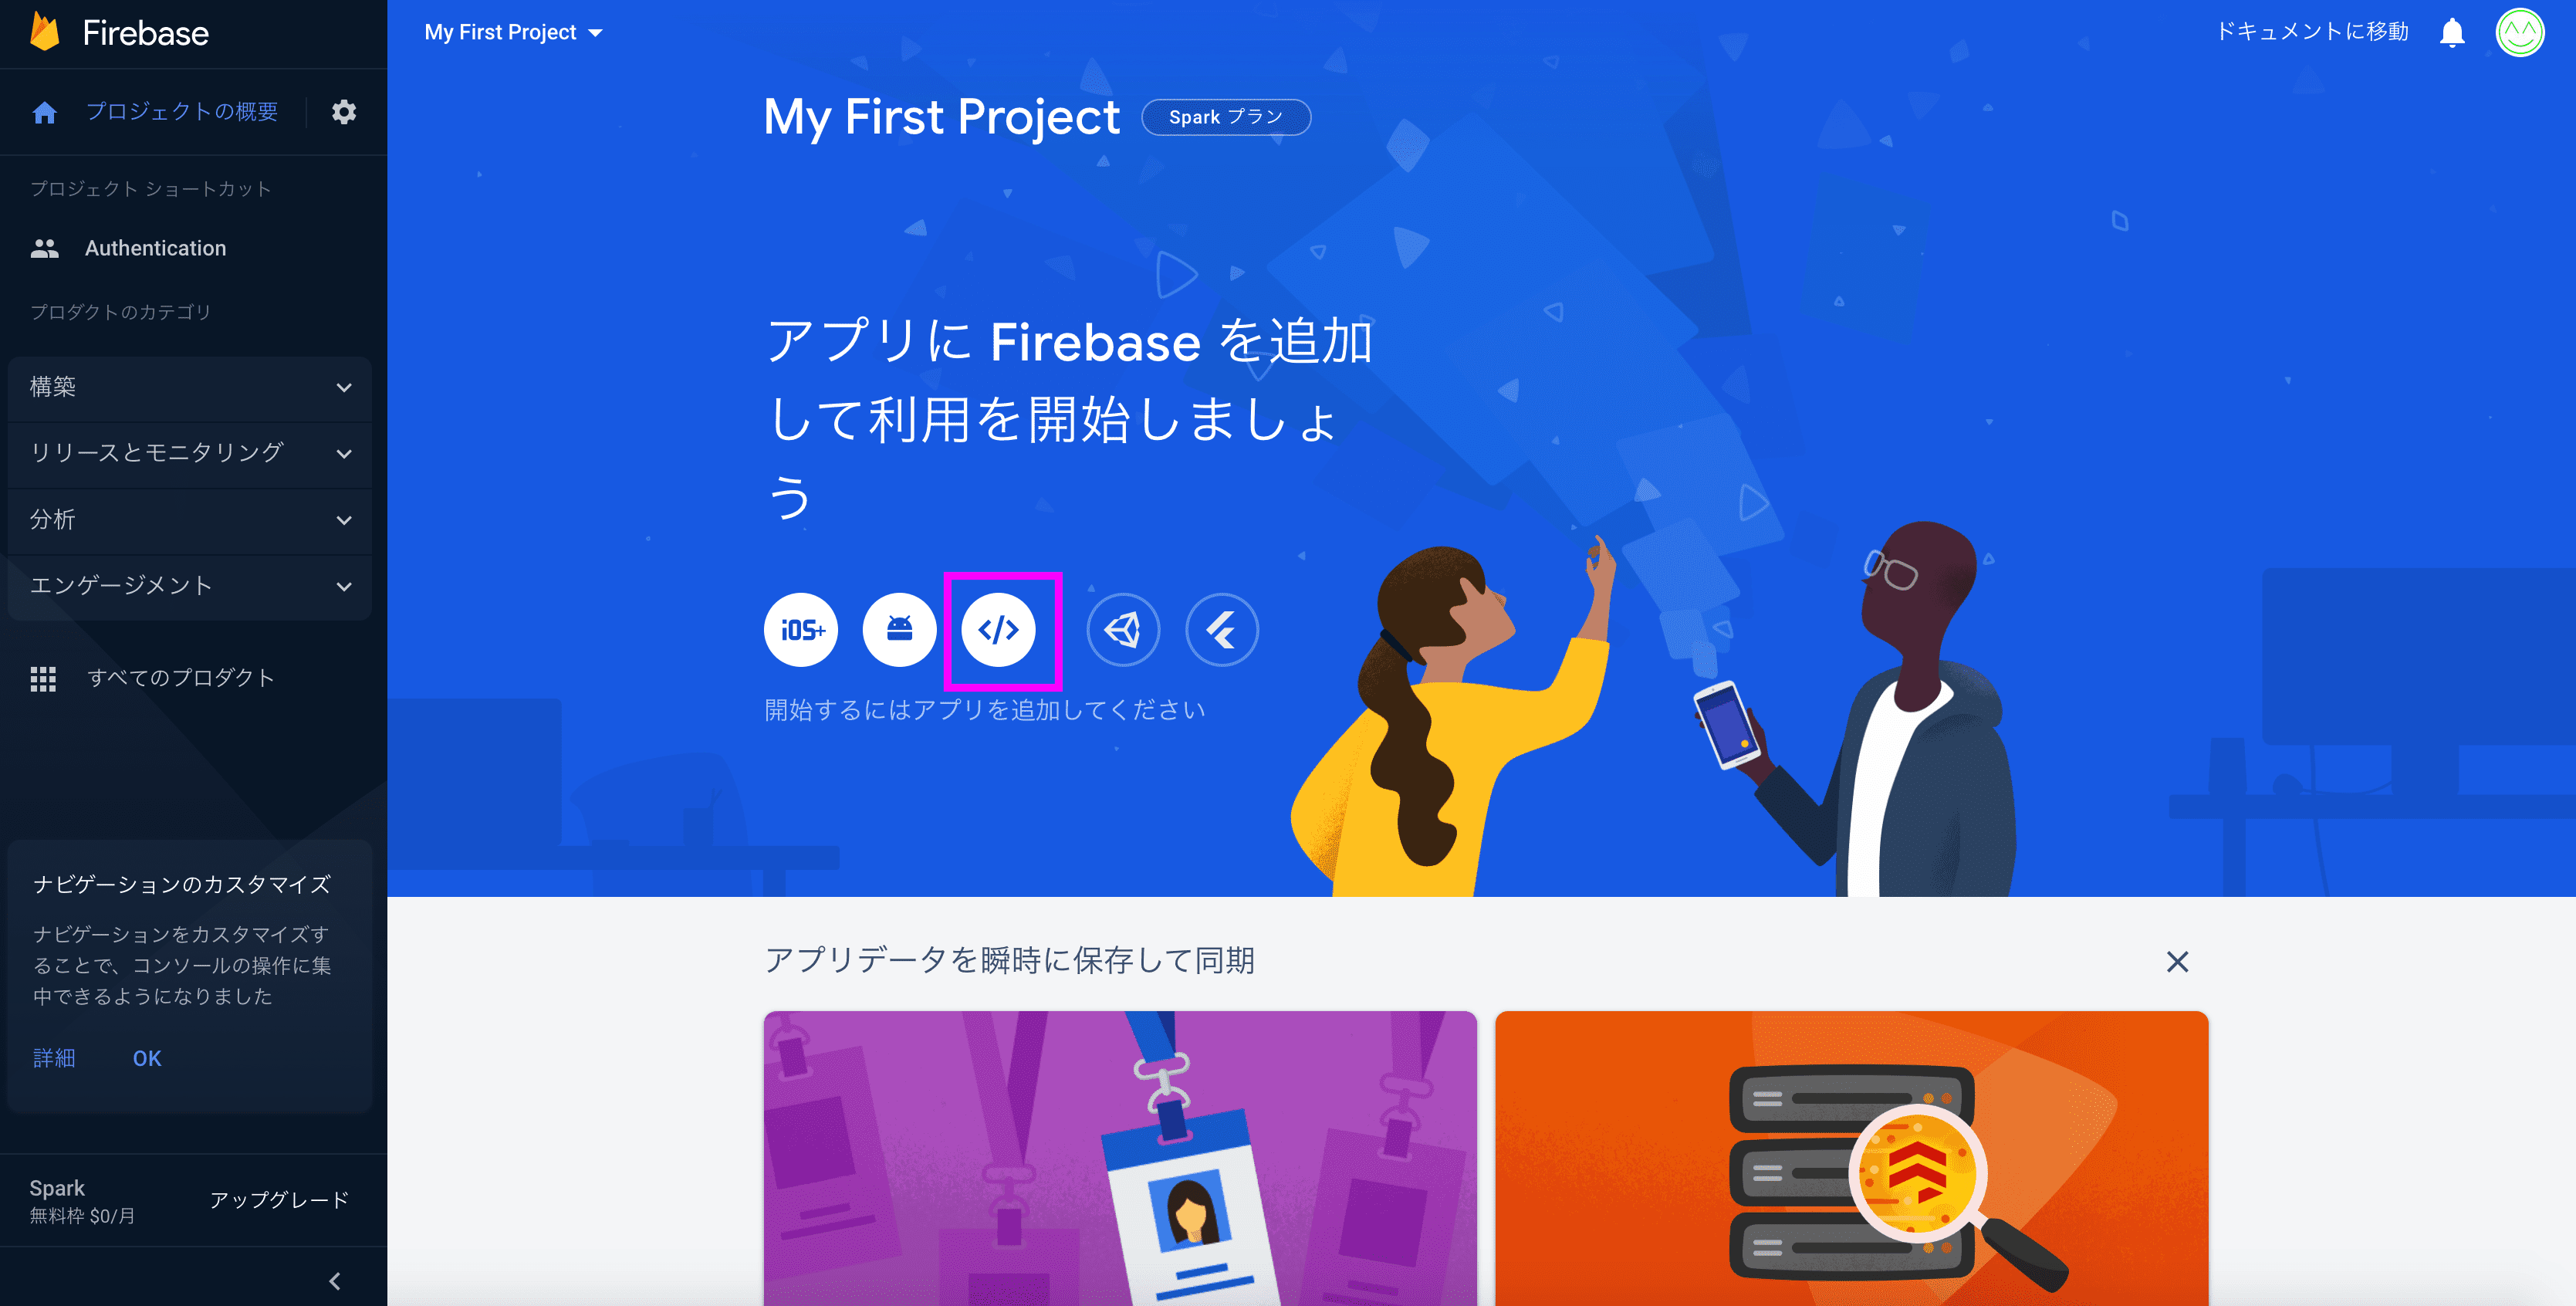
アプリのニックネームを聞かれるのでfirebase_next_authなど好きな名前をつけてください。ニックネームをつけるとfirebaseConfigが表示されるので、これをコピーしておきます。

次はサイドバーの構築にあるAuthenticationを選択して、始めるをクリックします。

Sign-in methodを選択すると以下のような画面になります。

新しいプロバイダを追加をクリックして、メールアドレス/パスワードを選択します。そうしたら有効にするにチェックを入れて保存します。

Firebaseの設定はこれでOKです。
Firebaseの初期化
Next.jsのプロジェクトにFirebaseをインストールします。
npm install firebase @types/firebase
npm install firebase
プロジェクトのルートディレクトリに.envファイルを作成して先ほどコピーしておいたfirebaseConfigの情報を環境変数として設定します。
NEXT_PUBLIC_APIKEY=xxxxxxxxxxxxx_xxxxxxxxx_xxxxxxxxxxxxx
NEXT_PUBLIC_AUTHDOMAIN=xxxxxxxxxxxxx_xxxxxxxxx_xxxxxxxxxxxxx
NEXT_PUBLIC_PROJECTID=xxxxxxxxxxxxx_xxxxxxxxx_xxxxxxxxxxxxx
NEXT_PUBLIC_STORAGEBUCKET=xxxxxxxxxxxxx_xxxxxxxxx_xxxxxxxxxxxxx
NEXT_PUBLIC_MESSAGINGSENDERID=xxxxxxxxxxxxx_xxxxxxxxx_xxxxxxxxxxxxx
NEXT_PUBLIC_APPID=xxxxxxxxxxxxx_xxxxxxxxx_xxxxxxxxxxxxx
コードをgithubに上げる際に、Firebaseの構成情報も一緒にGithub上に上がってしまわないようにするために、直接Next.jsのコードに書き込むのではなく.envファイルに環境変数として設定しておきます。
次に、Firebaseの初期化を行うため、libディレクトリを作成しFirebaseConfig.jsというファイルを作成します。FirebaseConfig.jsの中身は以下のように書きます。
import { initializeApp, getApps, FirebaseApp } from "firebase/app";
import { getAnalytics } from "firebase/analytics";
// Firestoreはログインやユーザー登録の実装には使わないが、今後のことを考えて入れておく
import { getFirestore, Firestore } from 'firebase/firestore'
import {
  getAuth,
  Auth,
} from "firebase/auth";

// .envファイルで設定した環境変数をfirebaseConfigに入れる
const firebaseConfig = {
  apiKey: process.env.NEXT_PUBLIC_APIKEY,
  authDomain: process.env.NEXT_PUBLIC_AUTHDOMAIN,
  projectId: process.env.NEXT_PUBLIC_PROJECTID,
  storageBucket: process.env.NEXT_PUBLIC_STORAGEBUCKET,
  messagingSenderId: process.env.NEXT_PUBLIC_MESSAGINGSENDERID,
  appId: process.env.NEXT_PUBLIC_APPID
};

let firebaseApp = FirebaseApp;
let auth = Auth;
let firestore = getFirestore;

// サーバーサイドでレンダリングするときにエラーが起きないようにするための記述
if (typeof window !== "undefined" && !getApps().length) {
  firebaseApp = initializeApp(firebaseConfig);
  auth = getAuth();
  firestore = getFirestore();
}
export { firebaseApp, auth, firestore };
Next.jsはサーバーサイドでレンダリングする場合があるため、windowがundefinedのときには初期化が行われないようにFirebaseConfig.jsには以下のような記述を入れています。
if (typeof window !== "undefined" && !getApps().length) {
  firebaseApp = initializeApp(firebaseConfig);
  auth = getAuth();
  firestore = getFirestore();
}
Reactstrapのインストール
今回は見た目を整えるために、Reactstrapというライブラリを使用します。以下のコマンドでインストールできます。
npm install reactstrap react react-dom
Reactstrapのインストールが完了したら以下のコマンドでBootstrapをインストールしてください。
npm install --save bootstrap
次に_app.jsを以下のように編集してBootstrapを読み込みます。
// ログインとユーザー登録の画面の表示がおかしくなるのでglobals.cssは読み込まない
// import '../styles/globals.css'
// ↓ これを追加してBootstrapで読み込む
import 'bootstrap/dist/css/bootstrap.min.css';

function MyApp({ Component, pageProps }) {
  return <Component {...pageProps} />
}

export default MyApp
これで今回のプロジェクトでReactstrapが使えるようになります。
ユーザー登録機能
まずは、ユーザー登録機能を作成します。
ユーザー登録機能に関しては、FirebaseにcreateUserWithEmailAndPasswordというユーザー登録の関数が用意されているので、それを使います。
Next.jsのpagesディレクトリにregister.jsを作成し、中身を以下のように書きます。
import styles from '../styles/Home.module.css'
import { getAuth, createUserWithEmailAndPassword } from "firebase/auth"
// 現時点で使わないものもあるが今後のことを考えて入れておく
import { Col, Container, Form, FormGroup, Input, Label, Row, Button } from "reactstrap";
import { useState } from 'react';

// Firebaseの初期化を行うためfirebaseAppをインポート
import firebaseApp from '../lib/FirebaseConfig';

export default function Register() {
  // useStateでユーザーが入力したメールアドレスとパスワードをemailとpasswordに格納する
  const [email, setEmail] = useState('');
  const [password, setPassword] = useState('');

  // ユーザーが登録ボタンを押したときにdoRegister関数が実行される
  const doRegister = () => {
    const auth = getAuth();

    // Firebaseで用意されているユーザー登録の関数
    createUserWithEmailAndPassword(auth, email, password)
    .then((userCredential) => {
      // ユーザー登録すると自動的にログインされてuserCredential.userでユーザーの情報を取得できる
      const user = userCredential.user;
      // ユーザー登録ができたかどうかをわかりやすくするためのアラート
      alert( '登録完了!' );
      console.log( user );
    })
    .catch((error) => {
      console.log(error);
    });
  }

  return (
    <div className={styles.card}>
      <h1>新規登録</h1>
      <div>
        <Form>
            <FormGroup>
              <Label>
                メールアドレス:
              </Label>
              <Input
                type="email"
                name="email"
                style={{ height: 50, fontSize: "1.2rem" }}
                // onChangeでユーザーが入力した値を取得し、その値をemailに入れる
                onChange={(e) => setEmail(e.target.value)}
              />
            </FormGroup>
            <FormGroup>
              <Label>
                パスワード:
              </Label>
              <Input
                type="password"
                name="password"
                style={{ height: 50, fontSize: "1.2rem" }}
                // onChangeでユーザーが入力した値を取得し、その値をpasswordに入れる
                onChange={(e) => setPassword(e.target.value)}
              />
            </FormGroup>
            <Button
                style={{ width: 220 }}
                color="primary"
                // 登録ボタンがクリックされたときdoRegister関数が実行されるようにする
                onClick={()=>{
                  doRegister();
                }}
              >
              登録
            </Button>
        </Form>
      </div>
    </div>
  )
}
useStateを使ってユーザーが入力した、メールアドレスとパスワードを取得し、ユーザー登録の関数であるcreateUserWithEmailAndPasswordに値を渡します。
ここまで出来たら http://localhost:3000/register にアクセスして、ユーザー登録の画面が問題なく表示されるかどうかを確認し、実際にメールアドレスとパスワードを入力してユーザー登録が行えることも確認してみてください。

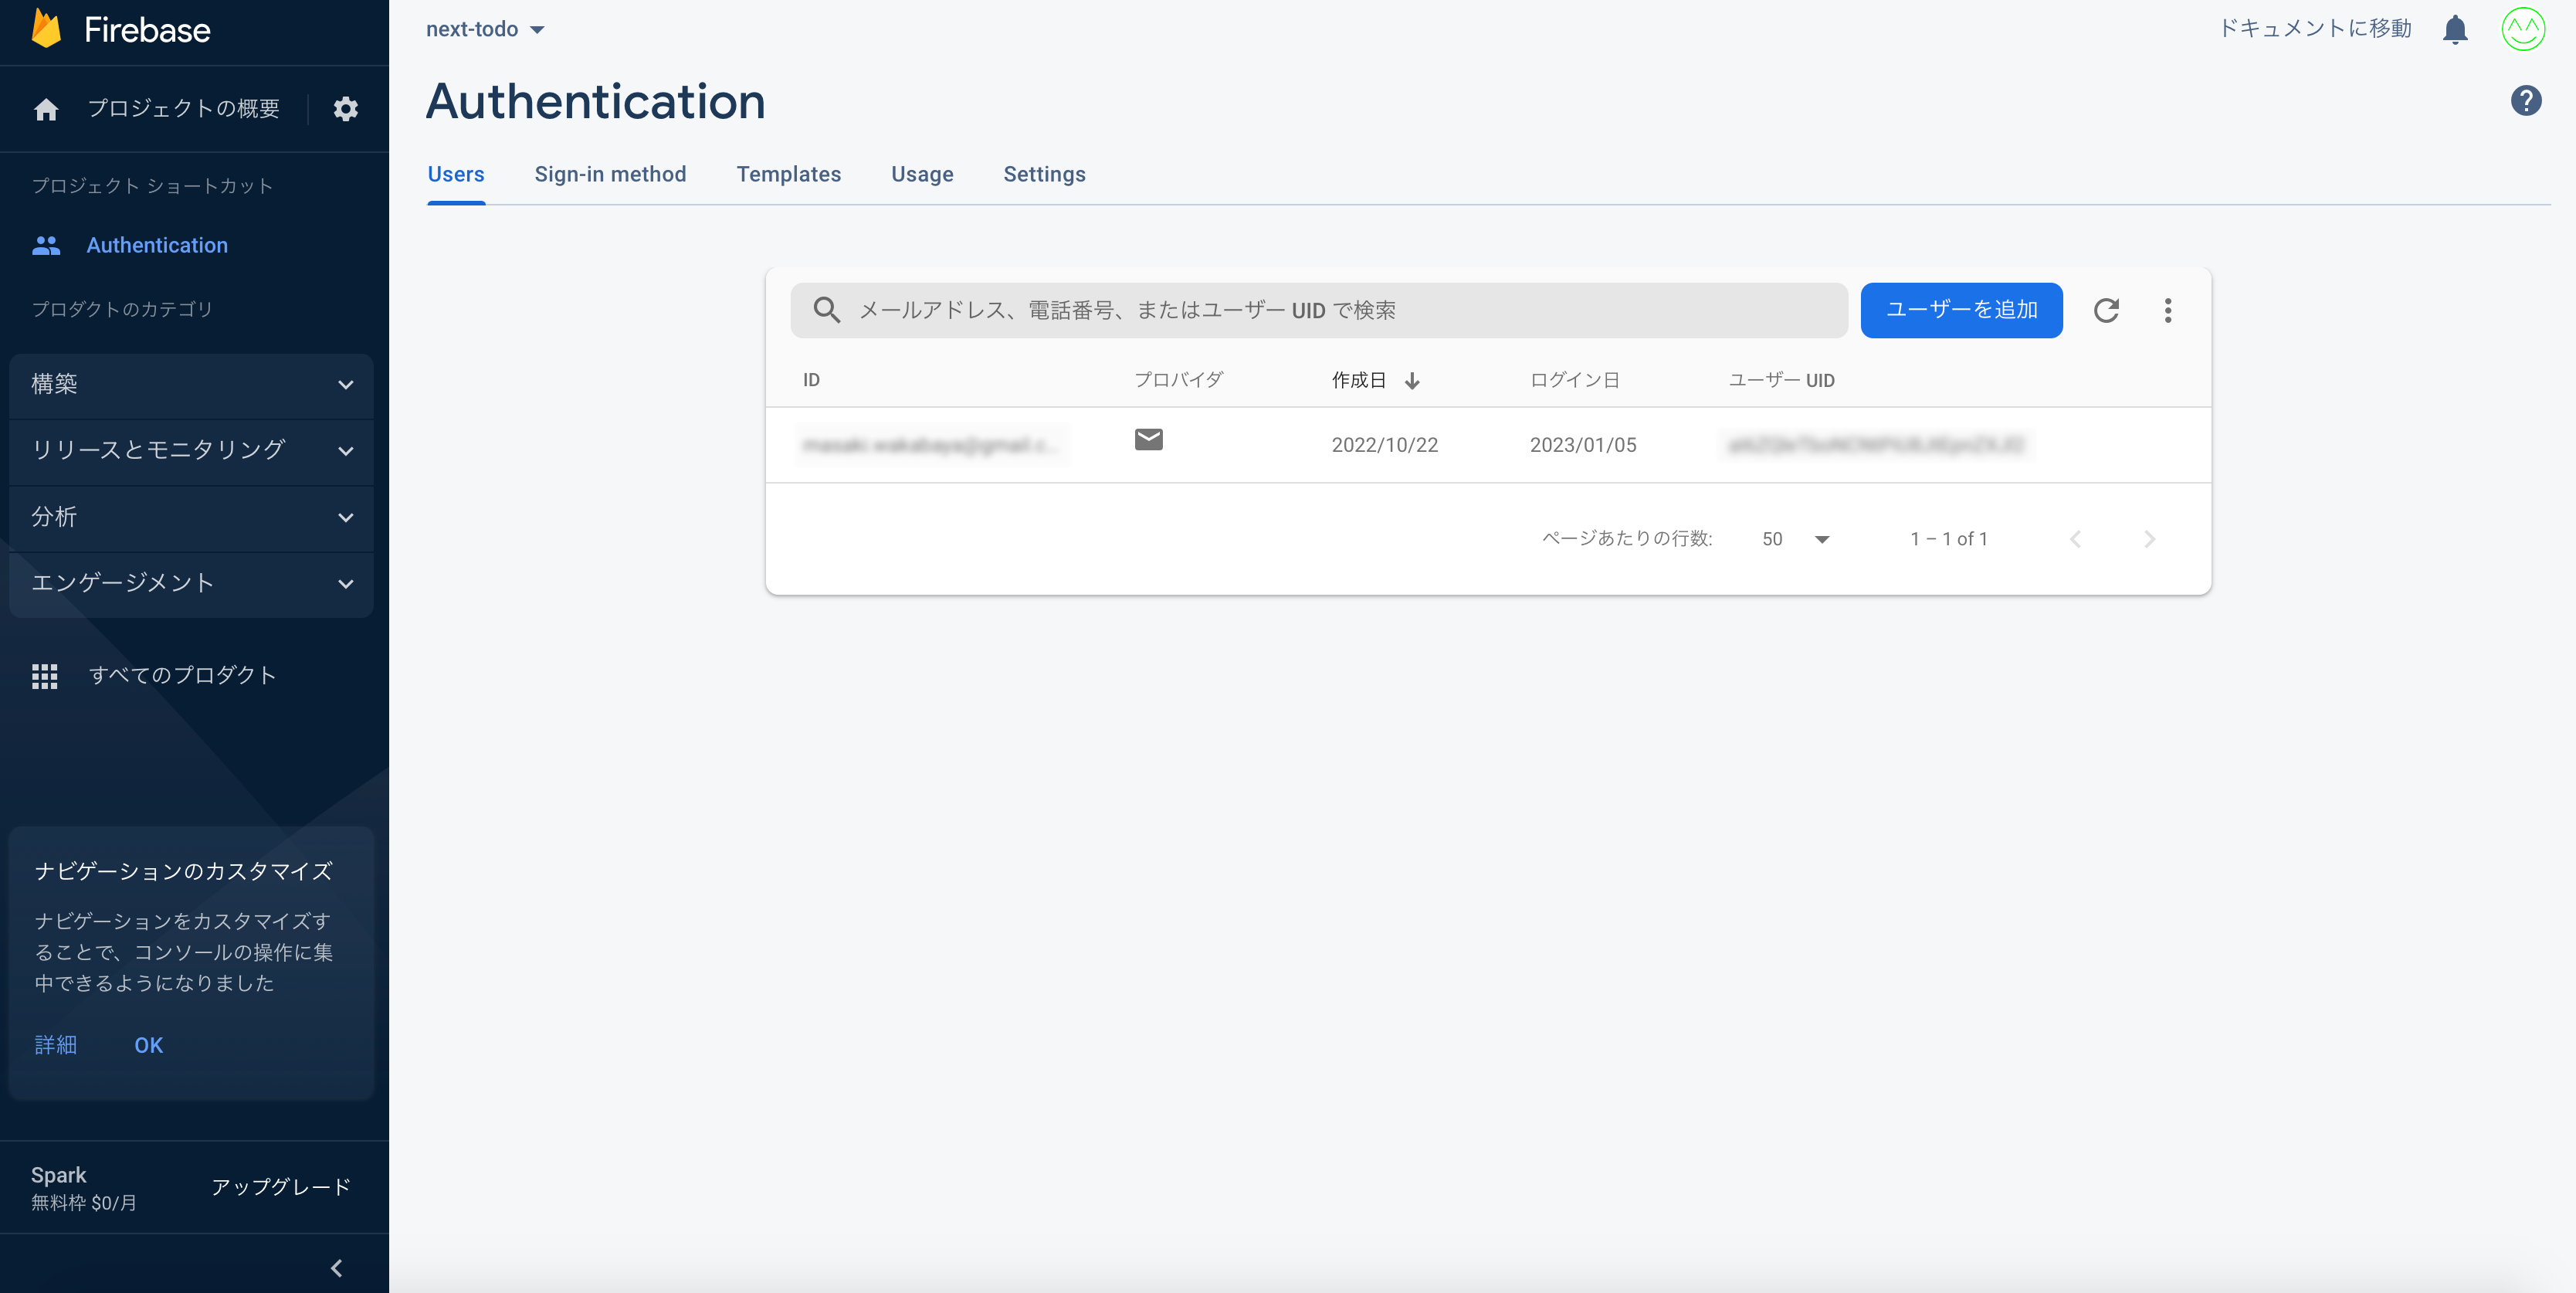
実際にFirebaseでプロジェクトの管理画面を開いて、AuthenticationのUsersのところを見てみると、先ほど登録したユーザーの情報が記録されています。
ログイン
続いてはログインの画面と機能を作成していきます。
pagesディレクトリにlogin.jsを作成して、中身を以下のように書いてください。
import styles from '../styles/Home.module.css'
import { getAuth, signInWithEmailAndPassword } from "firebase/auth";
// 現時点で使わないものもあるが今後のことを考えて入れておく
import { Col, Container, Form, FormGroup, Input, Label, Row, Button } from "reactstrap";
import { useState } from 'react';
// 後ほどパスワード再設定画面へのリンクを設置するために入れておく
import Link from 'next/link';

// Firebaseの初期化を行うためfirebaseAppをインポート
import firebaseApp from '../lib/FirebaseConfig';

export default function Login() {
  const [email, setEmail] = useState('');
  const [password, setPassword] = useState('');

  // ユーザーがログインボタンを押したときにdoLogin関数が実行される
  const doLogin = () => {
    const auth = getAuth();

    // Firebaseで用意されているメールアドレスとパスワードでログインするための関数
    signInWithEmailAndPassword(auth, email, password)
      .then((userCredential) => {
        const user = userCredential.user;
        // ログインができたかどうかをわかりやすくするためのアラート
        // alert( 'ログインOK!' );
        console.log( user );
      })
      .catch((error) => {
        console.log(error);
      });
  }

  return (
    <div className={styles.card}>
      <h1>ログイン</h1>
      <div style={{ paddingBottom: "1rem" }}>
        <Form>
            <FormGroup>
              <Label>
                メールアドレス:
              </Label>
              <Input
                type="email"
                name="email"
                style={{ height: 50, fontSize: "1.2rem" }}
                onChange={(e) => setEmail(e.target.value)}
              />
            </FormGroup>
            <FormGroup>
              <Label>
                パスワード:
              </Label>
              <Input
                type="password"
                name="password"
                style={{ height: 50, fontSize: "1.2rem" }}
                onChange={(e) => setPassword(e.target.value)}
              />
            </FormGroup>
            <Button
                style={{ width: 220 }}
                color="primary"
                // ログインボタンがクリックされたときdoRegister関数が実行されるようにする
                onClick={()=>{
                  doLogin();
                }}
              >
              ログイン
            </Button>
        </Form>
      </div>
    </div>
  )
}
login.jsの中身はregister.jsとほぼ同じです。
ユーザーが入力したメールアドレスとパスワードをonChangeとuseStateを使って取得し、Firebaseで用意されているsignInWithEmailAndPasswordというメールアドレスとパスワードでログインするための関数に渡します。
http://localhost:3000/login にアクセスして、作成したユーザーのアカウントでログインできるかどうかを確認してみてください。
ログインユーザーの表示
ログイン機能自体は作成したので、次はログインしているユーザーの情報を取得して表示するということをやっていきます。
大きな流れとしては
- ログインユーザーの情報を表示するヘッダーコンポーネントを作成する
- コンテキストを作成し、現在ログインしているユーザーを取得する処理を実装する
- ヘッダーコンポーネントでコンテキストから現在ログインしているユーザーの情報を取得して表示させる
という感じになります。
まずは、ログインしているユーザーの情報を表示させるためのヘッダーコンポーネントを作成します。
ルートディレクトリにcomponentsディレクトリを新しく作成し、その中にHeader.jsというファイルを作成します。Header.jsの中身は以下のように書きます。
import { Button } from 'reactstrap';
import { getAuth, signOut } from "firebase/auth";

const Header = () => {
  // 現在ログインしているユーザーを取得する
  const { currentUser } = useAuth();

  return (
    <div style={{ padding: "1rem 0" }} >
      { currentUser ? (
        // suppressHydrationWarningを入れてサーバーサイドとクライアントサイドでレンダーされる内容が違うときにエラーがでないようにする
        <div suppressHydrationWarning={true}>
          <div style={{ paddingBottom: "1rem" }}>※ここにログインしているユーザーのメールアドレス※ でログインしています。</div>
        </div>
      ):(
        <div suppressHydrationWarning={true}>ログインしていません。</div>
      )}
    </div>
  );
}

export default Header;
Next.jsはサーバーサイドでもレンダリングを行っています。そのときにサーバーサイドとクライアントサイドでレンダリングされる内容が違うと、エラーが出てしまう場合があります。
suppressHydrationWarningをtrueにすることで、サーバーサイドとクライアントサイドでレンダリングされる内容が違っていてもエラーが出ないようにしています。
次はcontextディレクトリの中にAuthContext.jsというファイルを作成して、Firebaseから現在ログインしているユーザーを取得するための処理を実装します。
import React, { useContext, useState, useEffect, useRef } from 'react'
import { auth, db } from '../lib/FirebaseConfig'
import { onAuthStateChanged } from 'firebase/auth'
import { doc, getDoc } from 'firebase/firestore'

// コンテキストを作成
const AuthContext = React.createContext()

export function useAuth() {
    // useContextで作成したコンテキストを呼び出す
    return useContext(AuthContext)
}

export function AuthProvider({ children }) {
    const [currentUser, setCurrentUser] = useState(null)
    const [loading, setLoading] = useState(true)

    // 第2引数に[]を指定して、初回レンダリングのみ関数を実行させる
    useEffect(() => {
        // onAuthStateChangedでログインの状態を監視する
        const unsubscribe = onAuthStateChanged(auth, async user => {
            // ユーザー情報をcurrentUserに格納する
            setCurrentUser(user)
            setLoading(false)
        })
        return unsubscribe
    }, [])

    const value = {
        currentUser
    }

    // _app.jsで全コンポーネントをラッピングするためのプロバイダー
    return (
        <AuthContext.Provider value={value}>
            {!loading && children}
        </AuthContext.Provider>
    )
}
この処理でログインしているユーザーの情報をcurrentUserに格納しています。このcurrentUserを他のページやコンポーネントで使えるようにします。
コンテキストを使うコンポーネントは必ずプロバイダーでラッピングする必要があるので、_app.jsを開いてコンポーネント全体をAuthContext.jsから読み込んだAuthProviderでラッピングします。
import 'bootstrap/dist/css/bootstrap.min.css';
import { AuthProvider } from '../context/AuthContext'

// 全コンポーネントをAuthProviderでラッピングする
function MyApp({ Component, pageProps }) {
  return (
    <AuthProvider>
      <Component {...pageProps} />
    </AuthProvider>
  )
}

export default MyApp
これで先ほど作成したヘッダーコンポーネントで、現在ログイン中のユーザーの情報を取得できるようになりました。
Firebaseを初期化するための処理もAuthContext.jsで行われているので、ここまでできたらregister.jsとlogin.jsのFirebaseを初期化するための記述を消します。
// これを消す
import firebaseApp from '../lib/FirebaseConfig';
次はヘッダーコンポーネントにログインしているユーザーのメールアドレスを表示されるように、以下のようにHeader.jsを編集します。
import { Button } from 'reactstrap';
// AuthContext.jsのuseAuthをインポートする
import { useAuth } from '../context/AuthContext'
import { getAuth, signOut } from "firebase/auth";


const Header = () => {
  const { currentUser } = useAuth();
  // console.log(currentUser);

  return (
    <div style={{ padding: "1rem 0" }} >
      { currentUser ? (
        // useAuth()で取得した現在ログインしているユーザーのメールアドレスをcurrentUser.emailで表示
        <div suppressHydrationWarning={true}>
          <div style={{ paddingBottom: "1rem" }}>{ currentUser.email } でログインしています。</div>
        </div>
      ):(
        <div suppressHydrationWarning={true}>ログインしていません。</div>
      )}
    </div>
  );
}

export default Header;
ここまでできたら、実際にヘッダーコンポーネントにログインしているユーザーのメールアドレスが取得できているかどうかを確認します。
login.jsでHeader.jsを読み込みます。
import styles from '../styles/Home.module.css'
import { getAuth, signInWithEmailAndPassword } from "firebase/auth";
import { Col, Container, Form, FormGroup, Input, Label, Row, Button } from "reactstrap";
import { useState } from 'react';
import Link from 'next/link';

// ヘッダーコンポーネントを読み込む
import Header from '../components/Header'

export default function Login() {
  const [email, setEmail] = useState('');
  const [password, setPassword] = useState('');

  const doLogin = () => {
    const auth = getAuth();

    signInWithEmailAndPassword(auth, email, password)
      .then((userCredential) => {
        const user = userCredential.user;
        // alert( 'ログインOK!' );
        console.log( user );
      })
      .catch((error) => {
        console.log(error);
      });
  }

  // h1の下にヘッダーを追加
  return (
    <div className={styles.container}>
      <h1>ログイン</h1>
      <Header/>
      <div style={{ paddingBottom: "1rem" }}>
        <Form>
            <FormGroup>
              <Label>
                メールアドレス:
              </Label>
              <Input
                type="email"
                name="email"
                style={{ height: 50, fontSize: "1.2rem" }}
                onChange={(e) => setEmail(e.target.value)}
              />
            </FormGroup>
            <FormGroup>
              <Label>
                パスワード:
              </Label>
              <Input
                type="password"
                name="password"
                style={{ height: 50, fontSize: "1.2rem" }}
                onChange={(e) => setPassword(e.target.value)}
              />
            </FormGroup>
            <Button
                style={{ width: 220 }}
                color="primary"
                onClick={()=>{
                  doLogin();
                }}
              >
              ログイン
            </Button>
        </Form>
      </div>
    </div>
  )
}
http://localhost:3000/login にアクセスしてログインした後、そのユーザーのメールアドレスが表示されるかどうかをチェックしてみてください。
ログアウト機能
先ほど作成したHeader.jsにログアウトボタンをつけて、ログアウト機能を実装します。
Header.jsを以下のように編集してください。
import { Button } from 'reactstrap';
import { useAuth } from '../context/AuthContext'
import { getAuth, signOut } from "firebase/auth";

const Header = () => {
  // 現在ログインしているユーザーを取得する
  const { currentUser } = useAuth();
  // console.log(currentUser);

  // ログアウトの処理を追記
  const doLogout = () => {
    const auth = getAuth();

    signOut(auth)
    .then(() => {
      // ログアウトされたことをわかりやすくするためのアラート
      alert( 'ログアウト完了!' );
    })
    .catch((error) => {
      console.log(error);
    });
  }

  // ログアウトボタンを追加
  return (
    <div style={{ padding: "1rem 0" }} >
      { currentUser ? (
        <div suppressHydrationWarning={true}>
          <div style={{ paddingBottom: "1rem" }}>{ currentUser.email } でログインしています。</div>
          <div>
            <Button onClick={()=>{
              doLogout();
            }} >
              ログアウト
            </Button>
          </div>
        </div>
      ):(
        <div suppressHydrationWarning={true}>ログインしていません。</div>
      )}
    </div>
  );
}

export default Header;
ログアウトに関してもユーザー登録やログインと同様に、FirebaseにsignOutというログアウトさせるための関数が用意されています。
上記のように実装したら、実際にログアウトボタンを押して、ログアウトできるかどうか試してみましょう。

パスワード再設定機能
最後にパスワードの再設定機能を実装していきます。
pagesディレクトリにforgot_password.jsというファイルを作成して、中身を以下のように書きます。
import styles from '../styles/Home.module.css'
import { getAuth, sendPasswordResetEmail } from "firebase/auth";
import { Col, Container, Form, FormGroup, Input, Label, Row, Button } from "reactstrap";
import { useState } from 'react';


export default function Login() {
  const [email, setEmail] = useState('');

  const doResetEmail = () => {
    const auth = getAuth();
    const actionCodeSettings = {
      // パスワード再設定後にログイン画面にリダイレクトさせる
      url: 'http://localhost:3000/login',
      handleCodeInApp: false,
    }

    // // Firebaseで用意されているパスワード再設定のメールを送るための関数
    sendPasswordResetEmail(auth, email, actionCodeSettings)
    .then(() => {
      // パスワード再設定のメールが送信されたことをわかりやすくするためのアラート
      alert( '送信' );
      console.log(email);
    })
    .catch((error) => {
      console.log(error);
    });
  }

  return (
    <div className={styles.card}>
      <h1>パスワード再設定</h1>
      <div>
        <Form>
            <FormGroup>
              <Label>
                メールアドレス:
              </Label>
              <Input
                type="email"
                name="email"
                style={{ height: 50, fontSize: "1.2rem" }}
                onChange={(e) => setEmail(e.target.value)}
              />
            </FormGroup>
            <Button
                style={{ width: 220 }}
                color="primary"
                onClick={()=>{
                  doResetEmail();
                }}
              >
              送信
            </Button>
        </Form>
      </div>
    </div>
  )
}
Firebaseにはパスワード再設定メールを送るためのsendPasswordResetEmailという関数が用意されており、この関数でFirebaseからパスワード再設定のメールを送ることができます。
メールが送信されてからユーザーがパスワードを再設定するために必要な画面や処理はすでにFirebaseの方で用意されています。
パスワード再設定の画面と再設定メール送信処理を作成したら、login.jsにパスワード再設定ページのリンクを設置してください。
import styles from '../styles/Home.module.css'
import { getAuth, signInWithEmailAndPassword } from "firebase/auth";
import { Col, Container, Form, FormGroup, Input, Label, Row, Button } from "reactstrap";
import { useState } from 'react';

import Header from '../components/Header'
import Link from 'next/link';

export default function Login() {
  const [email, setEmail] = useState('');
  const [password, setPassword] = useState('');

  const doLogin = () => {
    const auth = getAuth();

    signInWithEmailAndPassword(auth, email, password)
      .then((userCredential) => {
        const user = userCredential.user;
        // alert( 'ログインOK!' );
        console.log( user );
      })
      .catch((error) => {
        console.log(error);
      });
  }

  // パスワードを忘れた場合のリンクタグを追加
  return (
    <div className={styles.card}>
      <h1>ログイン</h1>
      <Header/>
      <div style={{ paddingBottom: "1rem" }}>
        <Form>
            <FormGroup>
              <Label>
                メールアドレス:
              </Label>
              <Input
                type="email"
                name="email"
                style={{ height: 50, fontSize: "1.2rem" }}
                onChange={(e) => setEmail(e.target.value)}
              />
            </FormGroup>
            <FormGroup>
              <Label>
                パスワード:
              </Label>
              <Input
                type="password"
                name="password"
                style={{ height: 50, fontSize: "1.2rem" }}
                onChange={(e) => setPassword(e.target.value)}
              />
            </FormGroup>
            <Button
                style={{ width: 220 }}
                color="primary"
                onClick={()=>{
                  doLogin();
                }}
              >
              ログイン
            </Button>
        </Form>
      </div>
      <Link
        href="/forgot_password">
        パスワードを忘れた場合
      </Link>
    </div>
  )
}
ここまでできたら http://localhost:3000/forgot_password にアクセスし、確認のために自分で作成したアカウントのパスワードを再設定してみましょう。

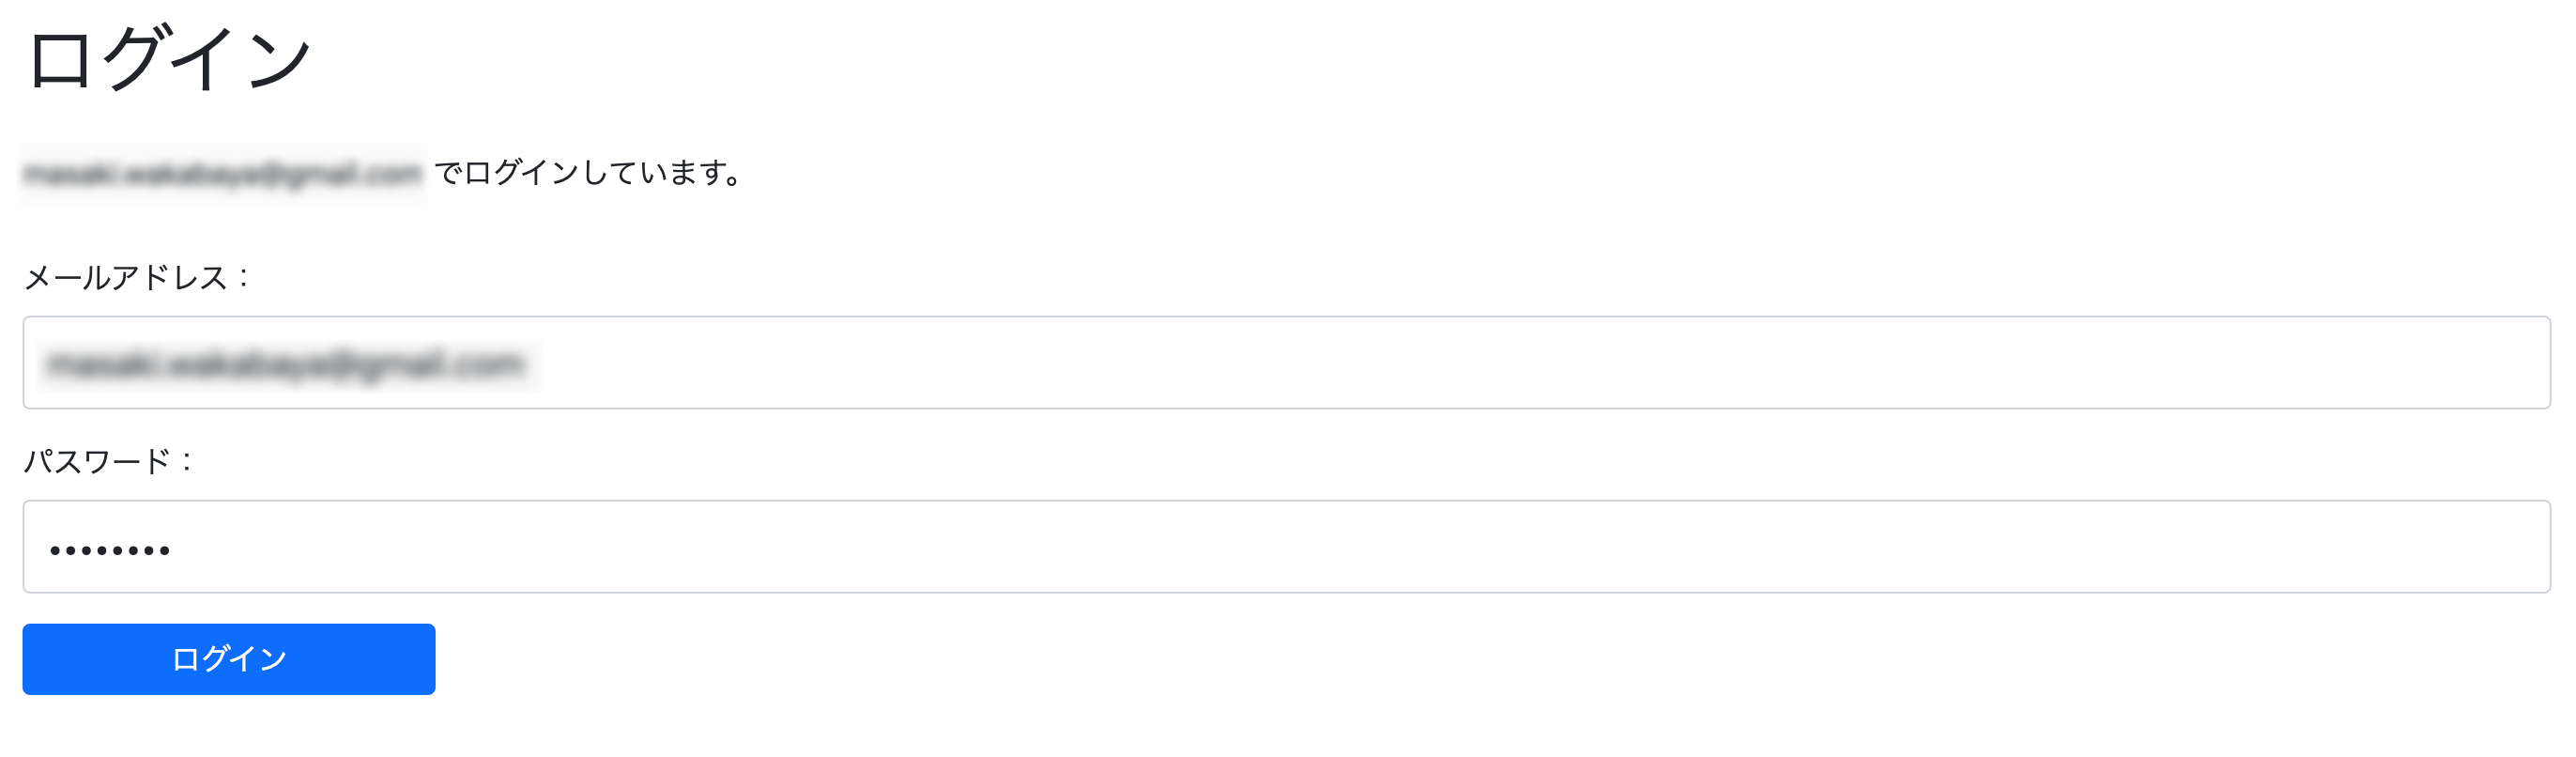
パスワードの再設定は、こちらの画面にユーザーがメールアドレスを入力し、そのメールアドレスにFirebaseからパスワード再設定のメールが届き、そのメールのURLをクリックするとパスワード再設定画面が表示されるという仕組みになっています。
そのパスワード再設定の画面はすでにFirebaseで用意されており、このような画面になっています。

このでユーザーがパスワードを入力した後に、ログインページにリダイレクトさせる処理がforgot_password.jsの以下の部分でurlを http://localhost:3000/login にしています。
    const actionCodeSettings = {
      // パスワード再設定後にログイン画面にリダイレクトさせる
      url: 'http://localhost:3000/login',
      handleCodeInApp: false,
    }
Githubのリポジトリ
この記事で解説しているgithubのリポジトリはこちらです。
https://github.com/masakiwakabayashi/nextjs_firebase_auth
まとめ
今回のようにNext.jsとFirebaseを使ってログインやユーザー登録周りの機能を実装する場合、
- createUserWithEmailAndPassword
- signInWithEmailAndPassword
- signOut
- sendPasswordResetEmail
といったログインやユーザー登録の関数をFirebaseが用意してくれているので、それらを使うことで比較的簡単にログイン周りの機能を実装することができます。