PHPフレームワークであるLaravelと、ヘッドレスCMSであるmicroCMSで、コンテンツ管理機能を実装する手法をご紹介します。Laravelの実装とmicroCMSのコンテンツ管理2つに関してハンズオン形式で記述していきます。
前回の記事はこちら
この記事では、応用編として記事詳細ページの表示と、記事にタグを設定する方法について解説していきます。
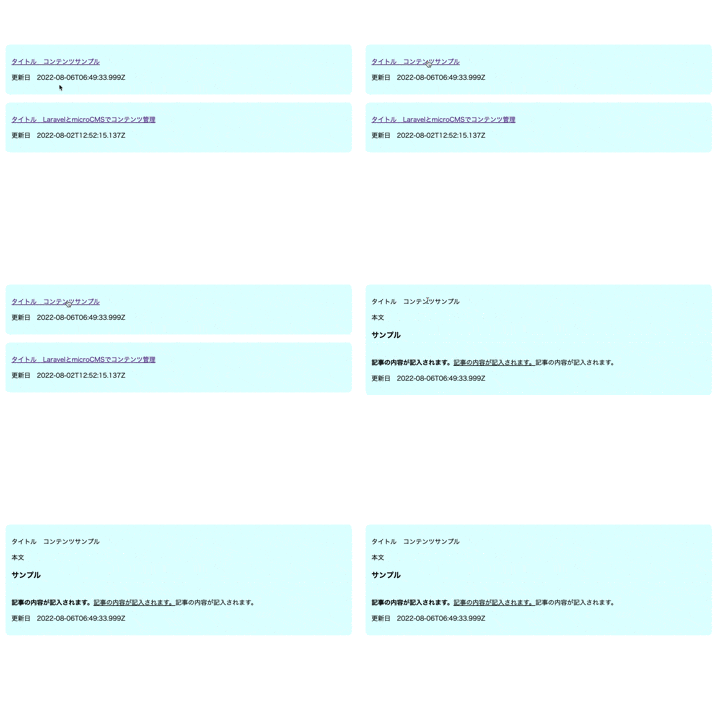
記事詳細ページの実装
ルーティングの追加
Route::get('/articles/{id}', [ArticleController::class, 'show'])->name('articles.show');
microCMSのサービスクラスに追記
    public function getSingleContent(string $contentName, string $contentId): object
    {
        return $this->httpClient->get($contentName, $contentId);
    }
コントローラーのメソッド追加
    /**
     * 記事詳細を取得
     * @param Request $request
     * @param string $id
     * @return View
     */
    public function show(Request $request, string $id): View
    {
        $article = $this->microCms->getSingleContent('articles', $id);

        return view('articles.show', [
            'article' => $article,
            'request' => $request
        ]);
    }
詳細ページのビューの作成(今回は時短のためスタイル直書きしてますが、CSS用のファイル作成推奨です)
<div style="margin: 20px; background-color: lightcyan; border-radius: 10px; padding: 15px;">
    <p>タイトル {{ $article->title }}</p>
    <p>本文 {!! $article->detail !!}</p>
    <p>更新日 {{ $article->updatedAt }}</p>
</div>
一覧ページのビューの編集
タイトルに詳細ページへのリンクを追加します。
一覧っぽく本文は表示せず、タイトルと更新日のみ表示にします。
@foreach ($articles as $article)
    <div style="margin: 20px; background-color: lightcyan; border-radius: 10px; padding: 15px;">
        <a href="{{ route('articles.show', ['id'=>$article->id]) }}">
            <p>タイトル {{ $article->title }}</p>
        </a>
        <p>更新日 {{ $article->updatedAt }}</p>
    </div>
@endforeach
記事にタグをつける方法
記事にタグをつける方法は複数ありますが、今回は複数コンテンツ参照を使用したいと思います。
microCMSの設定
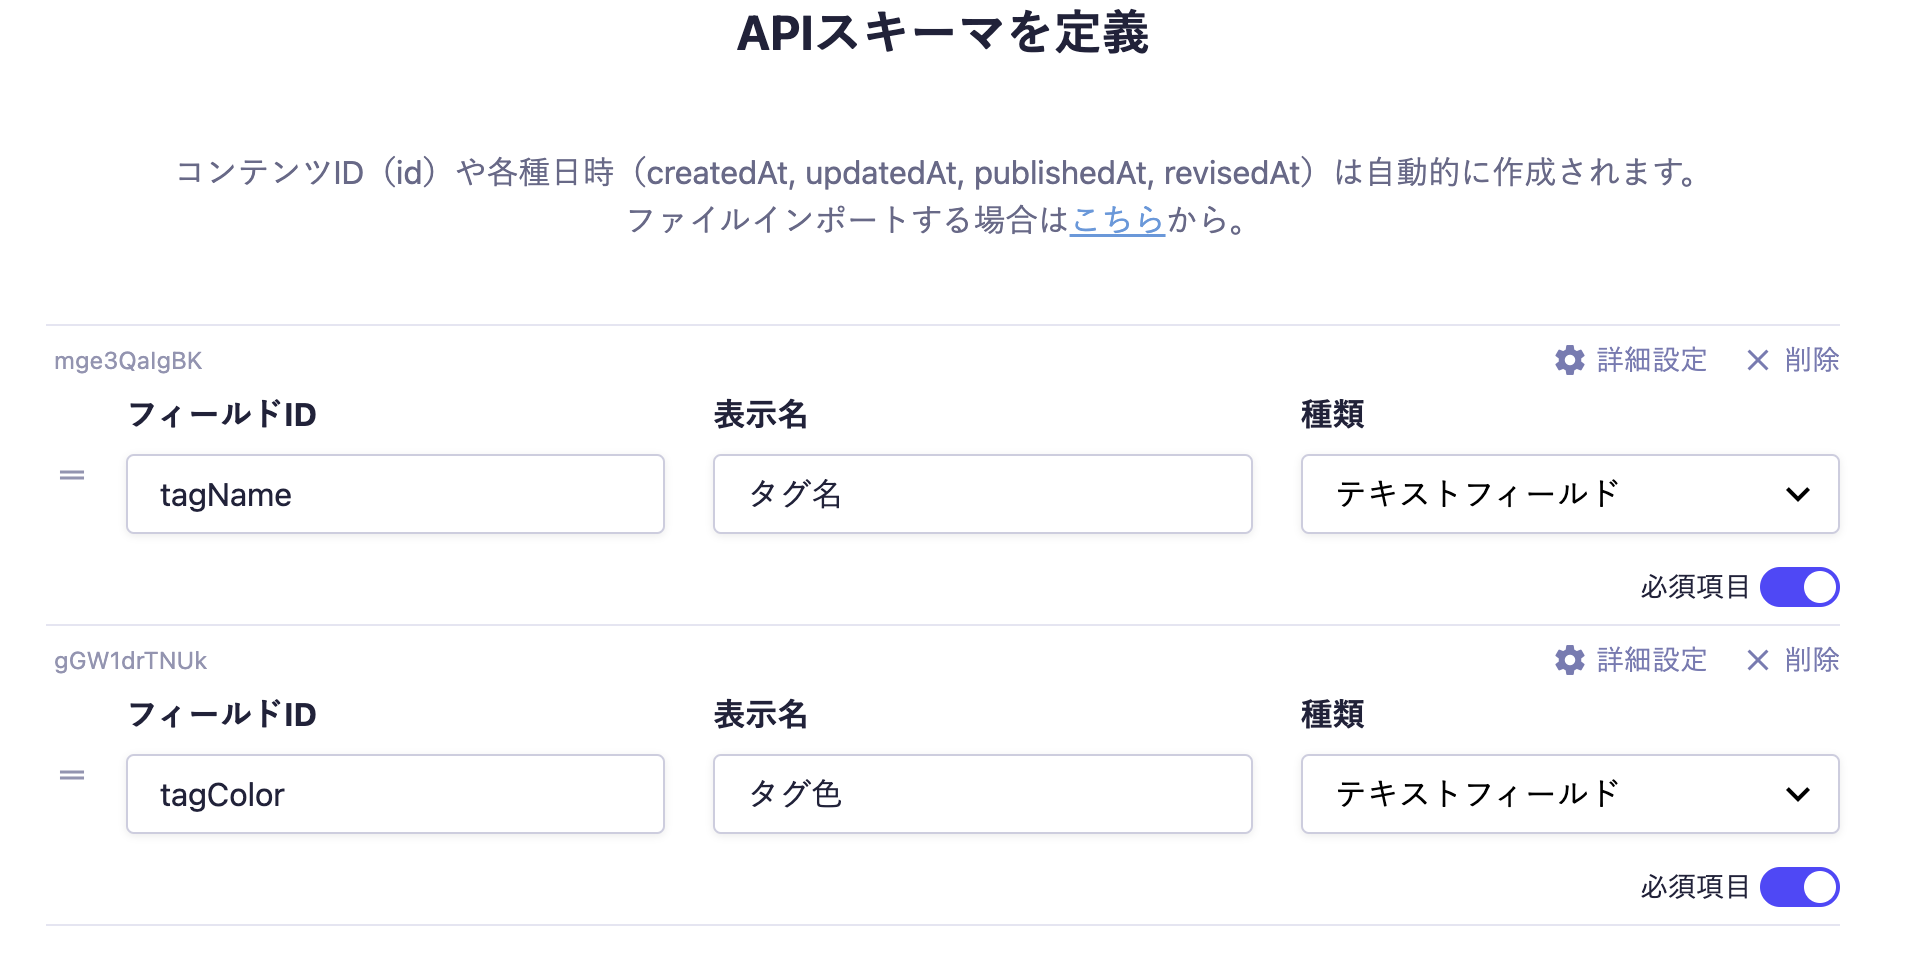
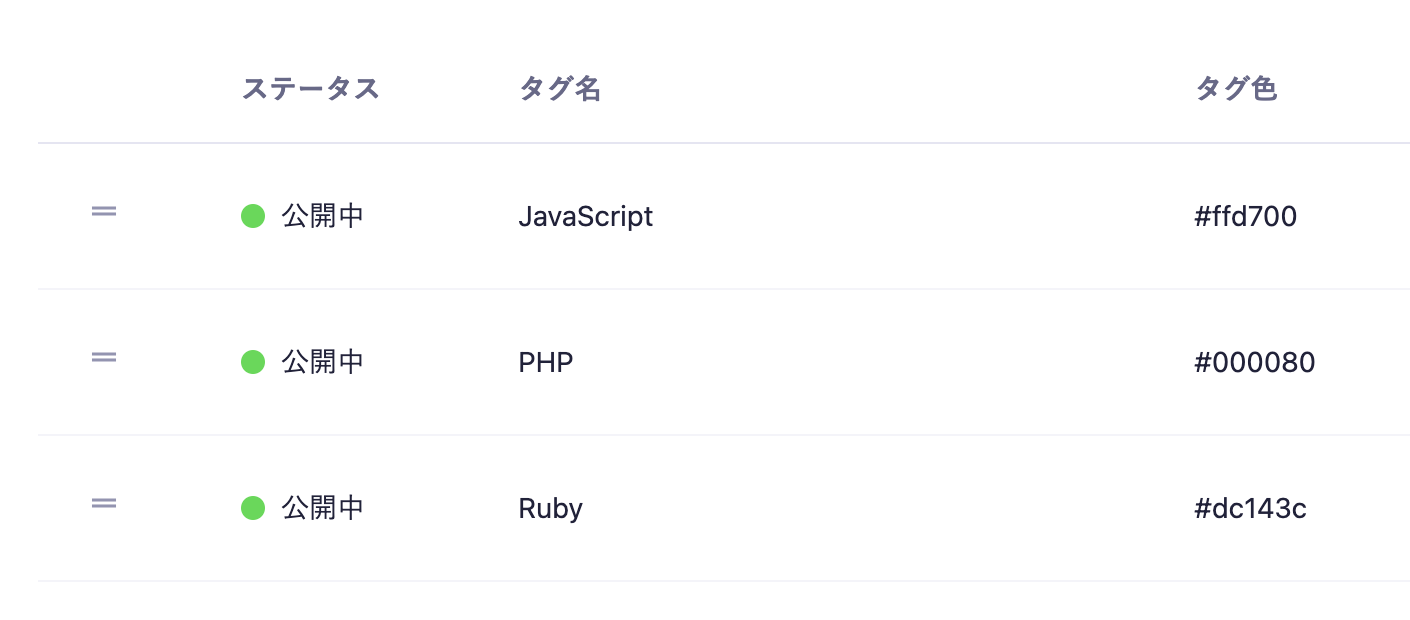
新しくタグ用のAPIを作成します。作り方は前々回に記事を作成した時と同様です。
今回はAPI名を「タグ」、エンドポイント末尾を 「tags」に設定します。
記事にタグを設定
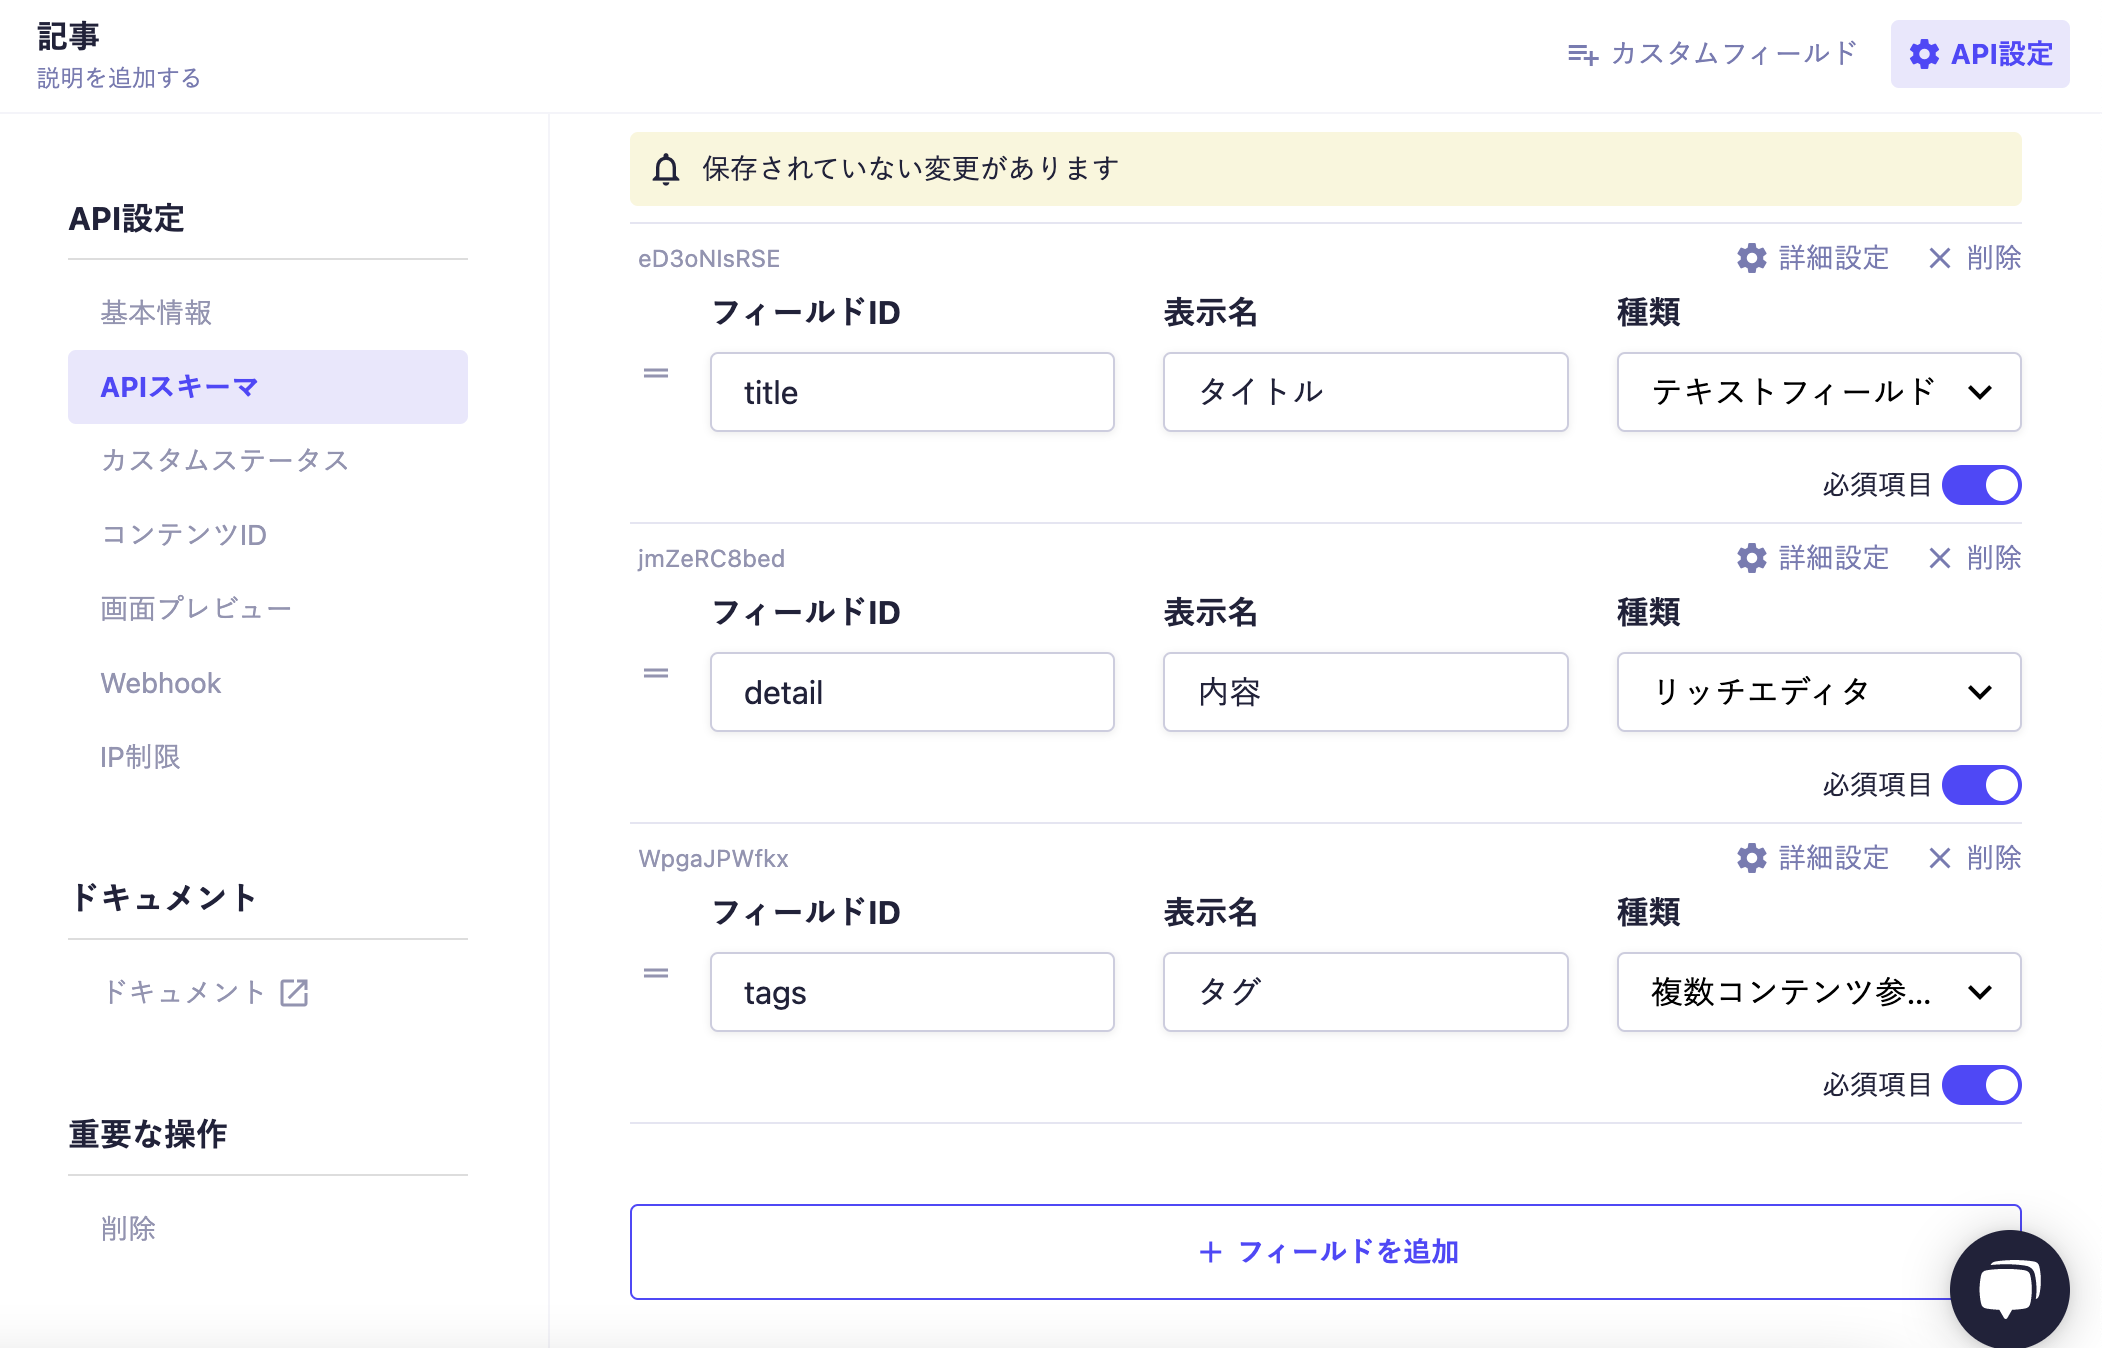
記事のAPIを選択して「API設定」から「フィールドを追加」をクリックしてタグ用のフィールドを追加します。
フィールドIDを「tags」、表示名を「タグ」、種類を「複数コンテンツ参照」に設定します。
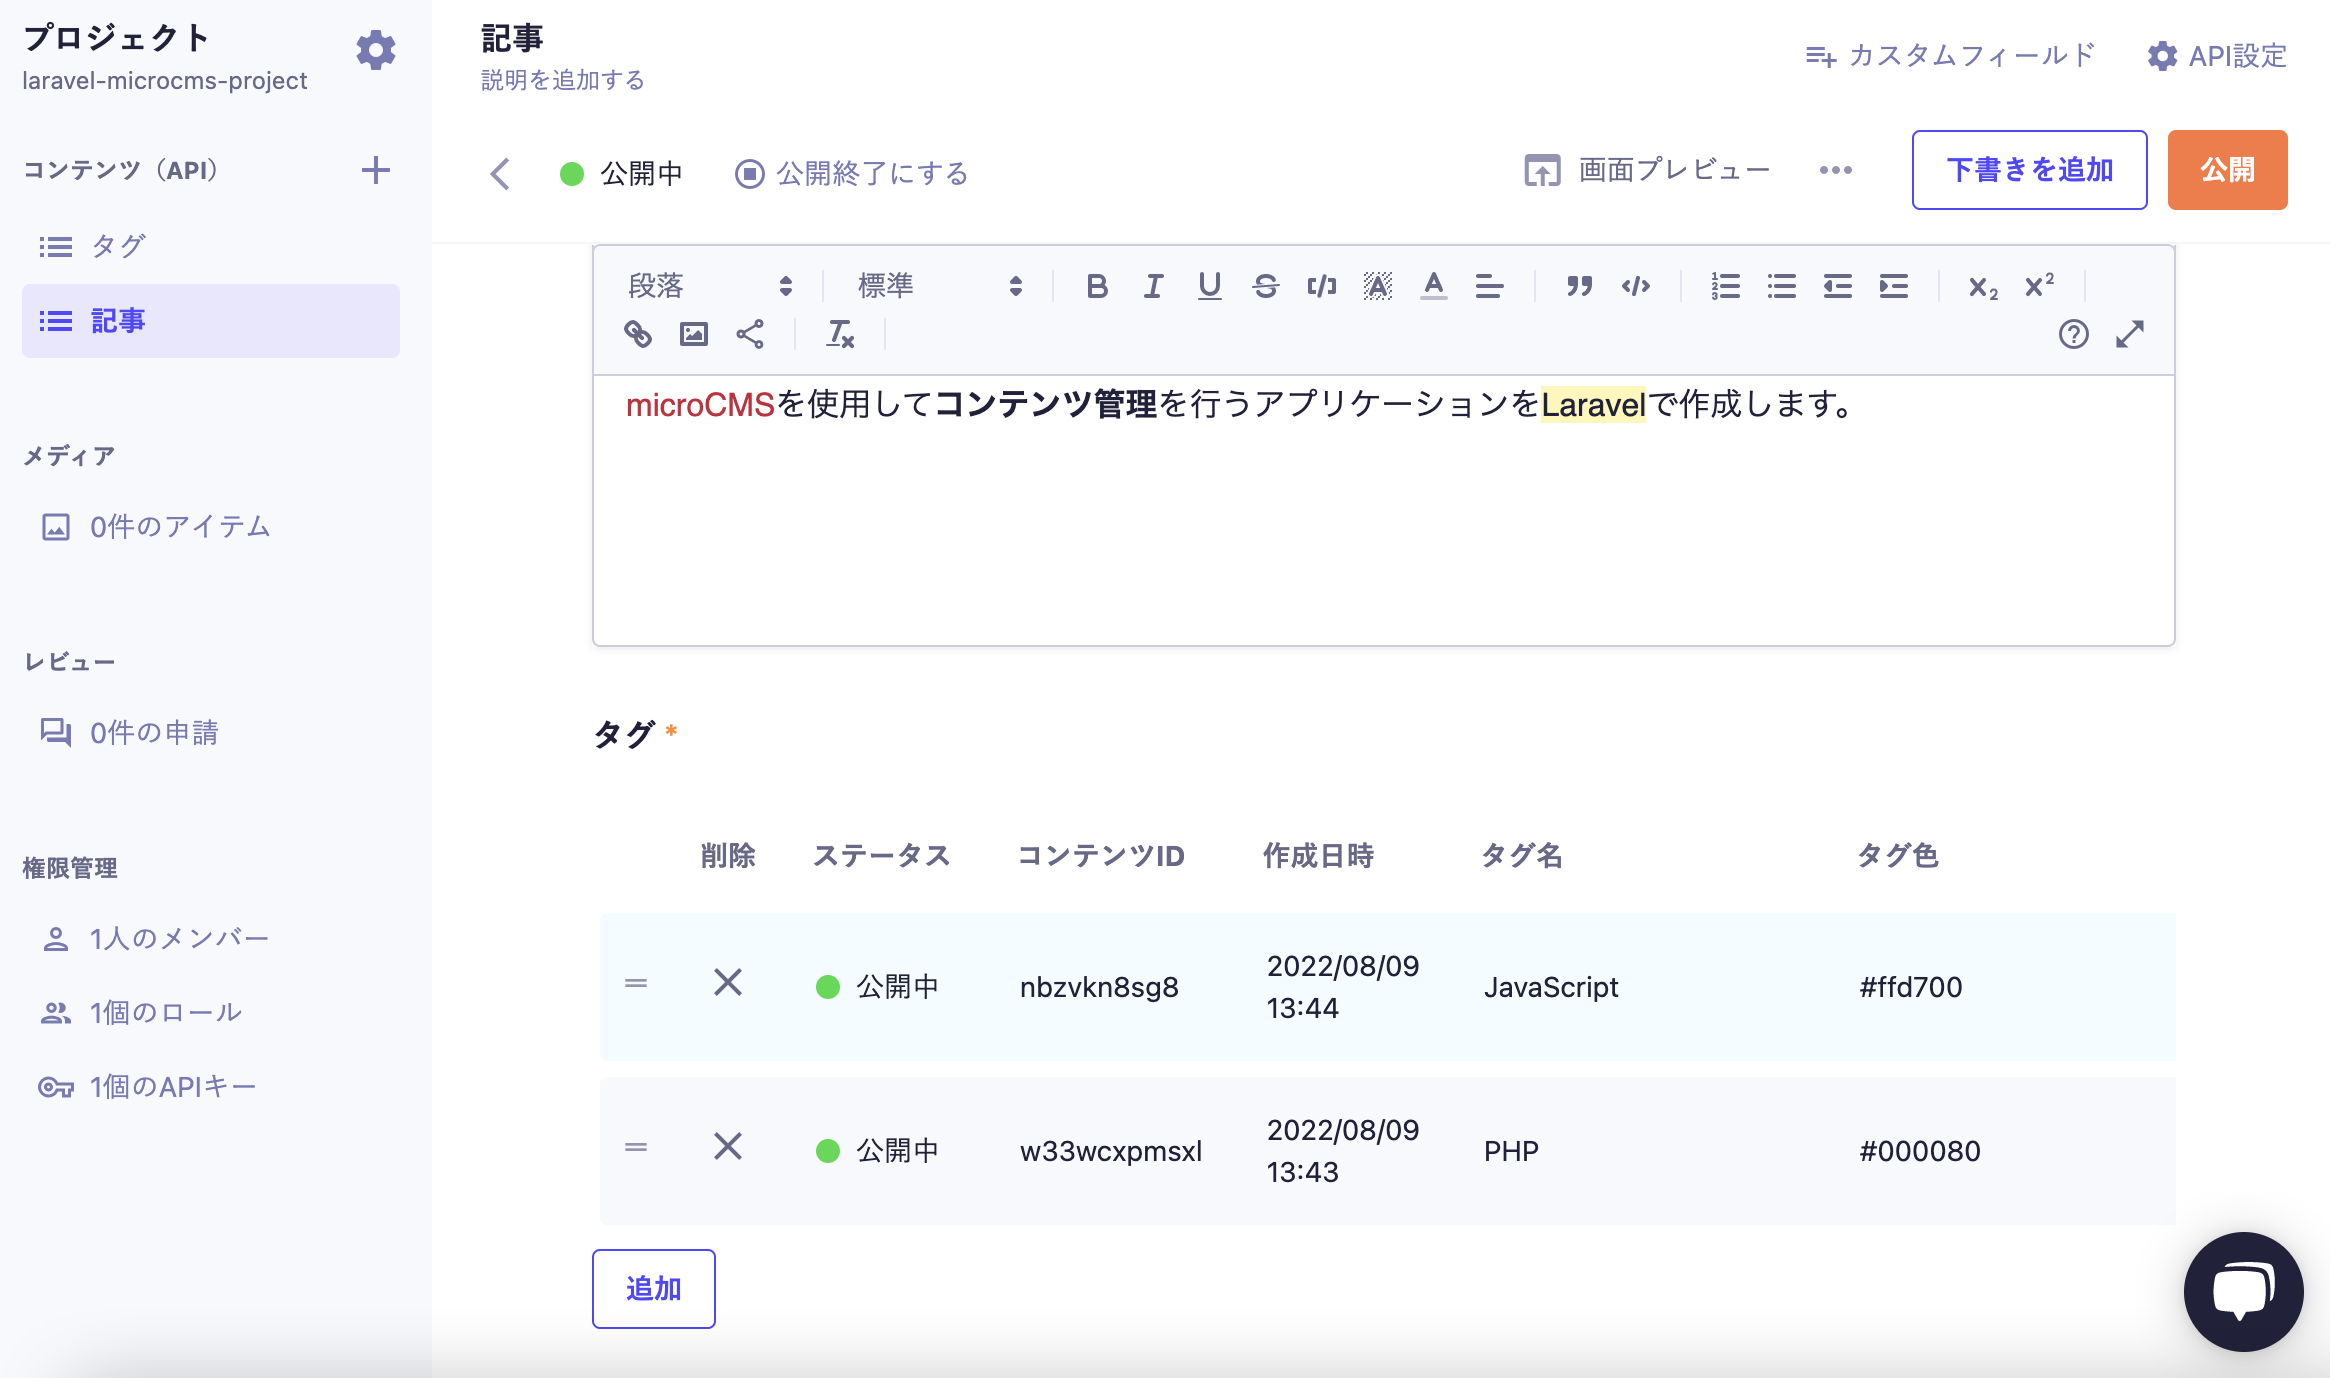
記事のAPIから記事を選択するとタグのフィールドが追加されているので設定を行いタグを追加します。
Laravel側の設定
一覧ページと詳細ページのビューを変更します
一覧ページ編集
@foreach ($articles as $article)
    <div style="margin: 20px; background-color: lightcyan; border-radius: 10px; padding: 15px;">
        <a href="{{ route('articles.show', ['id'=>$article->id]) }}">
            <p>タイトル {{ $article->title }}</p>
        </a>
        @foreach ($article->tags as $tag)
            <span style="background: {{$tag->tagColor}}; color: #fff; padding: 5px; border-radius: 10px">{{$tag->tagName}}</span>
        @endforeach
        <p>更新日 {{ $article->updatedAt }}</p>
    </div>
@endforeach
詳細ページ編集
<div style="margin: 20px; background-color: lightcyan; border-radius: 10px; padding: 15px;">
    <p>タイトル {{ $article->title }}</p>
    @foreach ($article->tags as $tag)
        <span style="background: {{$tag->tagColor}}; color: #fff; padding: 5px; border-radius: 10px">{{$tag->tagName}}</span>
    @endforeach
    <p>本文 {!! $article->detail !!}</p>
    <p>更新日 {{ $article->updatedAt }}</p>
</div>
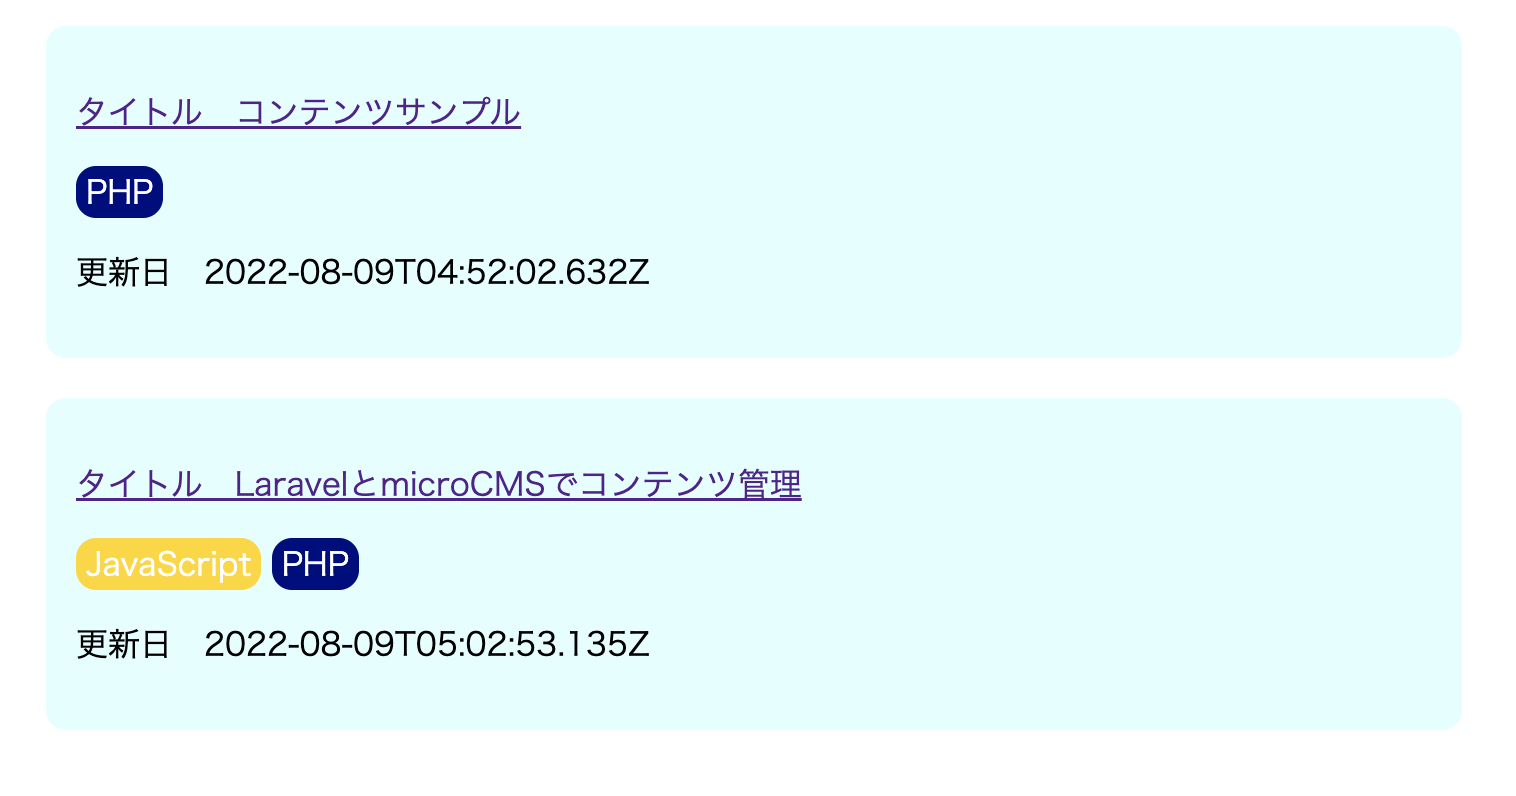
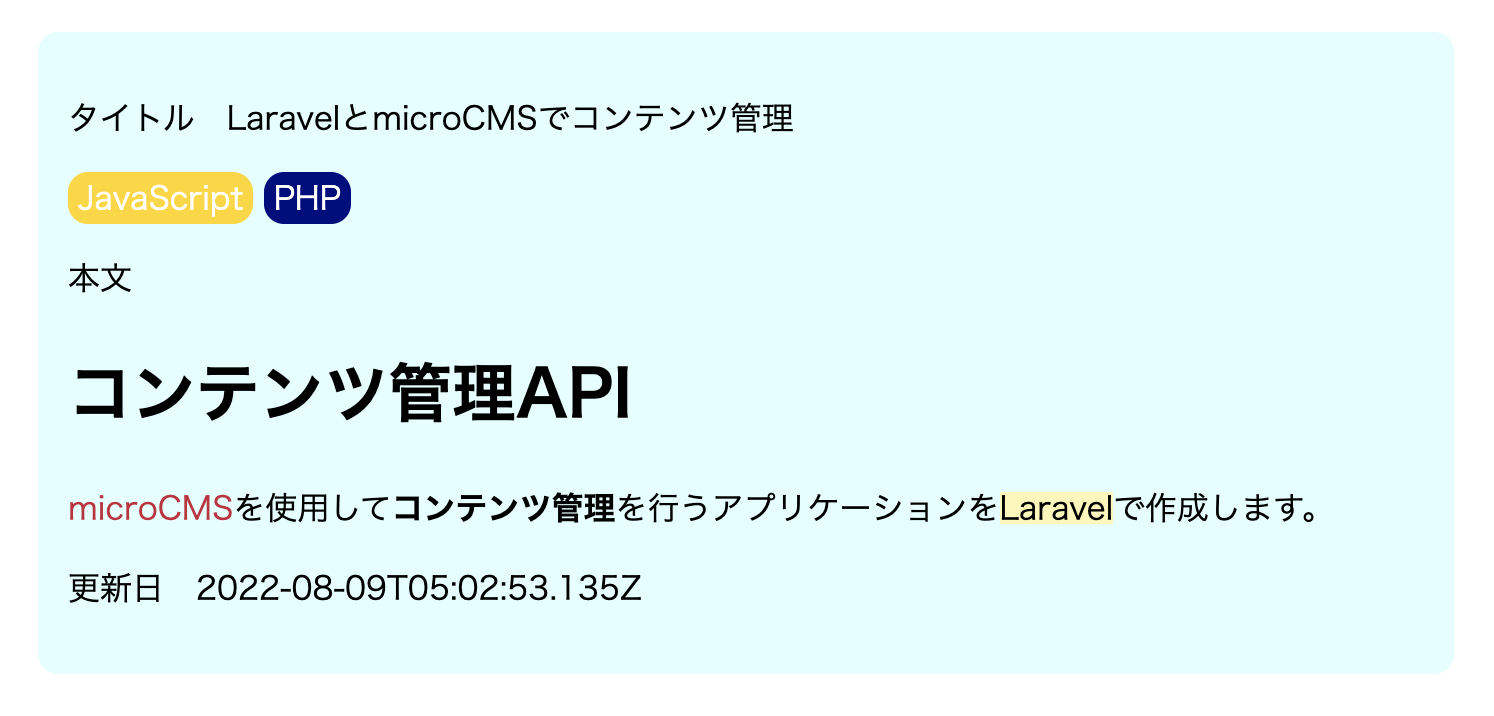
タグが追加されました🙌
今回は以上になります。最後まで見ていただきありがとうございました✨
