1. Introduction
Computer Vision APIの利用が普及し、Python関連の投稿記事からも、先進的な物体認識・分類が比較的容易に実装できるようになってきていることが伺える。
{magick}や{EBImage}、{imager}など、Rにも様々な画像解析パッケージが存在し、他の画像処理ソフトウェアと同様に、簡単なフィルタリングやリサイズなどが可能となっている。
一般的な画像処理パッケージ
| パッケージ名 | 主な機能 |
|---|---|
| magick | フォーマット変換、抽出 |
| imager | 補完、リサイズ、ワーピング、フィルタリング、フーリエ変換、モルフォロジー演算、ノイズ除去、領域分割 |
| EBImage | フィルタリング、モルフォロジー演算、オブジェクト認識、ラベリング |
| OpenImageR | エッジ検出、抽出 |
領域特化の画像処理
| パッケージ名 | 領域 |
|---|---|
| adimpro | スムージング |
| radiomics | テクスチャー解析 |
| fftw | フーリエ変換 |
| oro.dicom/oro.nifti | 脳画像 |
| zooimage | プランクトン |
| wvtool | 木 |
| spatstat | 空間点過程 |
Rインターフェイス
| パッケージ名 | 対象 |
|---|---|
| ROpenCVLite | OpenCV |
| tensorflow | Tensorflow |
| keras | keras |
Rでも、簡単に画像認識や分類ができないかと色々探していたところ、[BNOSAC](http://www.bnosac.be) が提供する画像解析パッケージが[R-bloggers](https://www.r-bloggers.com/computer-vision-algorithms-for-r-users/)で紹介されていたのでトレースする。(https://github.com/bnosac/image)
BNOSACが提供するパッケージ
| パッケージ名 | 主な機能 |
|---|---|
| image.CornerDetectionF9 | FAST-9によるコーナーの検出 |
| image.CannyEdges | Cannyアルゴリズムによるエッジ検出 |
| image.LineSecmentDetector | 線分検出 |
| image.ContourDetector | 等高線の検出 |
| image.dlib | SURF(Speeded up robust features)、HOG特徴量(histgram of oriented gradients features) |
| image.darknet | AlexNet、Darknet、VGG-16、GoogleNet、Darknet16といったディープラーニングモデルを用いた画像分類。YOLOによる物体認識。 |
以下、資料に沿って説明。
2. Install Packages
はじめに、必要なパッケージをインストール。
install.packages("devtools")
install.packages("dlib")

devtools::install_github("bnosac/image", subdir = "image.CornerDetectionF9", build_vignettes = TRUE)
devtools::install_github("bnosac/image", subdir = "image.LineSegmentDetector", build_vignettes = TRUE)
devtools::install_github("bnosac/image", subdir = "image.ContourDetector", build_vignettes = TRUE)

# Reqiring libpng and fftw3 to be installed
# devtools::install_github("bnosac/image", subdir = "image.CannyEdges", build_vignettes = TRUE)

devtools::install_github("bnosac/image", subdir = "image.dlib", build_vignettes = TRUE)
devtools::install_github("bnosac/image", subdir = "image.darknet", build_vignettes = TRUE)
※image.CannyEdgesのインストールにはlibpngとfftw3が必要とのこと。
※Ubuntuでのインストール方法は以下の通り。
sudo apt-get install libpng-dev fftw3 fftw3-dev pkg-config
※Win環境でのエラーメッセージは以下の2箇所。解決策があったら教えて下さい。
pkg-config: not found
canny.h:8:19: fatal error: fftw3.h: No such file or directory
3. Corner Detection F9
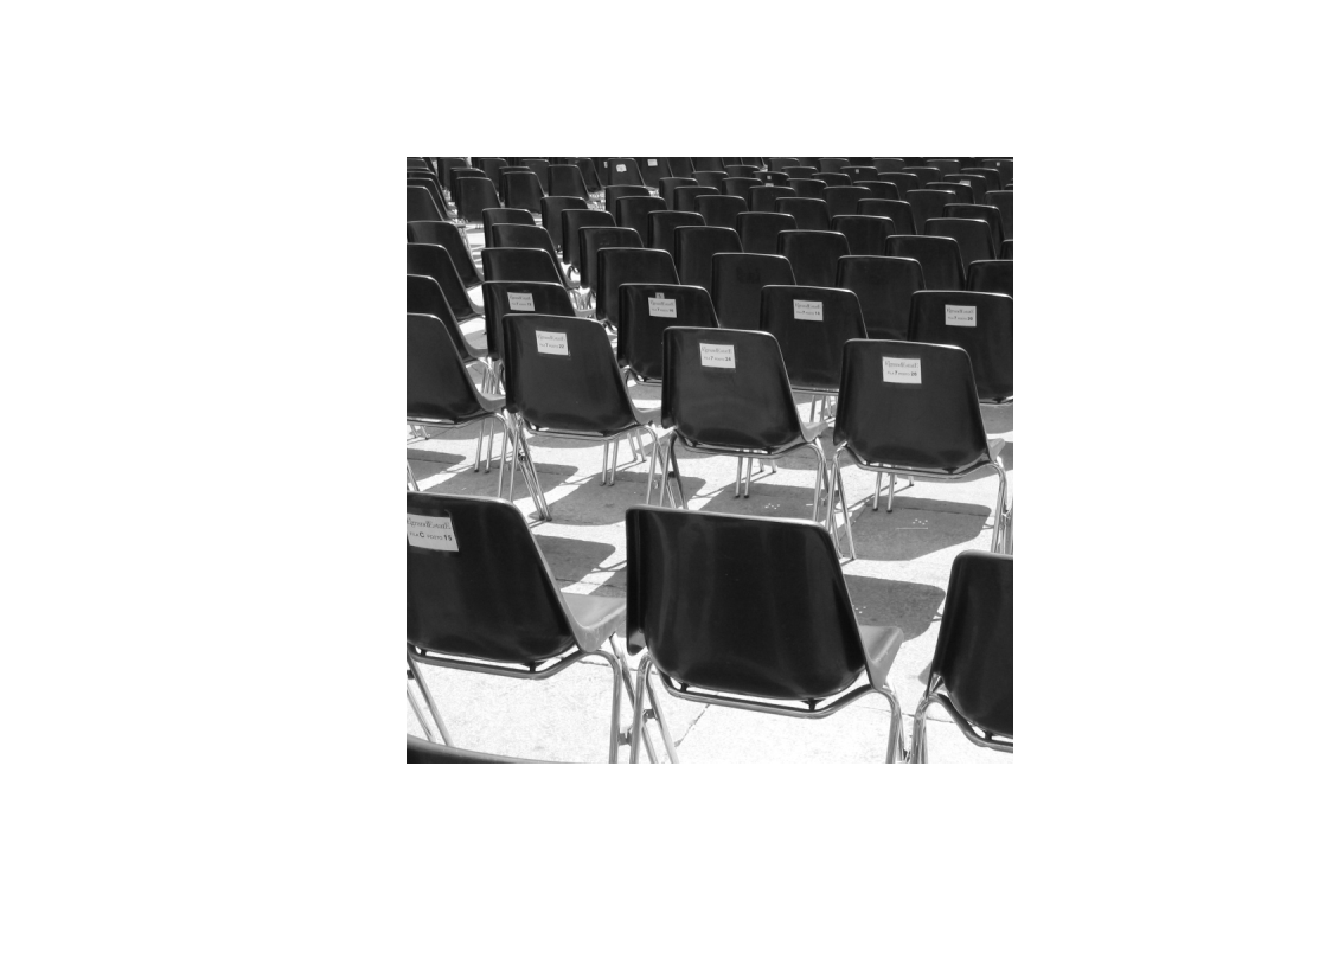
パッケージ内に準備された画像のデータを読み込む。画像はPGMフォーマット。
library(pixmap)
library(image.CornerDetectionF9)

## Read in a PGM grey scale image
im_chairs <- read.pnm(file = system.file("extdata", "chairs.pgm", package = "image.CornerDetectionF9"), cellres = 1)

plot(im_chairs)
コーナーの検出は、周囲のいくつかのピクセルが、指定した閾値よりも明るい、もしくは暗い場合にコーナーと見なすようなアルゴリズム。こちらを参照。
## Detect corners
corners <- image_detect_corners(im_chairs@grey*255,
                                threshold = 100,
                                suppress_non_max = TRUE)

## Plot the image and the corners
plot(im_chairs)
points(corners$x, corners$y, col = "red", pch = 20, lwd = 0.5)
4. Convert jpg to PGM file
大抵、処理対象の画像はPGMフォーマットではない。
PGMファイルへの変換には、{magick}パッケージを用いる。
library(magick)

## Convert jpg to PGM file using the magick package
x <- image_read(system.file("extdata", "hall.jpg", package="image.CornerDetectionF9"))
x <- image_convert(x, format = "pgm", depth = 8)

## Save the PGM file
f <- tempfile(fileext = ".pgm") #
image_write(x, path = f, format = "pgm")

## Read in the PGM grey scale image
im_hall <- read.pnm(file = f, cellres = 1)
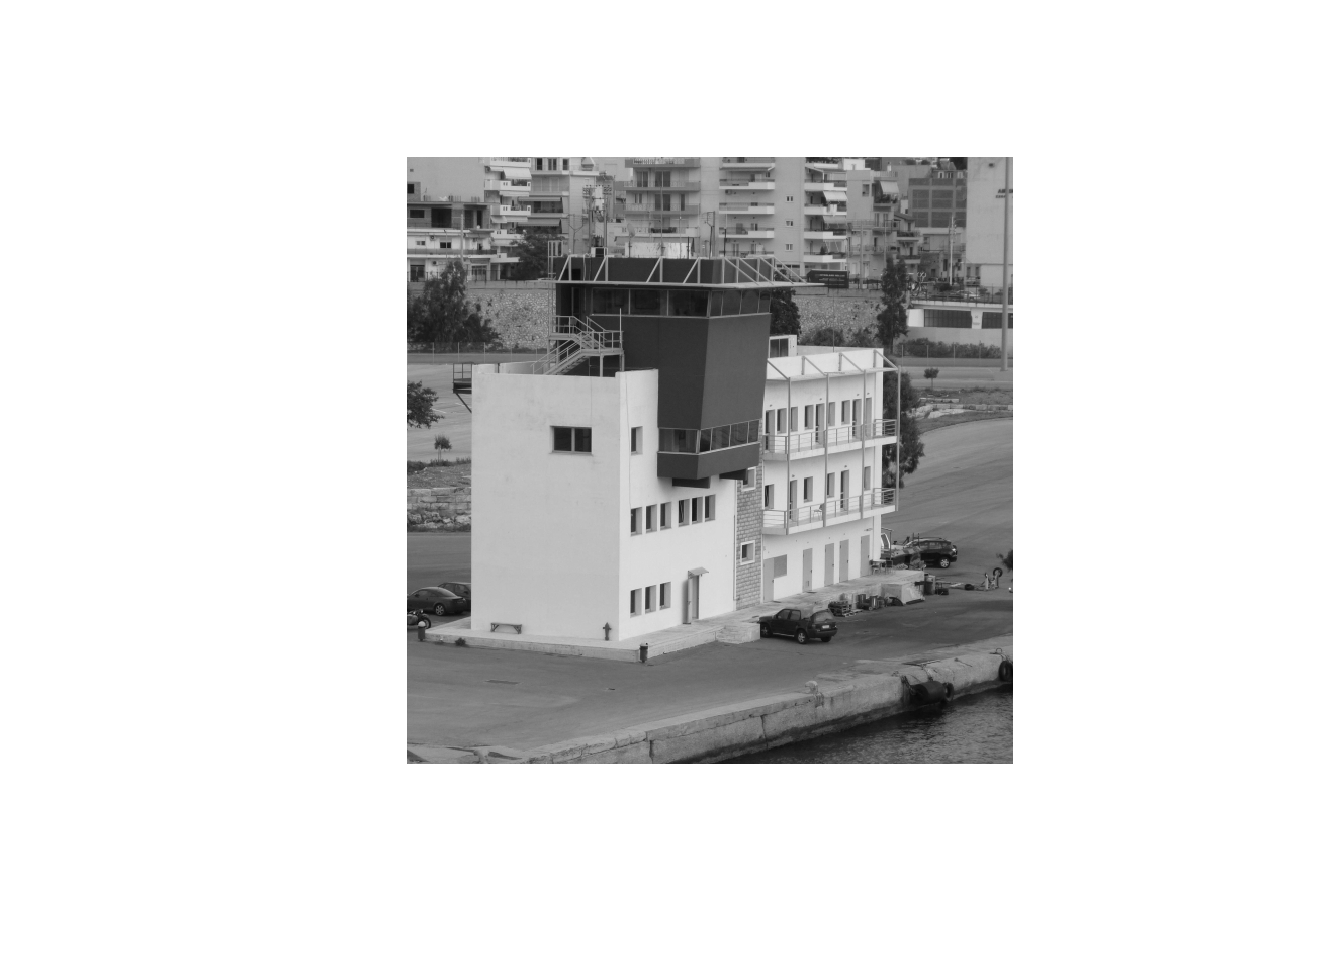
plot(im_hall)
corners_hall <- image_detect_corners(im_hall@grey*255,
                                threshold = 25,
                                suppress_non_max = TRUE)

plot(im_hall)
points(corners_hall$x, corners_hall$y, col="red", pch = 20, lwd = .5)
5. Detect Edges
使おうと思ったらインストールに失敗していたので後回し。
- Canny Edge detector
- ノイズ除去 > 勾配が極大となる位置を検出 > 閾値でエッジを定義 > コネクションがない線を除去
library(pixmap)
library(image.CannyEdges)

## Use the PGM grey scale image(read abobe)
## Detect edges
edges <- image_canny_edge_detector(image@grey*255,
                                   s = 2,
                                   low_thr = 3,
                                   high_thr = 10)

## Plot the edges
plot(edges)
6. Detect Lines & Contours
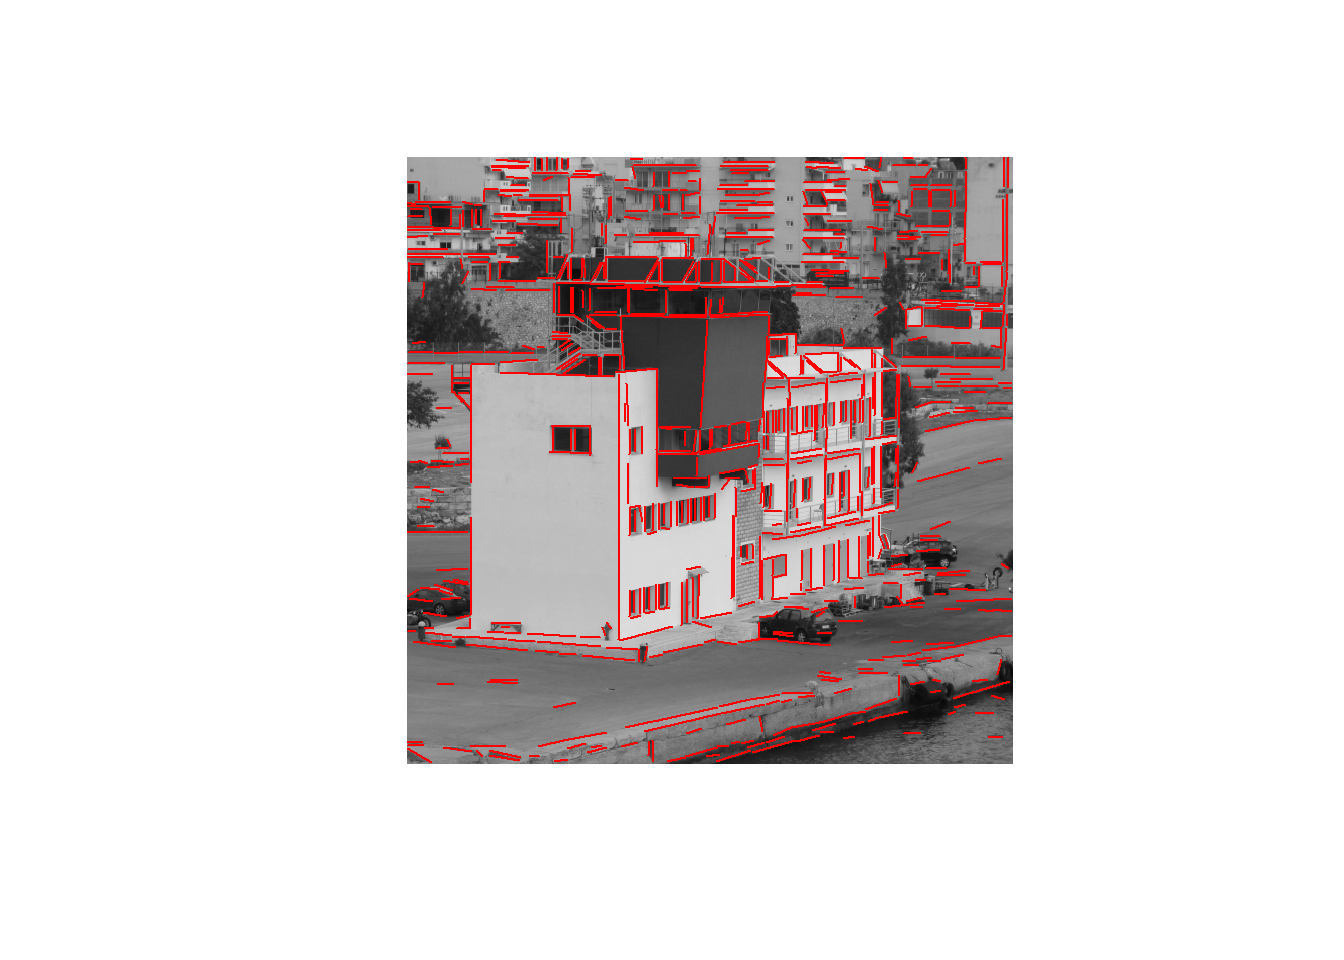
グレースケールイメージの勾配とその向きでグループ化し、そのグループをさらに線で囲むことで線分を抽出する。
library(pixmap)
library(image.LineSegmentDetector)

## Read in the PGM file
im_piree <- read.pnm(file = system.file("extdata", "le-piree.pgm", package="image.LineSegmentDetector"), cellres = 1)

plot(im_piree)
## Detect the lines
linesegments <- image_line_segment_detector(im_piree@grey*255)
linesegments

## Plot the image + add the lines in red
plot(im_piree)
plot(linesegments, add=TRUE, col = "red")
7. Contour Detector
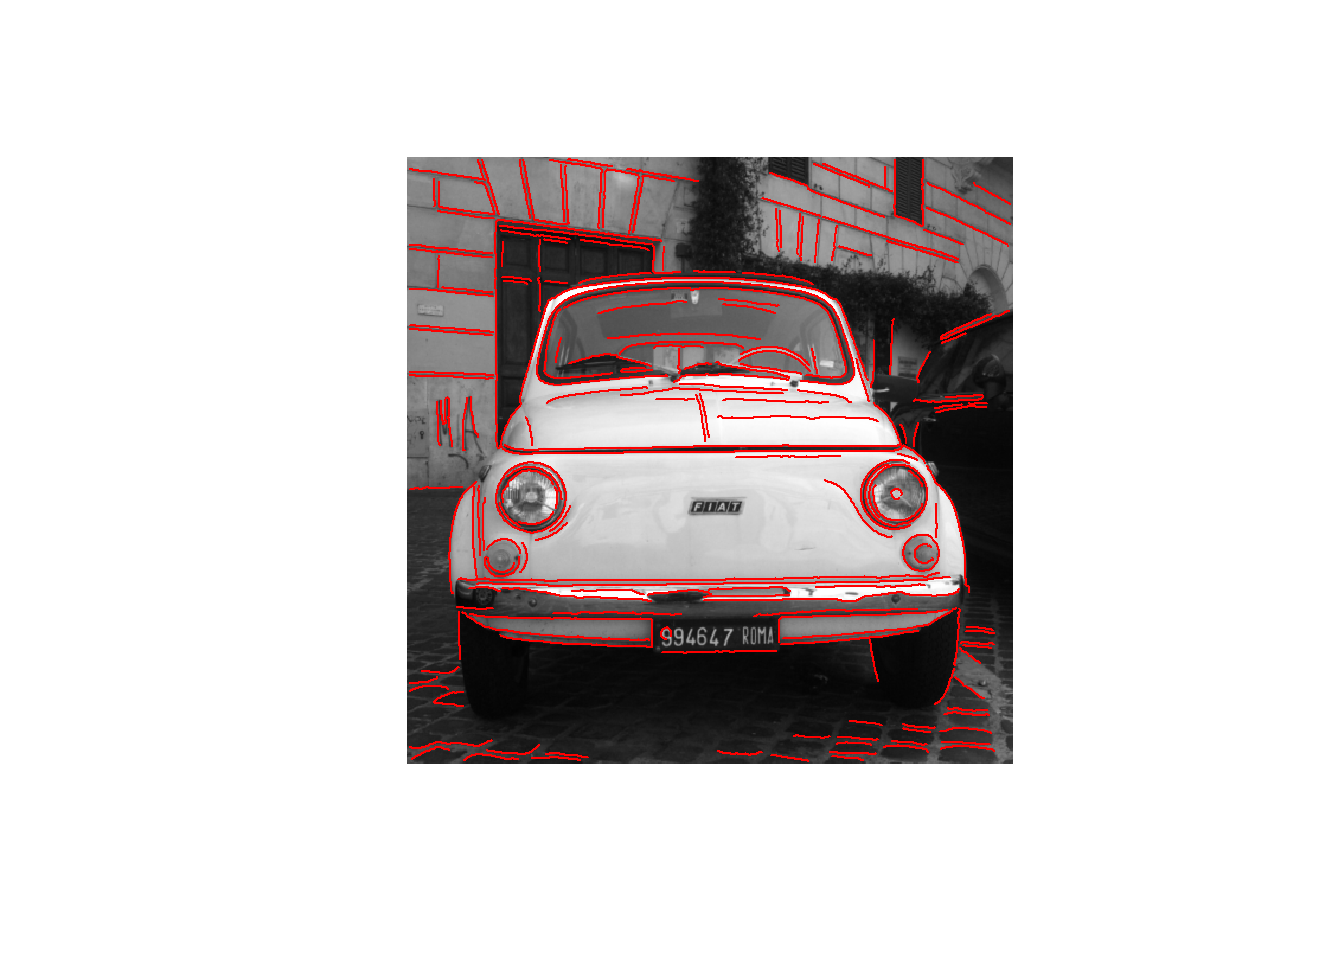
画像中の等高線を検出する。
Unsupervised contour detector
Rafael Grompone von Gioi, and Gregory Randall, Image Processing On Line, 6 (2016), pp. 233-267
library(pixmap)
library(image.ContourDetector)

imagelocation <- system.file("extdata", "image.pgm", package="image.ContourDetector")
im_car <- read.pnm(file = imagelocation, cellres = 1)

x <- im_car@grey * 255
contourlines <- image_contour_detector(x)
contourlines

plot(im_car)
plot(contourlines, add = TRUE, col = "red")
8. Speed up robust features (SURF)
Speed up robust features(SURF)は、SHIFTなどと同様に特徴量検出のアルゴリズムの1つであり、物体の移動や変形後における認識や追跡、3D再構築などに応用される。アルゴリズムの詳細はこちら。image.dlib::image_surf()では、画像から64次元の局所特徴量が検出される。
library(image.dlib)

## File path
f <- system.file("extdata", "cruise_boat.bmp", package="image.dlib")

## Detect features using SURF
surf_blobs <- image_surf(f, max_points = 10000, detection_threshold = 50)
str(surf_blobs)
## List of 8
##  $ points       : num 296
##  $ x            : num [1:296] 232 237 282 374 186 ...
##  $ y            : num [1:296] 402 371 367 382 416 ...
##  $ angle        : num [1:296] -2.99 2.31 2.14 -1.43 1.42 ...
##  $ pyramid_scale: num [1:296] 5.27 2.76 2.97 2.94 2.96 ...
##  $ score        : num [1:296] 959 630 596 549 526 ...
##  $ laplacian    : num [1:296] -1 -1 -1 -1 -1 -1 -1 -1 -1 1 ...
##  $ surf         : num [1:296, 1:64] -0.0635 0.1435 0.1229 0.0496 -0.0501 ...
今回の画像からは296この局所特徴量が抽出された。それらの座標、角度なども格納されている。
## Plot the points
library(imager)
library(magick)

im_boat <- image_read(path = f)
plot(magick2cimg(im_boat), main = "SURF points")
points(surf_blobs$x, surf_blobs$y, col = "red", pch = 20)
動画や複数の画像でマッチングや認識をする際は、image_surf()で特徴量を抽出した後で、例えば{rflann}パッケージのNeighbour()でk-nearest-neighboursなどを行い比較する。
9. Histogram of oriented gradients(HOG)
HOG特徴量の抽出を行う。人物の動作を認識する際に用いられることが多い。
## Detect features using HOG
hog_blobs <- image_fhog(f, cell_size = 8)
str(hog_blobs)

# 視覚化はそのうち。
10. Objects Detection
{image.darknet}では、You Only Look Once(YOLO)を用いた画像認識が可能となる。分類に関しては、AlexNet、DarkNet、VGG-16、Extraction、Darknet19などの既存のディープラーニングモデルで行う。
Description
Specify a model to be used in classification or object detection. For classification this consists of
- model: the deep learning configuration file which was used to train the model
- weights: the trained weights of the deep learning model
- labels: a character vector of possible labels to classify an image - used during training
Available models are
- classification: Alexnet, Darknet, VGG-16, Extraction(GoogleNet), Darknet19, Darknet19_448, Tiny Darknet trained on Imagenet
- detection: YOLO, YOLO tiny trained on VOC and on COCO
10-1. Detection with tiny YOLO trained on VOC
library(image.darknet)

## Define the model
yolo_tiny_voc <- image_darknet_model(
  type = "detect",
  model = "tiny-yolo-voc.cfg",
  weights = system.file("models", "tiny-yolo-voc.weights", package="image.darknet"),
  labels = c("aeroplane", "bicycle", "bird", "boat", "bottle", "bus", "car", "cat", "chair", "cow", "diningtable", "dog", "horse", "motorbike", "person", "pottedplant", "sheep", "sofa", "train", "tvmonitor")
)


## Find objects inside the image (reqire full path)
f <- paste0(getwd(),"/sp.jpg")
# image_darknet_detect(file=normalizePath("sp.jpg"), object = yolo_tiny_voc)
image_darknet_detect(file=f, object = yolo_tiny_voc)

im_predictions <- image_read(path = "predictions.png")
plot(im_predictions)

Detectionの結果の画像はワーキングディレクトリに保存されている。
thresholdを設定することで、検出精度を調整可能。
image_darknet_detect(file=f, object = yolo_tiny_voc, threshold = 0.01, hier_threshold = 0.6)

im_predictions <- image_read(path = "predictions.png")
plot(im_predictions)
他のモデルに関しては、weightsをダウンロードして利用可能。(?image_darknet_model)
10-2. Detection with tiny YOLO trained on COCO
## trained on COCO
coconames <- system.file(package="image.darknet", "include", "darknet", "data", "coco.names")
labels <- readLines(coconames)

# weights <- file.path(system.file(package="image.darknet", "models"), "tiny-yolo.weights")
# download.file(url = "http://pjreddie.com/media/files/tiny-yolo.weights", destfile = weights)
weights <- system.file(package="image.darknet", "models", "tiny-yolo.weights")

yolo_tiny_coco <- image_darknet_model(type = 'detect',
 model = "tiny-yolo.cfg",
 weights = weights,
 labels = labels)

yolo_tiny_coco

## Find objects inside the image (reqire full path)
f <- paste0(getwd(),"/sp.jpg")
image_darknet_detect(file=f, object = yolo_tiny_coco, threshold=0.6)

im_predictions <- image_read(path = "predictions.png")
plot(im_predictions)
10-3. Classification with Darknet
## Define DarkNet model
model <- system.file("include", "darknet", "cfg", "tiny.cfg", package="image.darknet")
weights <- system.file("models", "tiny.weights", package="image.darknet")
labels <- system.file("include", "darknet", "data", "imagenet.shortnames.list", package="image.darknet")
labels <- readLines(labels)

darknet_tiny <- image_darknet_model(type = "classify", model = model, weights = weights, labels = labels)
darknet_tiny

f <- system.file("include", "darknet", "data", "dog.jpg", package="image.darknet")

# library(magick)
im_dog <- image_read(path = f)
plot(im_dog)
x <- image_darknet_classify(file = f, object = darknet_tiny)
x
## $file
## [1] "C:/Program Files/R/R-3.4.1/library/image.darknet/include/darknet/data/dog.jpg"
##
## $type
##            label probability
## 1       malamute  0.18206641
## 2        dogsled  0.12255822
## 3     Eskimo dog  0.06975935
## 4         collie  0.04245654
## 5 Siberian husky  0.03541765
それらしい結果
参考
- BNOSAC http://www.bnosac.be
- R-bloggers https://www.r-bloggers.com/computer-vision-algorithms-for-r-users
- Computer Vision and Image Recognition algorithms for R users https://github.com/bnosac/image
- FAST Corner Detection -- Edward Rosten https://www.edwardrosten.com/work/fast.html
- Canny Edge detector https://en.wikipedia.org/wiki/Canny_edge_detector
- Unsupervised contour detector https://doi.org/10.5201/ipol.2016.175
- An Analysis of the SURF Method http://www.ipol.im/pub/art/2015/69/
