Blenderとは
Blenderは主に3DCGを作るためのフリーでオープンソースのソフトウェアです。公式サイトよりどなたでもダウンロードして使用することができます。
Blenderではシーンの中にオブジェクトを追加し、そのオブジェクトを加工・変形(モデリング)するとともにマテリアル(色や質感)を付与することによって所望の物体を3D空間内に作り出します。最後にライトやカメラを設置することで、好きな場所から物体を撮影した画像を出力(レンダリング)する、というのが基本的な流れになります。
また、Blenderはpythonコードによってオブジェクトの配置や色付け、撮影など多様な操作ができるように設計されています。そこで今回は、blenderの知識が全くなくとも、blender上で実行するだけで立体的なロゴが作れるスクリプトを作成します。
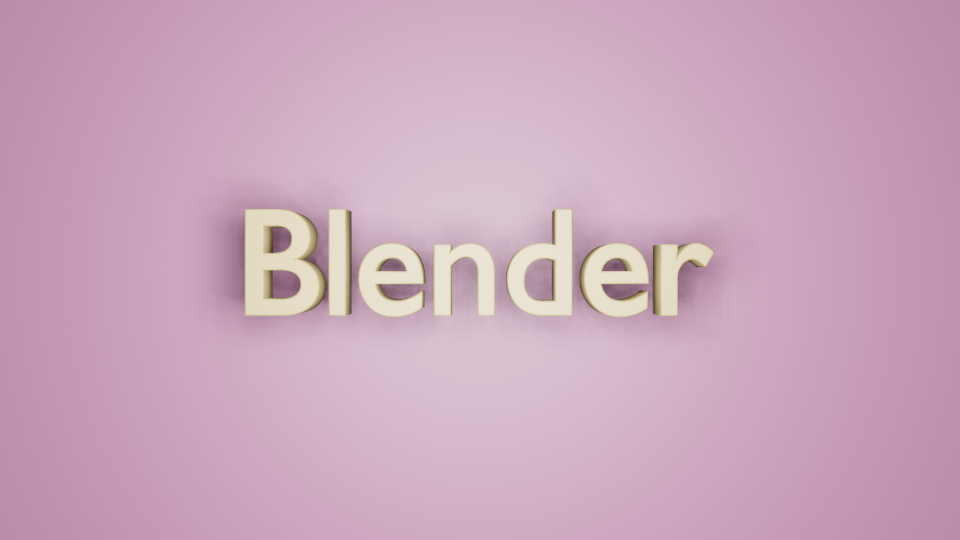
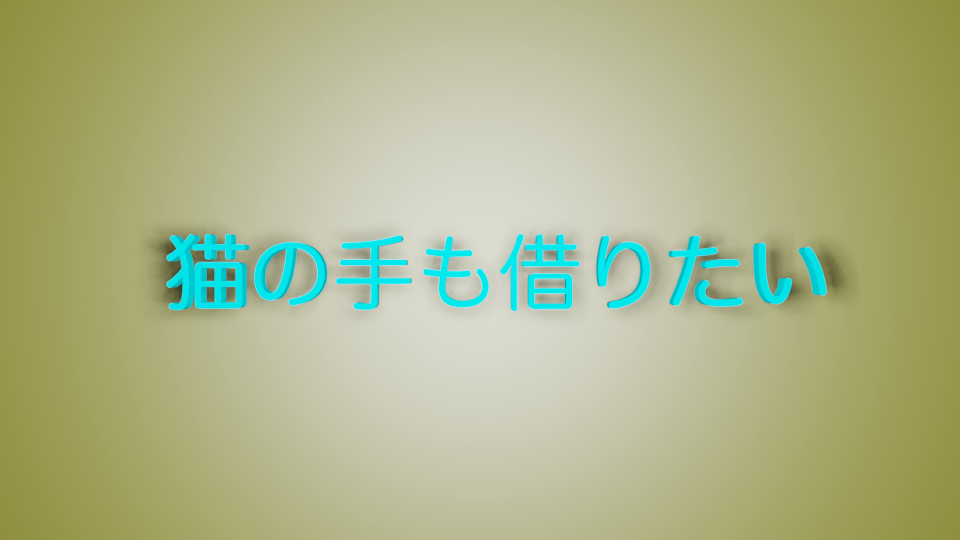
このスクリプトによって、例えば以下のような「ロゴ画像」を生成することができます。
Blender上での実行方法
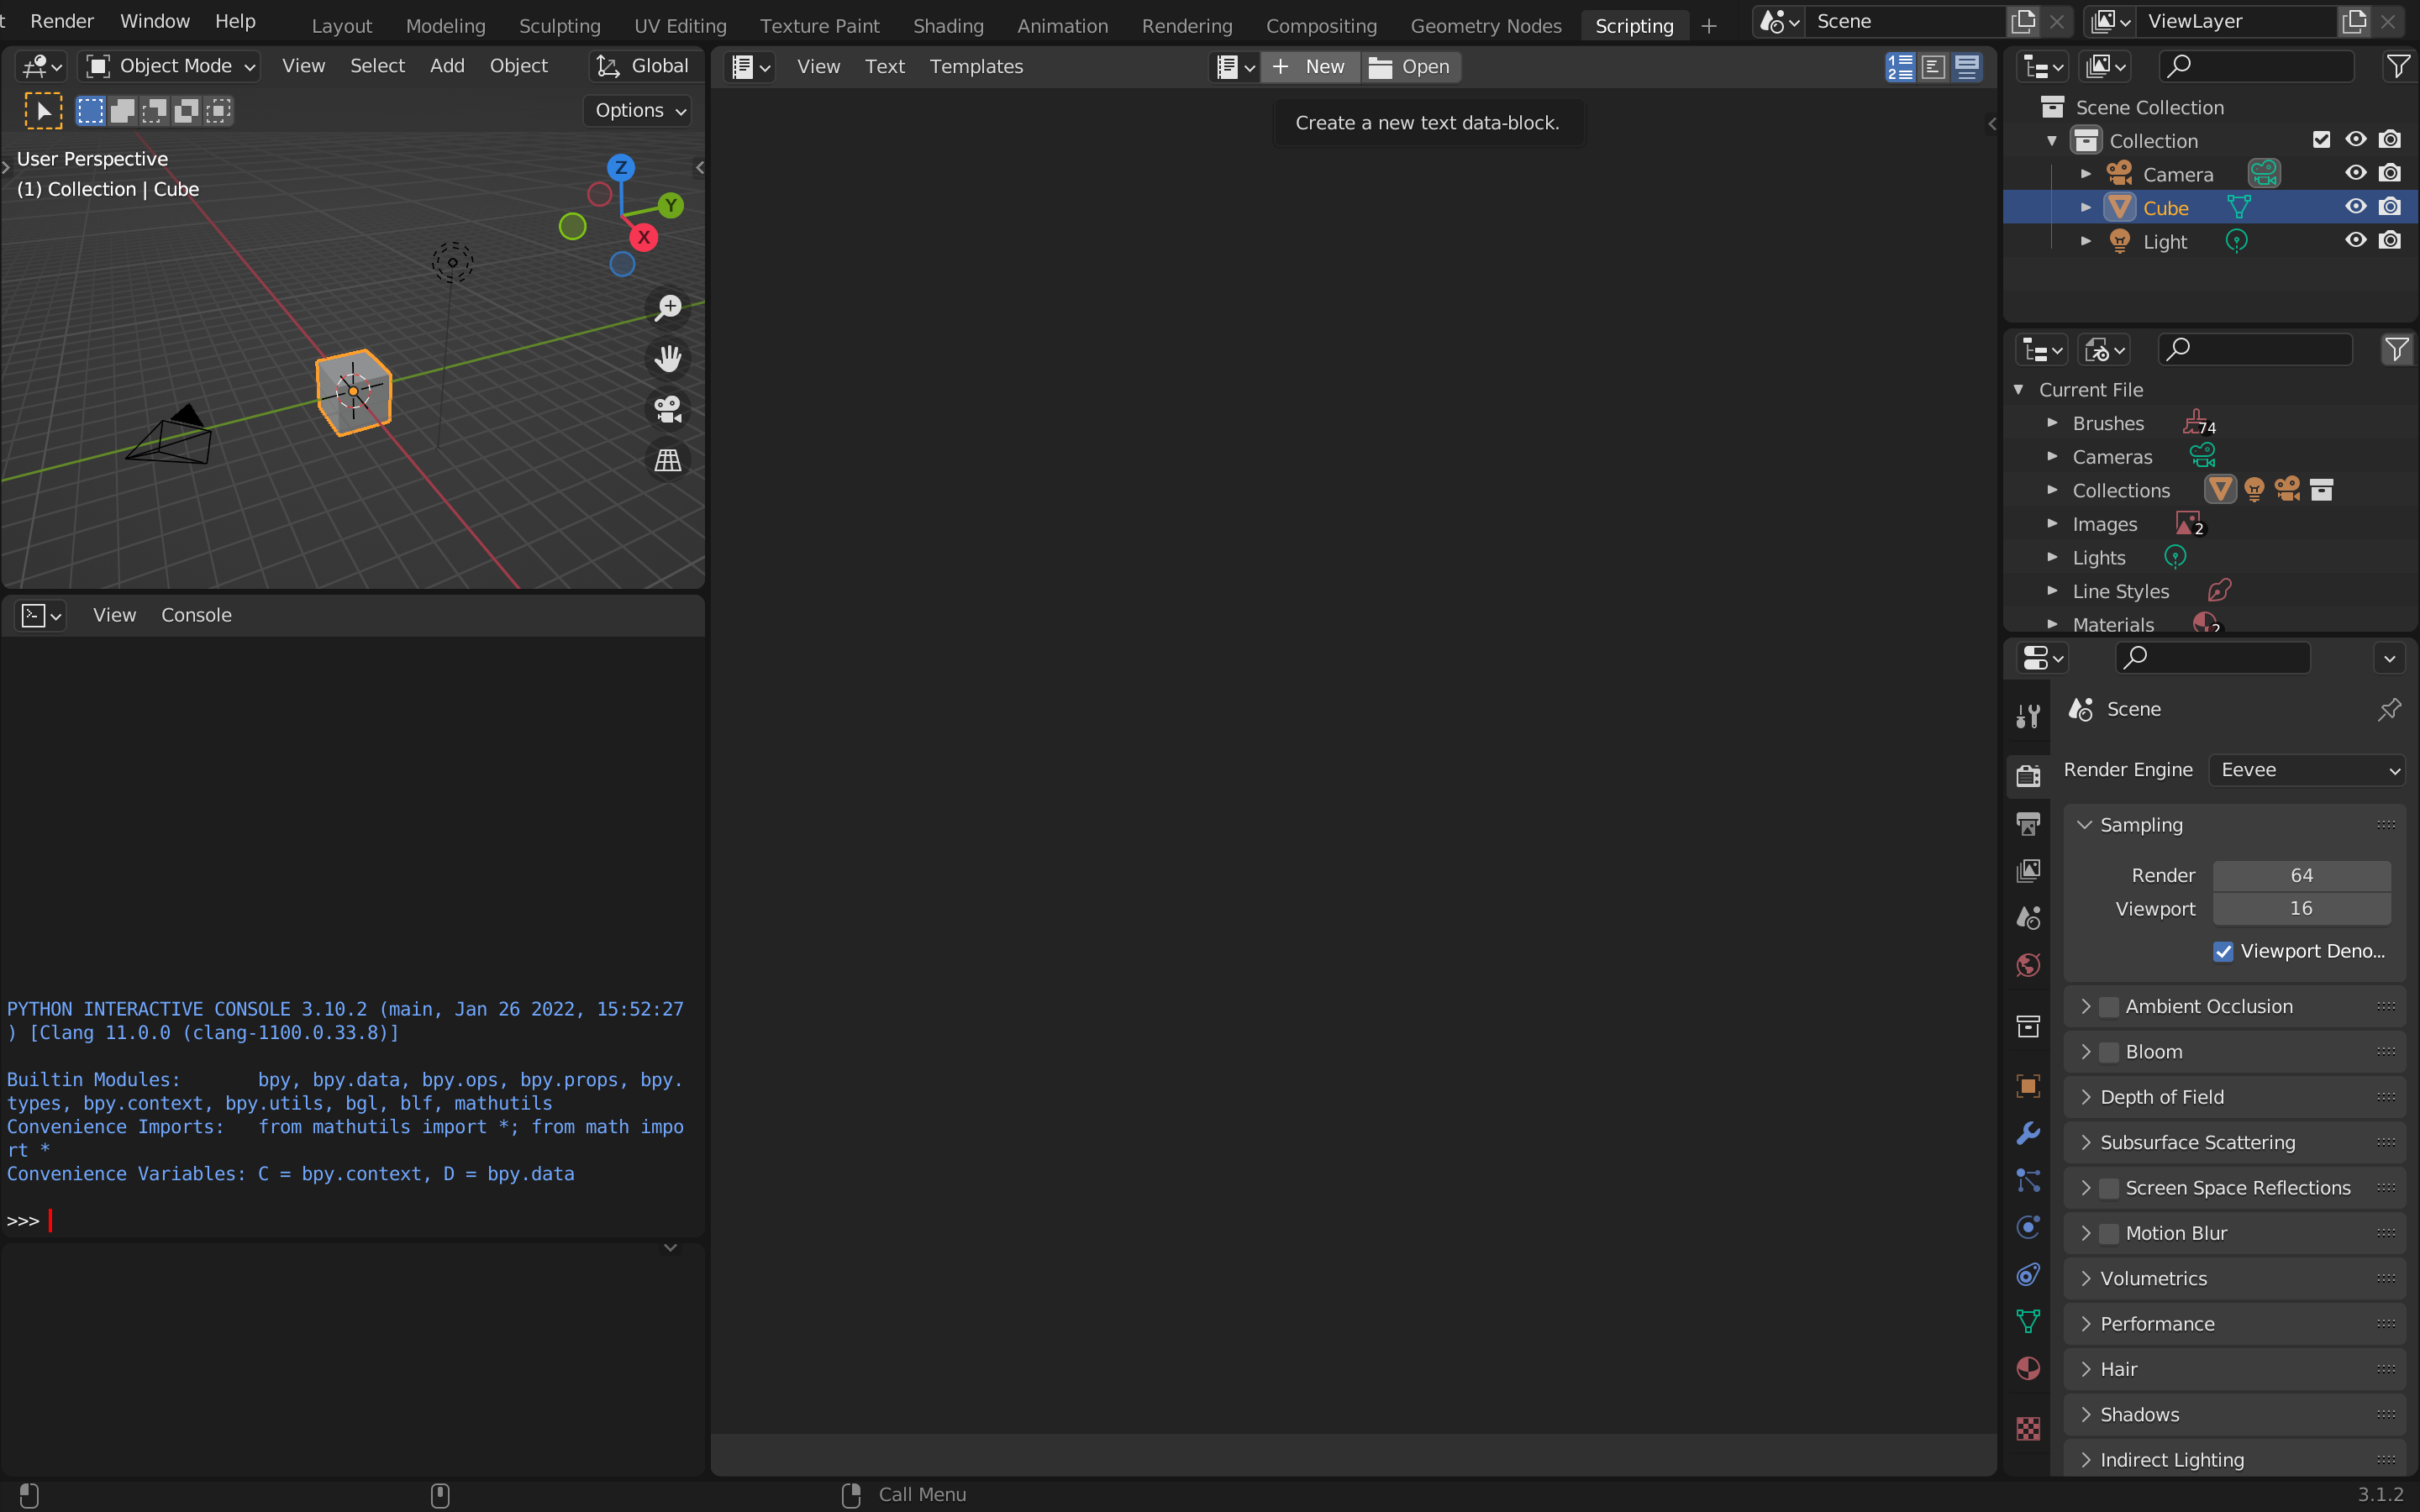
ダウンロードしたBlenderを開き、「Scripting」タブに移ります。メニューバーにない場合は右側にスクロールしましょう。
すると、下のような画面に映るはずなので、「New」から新しいテキストファイルを作り、実行したいコードを貼り付けましょう。次いで実行ボタン「▷」を押すことでコードが実行されます。

なお、コンソール画面を見るためにはエイリアスを作成してターミナルからblenderを開く必要があります。以下一例です。
alias blender='/Applications/Blender.app/Contents/MacOS/Blender'
blender
コード
import bpy
import math
def main(text,text_info,background_info,spotlight=True):
    #すでにあるデータの消去
    for col in bpy.data.collections:
        for item in col.objects:
            col.objects.unlink(item)
            bpy.data.objects.remove(item)
    for item in bpy.context.scene.collection.objects:
        bpy.context.scene.collection.objects.unlink(item)
    for item in bpy.data.objects:
        bpy.data.objects.remove(item)
    for item in bpy.data.cameras:
        bpy.data.cameras.remove(item)
    for item in bpy.data.meshes:
        bpy.data.meshes.remove(item)
    for item in bpy.data.materials:
        bpy.data.materials.remove(item)
    for item in bpy.data.lights:
        bpy.data.lights.remove(item)
    # フォントの変更(例、mac)
    #fnt = bpy.data.fonts.load('/System/Library/Fonts/ヒラギノ丸ゴ ProN W4.ttc')
    # テキストオブジェクトを追加
    bpy.ops.object.text_add()
    ob=bpy.context.object
    ob.data.name = "logo_text"
    ob.data.body = text
    #ob.data.font = fnt              # テキストオブジェクトのフォント設定
    #テキストのマテリアル設定
    mat_logo = bpy.data.materials.new('logo_material')
    mat_logo.use_nodes = True
    p_BSDF_1 = mat_logo.node_tree.nodes["Principled BSDF"]
    lr,lg,lb = text_info[:3]
    p_BSDF_1.inputs[0].default_value = (lr, lg, lb, 1)
    p_BSDF_1.inputs[7].default_value = text_info[3]
    p_BSDF_1.inputs[15].default_value = text_info[4]
    bpy.ops.object.material_slot_add()
    bpy.context.object.active_material = mat_logo

    s=bpy.data.objects["Text"]
    s.name = "logo_text"
    # テキストの大きさ指定
    s.scale[0] = 0.2
    s.scale[1] = 0.2
    s.scale[2] = 0.2
    #テキストの形状指定
    #法線方向への拡大
    s.data.offset=0.002
    #厚み
    thickness = 0.2
    s.data.extrude= thickness
    #面取りの深さと細かさ
    s.data.bevel_depth=0.01
    s.data.bevel_resolution=1
    # メッシュに変換
    bpy.ops.object.convert(target='MESH')
    bpy.ops.object.origin_set(type='GEOMETRY_ORIGIN')
    bpy.ops.object.transform_apply(rotation=True, scale=True)

    #背景の追加
    bpy.ops.mesh.primitive_plane_add(size=2, enter_editmode=False, align='WORLD', location=(0, 0, -thickness), scale=(100, 100, 100))
    #背景のマテリアル設定
    mat_background = bpy.data.materials.new('background_material')
    mat_background.use_nodes = True
    p_BSDF_2 = mat_background.node_tree.nodes["Principled BSDF"]
    br,bg,bb = background_info[:3]
    p_BSDF_2.inputs[0].default_value = (br, bg, bb, 1)
    p_BSDF_2.inputs[7].default_value = background_info[3]
    p_BSDF_2.inputs[15].default_value = background_info[4]
    bpy.ops.object.material_slot_add()
    bpy.context.object.active_material = mat_background

    #ライトの追加
    bpy.ops.object.light_add(type='POINT', radius=1, align='WORLD', location=(0, 0, 1), scale=(0.3*len(text), 0.3*len(text), 0.3*len(text)))
    bpy.context.object.data.energy = 500
    if spotlight:
        bpy.ops.object.light_add(type='SPOT', align='WORLD', location=(0, 0, 1), scale=(0.3*len(text), 0.3*len(text), 0.3*len(text)))
        bpy.context.object.data.energy = 100

    #カメラの追加
    bpy.ops.object.camera_add(align='VIEW', location=(0, 0, 0.4 + 0.2*len(text)), rotation=(0,0,0), scale=(0.05*len(text), 0.05*len(text),0.05*len(text)))
    bpy.context.scene.camera = bpy.context.object
    #レンダリング設定
    bpy.context.scene.render.resolution_x = 960
    bpy.context.scene.render.resolution_y = 540
    bpy.context.scene.render.resolution_percentage = 100
    #レンダリング
    output_path = "logo.png"
    bpy.ops.render.render()
    bpy.data.images['Render Result'].save_render(output_path)

if __name__ == "__main__":
    #ロゴにする文字列
    text = "Qiita"

    #テキストの色(R,G,B,roughness,transmission)
    text_info = (1,0.95,1,0,1)

    #背景の色(R,G,B,roughness,transmission)
    background_info = (0.1,0.9,0,0.8,0.2)

    main(text,text_info,background_info)
以上がロゴオブジェクト生成と撮影のためのコードです。使用者が書き換えるべき点は一番下の3つの変数の中身です。
- text
ロゴにしたい文字列を代入しましょう。 - text_info
テキストの色や質感を設定します。(赤の強さ,緑の強さ,青の強さ,表面の粗さ,伝播度)をそれぞれ0から1までの数(整数でなくて良い)に決めましょう。 - background_info
背景の色や質感を設定します。(赤の強さ,緑の強さ,青の強さ,表面の粗さ,伝播度)をそれぞれ0から1までの数(整数でなくて良い)に決めましょう。 - spotlight(オプション)
main関数の引数でspotlight=Falseと設定するとスポットライトを消すことができます。
撮影された画像は"logo.png"というファイル名で保存されます。出力先、ファイル名を変えたい場合はmain関数内の「output_path」を書き換えましょう。
レンダリングにかかる時間は、Render Engineを「Eevee」として(一般的なPCのCPUを用いて)数秒程度です。
実行サンプル
main関数内を書き換えれば、文字の厚み、金属感、光源の強度、カメラの位置などさまざまなカスタマイズが可能です。
参考サイト


