前提環境
・Windows8.1 64bit
・Vagrant 最新版
・Virtualbox 最新版
・GitHub Desktop for Windows(64bit) 最新版
(Teraterm 最新版はインストール推奨)
環境構築手順
-
Vagrantをインストールする
https://www.vagrantup.com/downloads.html -
Virtualboxをインストールする
https://www.virtualbox.org/ -
CentOSをVirtualboxにインストールする ※やや時間がかかる場合があるので、手順4,5を並行して実施することをおすすめします
- Powershellを管理者権限で起動
- コマンドを実行
Powrtshell(管理者)
vagrant box add CentOS73 https://github.com/CommanderK5/packer-centos-template/releases/download/0.7.3/vagrant-centos-7.3.box
```
-
GitHubアカウントを作成する
- アカウント作成方法は以下を参考
-
GitHub Desktopをインストールする
-
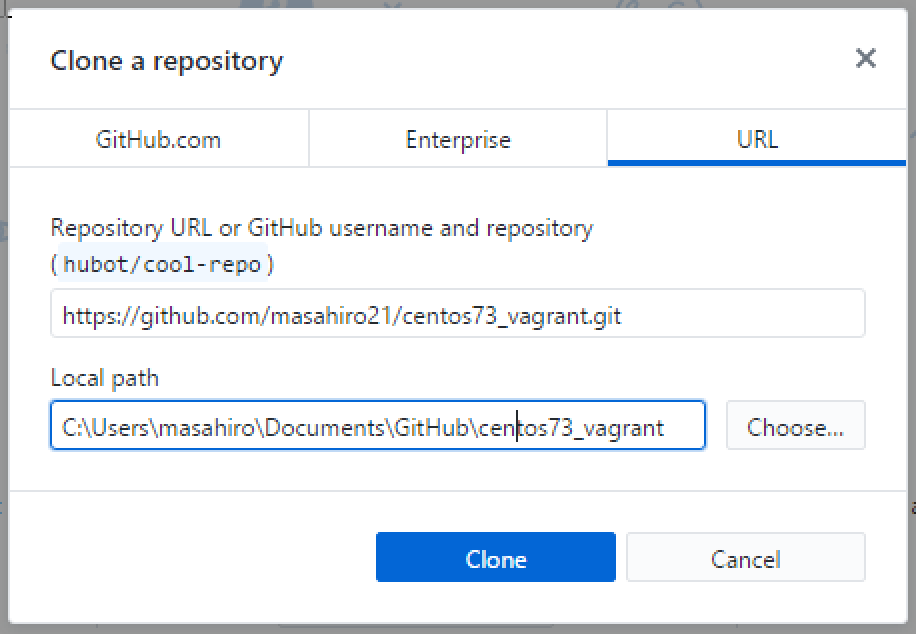
「centos73_vagrant」リポジトリをローカルにcloneする
-
vagrant upを実行
Powershell(管理者)
cd [手順6.で表示されたLocal Path]
vagrant up
```
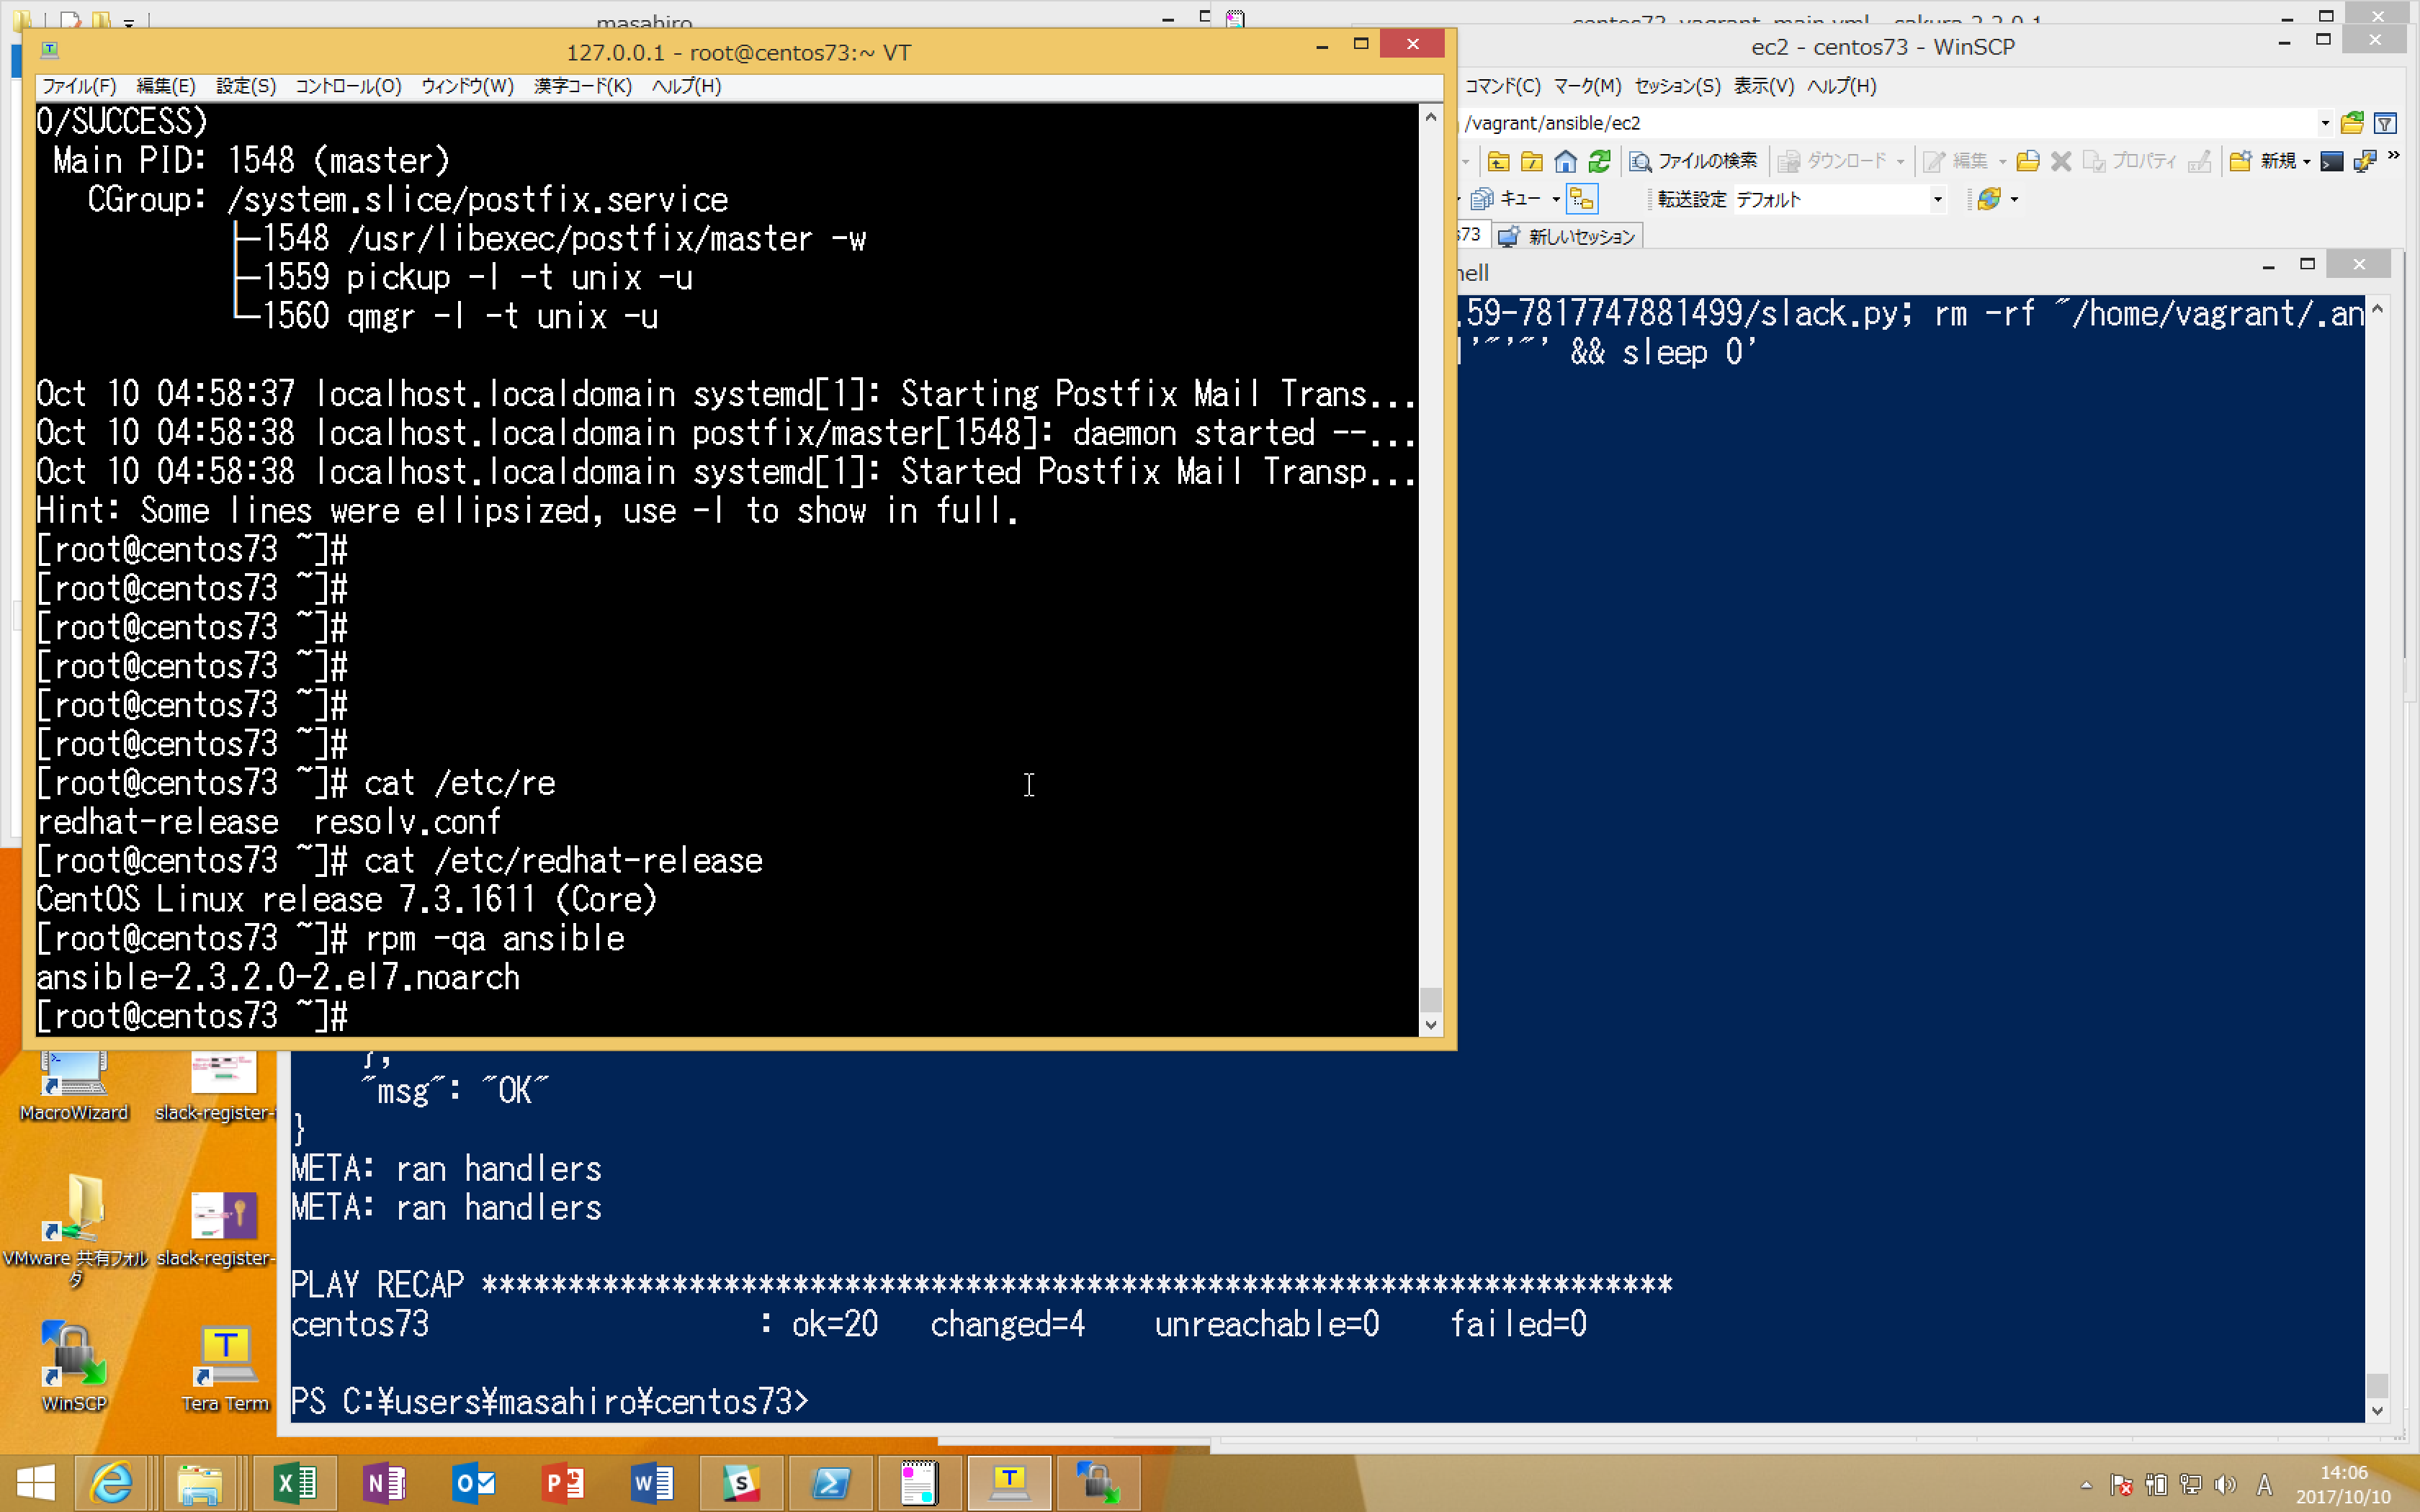
- 仮想マシンの作成後、ansible_localプロビジョナが実行され、CentOS上に環境が構築される。
- 仮想マシンにログインする
-
2つの方法があります。
- 【おすすめ】Teratermでログイン
- Teraterm最新版をフルインストール
- 「インストール種別の選択」画面で「フルインストール」を選択
- 「追加タスクの選択」画面で「.ttlをttpmacro.exeに関連付ける」にチェックを入れる
- centos73_S-login.ttl をダブルクリック
- Teraterm最新版をフルインストール
- vagrant sshコマンドでログイン
Powershell(管理者) - 【おすすめ】Teratermでログイン
-
cd [手順6.で表示されたLocal Path]
vagrant ssh
```
Thanks to: 参考文献
- Vagrant + Ansible で開発環境を作るなら ansible_local プロビジョナがいい! - Shin x Blog ←一番参考になった!
- GitHub-アカウントの準備と設定
- 複数VMにhostnameを設定 | technote
ー以上ー

