さくらのクラウドとSiteGuardとウェブアクセラレータ
さくらのクラウドでSiteGuard ServerEditionを入れてウェブアクセラレータと
使って見るにあたって設定などをメモしてみました。
今回は以下の環境です
- OS
- Ubuntu 20.04
- Webサーバ
- Apache httpd 2.4
- WAF
- SiteGuard ServerEdition 5.0 (Apache)
- PHP 7.4
- WordPress
サーバ構築の部分はかなり端折っていますので、iptablesなどファイアウォール、
セキュリティ設定などは各々しっかりとお願いします。
また、今回のメインはSiteGuard ServerEditionとウェブアクセラレータでの設定なので、
ウェブアクセラレータのサイト登録の細かい話や、ApacheやPHPのチューニングなどは扱いません。
基本的なウェブサーバの話もしません。
※途中から、やる気を消失しSiteguard ServerEditionの構築メモになりつつあります。
WordPressを動かすまで
ApacheとPHPとMySQLのインストール
# apt install apache2 libapache2-mod-php7.4 php7.4-mysql mariadb-server mariadb-client wget unzip
データベースユーザの作成
# mariadb
MariaDB [(none)]> CREATE DATABASE wordpress DEFAULT CHARACTER SET utf8;
MariaDB [(none)]> GRANT ALL ON wordpress.* TO wordpress@localhost IDENTIFIED BY 'password';
MariaDB [(none)]> FLUSH PRIVILEGES;
WordPressの設置
# cd /var/www/html
# rm index.html
# curl -L https://ja.wordpress.org/latest-ja.tar.gz --output - | tar zxvf - --strip-components 1
# chown -R www-data:www-data .
めでたくWordPressのセットアップ画面が出るはずです。
あとはデータベースの接続情報などを入れWordPressのセットアップを完了させてください。
http://<サーバIPアドレス>/
SiteGuard Server Editionのセットアップ
SiteGuard Server EditionはApacheのモジュールとして組み込めるWAF(ウェブアプリケーションファイアウォール)です。
詳しくはさくらの公式ドキュメントを確認してください。
さくらのクラウド、さくらのVPS、さくらの専用サーバPHYで使う場合は無料でご利用いただけます。
インストール
- 必要パッケージのインストール
# apt install make openjdk-11-jdk
- SiteGuard Server Editionに必要なApacheモジュールを有効化します。
# a2enmod proxy_http
# a2enmod ssl
# systemctl restart apache2
- ダウンロードURLは上記公式マニュアルを参照してください。
# cd /usr/local/src/
# curl -L http://ダウンロードURL/siteguard-server-edition-5.00-0.apache.x86_64.tar.gz --output - | tar zxvf -
# cd siteguard-server-edition-5.00-0.apache.x86_64
# make install
# cd /opt/jp-secure/siteguardlite
# ./setup.sh
------------------------------------------------------
  SiteGuard Server Edition setup start...
------------------------------------------------------


please enter Apache Config File. [/etc/apache2/apache2.conf] -->
Apache Config File=[/etc/apache2/apache2.conf]
is correct? [yes]|no -->

please enter Apache Binary File (httpd). [/usr/sbin/apache2] -->
Apache Binary File (httpd)=[/usr/sbin/apache2]
is correct? [yes]|no -->

Is the Web server registered in systemd?
please select. [yes]|no -->

please enter Apache service name. [apache2] -->
Apache service name=[apache2]
is correct? [yes]|no -->

do you want to use the web administrative console?
* to use the console, you will need JDK or JRE is installed.
please select. [yes]|no -->

please enter JDK or JRE directory. [] -->/usr/lib/jvm/java-11-openjdk-amd64/
JDK or JRE directory=[/usr/lib/jvm/java-11-openjdk-amd64/]
is correct? [yes]|no -->

please enter the port number of the web console for https.
please enter port number. [9443] -->
port number=[9443]
is correct? [yes]|no -->

please enter the addresses allowed to access the web console for https.
ex:192.168.1.100 10.0.0.0/24
please enter allowed addresses. [all] -->
allowed addresses=[all]
is correct? [yes]|no -->

do you change the ssl certificate files?
please select. yes|[no] -->
update server config file done.
------------------------------------------------------
  check if the ssl settings on admin console are appropriate....
------------------------------------------------------
Successfully set the ssl protocol.
update Makefile done.
------------------------------------------------------
  Starting services...
------------------------------------------------------
Starting Tomcat(WebUI for SiteGuard Server Edition):  [ OK ]
Starting Notify Service:  [ OK ]

Apache restart. Are you sure? [yes]|no -->
AH00558: apache2: Could not reliably determine the server's fully qualified domain name, using 127.0.1.1. Set the 'ServerName' directive globally to suppress this message
Stopping :  [ OK ]
------------------------------------------------------
  clear tmp files
------------------------------------------------------
removing tmp files ...
done.
starting web server ...
Starting :  [ OK ]
Apache restart done.
------------------------------------------------------
  finished SiteGuard Server Edition setup
------------------------------------------------------
  Please access following URL for starting service.
  https://sitegurad:9443/
  (default user:admin, default password:admin)

------------------------------------------------------
  SiteGuard Server Edition setup done...
------------------------------------------------------
-
please enter JDK or JRE directory. [] -->/usr/lib/jvm/java-11-openjdk-amd64/OpenJDKのディレクトリを指定する必要があります。 -
please enter allowed addresses. [all] -->を all のまま進めていますが、
SiteGuardの管理画面に誰でもアクセスできるのはよくないので必要に応じて接続元IPアドレスを指定してください。
SiteGuard Server Edition ライセンス登録
https://<サーバIPアドレス>:9443/
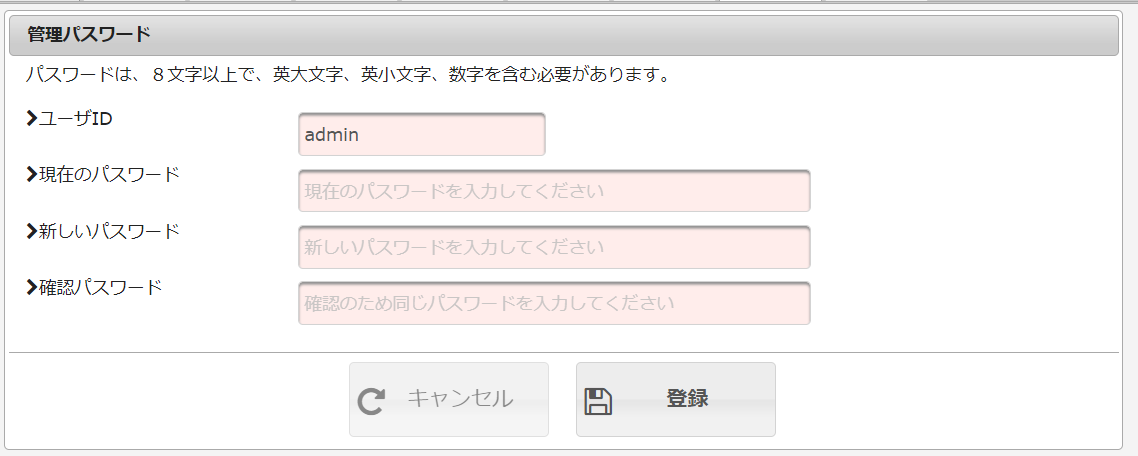
初期ログインは user:admin password:admin のためログインしてパスワードを変更します。
-
ライセンスのインストール
管理 > ライセンス情報
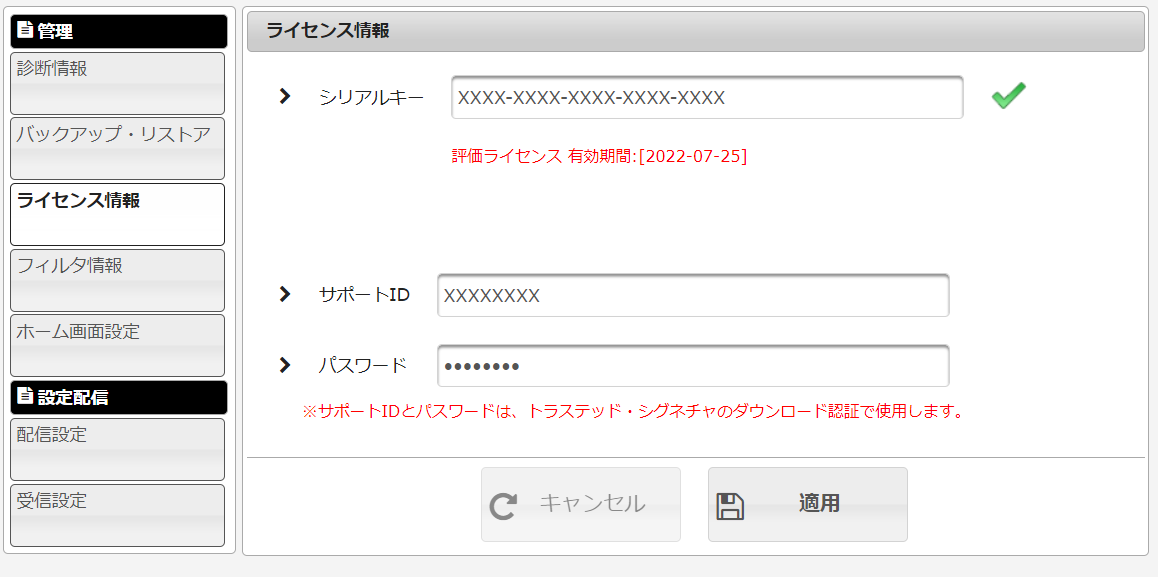
ライセンス情報は公式マニュアルを参照してください。 -
マニュアルにある通り、シグネチャ更新URLを変更します。
# sed -i -e 's#/download/siteguardlite/#/download/siteguardlite_sp/#' /opt/jp-secure/siteguardlite/conf/dbupdate_waf_url.conf
- SiteGuardの管理画面を再起動します。
# systemctl restart siteguardlite_admin.service
WAFの有効化
-
ウェブ攻撃検査を有効にします
モジュール設定 > 基本設定 > ウェブ攻撃検査下部に検出時の通知設定も可能なため、必要に応じて設定してください。
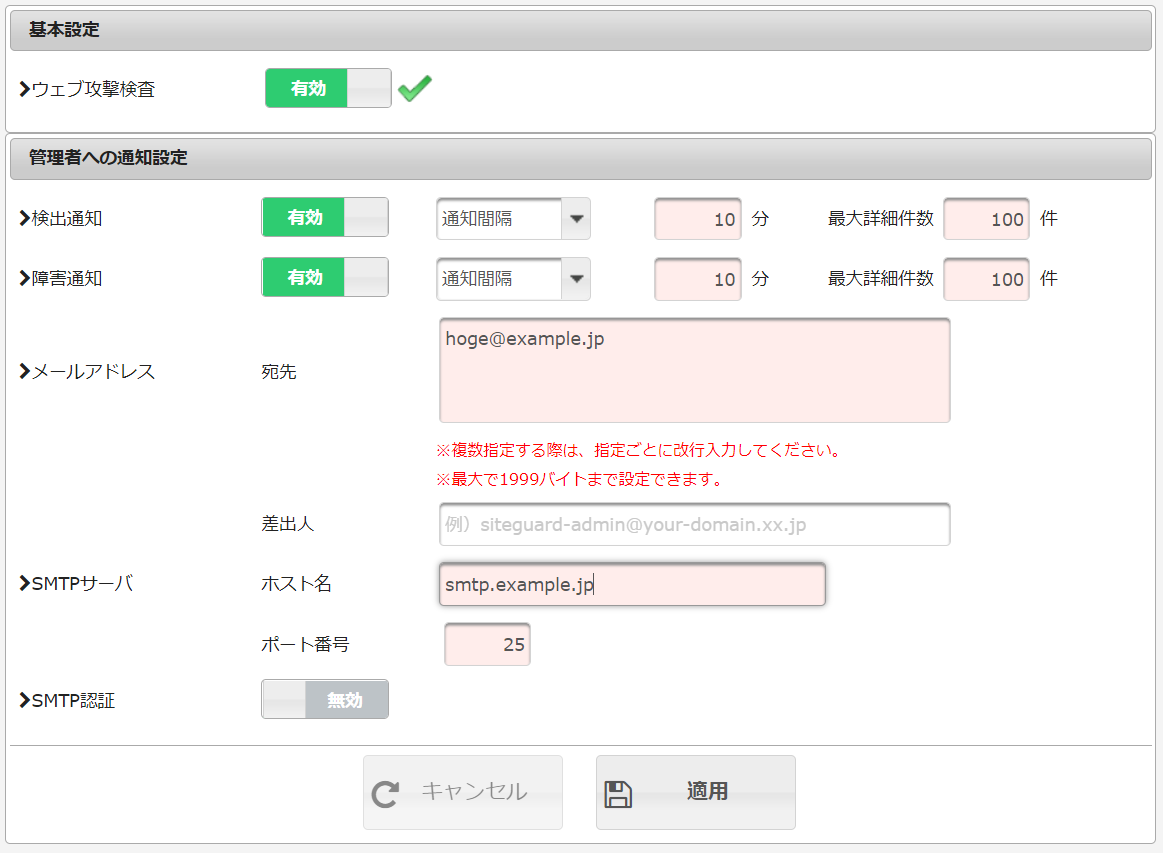
入力後「適用」を押して反映します。
ウェブアクセラレータ経由の配信します。
-
このような感じでウェブアクセラレータのサイトを登録します。
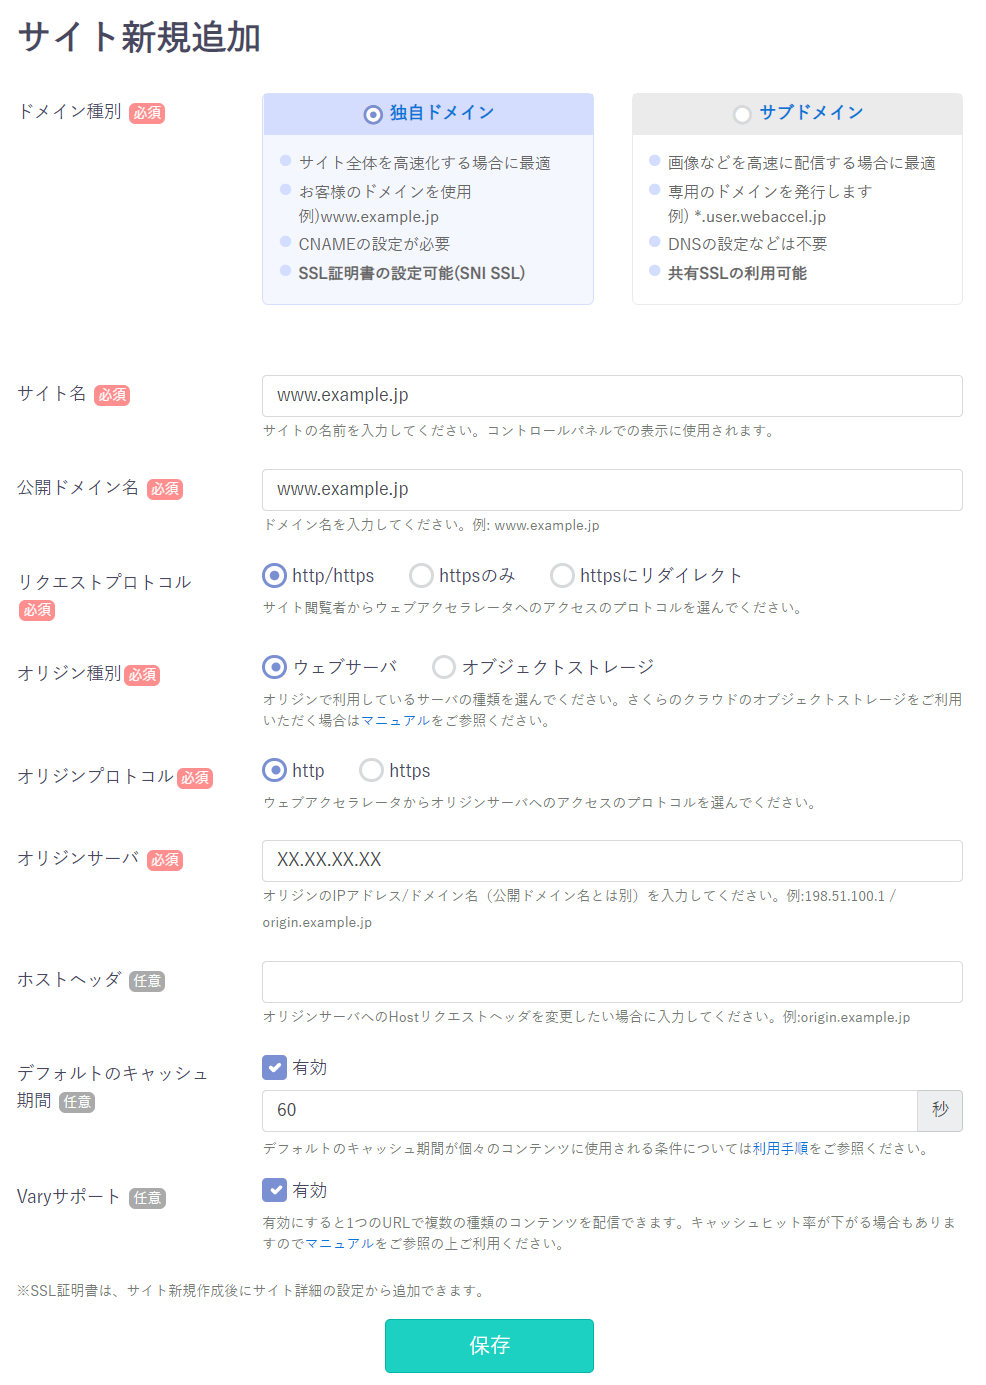
ウェブアクセラレータの詳細な設定方法は、設定などは公式マニュアルをご覧ください。
今回は
www.example.jpで登録しXX.XX.XX.XXが先ほど設定したサーバのIPアドレスで
ウェブアクセラレータ経由で配信ができる状態として進めます。
http://www.example.jp/ で WordPressのトップページが見えいる状態
WAFの動作確認
-
動作確認用URLでアクセスすることで、動作確認ができます
http://www.example.jp/WAF-TEST-SIGNATURE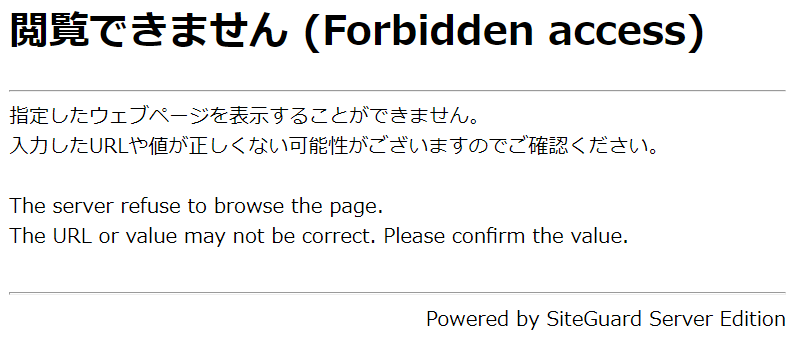
Powerd by SiteGuard Server EditionのForbiddenが表示されれば正常に動いています。 -
管理画面からもBLOCKのログが確認できます
ログ > 検出ログ

BLOCKのログが記録されています🎉
しかし、よく見るとクライアントホストの部分が自分のアクセス元IPアドレスになっていないことが確認できます。
これは、ウェブアクセラレータが接続元ホストとして記録されてしまっています。
これでは、本当の接続元のクライアントIPアドレスではないため、記録としては困ります。
-
X-Forwarded-Forヘッダを見るように変更する
モジュール設定 > 詳細設定 > 高度な設定 > クライアントIPアドレスをX-Forwarded-Forから取得
有効にし、レベル1に設定します
-
管理画面から再度BLOCKのログを確認します

無事、接続元IPアドレスとして記録されます。
最後に
SiteGuard Server Editionとウェブアクセラレータを組み合わせてWordPressの配信ができました。
途中で書く気力がなくなってグダグダなので突っ込みがあればお願いします!