LoginSignup
0
0

More than 5 years have passed since last update.

さくらVPS カスタムOSインストール

Last updated at Posted at 2016-07-13

さくらVPSに、CentOS7(x86_64)をインストールする手順を記します。

 目次

  • カスタムOSのインストールの選択
  • CentOSのインストール

手順

カスタムOSのインストールの選択

1. コントロールパネルを開きます。

https://secure.sakura.ad.jp/vps/#/login
コントロールパネル

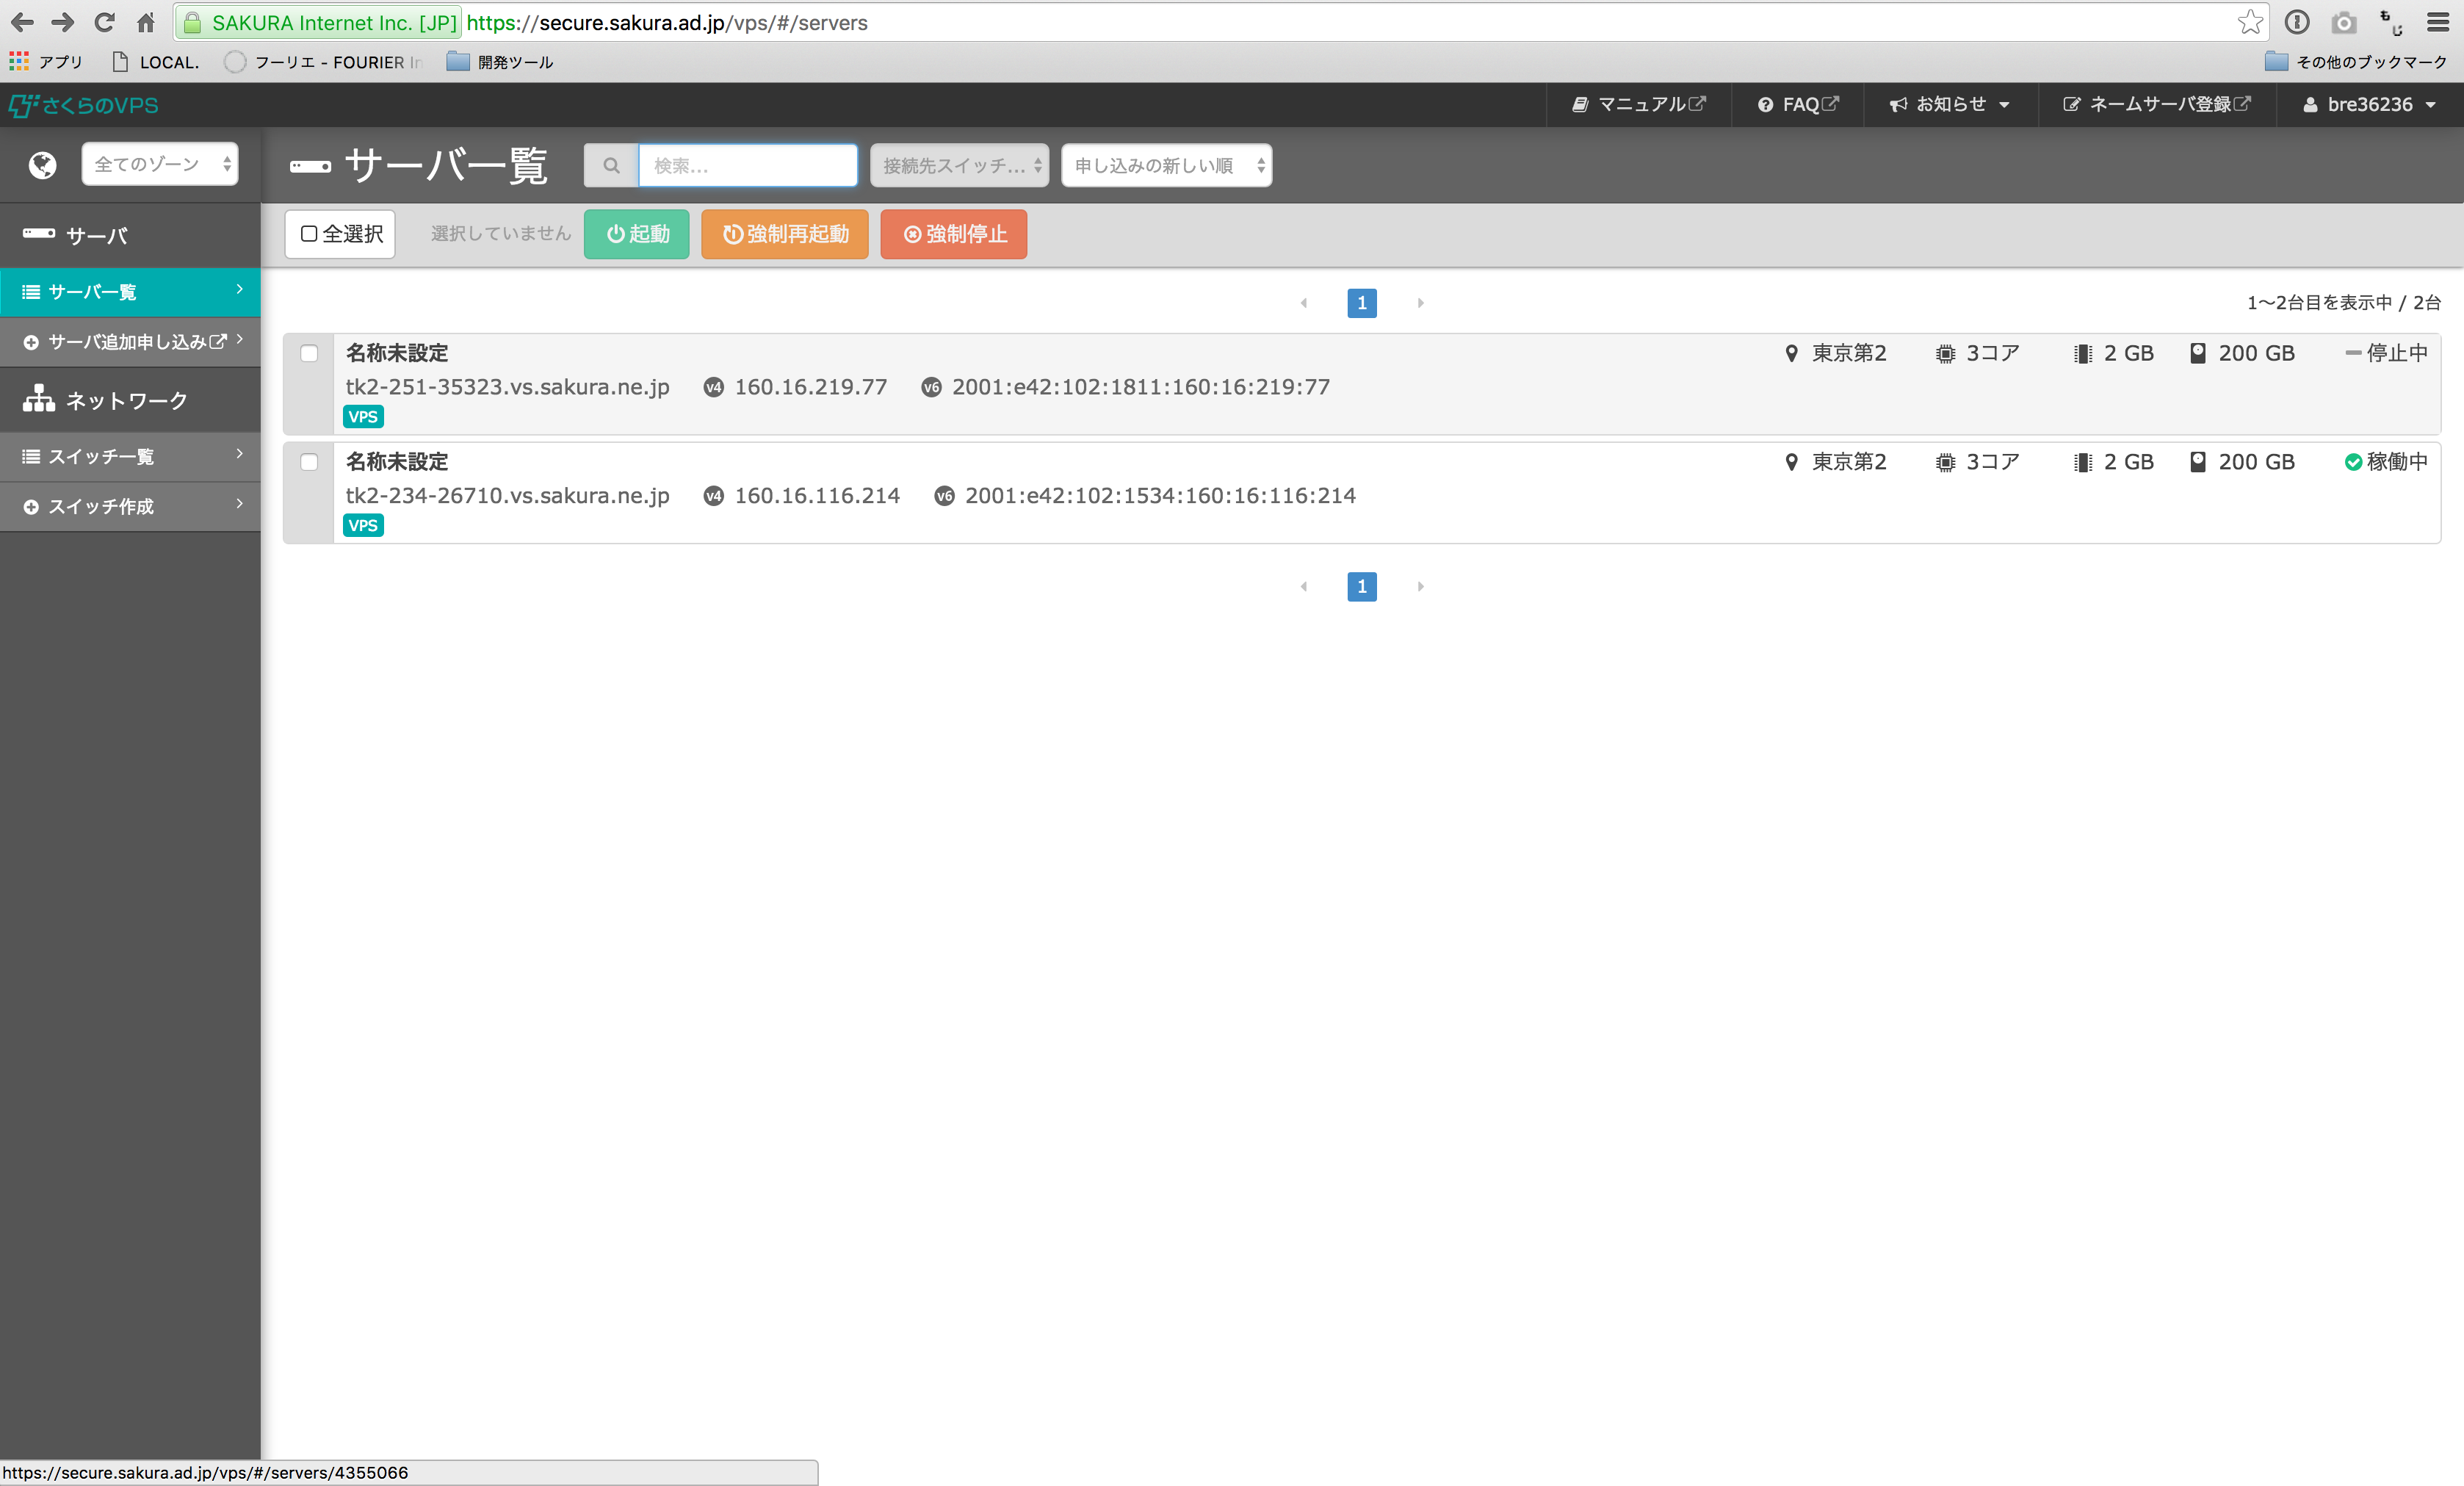
2. 一覧からOSインストールするVPSを選びます。

設定するVPSを選択

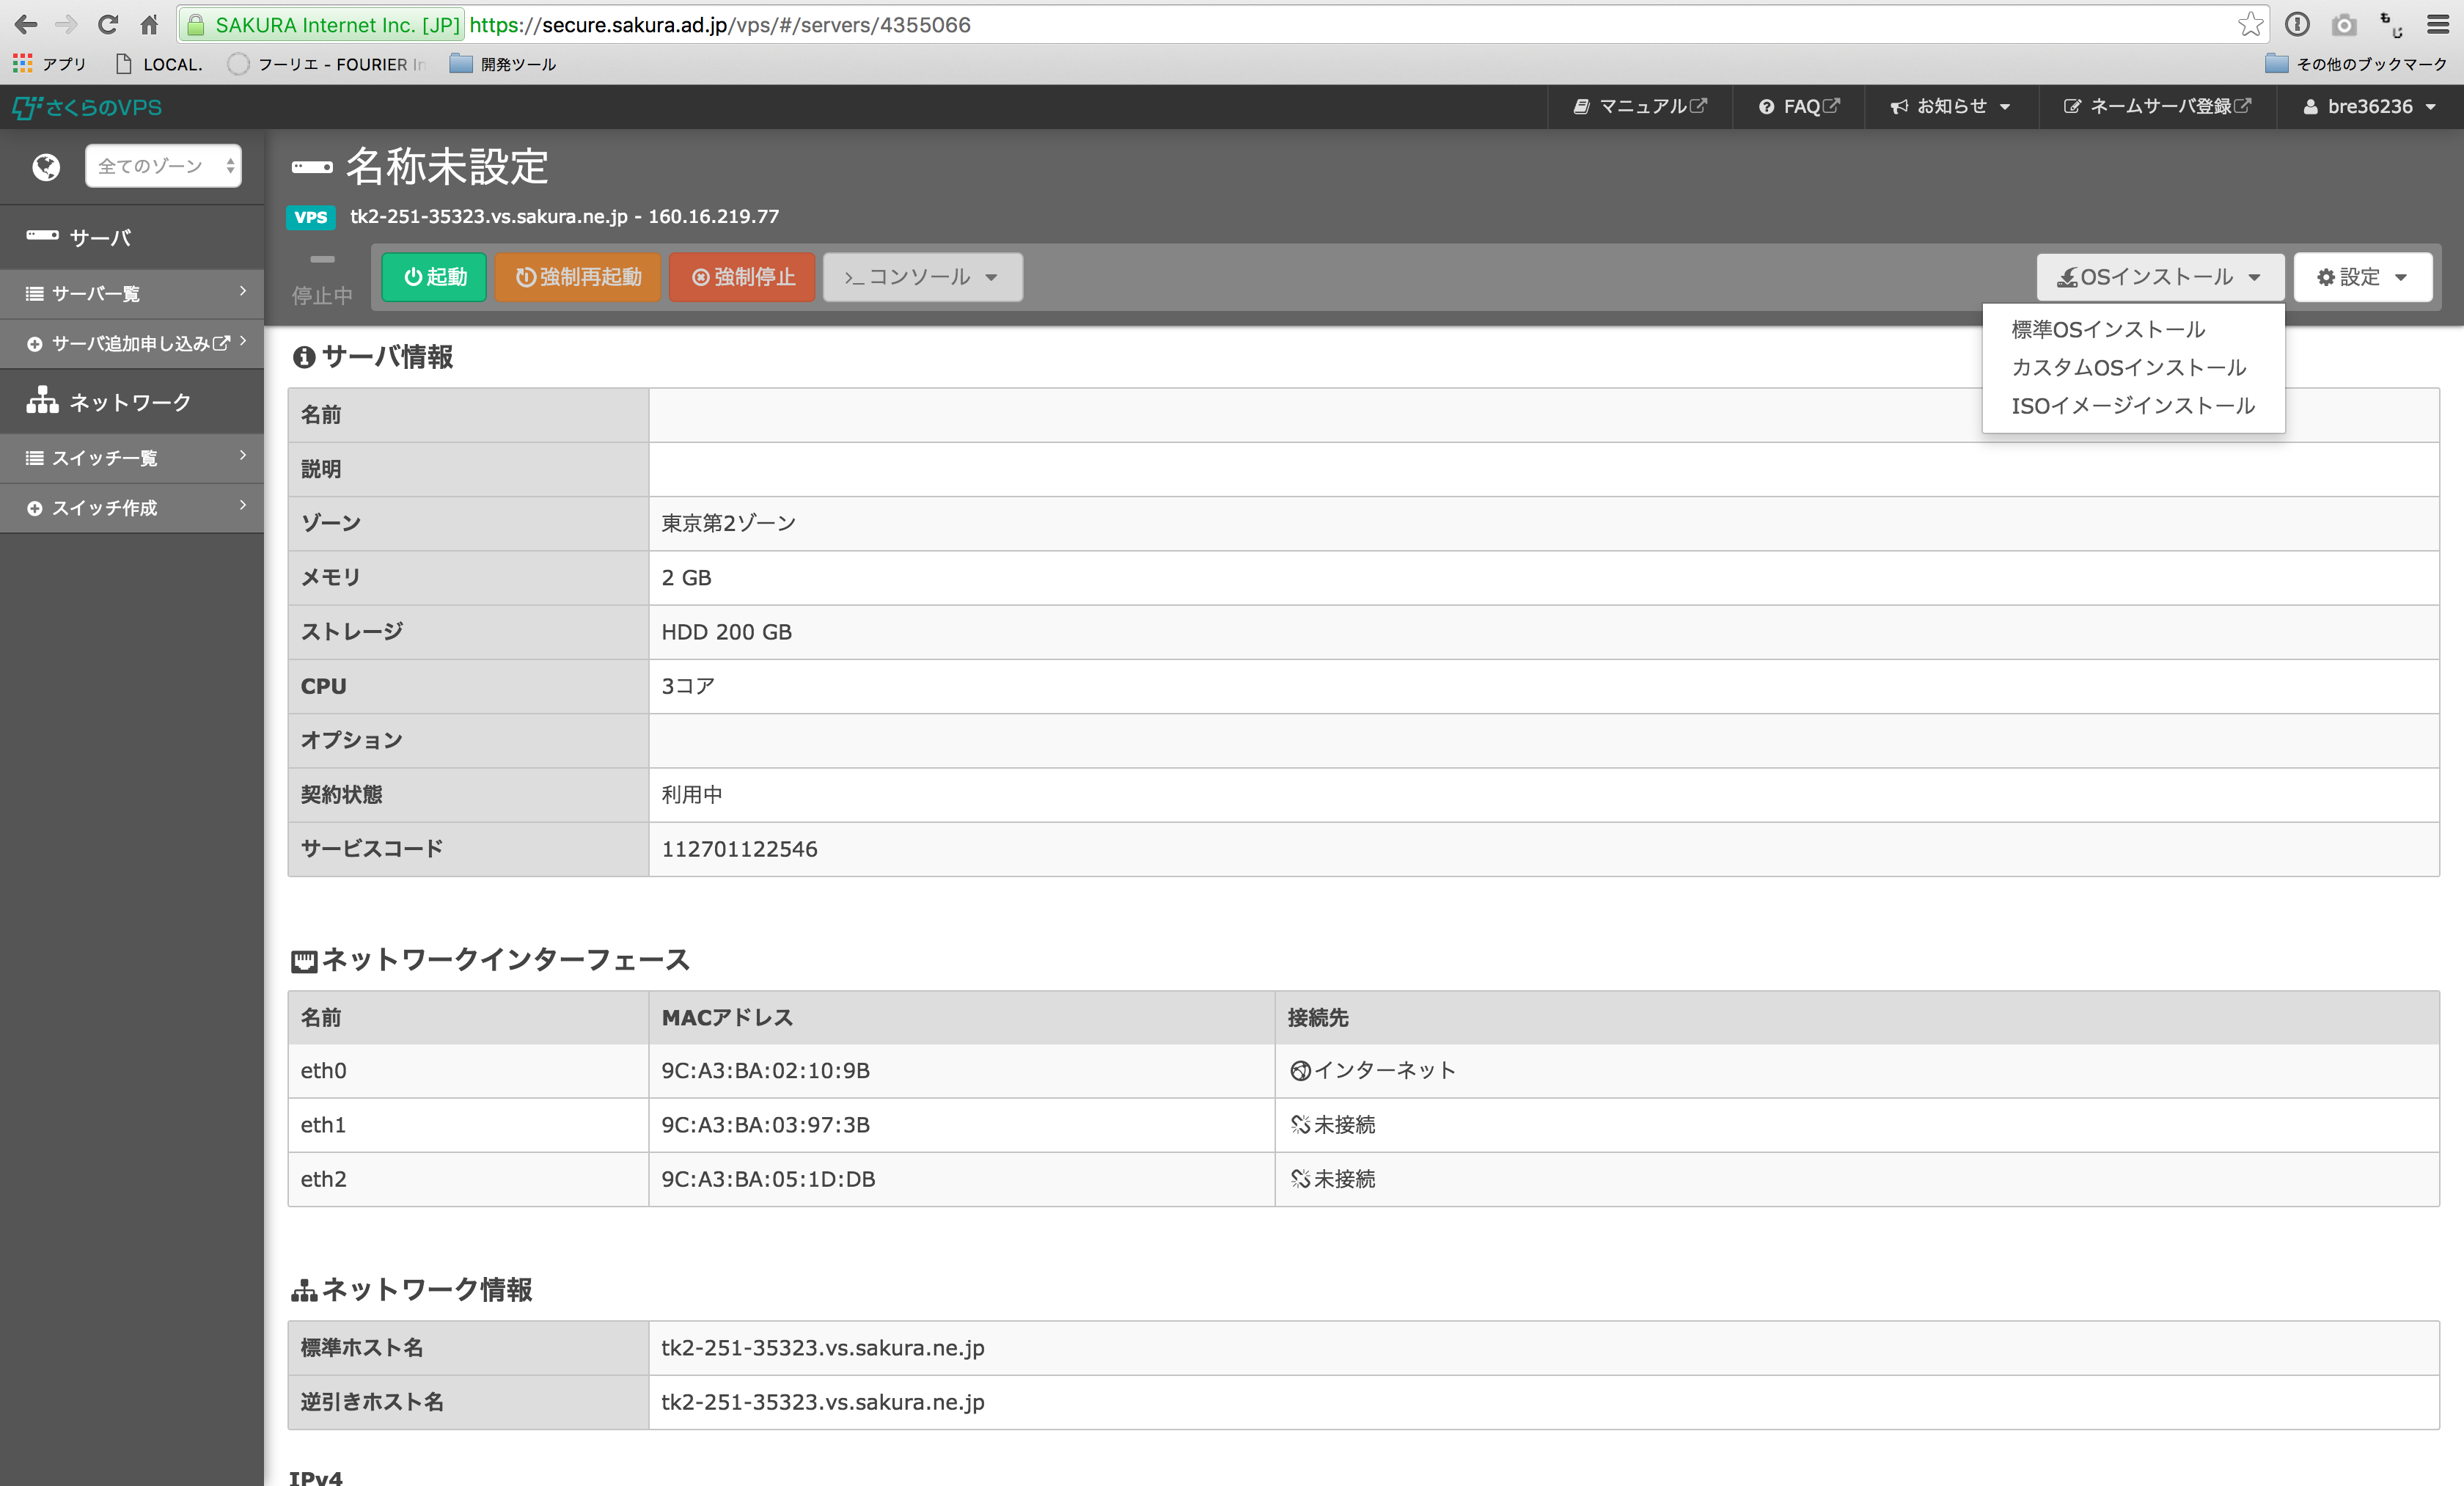
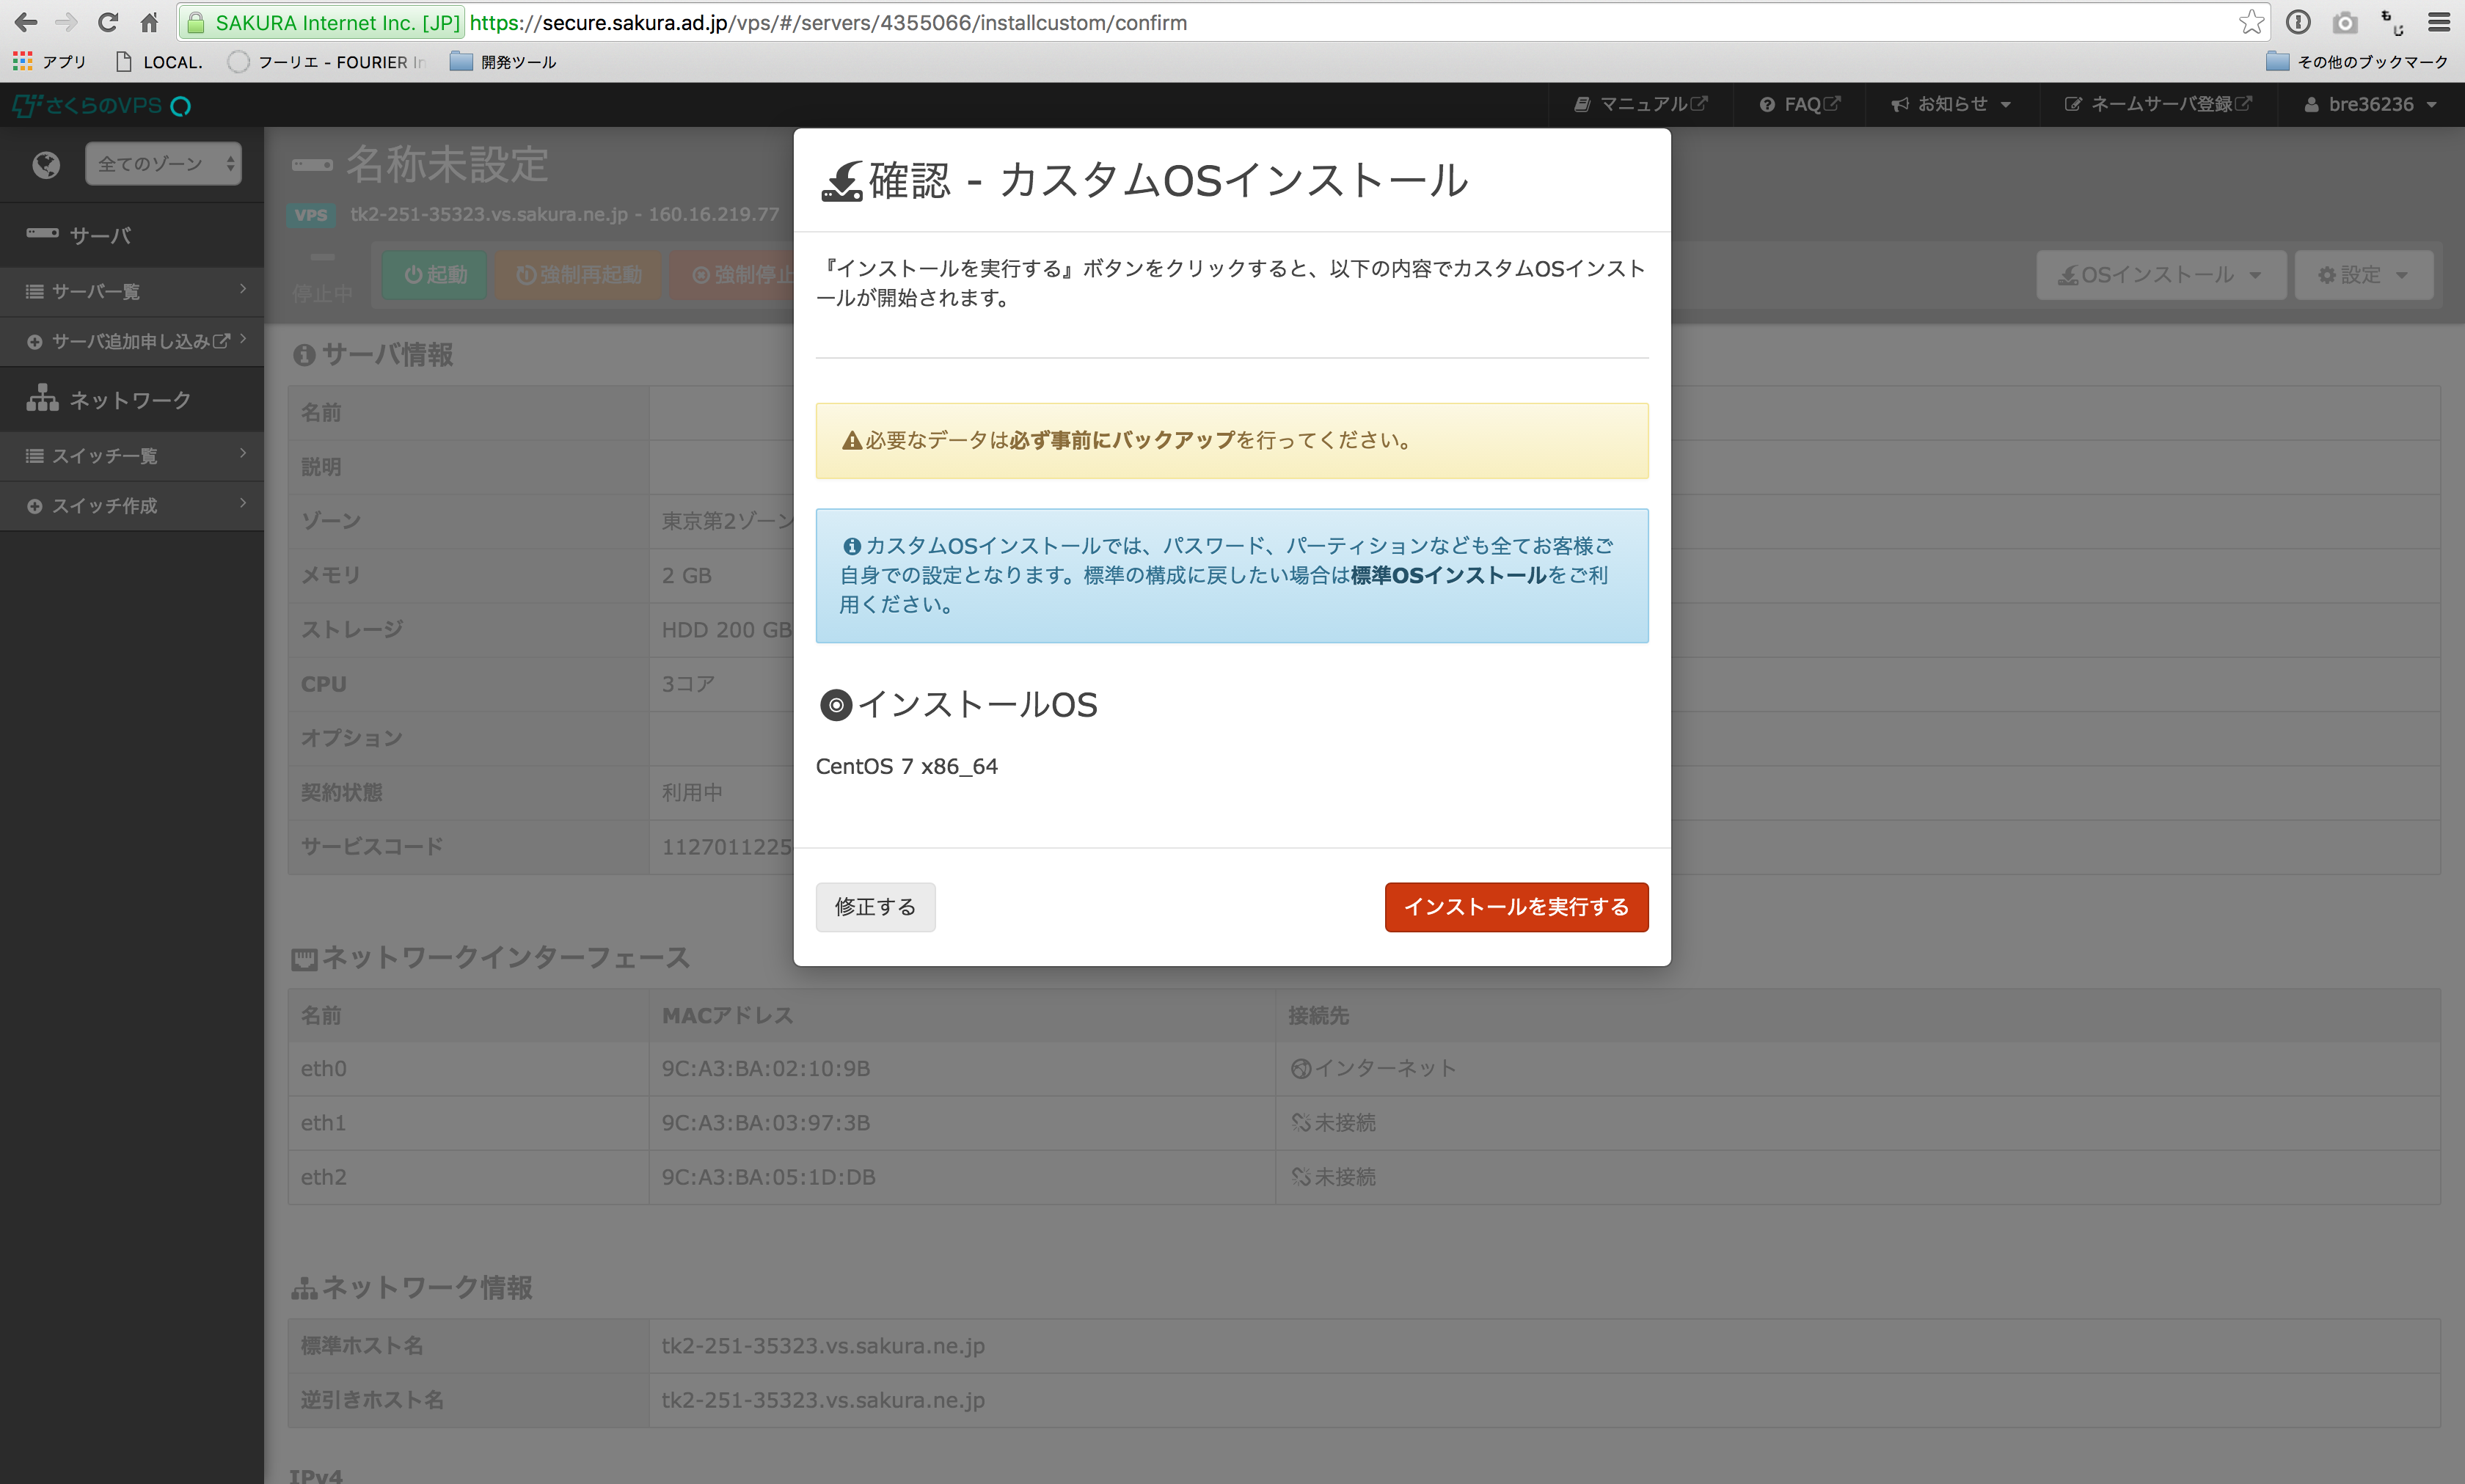
3. 「OSインストール」-「カスタムOSインストール」を選択します。

OSインストールを選択

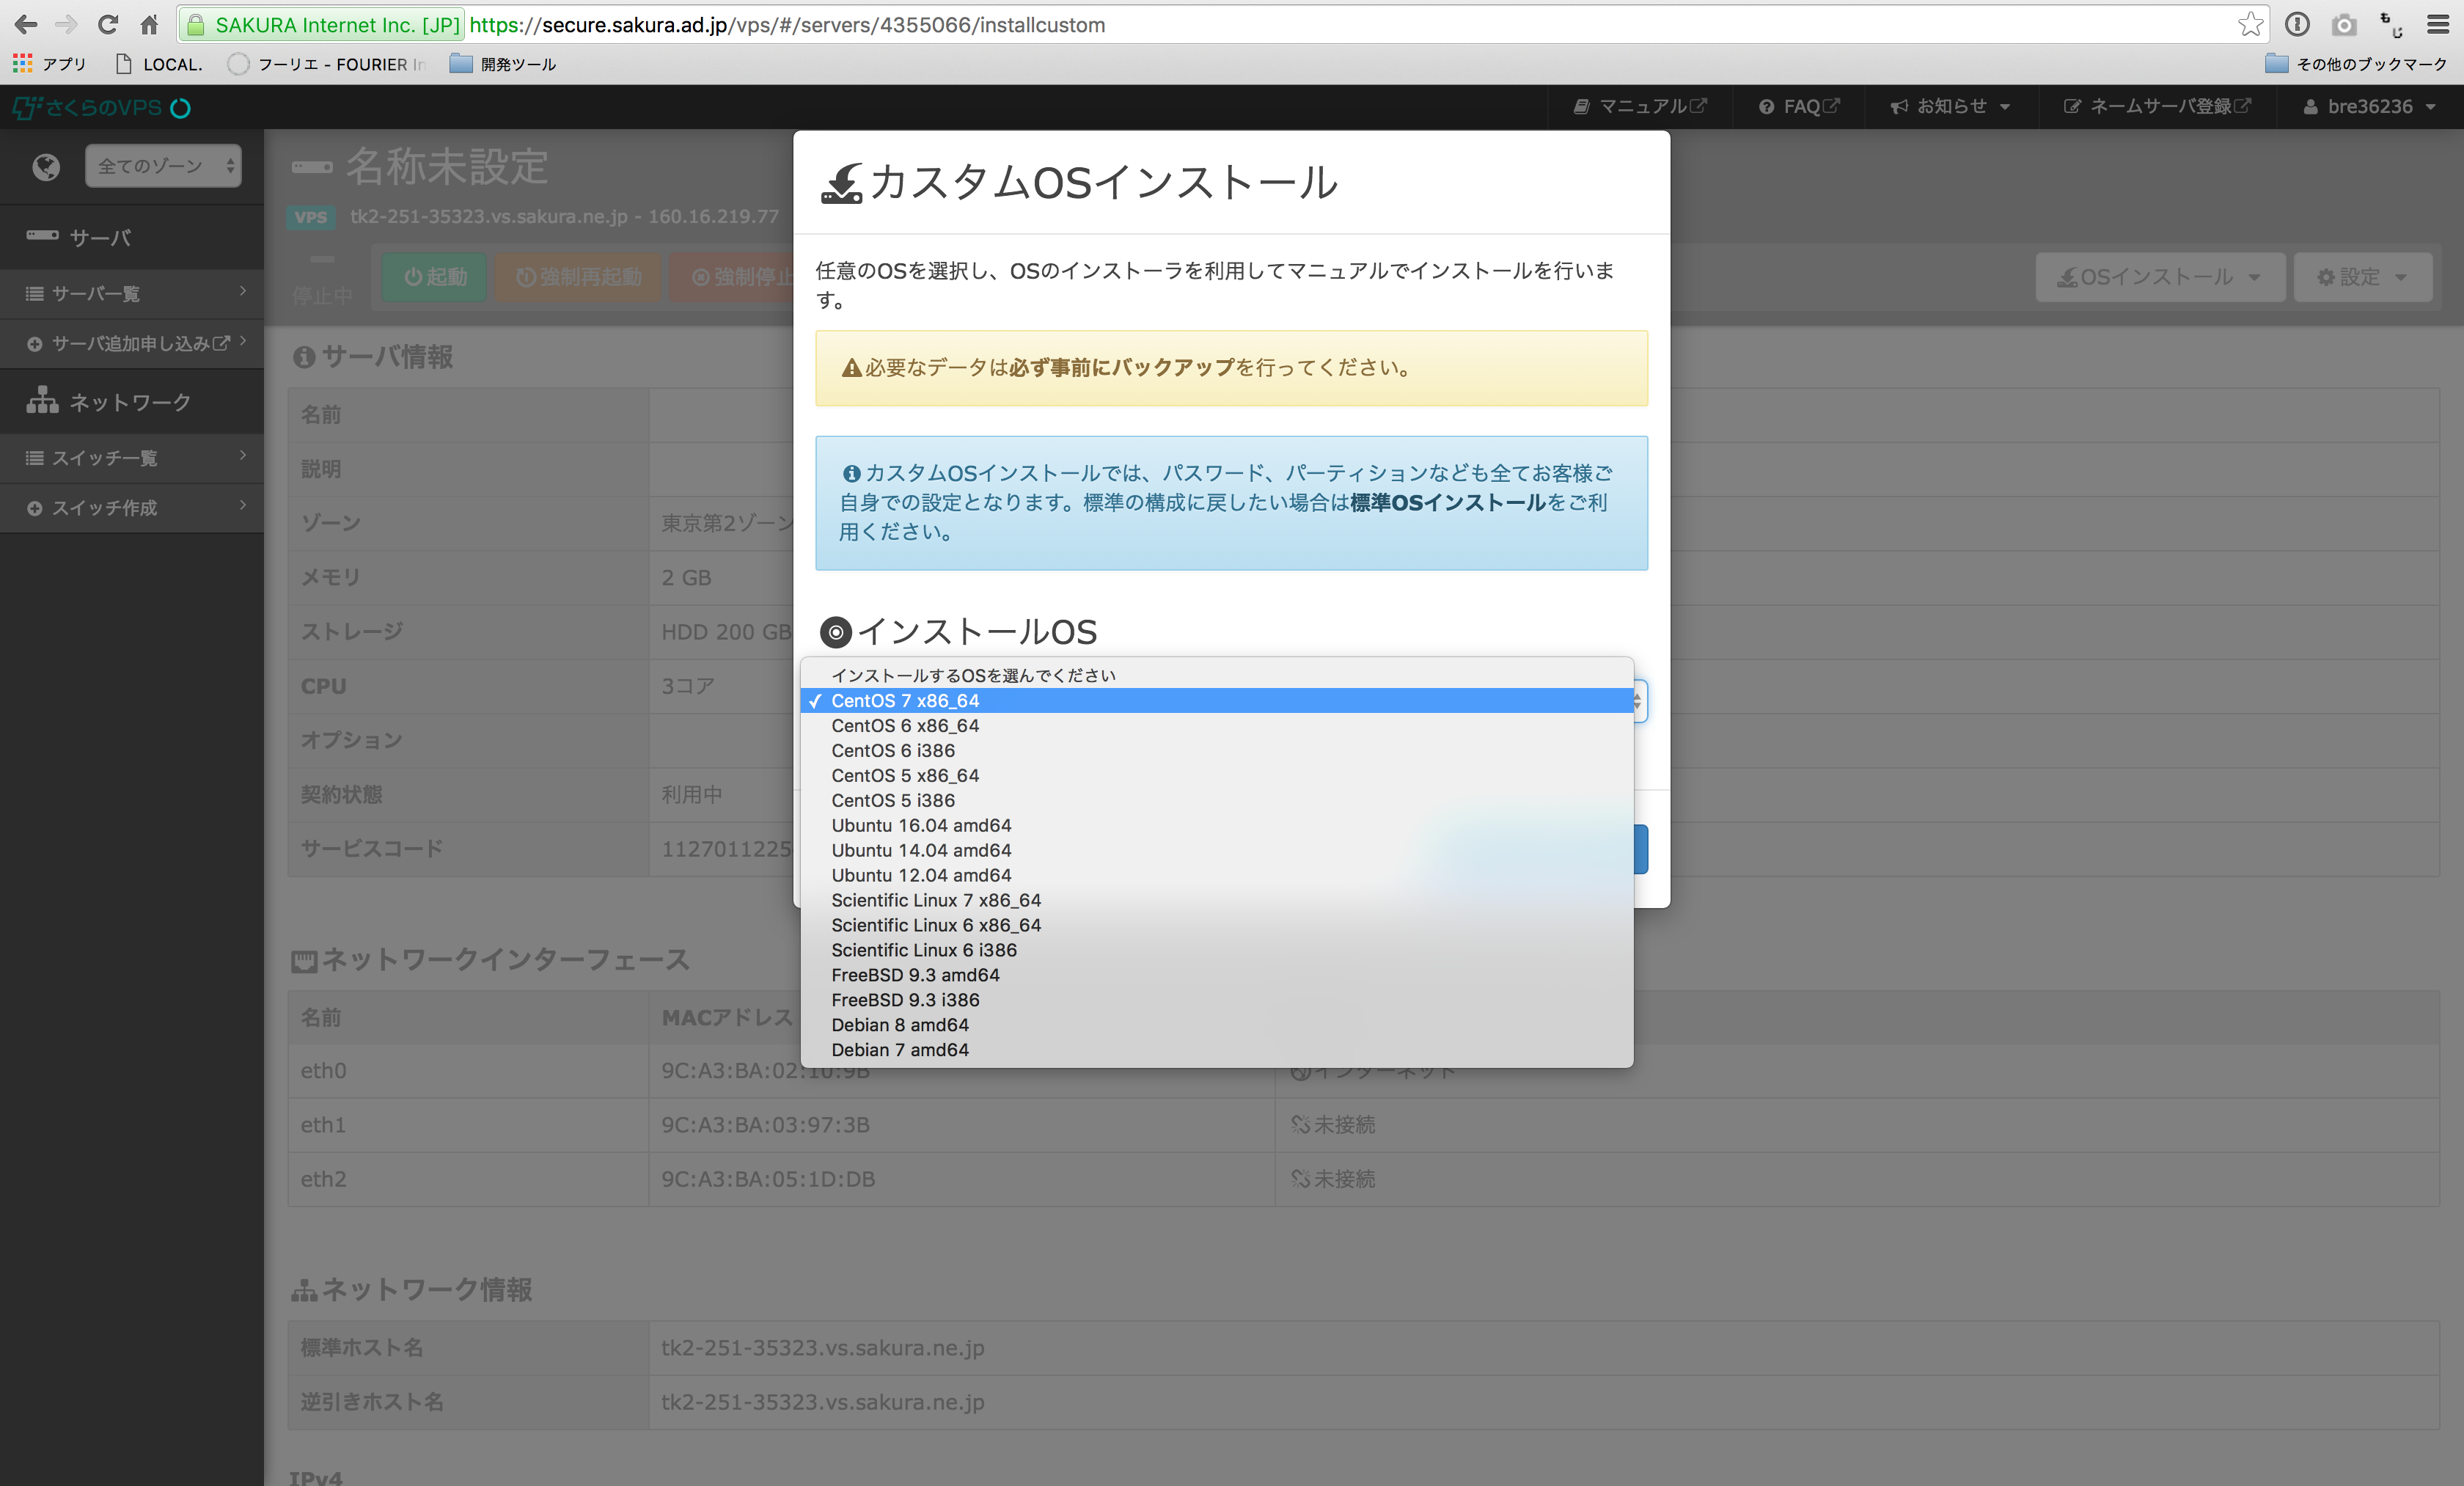
4. CentOS7x86_64を選択します。

CentOS7x86_64を選択

5. 「変更内容を確認する」ボタンを選択します。

変更内容を確認するボタンを選択

6. 「インストールを実行する」ボタンを選択します。

インストール実行

CentOSのインストール

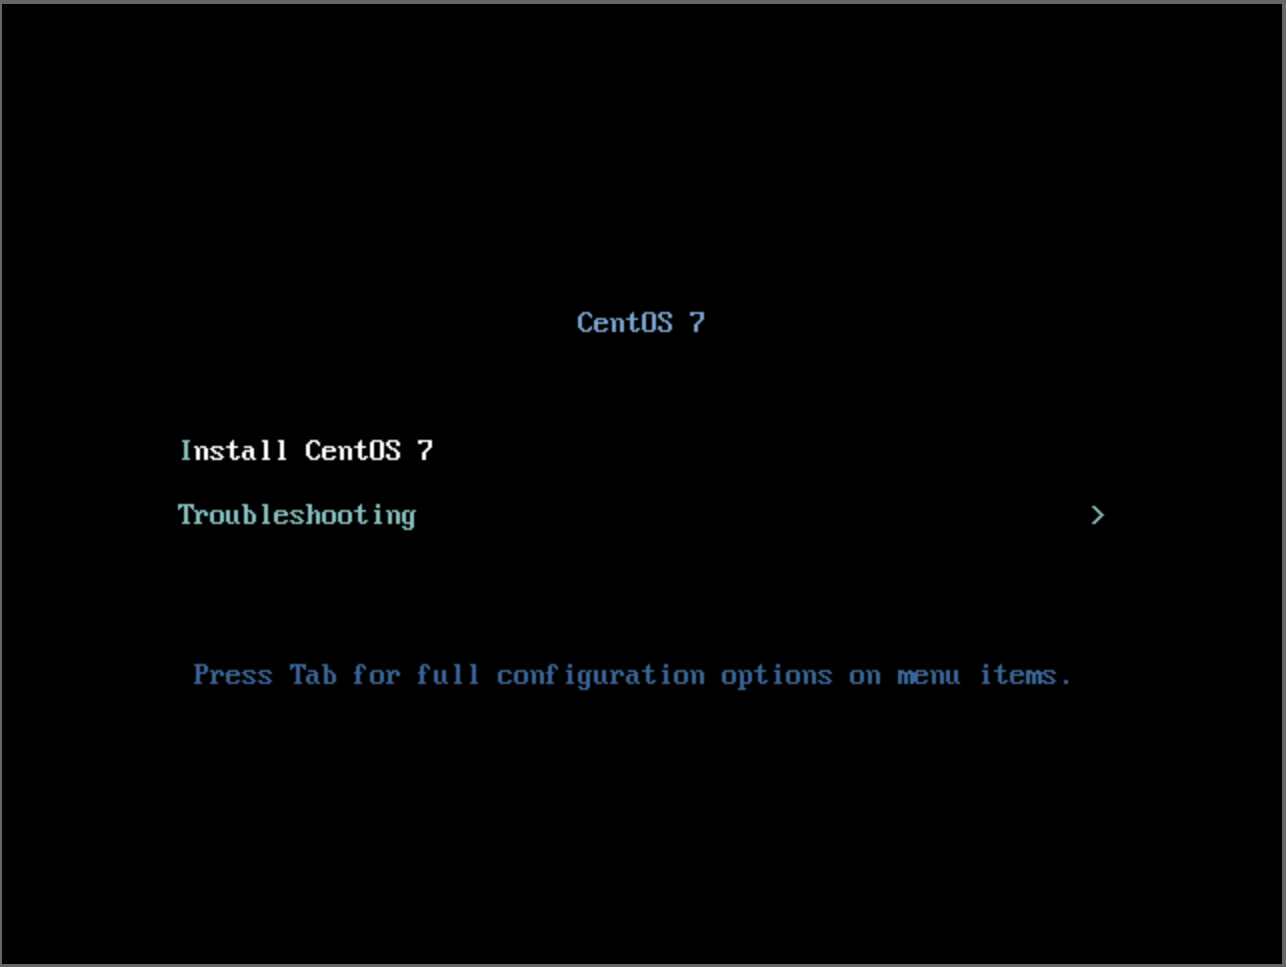
1. 「Install CentOS 7」を選択し、「Enter」キーを押します。

インストーラの起動

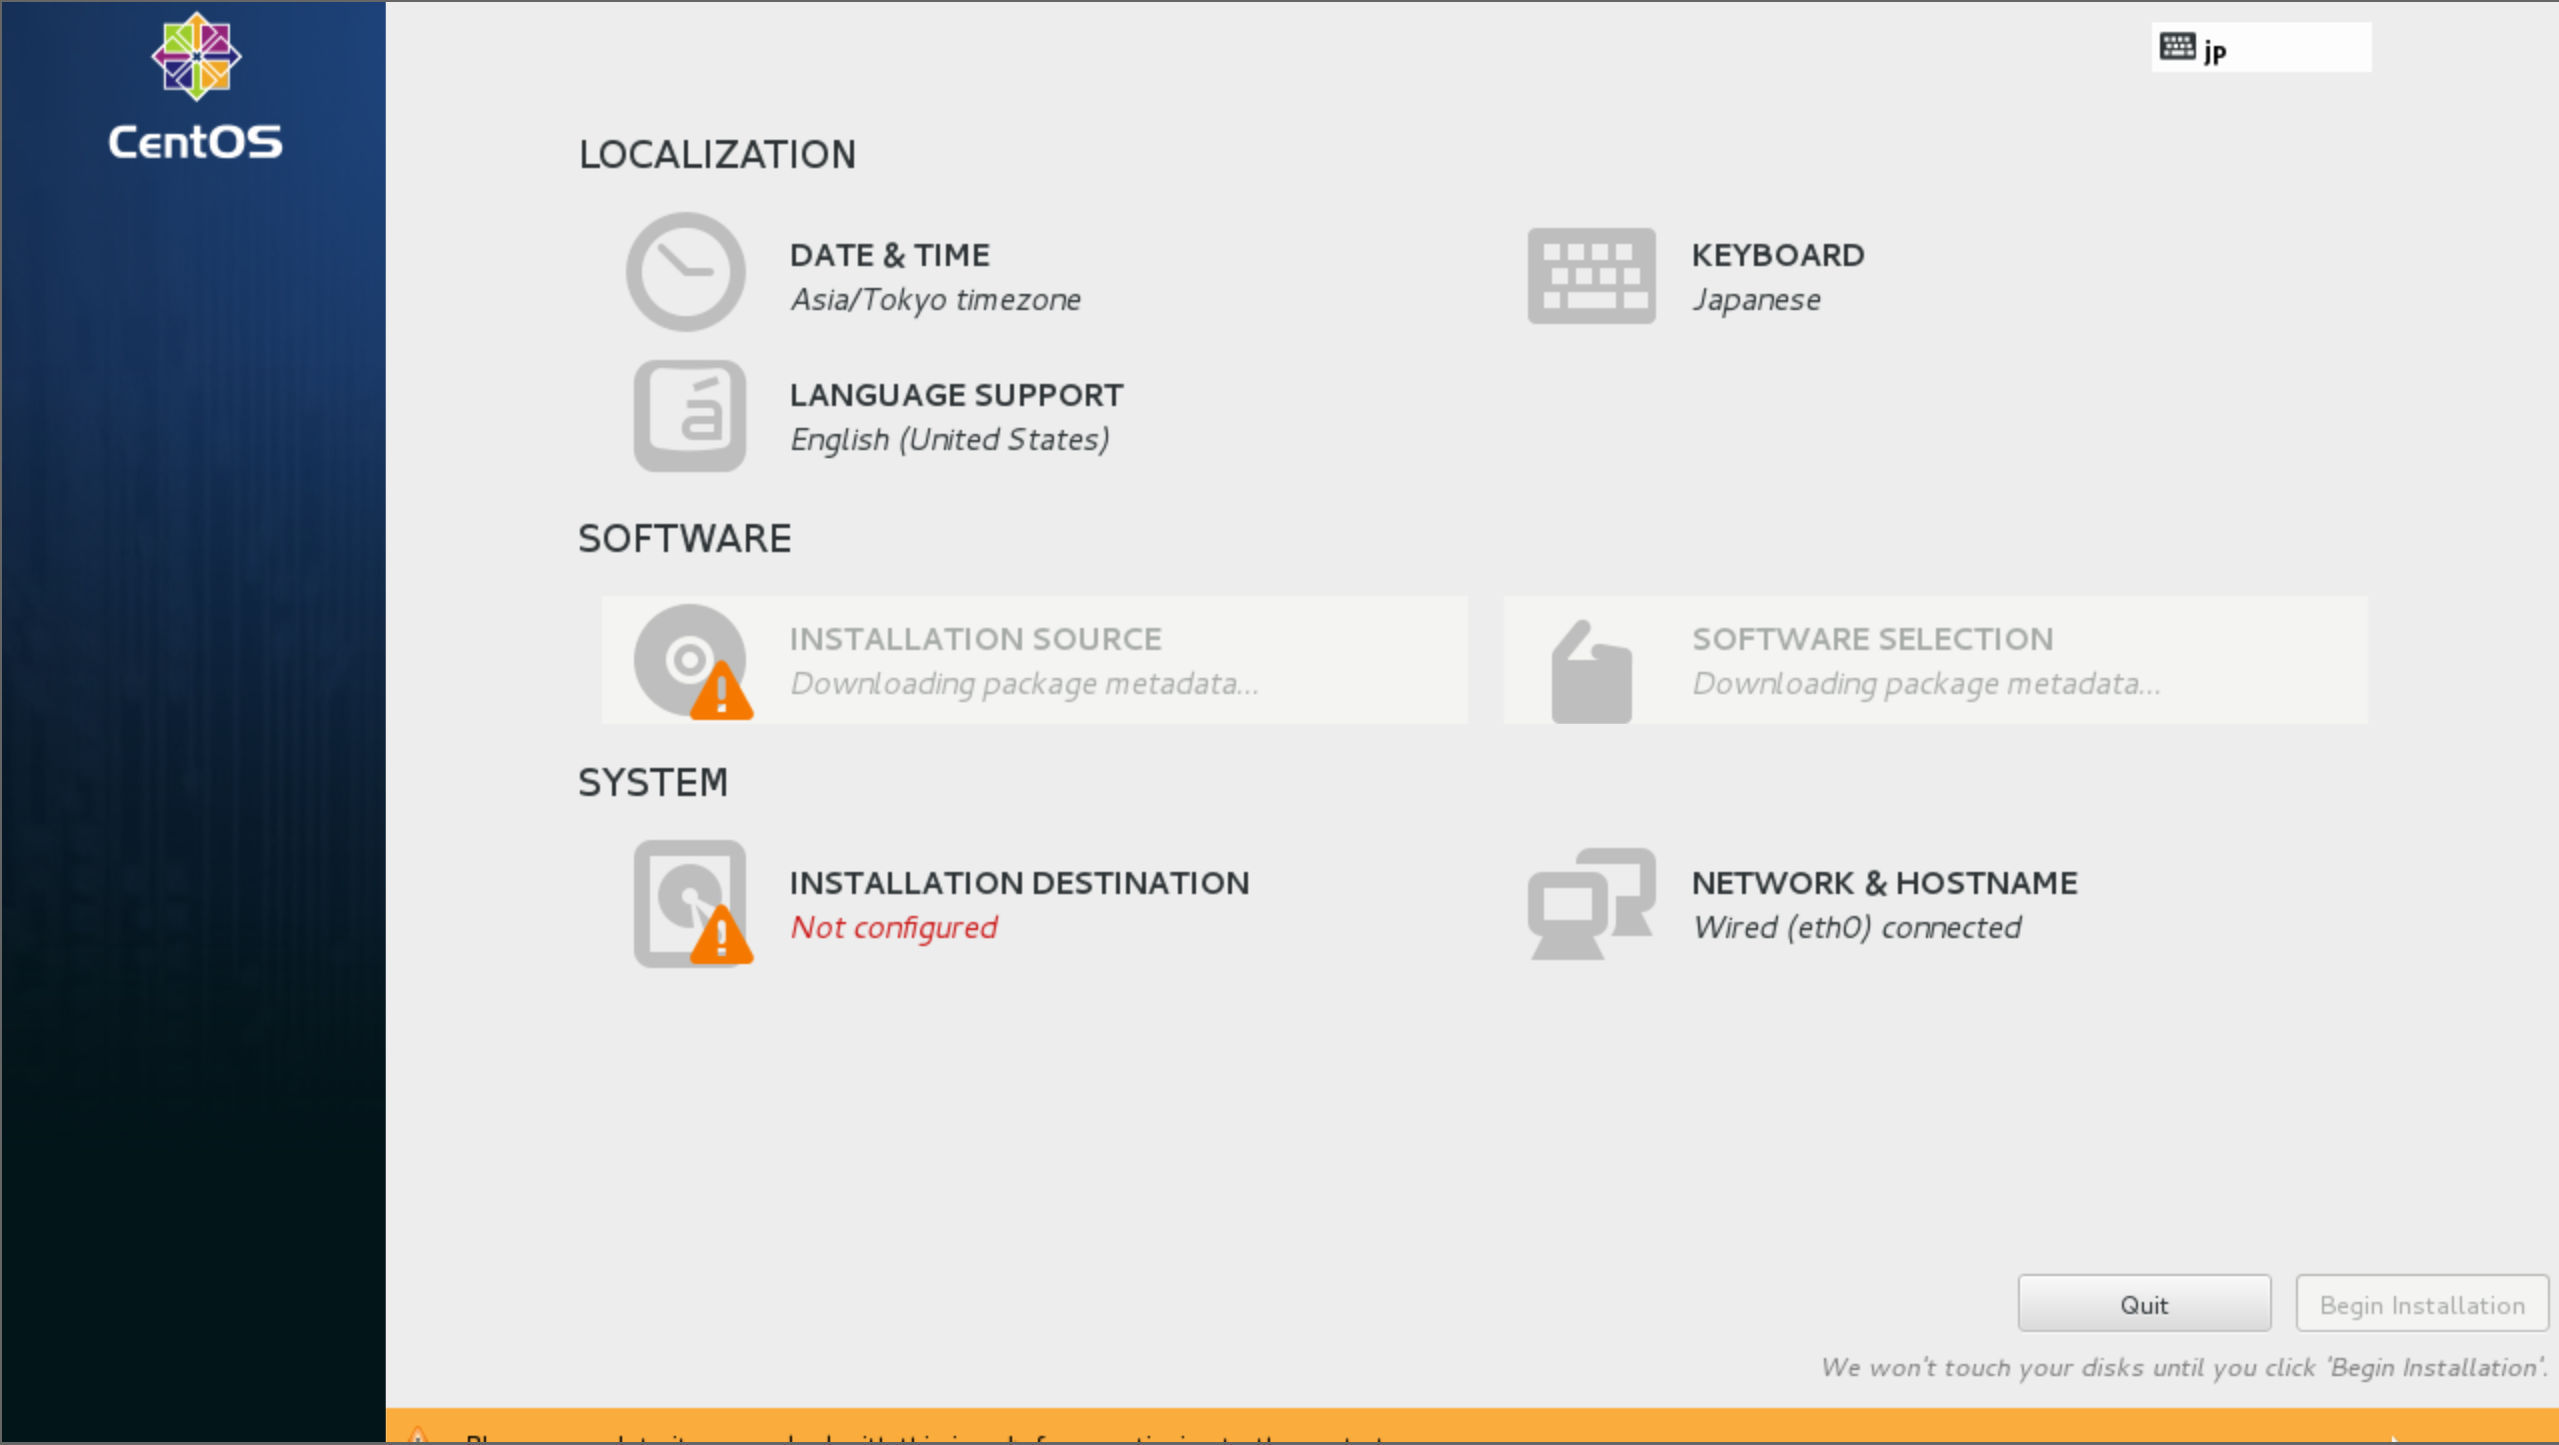
2. 「INSTALLATION DESTINATION」を選択します。

「INSTALLATION DESTINATION」を選択

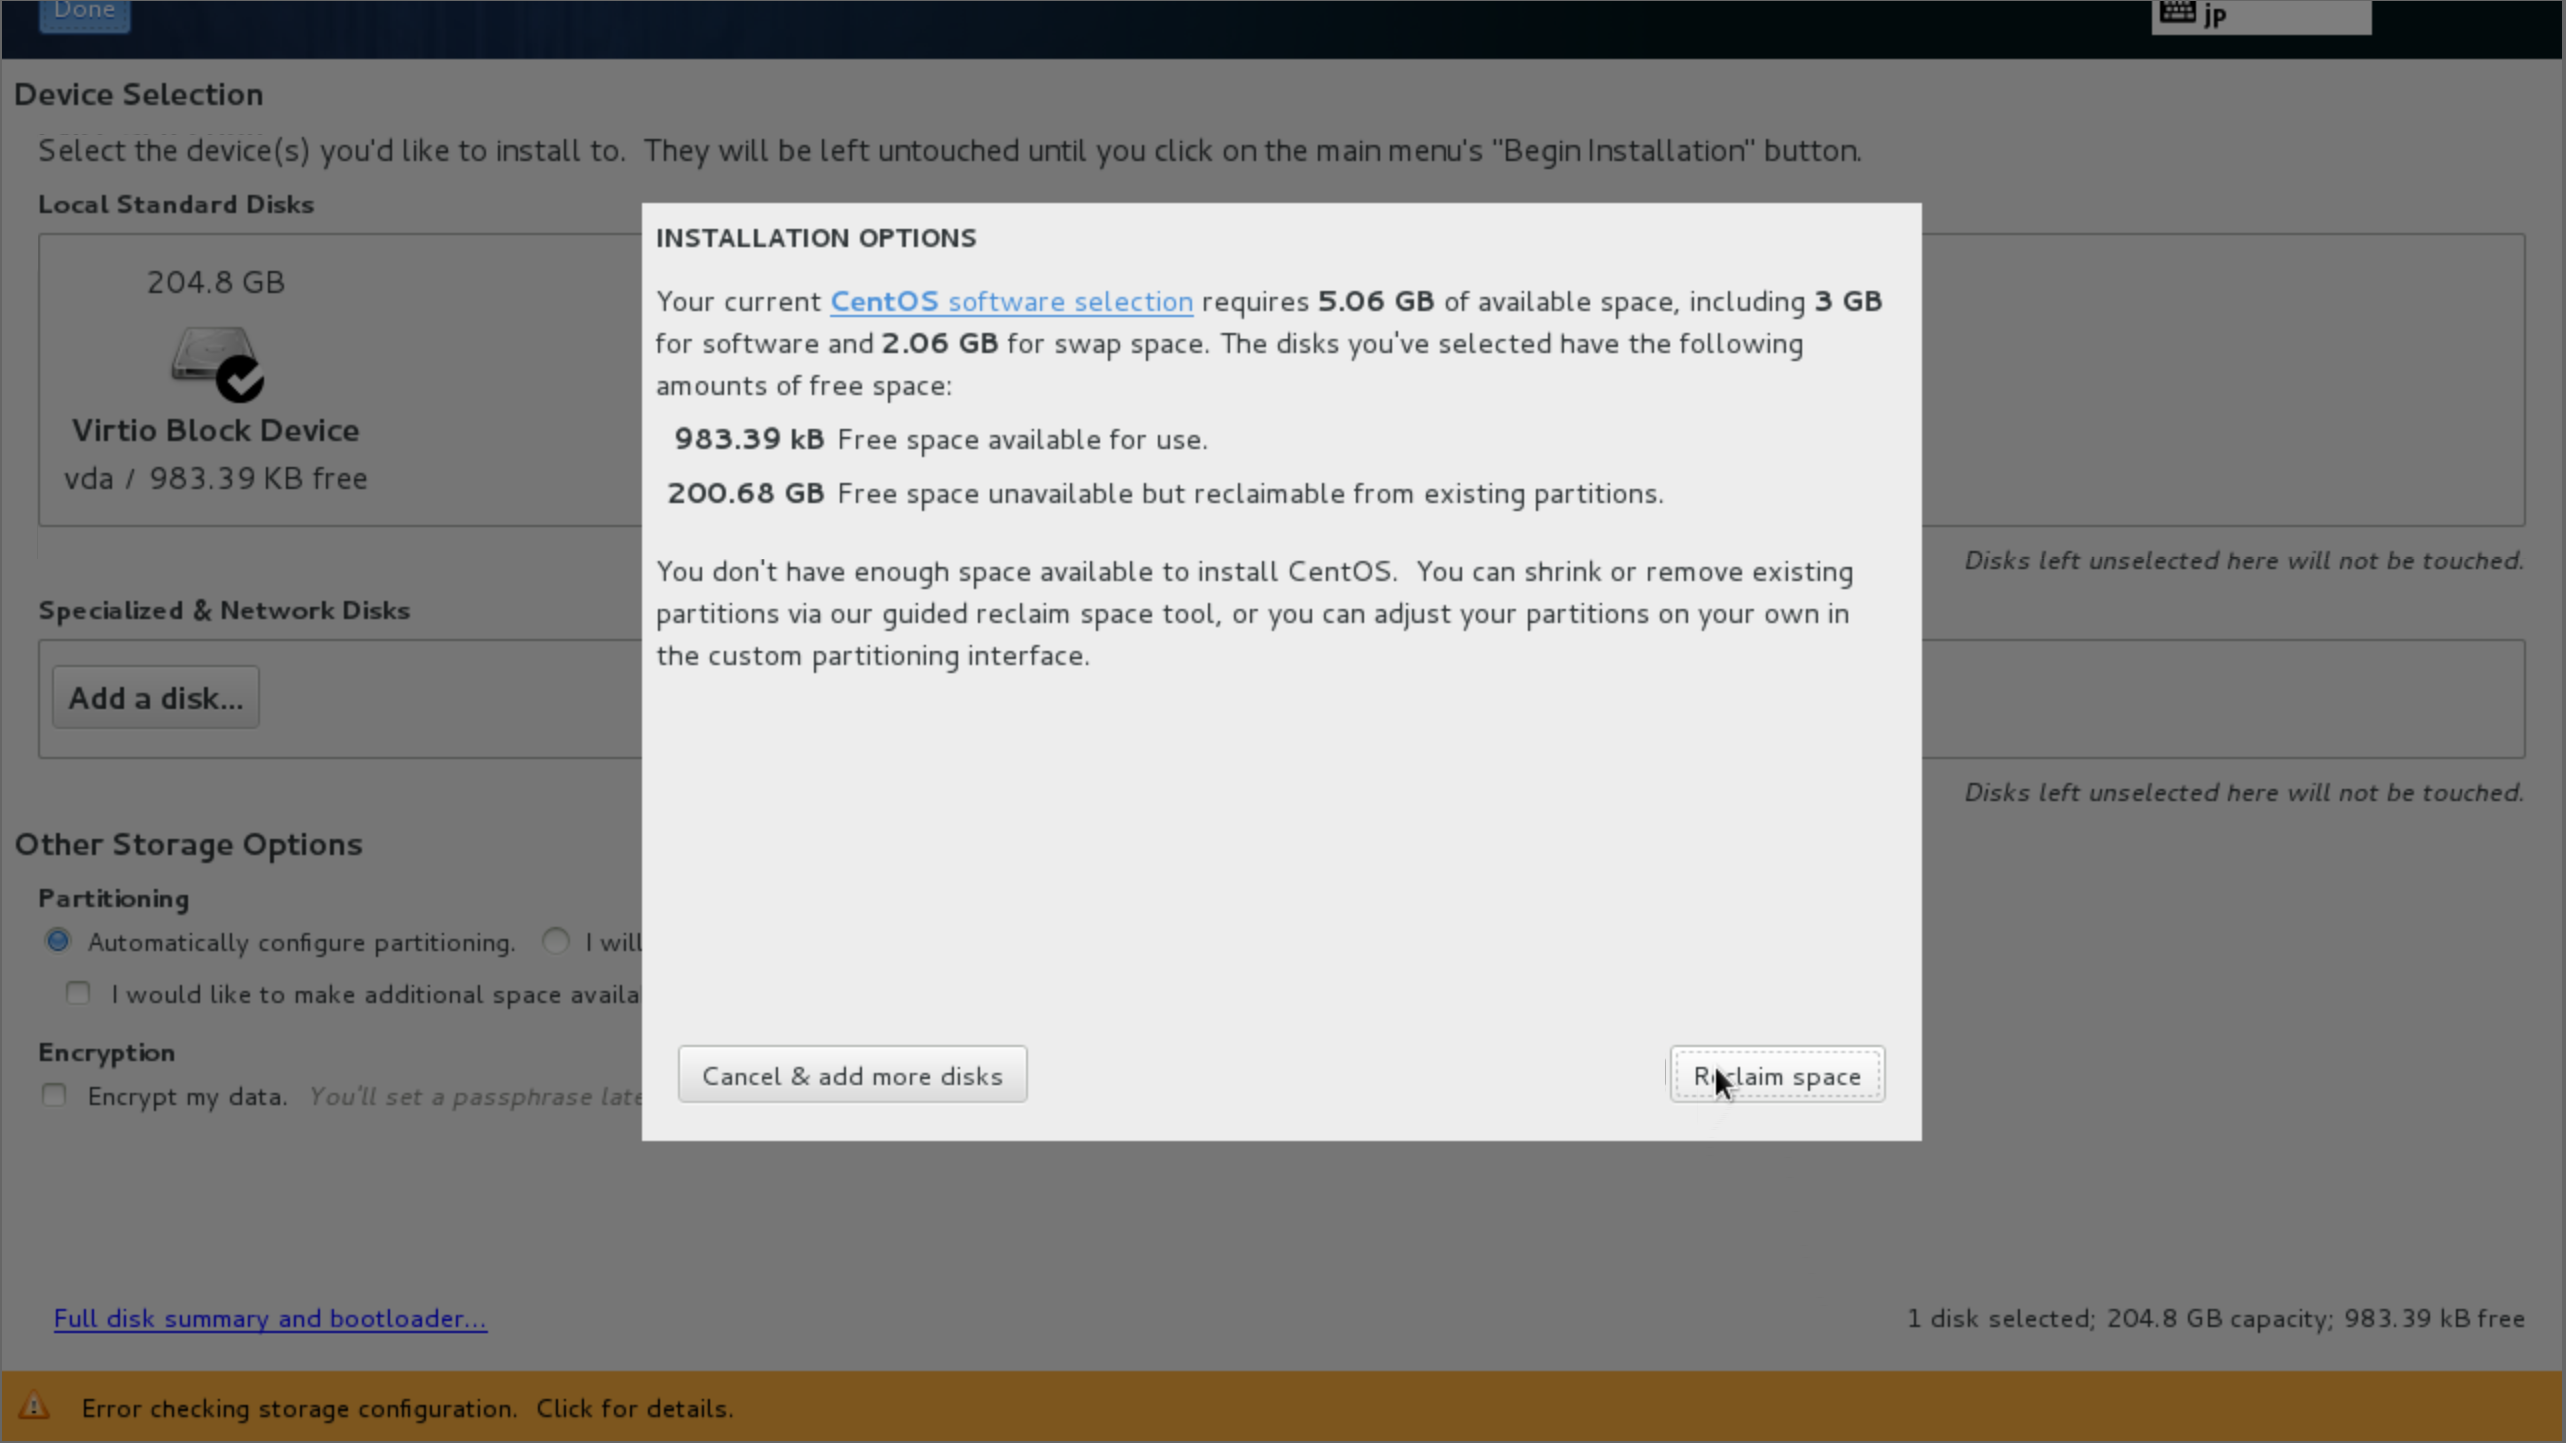
3. 「Virtio Block Device」を選択します。

「Virtio Block Device」を選択

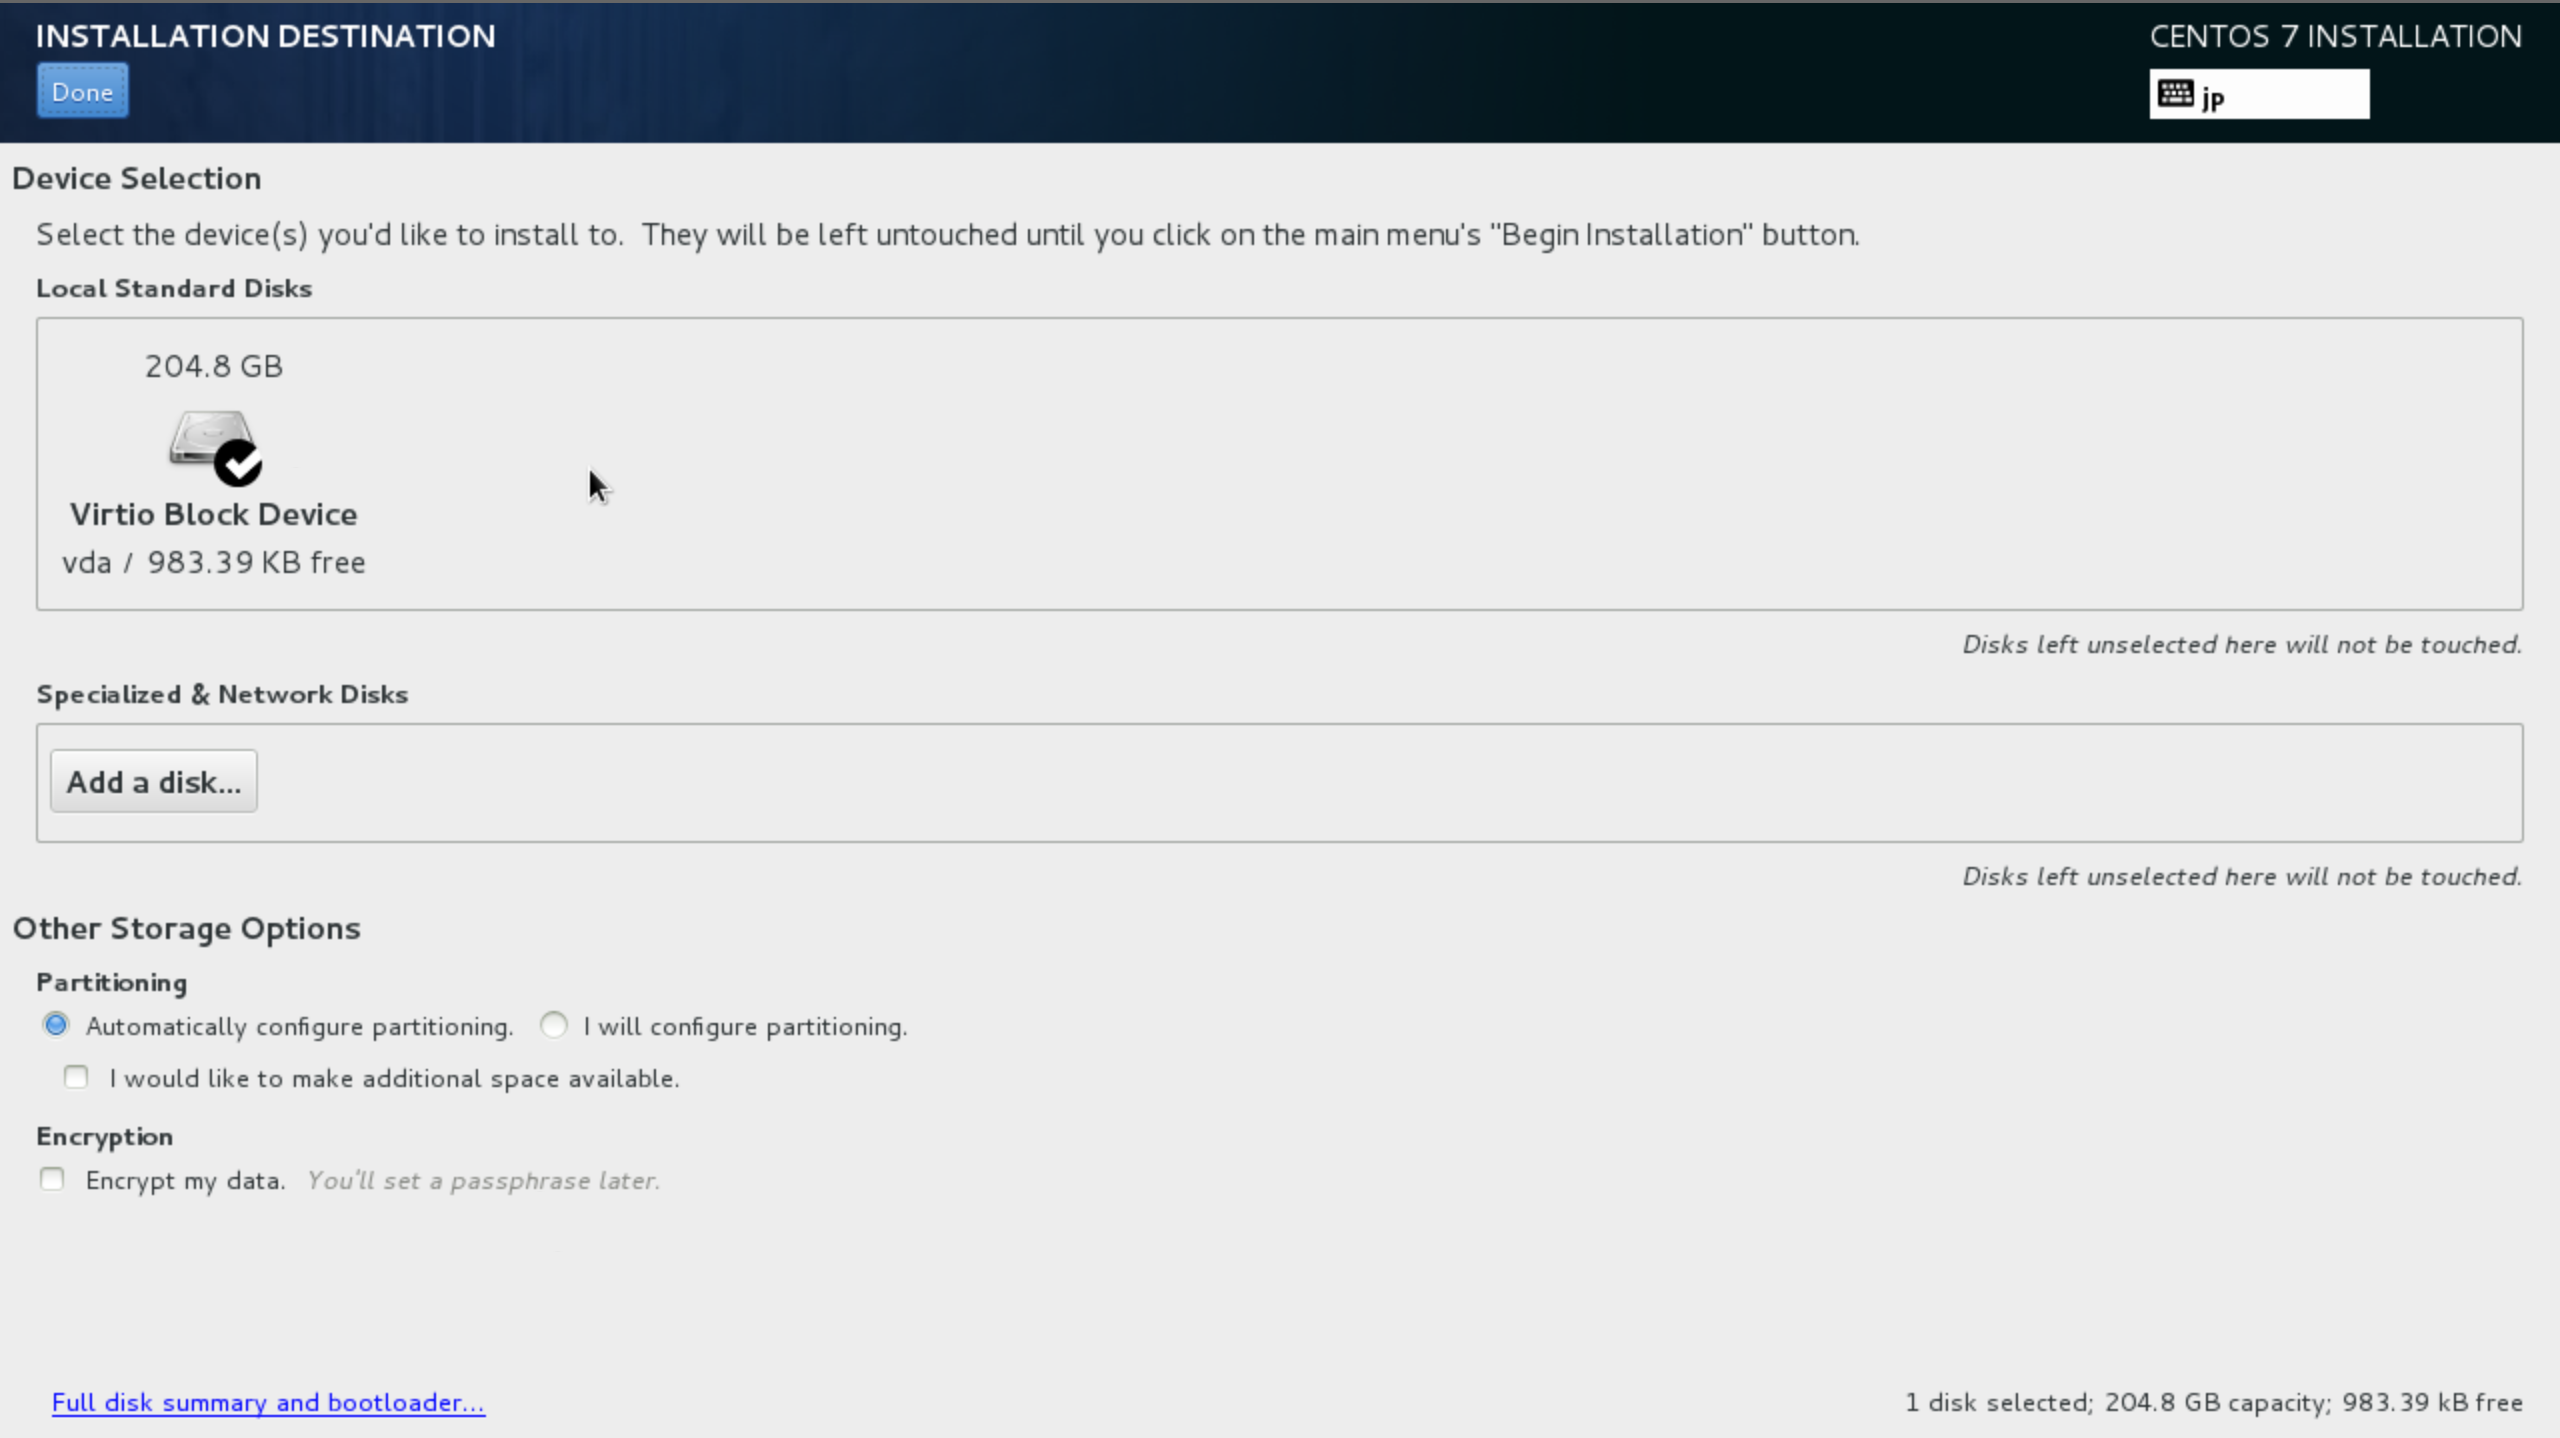
4. 「Reclaim space」を選択します。

「Reclaim space」を選択

5. 「Begin Installation」を選択します。

「Begin Installation」を選択

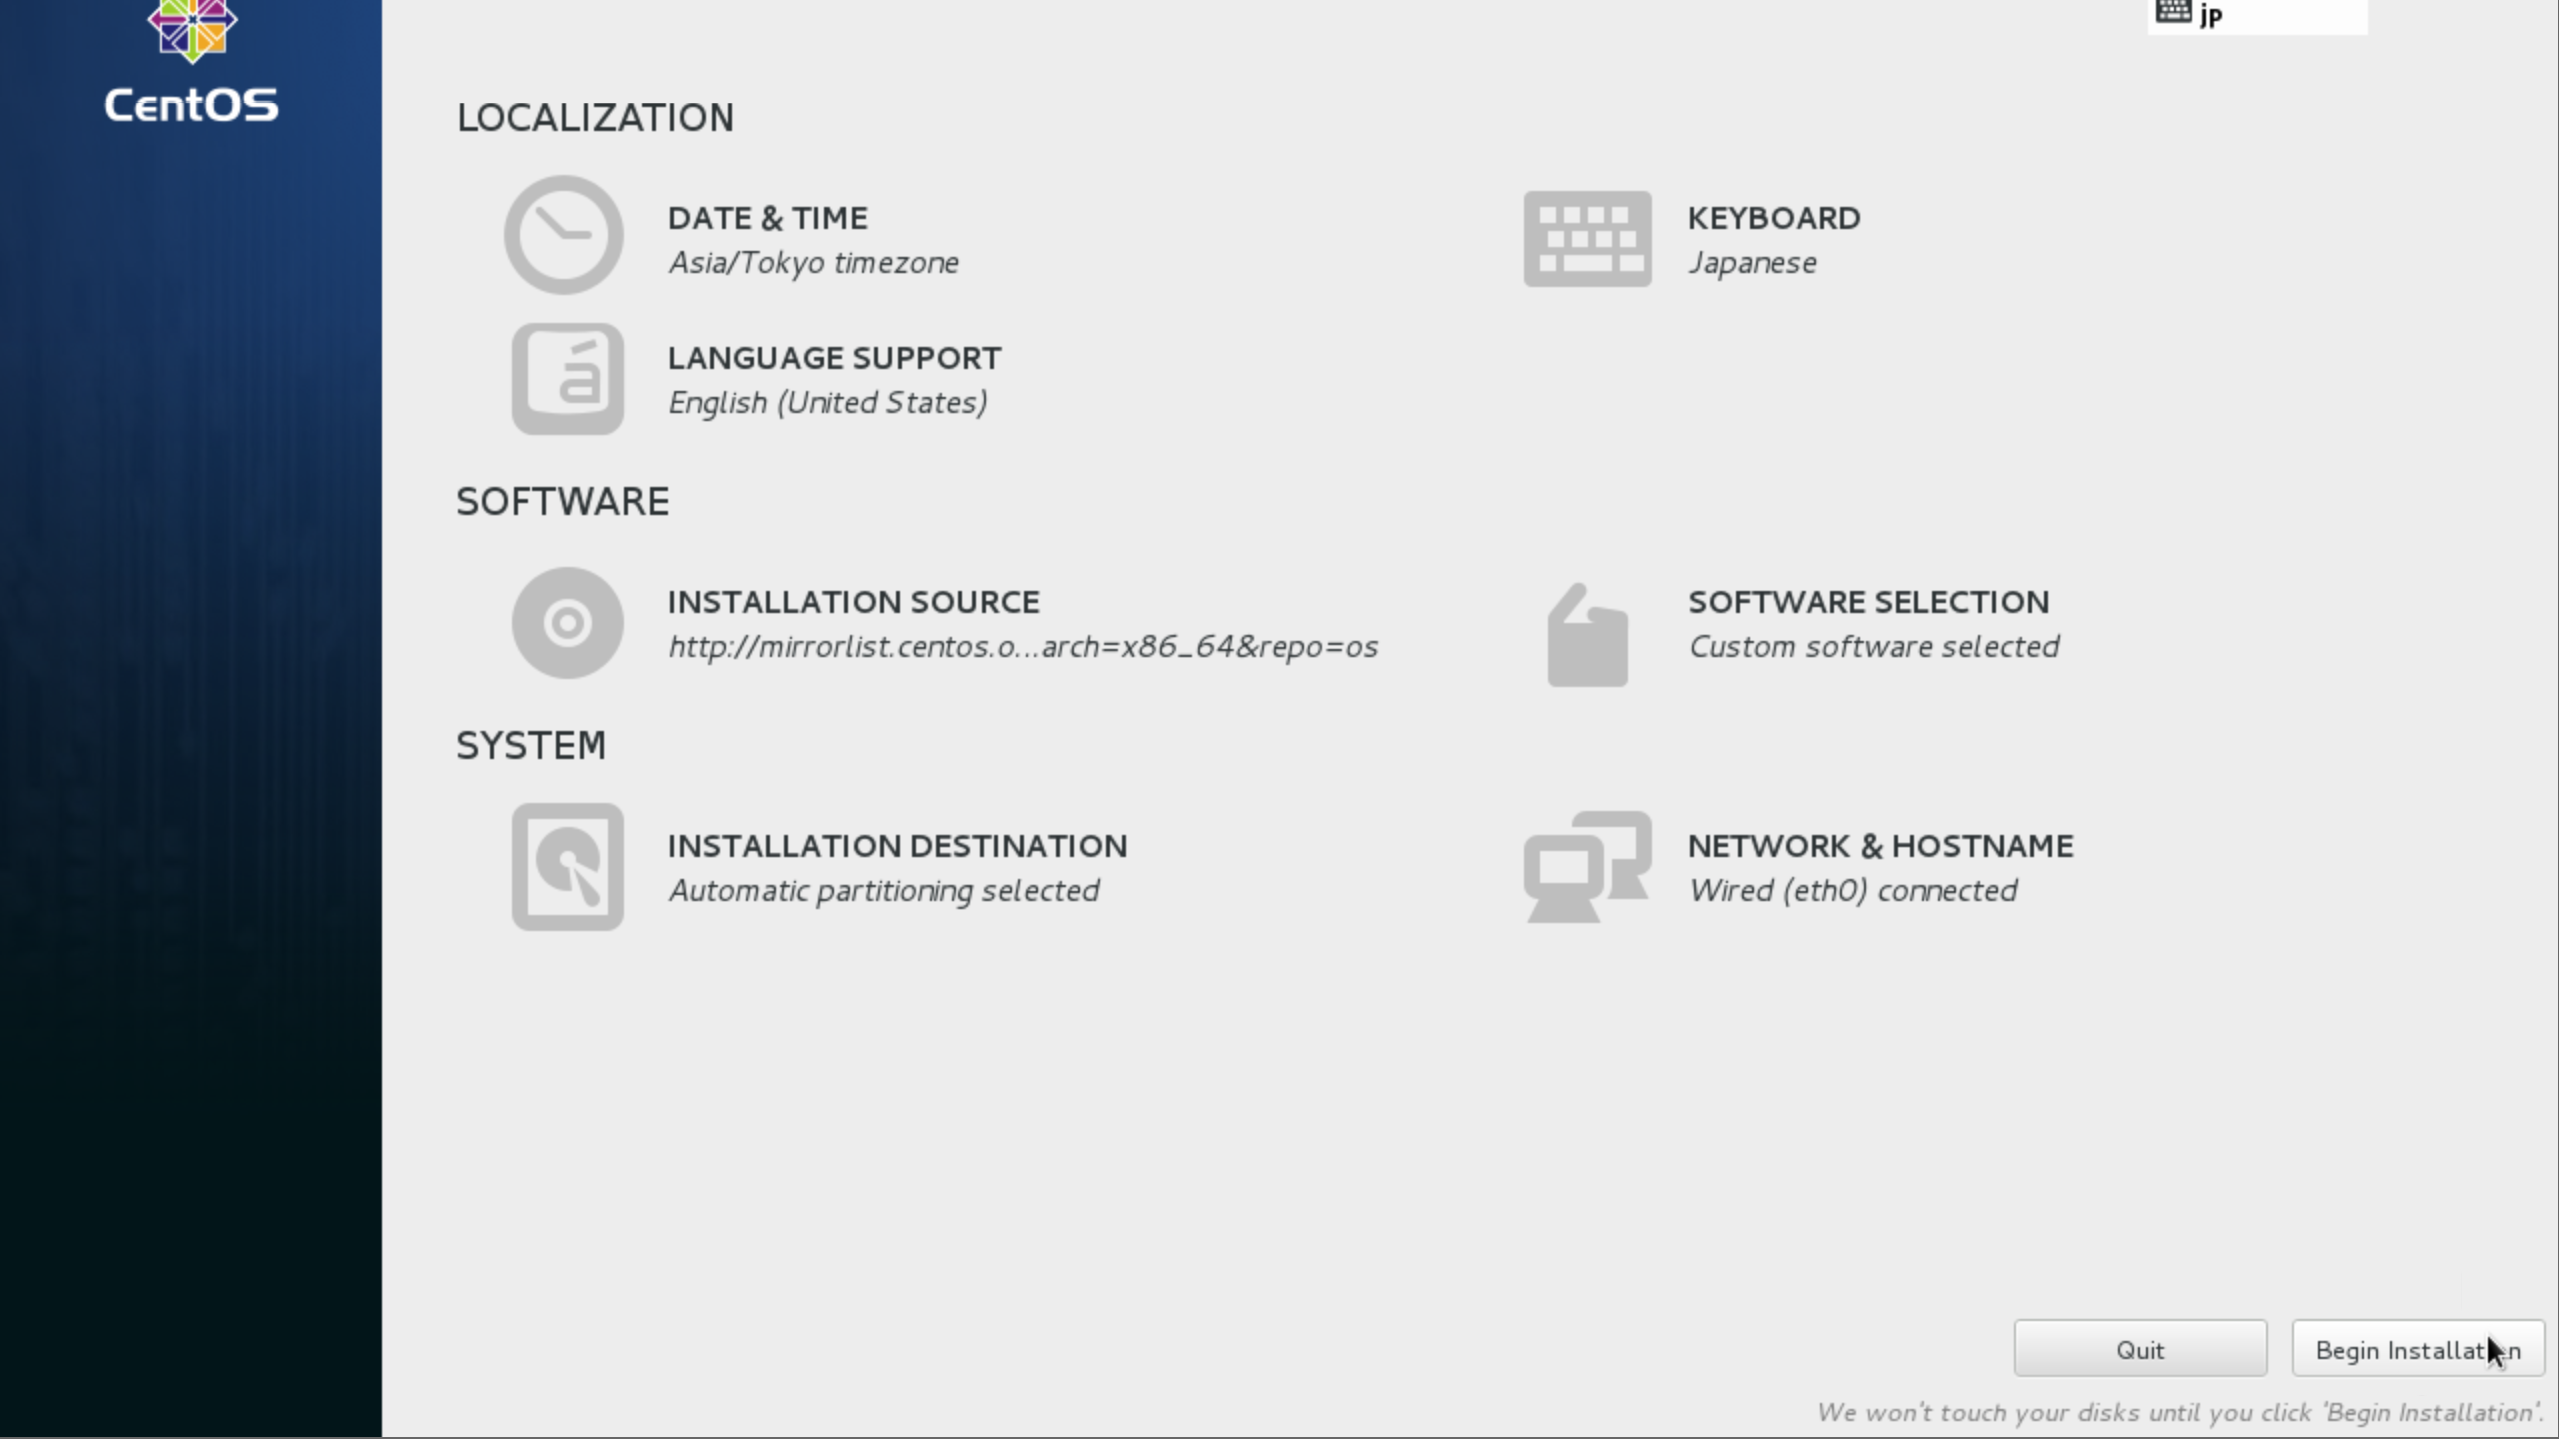
6. 「Begin Installation」を選択します
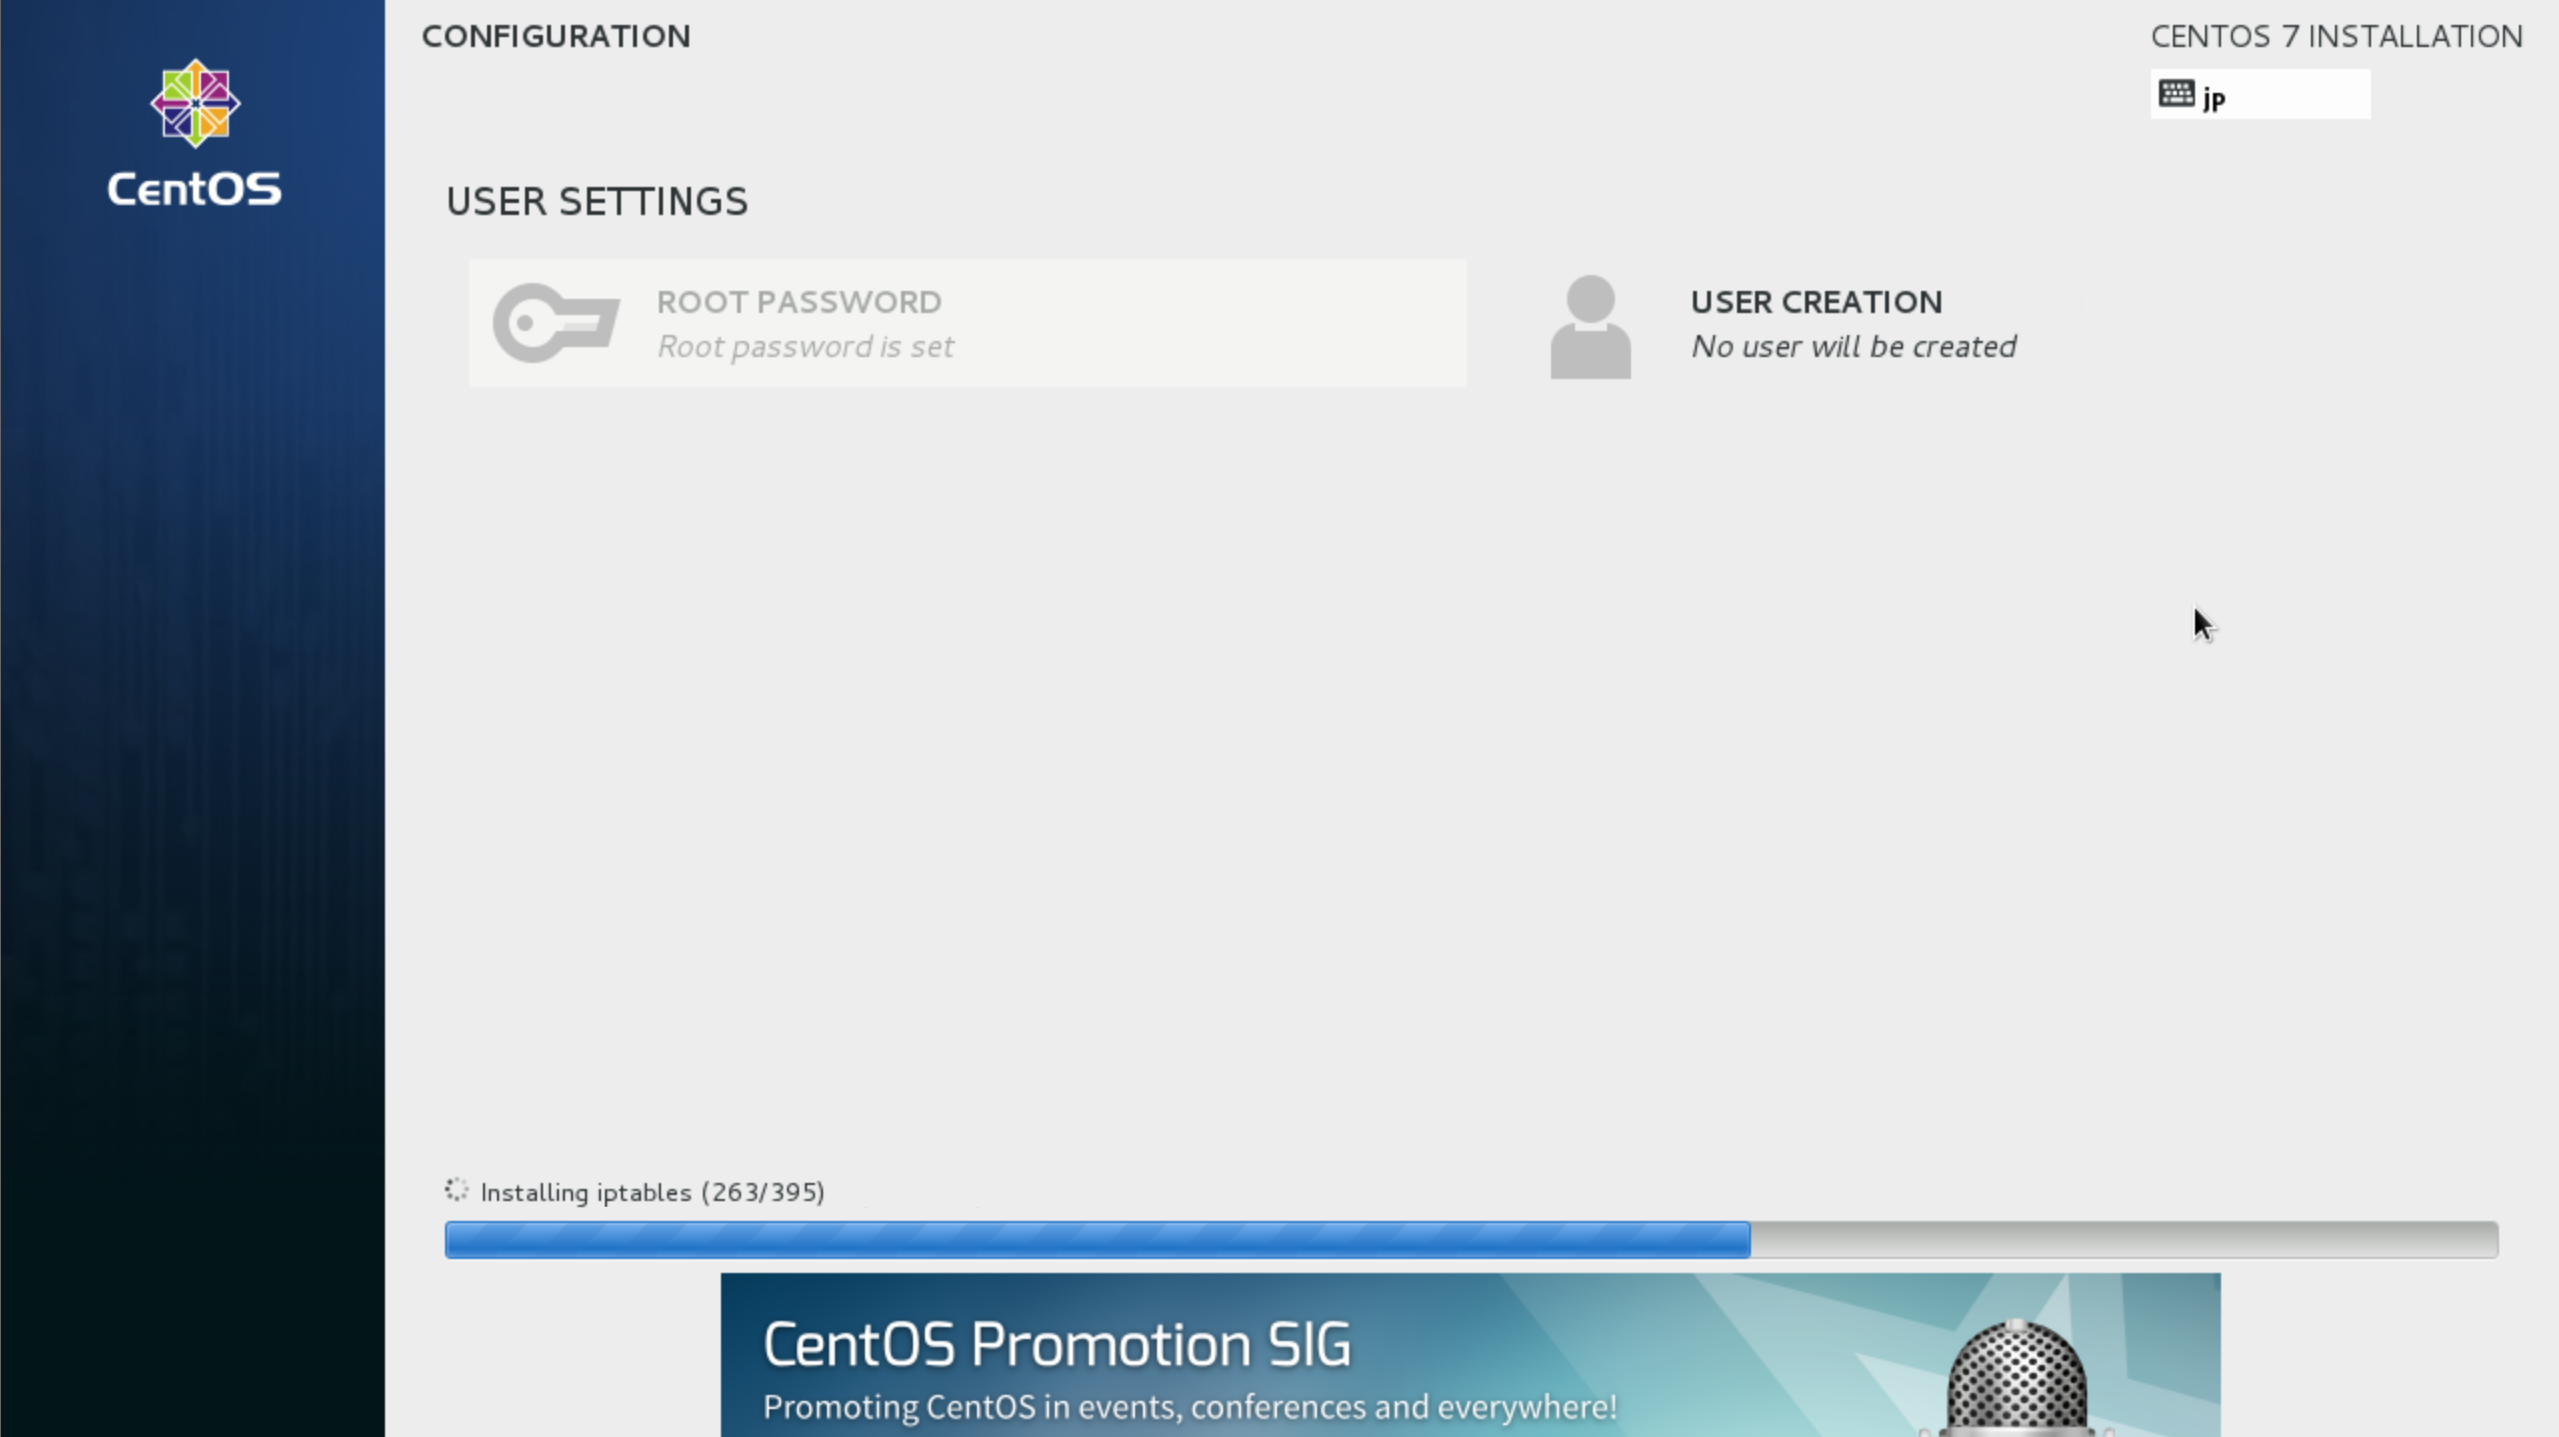
「Begin Installation」を選択

7. rootパスワードを設定します。

rootパスワードを設定g

8. OSインストールが終わるのを待ちます。

待機中

0
0
0

Register as a new user and use Qiita more conveniently

  1. You get articles that match your needs
  2. You can efficiently read back useful information
  3. You can use dark theme
What you can do with signing up
0
0