概要
会社でRailsを使って開発をしている関係でRubyのコードを試したいことが多々ありました。
Paizaとかブラウザで実行できるものもあるがPythonみたくJupyter notebookでできないかなと思っていました。
そこで調べるとRubyをJupyter notebookに入れることが出来ることが判明(゚∀゚) 実際に導入する手順がわかったので今後PCが壊れたときのためにインストール方法をメモします。
条件
| 言語 | ver |
|---|---|
| Ruby | 2.10 以上 |
| Jupyter Notebook | -- |
※Ruby と jupyter notebookの道入がまだの人は以下の記事よりそれぞれのインストールを済ませて下さい。
・Rubyのインストール
【完全版】MacでRails環境構築する手順の全て
・Jupyter Noteboookのインストール
① anacondaのインストール
Anaconda(Python3)インストール手順<macOS用>
② anacondaのPATHの通し方
AnacondaのPATHの設定
③ Jupyter notebook のインストール
Installing the Jupyter Software
方法
iRubyのgithubをもとにインストールを進めていきます。
まず、依存関係にあるライブラリのインストールをします。
cmzp の versionによっては動かない可能性あり↓
brew install automake gmp libtool wget
brew install zeromq --HEAD
# 1.30以上で動かないとの記事あり
brew install czmq --HEAD
gem install ffi-rzmq
gem install rbczmq
irubyのインストールとjupyterへの登録をします。
# irubyのインストール
gem install iruby

# irubyの登録
iruby register --force
最後にjupyter notebookの起動をします。
jupyter notebook
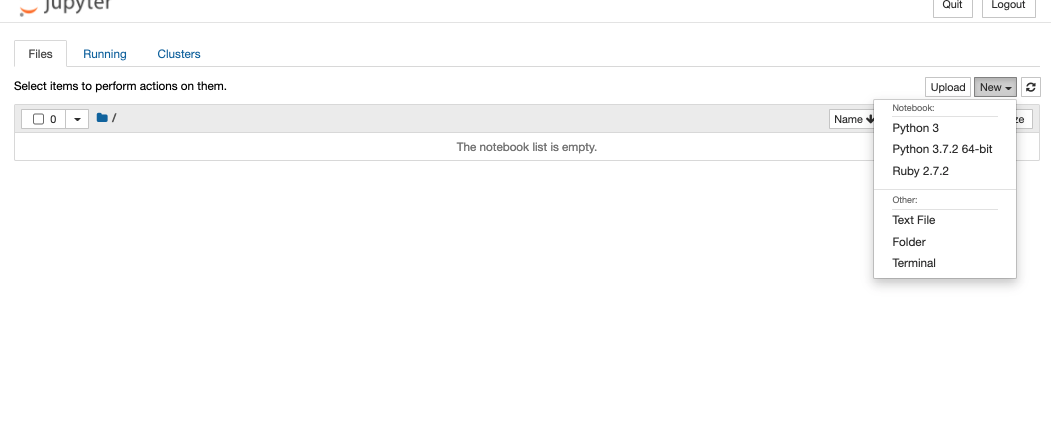
以下のように Ruby が New の中に入っているのを確認して下さい。
