まず始めに
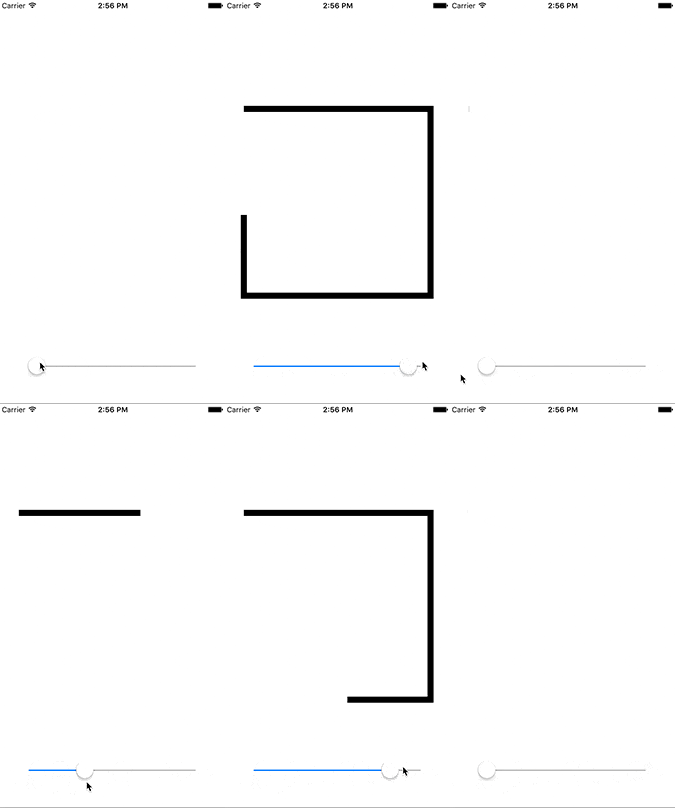
Pathをアニメーションで描画するのではなく、パーセンテージで描画する方法について書こうと思います。
パーセンテージ指定でPathの描画をさせると、以下のGIFアニメーションのようにスライダーと連動して描画できるようになったりもします。

どのように実装しているのか
実装する上でのポイントは以下のようになります。
-
CAShapeLayerのインスタンスをUIViewのdrawRectで描画する -
CAShapeLayerのstrokeEndを使ってパーセンテージ指定できるようにする
class PathStokeAdjustableView: UIView {
    private let shapeLayer = CAShapeLayer()

    private var _stroke: CGFloat = 0 {
        didSet {
            shapeLayer.strokeEnd = _stroke
        }
    }
    var stroke: CGFloat {
        set {
            _stroke = max(0, min(1, newValue))
        }
        get {
            return _stroke
        }
    }

    //MARK: - XibやStroyboardから呼ばれた時
    required init?(coder aDecoder: NSCoder) {
        super.init(coder: aDecoder)
    }

    override func awakeFromNib() {
        super.awakeFromNib()
        layer.addSublayer(shapeLayer)
        shapeLayer.strokeEnd = 0
        layoutIfNeeded()
    }

    override func layoutSubviews() {
        super.layoutSubviews()
        setNeedsDisplay()
    }

    //MARK: - コードで生成された時
    init() {
        super.init(frame: .zero)
        layer.addSublayer(shapeLayer)
        shapeLayer.strokeEnd = 0
    }

    override init(frame: CGRect) {
        super.init(frame: frame)
        layer.addSublayer(shapeLayer)
        shapeLayer.strokeEnd = 0
    }

    //MARK: - Pathの描画
    override func drawRect(rect: CGRect) {
        UIColor.whiteColor().setFill()
        shapeLayer.lineWidth = 10
        shapeLayer.strokeColor = UIColor.blackColor().CGColor
        shapeLayer.fillColor = UIColor.whiteColor().CGColor
        shapeLayer.path = path().CGPath
    }
}

extension PathStokeAdjustableView {
    func path() -> UIBezierPath {
        let path = UIBezierPath()
        path.moveToPoint(CGPoint(x: CGRectGetMinX(bounds), y: CGRectGetMinY(bounds)))
        path.addLineToPoint(CGPoint(x: CGRectGetMaxX(bounds), y: CGRectGetMinY(bounds)))
        path.addLineToPoint(CGPoint(x: CGRectGetMaxX(bounds), y: CGRectGetMaxY(bounds)))
        path.addLineToPoint(CGPoint(x: CGRectGetMinX(bounds), y: CGRectGetMaxY(bounds)))
        path.addLineToPoint(CGPoint(x: CGRectGetMinX(bounds), y: CGRectGetMinY(bounds)-5))
        return path
    }
}
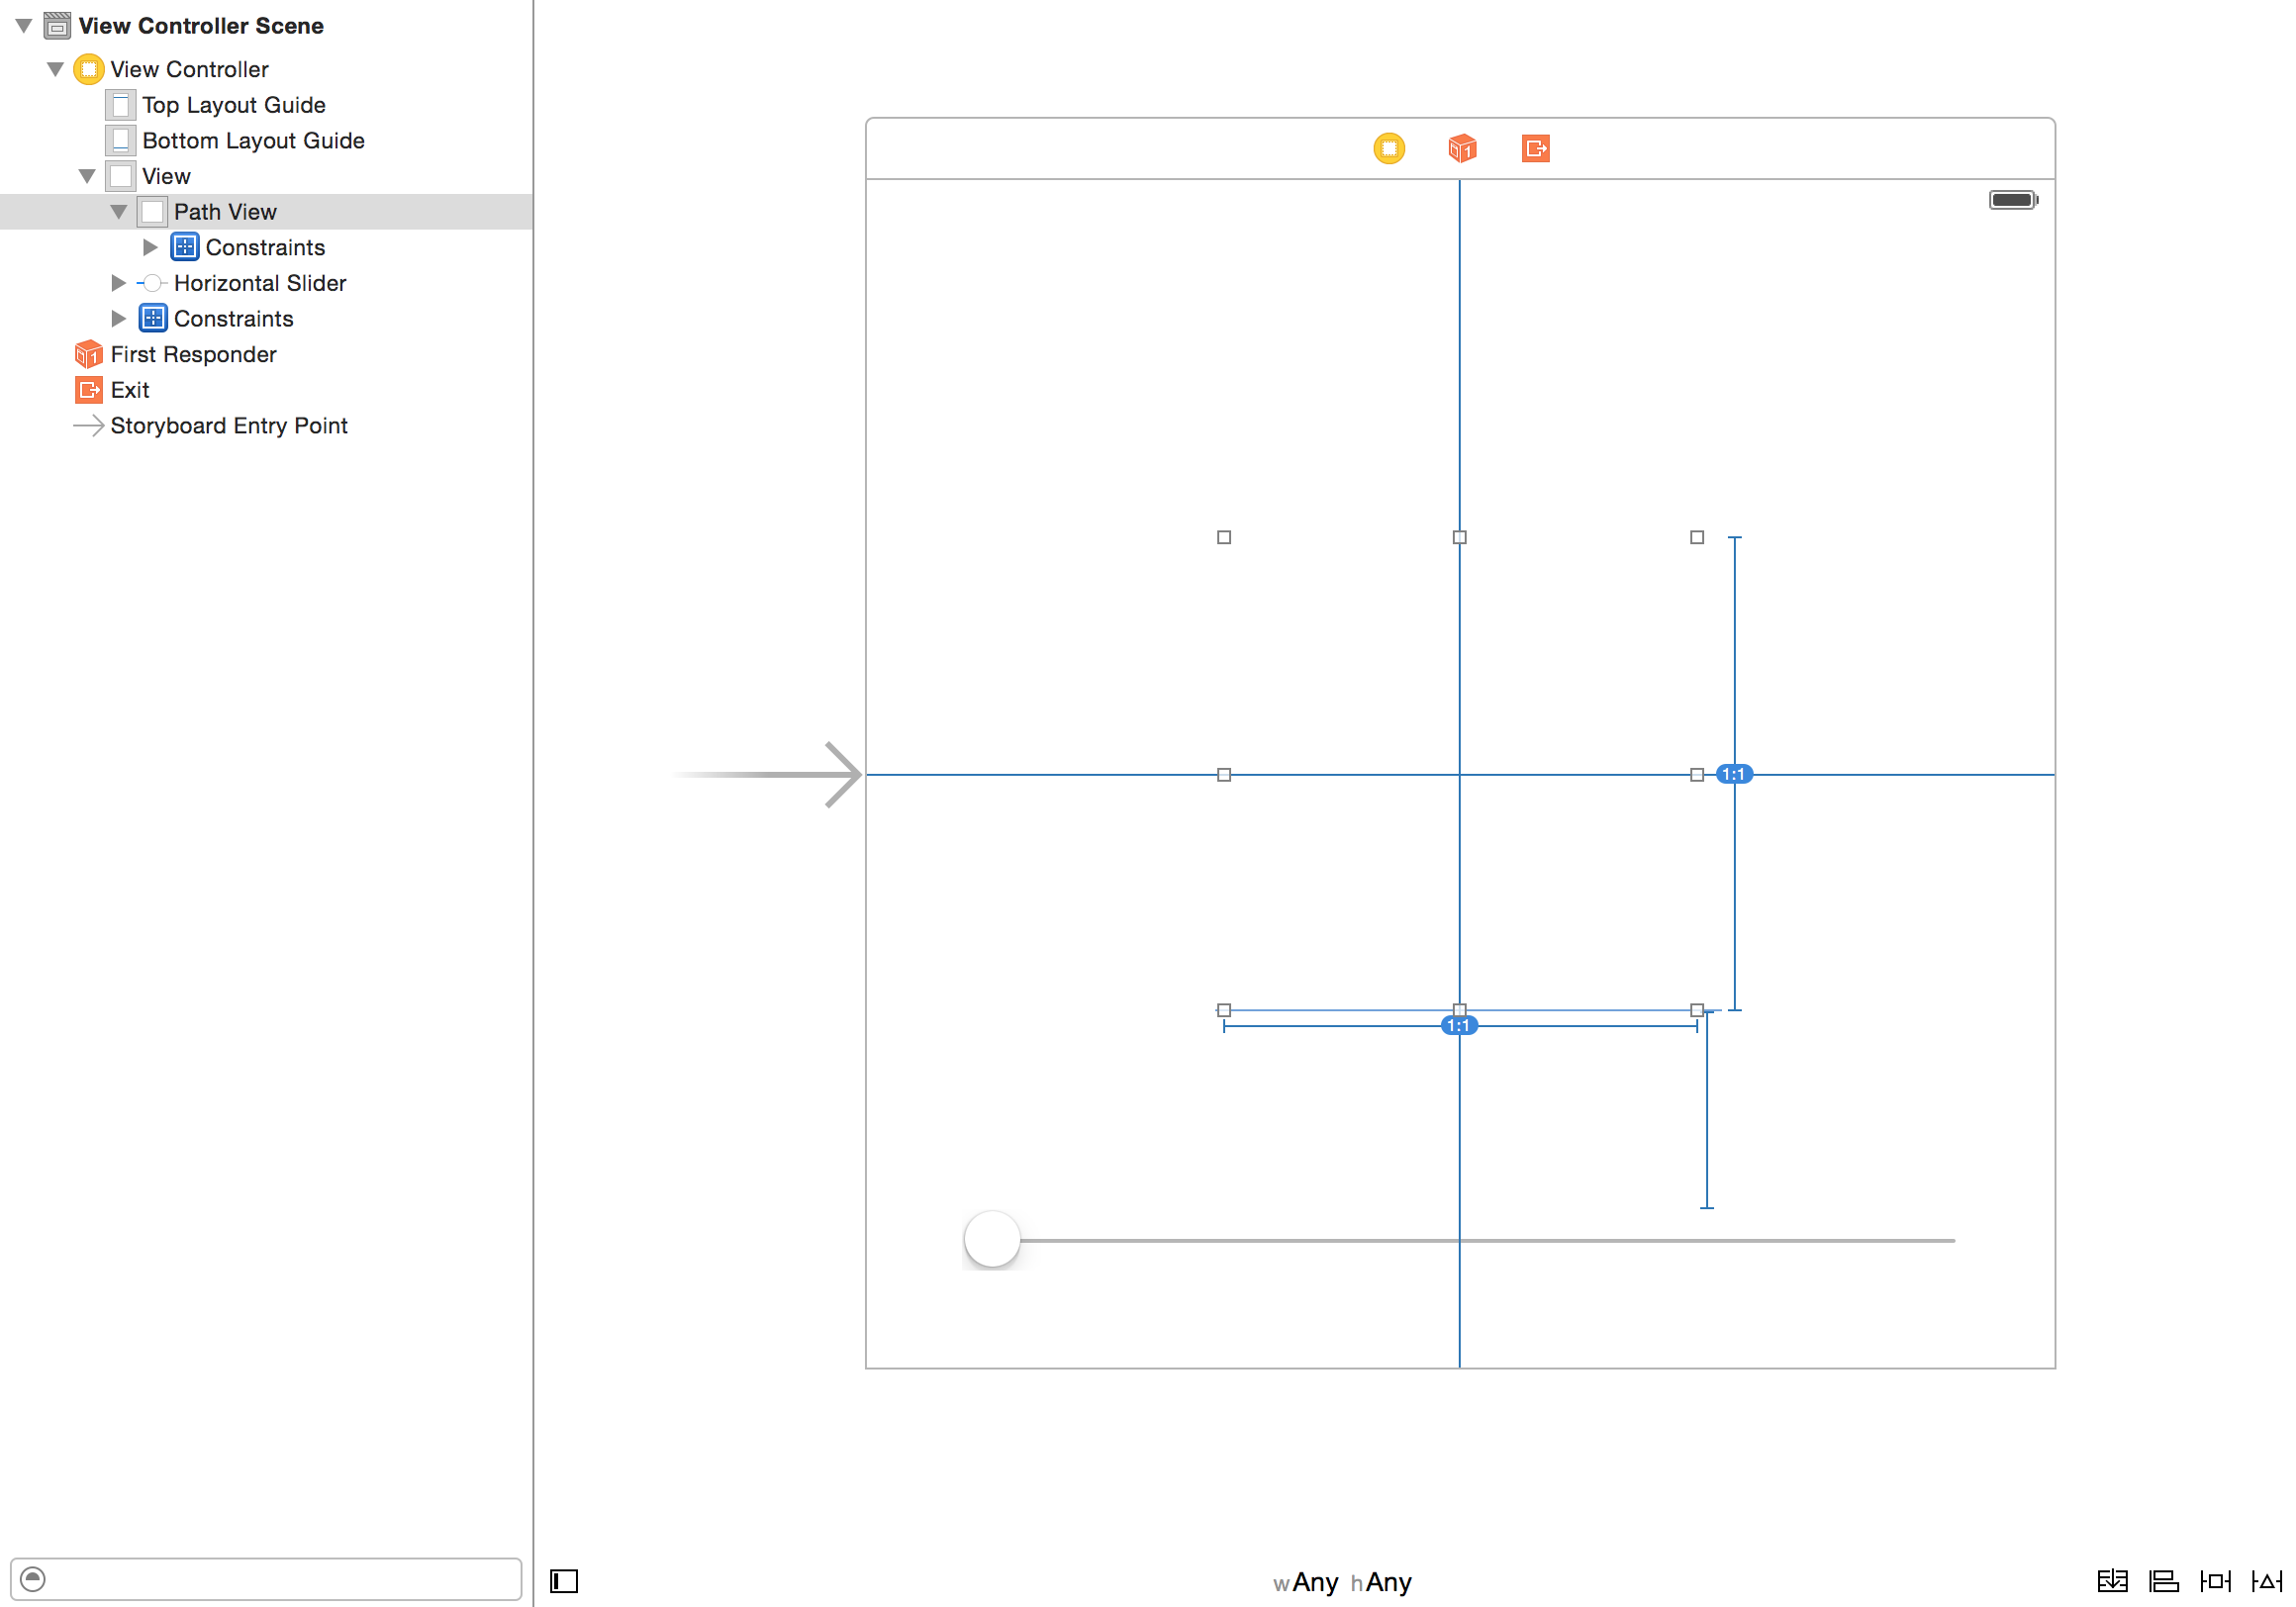
StoryboardにはUIViewとUISliderを適当に追加してください。
この後、PathStokeAdjustableView をStoryboardの中で指定するか、ViewControllerの中でaddSubViewするかによって書き方が少し変わってきます。
Storyboardで指定する場合
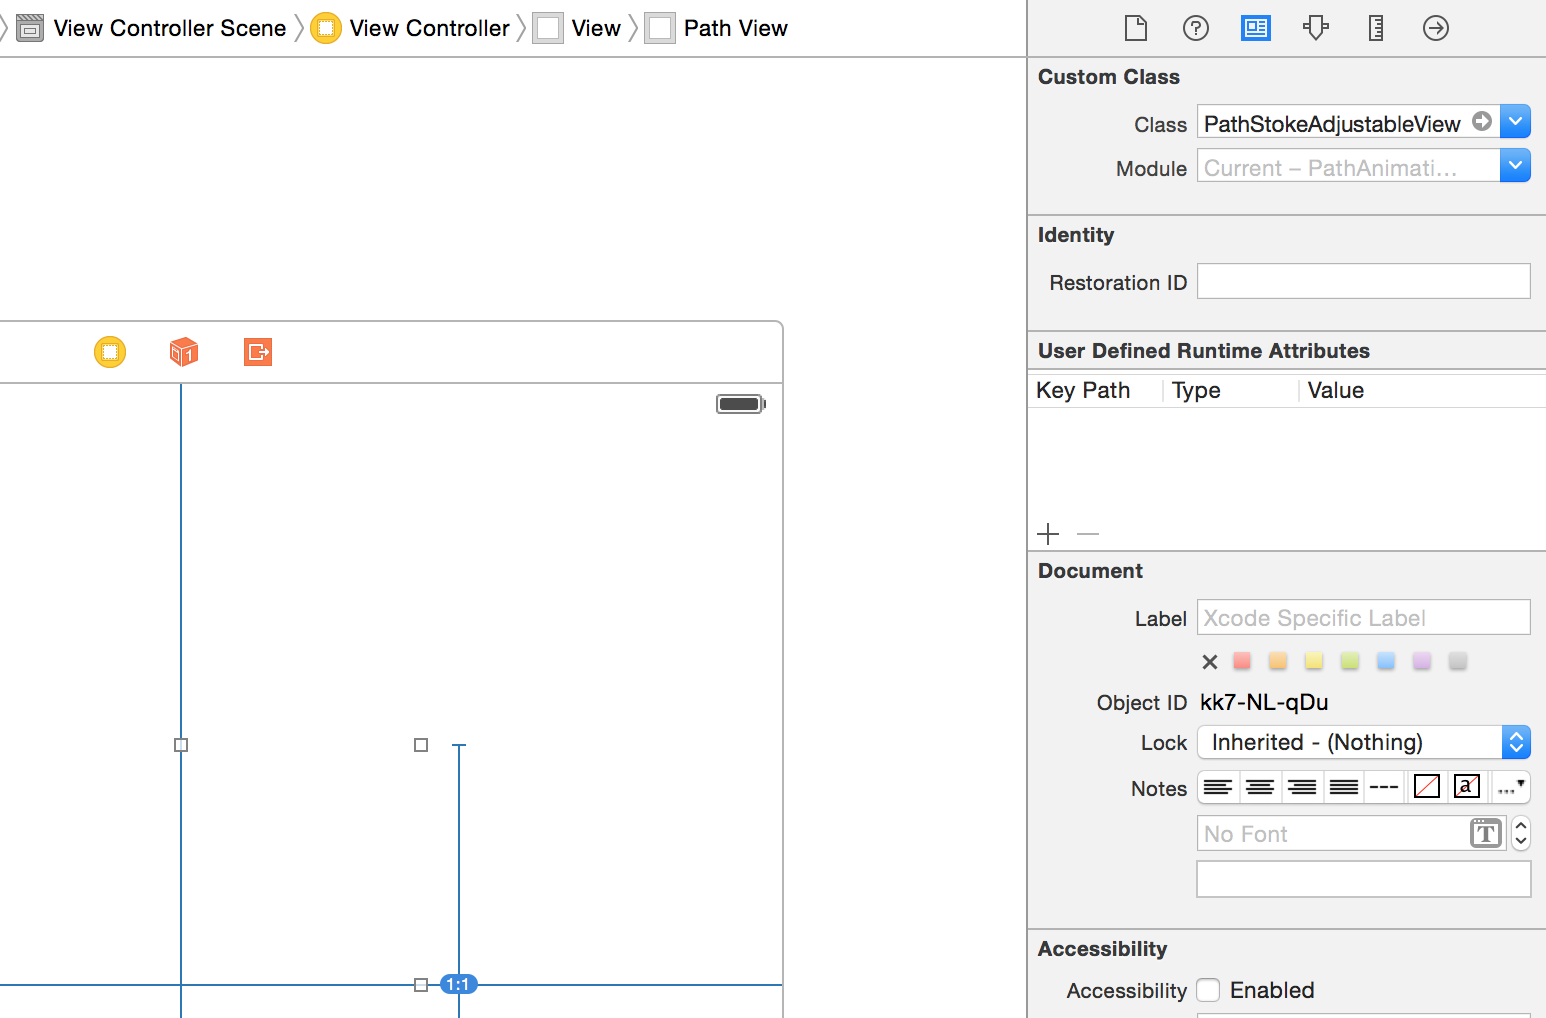
以下のスクリーンショットのように、追加したUIViewのCustom ClassをPathStokeAdjustableView に指定してください。
ViewController自体の実装はSliderの値を受け取ったとき、PathStokeAdjustableView のインスタンスにstrokeの値として受け取ったものを渡すだけです。
class ViewController: UIViewController {
    @IBOutlet weak var pathView: PathStokeAdjustableView!

    @IBAction func sliderValueChanged(sender: AnyObject) {
        guard let slider = sender as? UISlider else {
            return
        }
        pathView.stroke = CGFloat(slider.value)
    }
}
ViewControllerで生成する場合
-
Storyboardで追加したUIViewのCustom Classは変更せず、UIViewのままにしてください。 - 上記の
UIViewをpathContainerViewとして使用します。 -
PathStokeAdjustableViewのインスタンスを生成して、AutoLayoutなどを使用しpathContainerViewにaddSubviewしてください。 -
strokeへ値を渡す実装に違いはありません。
class ViewController: UIViewController {
    @IBOutlet weak var pathContainerView: UIView!
    private let pathView =  PathStokeAdjustableView()

    override func viewDidLoad() {
        super.viewDidLoad()
        // Do any additional setup after loading the view, typically from a nib.
        pathView.translatesAutoresizingMaskIntoConstraints = false
        pathContainerView.addSubview(pathView)
        pathContainerView.addConstraints([
            NSLayoutConstraint(item: pathView, attribute: .Top, relatedBy: .Equal, toItem: pathContainerView, attribute: .Top, multiplier: 1, constant: 0),
            NSLayoutConstraint(item: pathView, attribute: .Right, relatedBy: .Equal, toItem: pathContainerView, attribute: .Right, multiplier: 1, constant: 0),
            NSLayoutConstraint(item: pathView, attribute: .Left, relatedBy: .Equal, toItem: pathContainerView, attribute: .Left, multiplier: 1, constant: 0),
            NSLayoutConstraint(item: pathView, attribute: .Bottom, relatedBy: .Equal, toItem: pathContainerView, attribute: .Bottom, multiplier: 1, constant: 0)
        ])
    }

    @IBAction func sliderValueChanged(sender: AnyObject) {
        guard let slider = sender as? UISlider else {
            return
        }
        pathView.stroke = CGFloat(slider.value)
    }
}
注意点
Pathのstrokeには対応していますが、fillには対応していません。
最後に
Pathをパーセンテージ指定して描画できるようにすることによって、UISliderの値に合わせるだけでなく、UITableViewなどのスクロールに合わせて描画したりもできるようになります。

