はじめに
今回は、Dockerを使ってカンタンなWeb3層システムを構築してみます。
以前の記事では手作業でサーバ構築していますが、後程紹介するDockerfileやdocker composeを使うと、ラクにシステムを構築することができます。
以前の記事
Dockerのインストール(Ubuntu 18.04)
以前の記事を参考にDockerをインストールする。
Ubuntu18.04サーバを構築してみる
ubuntuのTagは18.04にする。
ubuntuの18.04のイメージをダウンロードし、ログインする
docker run -it -p 10081:80 ubuntu:18.04
これだけでubuntuサーバにログインができる。試しにApacheでもインストールしてみよう。
アップデート
apt update&&apt upgrade -y
apacheのインストール
apt install apache2
apache2サービスを開始
service apache2 start
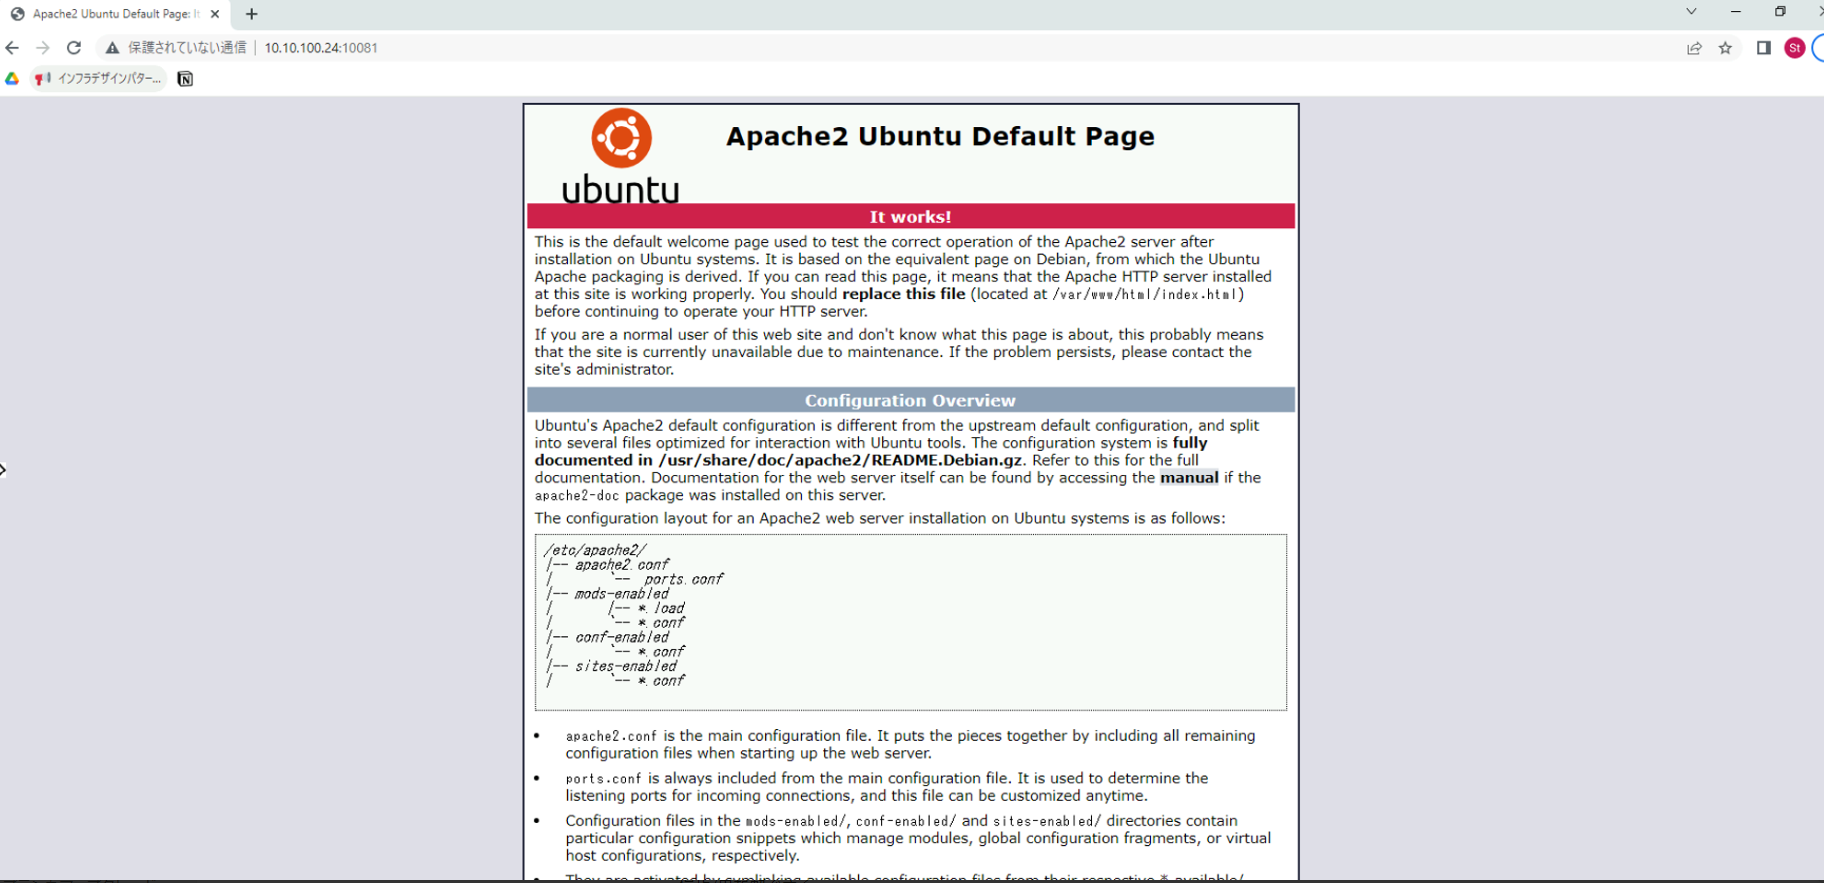
ホストのIPアドレス:10081でコンテナのapache2に接続できる
ちなみに今回のイメージの場合ubuntuにログイン後、systemctlコマンドはサポートされていない(Dockerコンテナはプロセルの隔離をするのみ。システムレベルの制御には工夫がいる)。
その代わりserviceコマンドをサポートしており、以下のようにコンテナ内のサービスを確認/起動/停止/再起動できる。
service apache2 status/start/stop/restart
Dockerfileを使って構築してみる
上記のように毎回イメージを作って、ログインして、必要なソフトウェアをインストールして…とするのは面倒ですよね。
なので、Dockerfileというファイルに必要な設定を入れておけば、Dockerがその設定が終わった状態のイメージを作成してくれます。
Apache Dockerfile
FROM ubuntu:18.04
RUN apt-get -y update && apt-get install -y apache2
CMD ["apachectl","-D","FOREGROUND"]
ビルド
docker build -t ubuntu18-apache .
実行
docker run -d -p 10082:80 ubuntu18-apache
参考
同じようにAP・DBサーバも構築してみる
APサーバ
- warファイルの用意(sample.war)
- Dockerfileをつくる
FROM tomcat:9.0.46
COPY sample.war $CATALINA_HOME/webapps/
ビルド
docker build -t tomcat8 *.*
実行
docker run -p 10081:8080 -d tomcat8
参考
DBサーバ
Dockerfileに「env MYSQL_ROOT_PASSWORD」を記載するか、コンテナ起動時に-e MYSQL_ROOT_PASSWORD=を指定しないとコンテナが起動できない。
Dockerfileを作る
FROM mysql:8.0.30
ENV MYSQL_ROOT_PASSWORD=password
ビルド
docker build -t mysql8 .
実行
docker run -p 10083:3306 -d mysql8
mysqlがインストールされているサーバから以下のコマンドで接続できる。
mysql -u root -p -h 10.10.100.24 -P 10038
参考
Docker Composeから作ってみよう
Docker Composeを使用すると、マウント先のvolumeやネットワークの情報、複数コンテナの情報をひとまとめに定義できる。
Docker Composeのインストール(Ubuntu)
apt install docker-compose
確認
docker-compose —version
Docker ComposeでWeb3層システム構築
docker-compose.yml
version: '3'
services:
  apache01:
    build: ./apache
    image: apache-image
    container_name: apache1
    ports:
      - "80:80"

  tomcat01:
    build: ./tomcat
    image: tomcat-image
    container_name: tomcat1
    depends_on:
      - apache01
    expose:
      - "8009"

  mysql01:
    build: ./mysql
    image: mysql-image
    container_name: mysql1
    depends_on:
      - tomcat01
    expose:
      - "3306"
Webサーバ
Dockerfile
FROM ubuntu:18.04
RUN apt-get -y update && apt-get install -y apache2
COPY fqdn.conf /etc/apache2/conf-available/fqdn.conf
RUN chown root:root /etc/apache2/conf-available/fqdn.conf && chmod 644 /etc/apache2/conf-available/fqdn.conf
RUN a2enconf fqdn
RUN a2enmod proxy
RUN a2enmod proxy_ajp
COPY apache2.conf /etc/apache2/apache2.conf
CMD ["apachectl","-D","FOREGROUND"]
apache2.conf(以下を追記)
ServerSignature Off

ProxyPass / ajp://tomcat01:8009/
ProxyPassReverse / ajp://tomcat01:8009/
APサーバ
Dockerfile
FROM tomcat:8.5.81
COPY sample.war $CATALINA_HOME/webapps/
COPY server.xml /usr/local/tomcat/conf/server.xml
server.xml
//↓追記
<Connector protocol="AJP/1.3"
port="8009"
address="0.0.0.0"
redirectPort="8443"
secretRequired="false" />
DBサーバ
/docker-entrypoint-initdb.d/に.shや.sqlを配置すると公式のmysqlコンテナはそれをコンテナ起動時に実行してくれる。
Dockerfile
FROM mysql:8.0.30
ENV MYSQL_ROOT_PASSWORD=password
EXPOSE 3306
COPY sampledata.sql /tmp/sampledata.sql
COPY create_user.sql /docker-entrypoint-initdb.d/create_user.sql
COPY import_data.sh /docker-entrypoint-initdb.d/import_data.sh
※sampledata.sqlは初期データ投入用のSQLコマンド。
create_user.sql
create database sampledatabase;
create user user01@'%' identified by 'password';
grant all privileges on user01.* to user01@'%';
import_data.sh
mysql -u root -ppassword sampledatabase < /tmp/sampledata.sql
(参考)Docker Composeでよく使うコマンド
(docker-compose.ymlファイルがカレントにある状態で)docker-composeで指定したすべてのサービスをビルド
docker-compose build
イメージができたか確認
docker images
コンテナ起動
docker-compose up -d
起動したコンテナの確認
docker-compose ps
イメージもコンテナも全て削除
docker-compose down --rmi all
作成されたnetworkを一覧で表示する
docker network ls
指定したnetworkの構成の詳細を確認する
docker network inspect [network名]
参考