はじめに
Firebaseを使う機会があったので、勉強も兼ねて今回ReactアプリケーションをFirebaseHostingでデプロイしてみようと思います。
Firebaseとは
Googleが提供しているモバイルアプリ開発やwebアプリケーション開発向けのプラットフォームです。
MBass/Bassと呼ばれるバックエンドサービスを提供しています。
Bassは、Backend as a service
MBassは、Mobile Backend as a serviceの略称です。
Reactアプリの準備
今回はnpmを使わずにyarnを使います。
yarnの方がnpmよりもインストールが早いので、今回はyarnを使って行っていこうと思います。
yarn create react-app react-firebase-hosting
lsコマンドを使って以下のような表示が出れば、アプリの作成はできています。
ls
react-firebase-hosting
以下のコマンドでreactアプリを起動します。
yarn start
コンソールに以下の内容が出ているか確認します。
Compiled successfully!

You can now view react-firebase-hosting in the browser.

  Local:            http://localhost:3000
  On Your Network:  http://172.31.192.204:3000

Note that the development build is not optimized.
To create a production build, use yarn build.
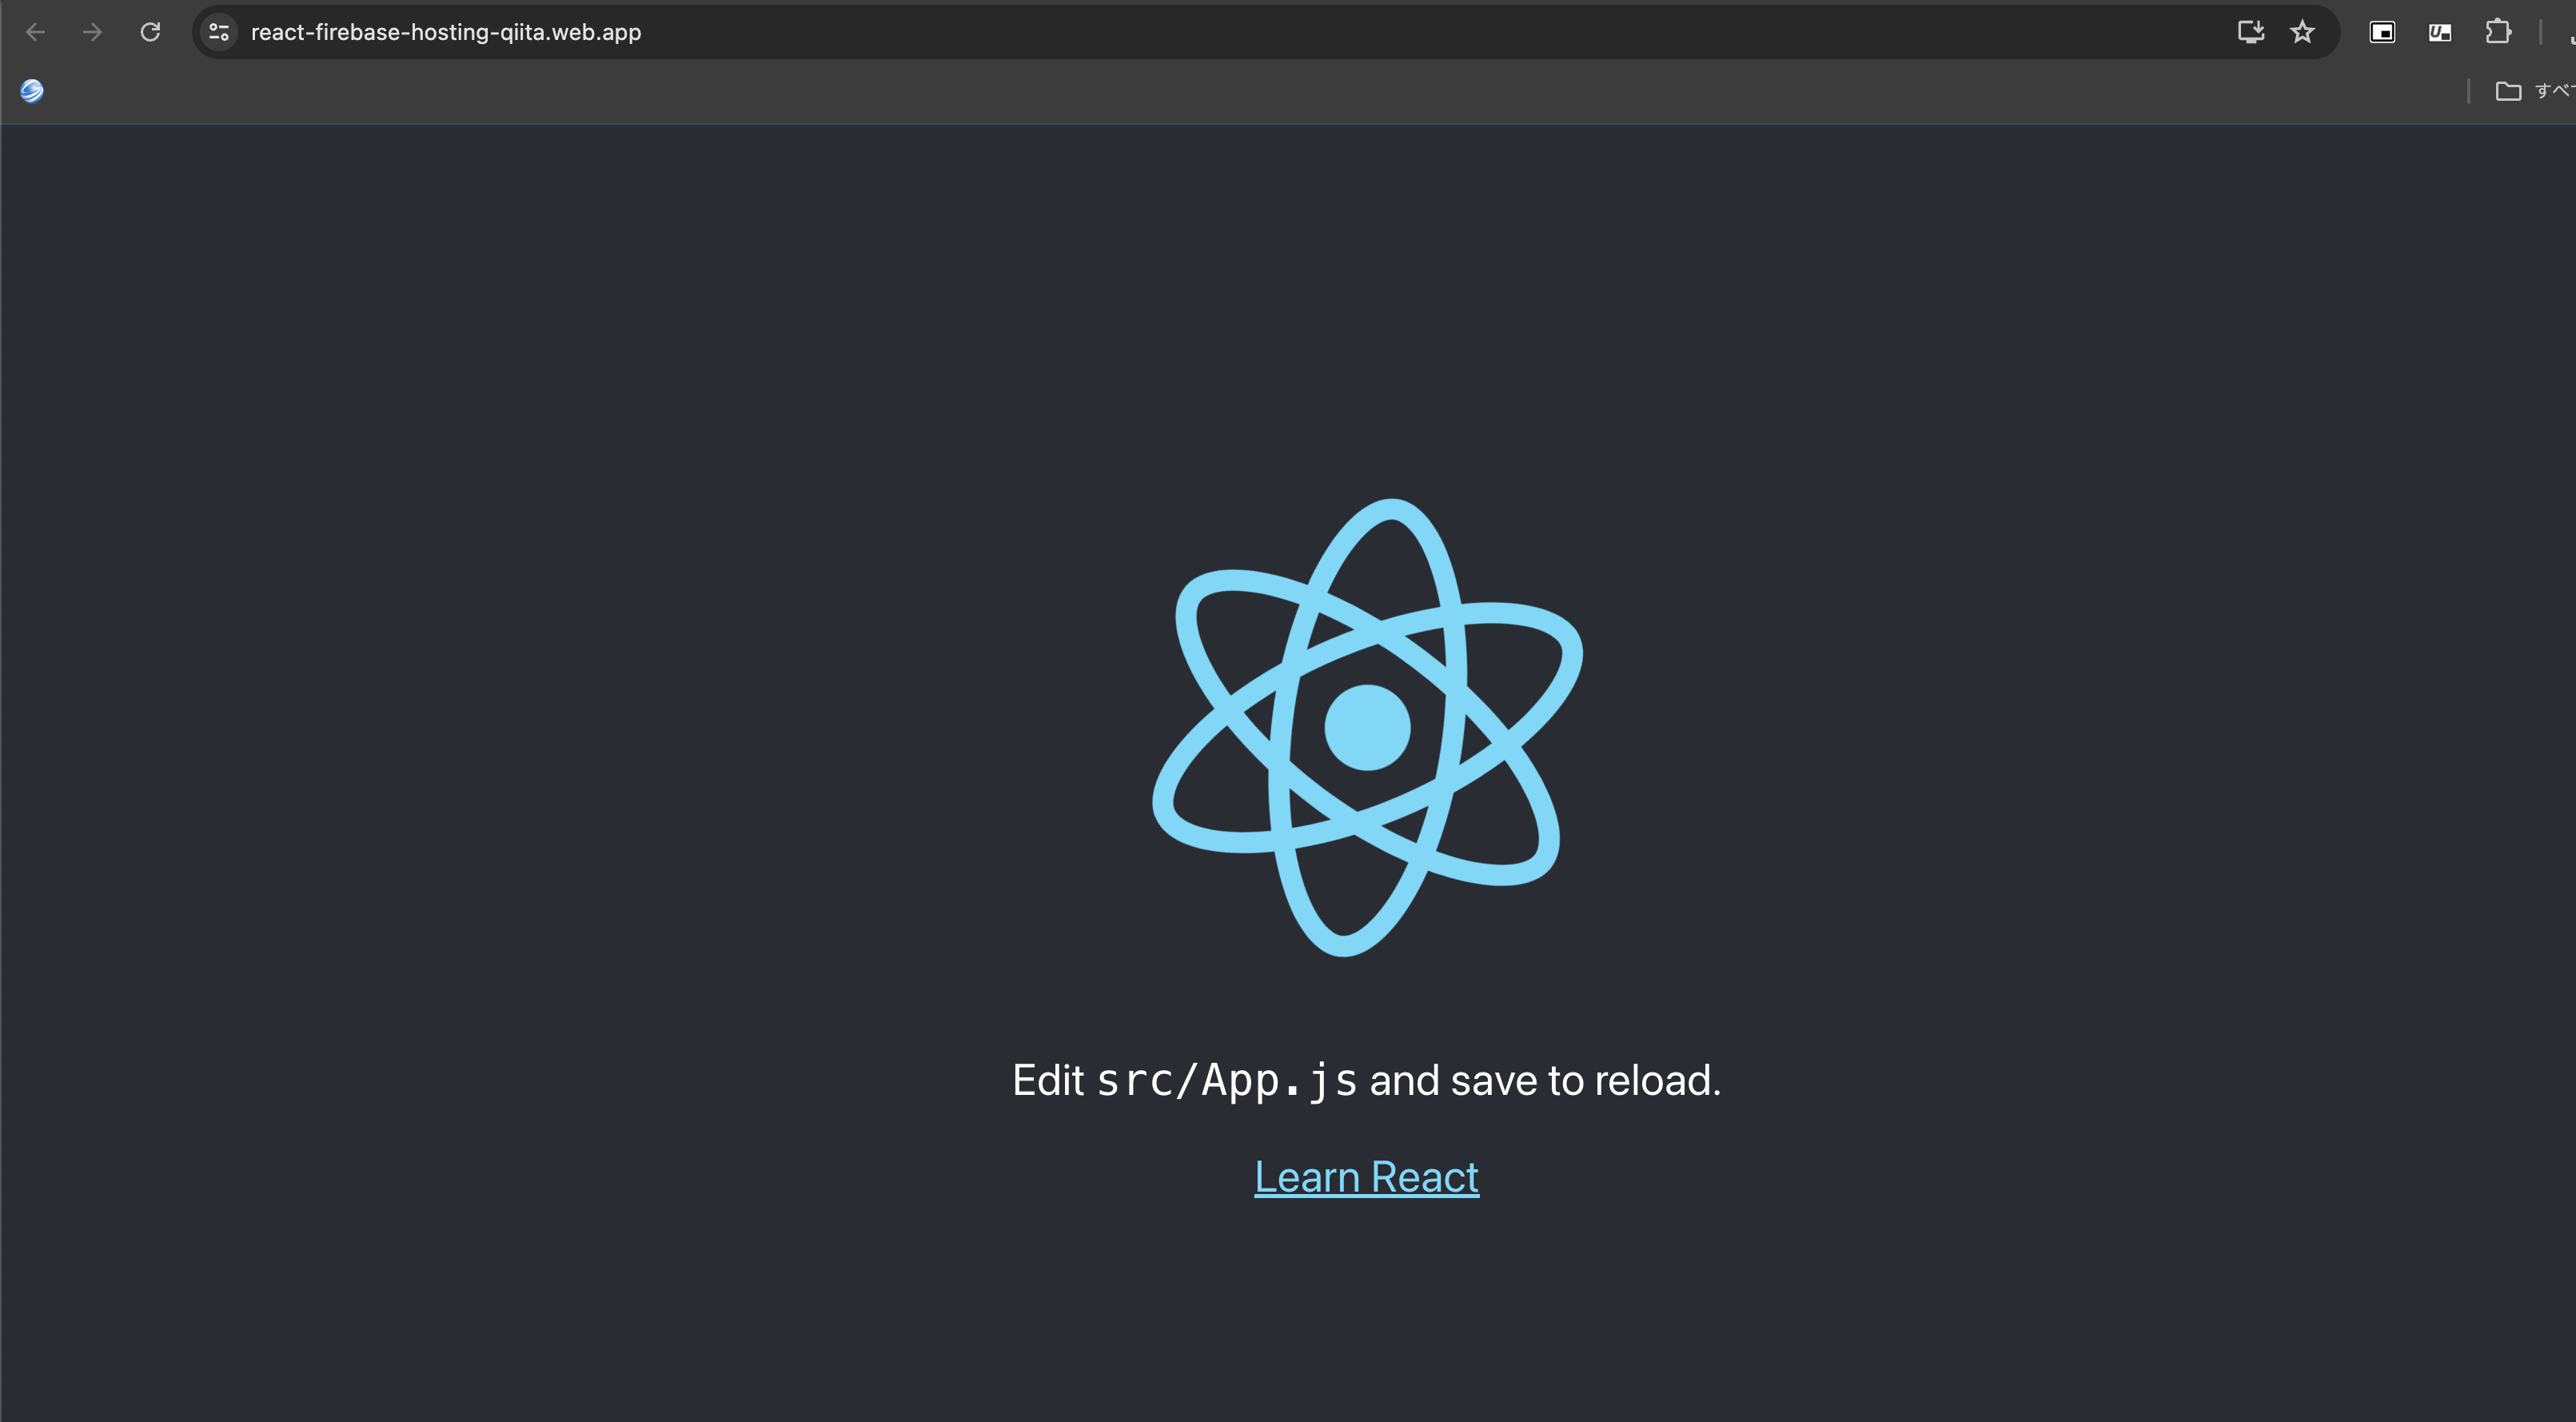
次に下のurlにアクセスして、画像のような表示が出れば、作成は成功です。
Firebaseの使用方法
次にFirebaseのプロジェクトを作成します。
続行を選択すると以下のような画面になります。有効にチェック入れておくことをお勧めします。

下も状況に合わせて、設定してください。よくわからない人は画像のように設定してください。

こうするとプロジェクトが作成されます。
firebaseの準備
webを選択します。マークは、androidの横にあるマークのアイコンを選択すればいいです。

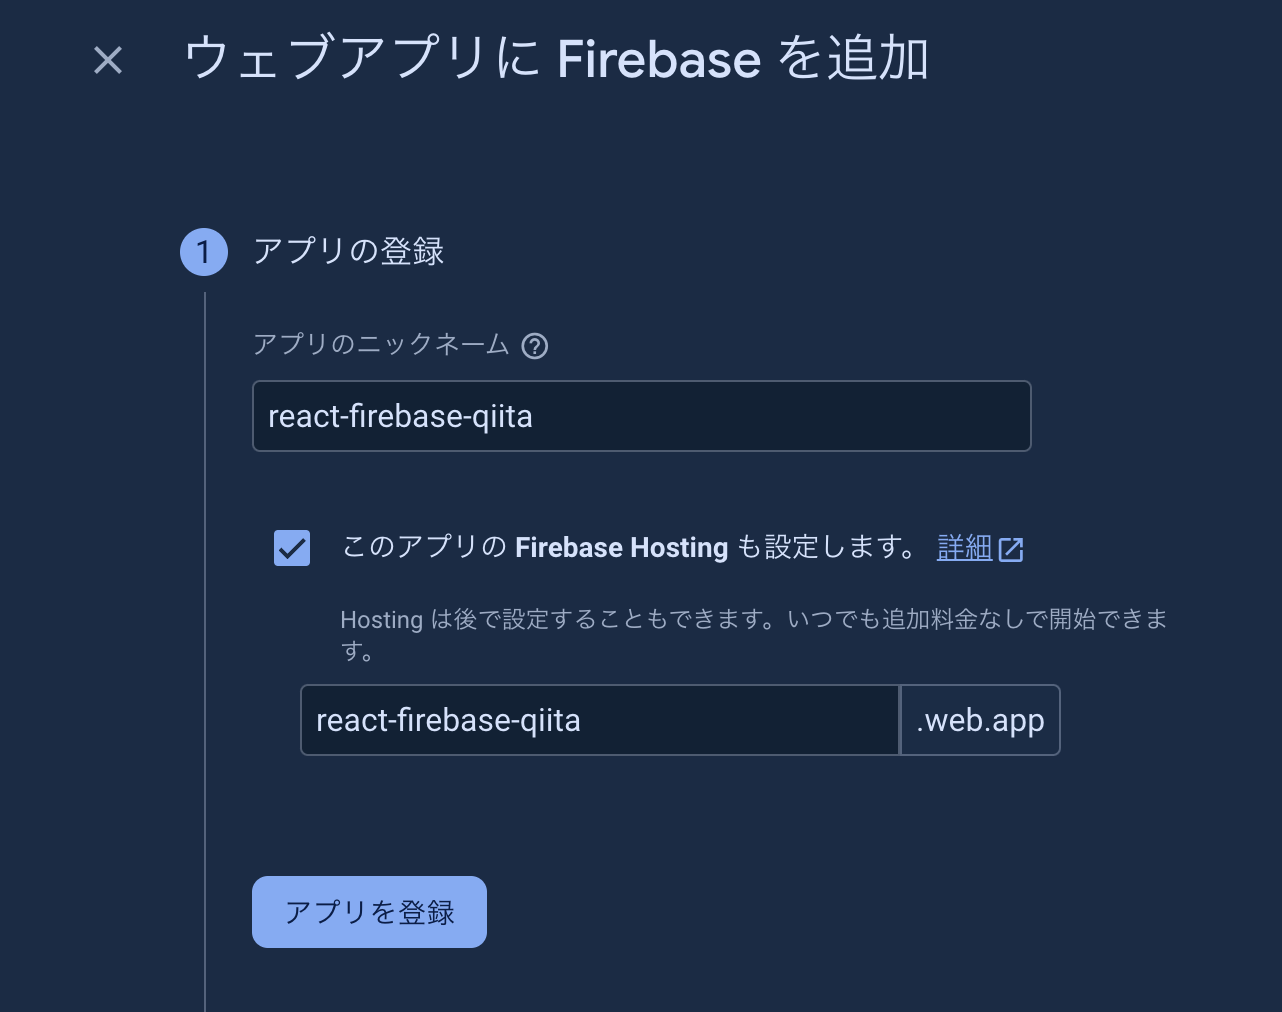
アプリの名前を設定します。
加えて、Firebase-Hostingを設定も設定します。
下の画像は、firebaseへのデプロイをcliで行うためのライブラリのインストール方法を示しています。

しかし、今回はyarnを使っているので
yarn global add firebase-tools
でインストールします。
下の画像では、firebaseへのデプロイ方法が書かれています。
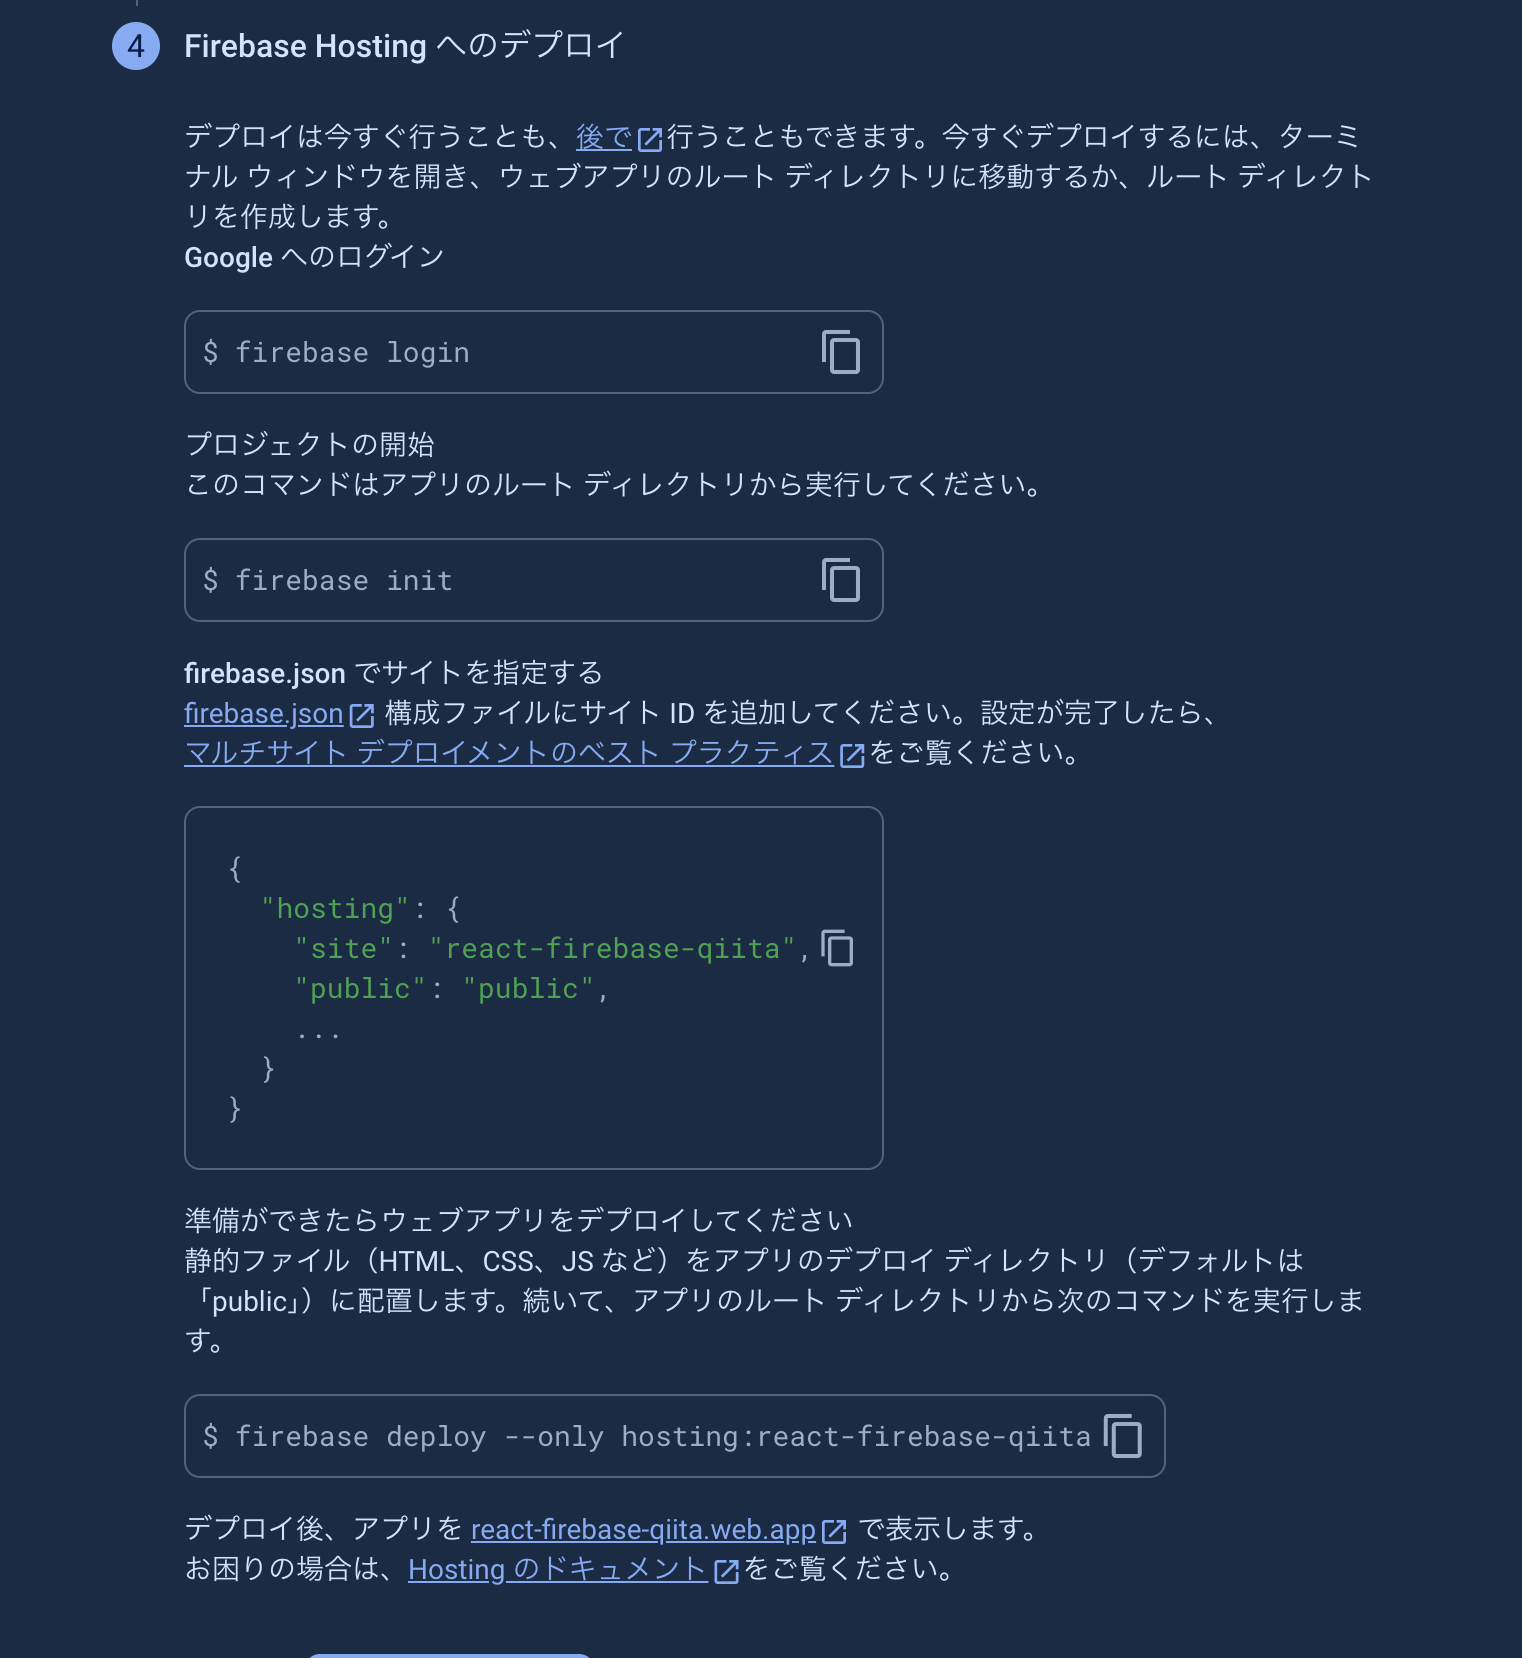
Reactで各種設定
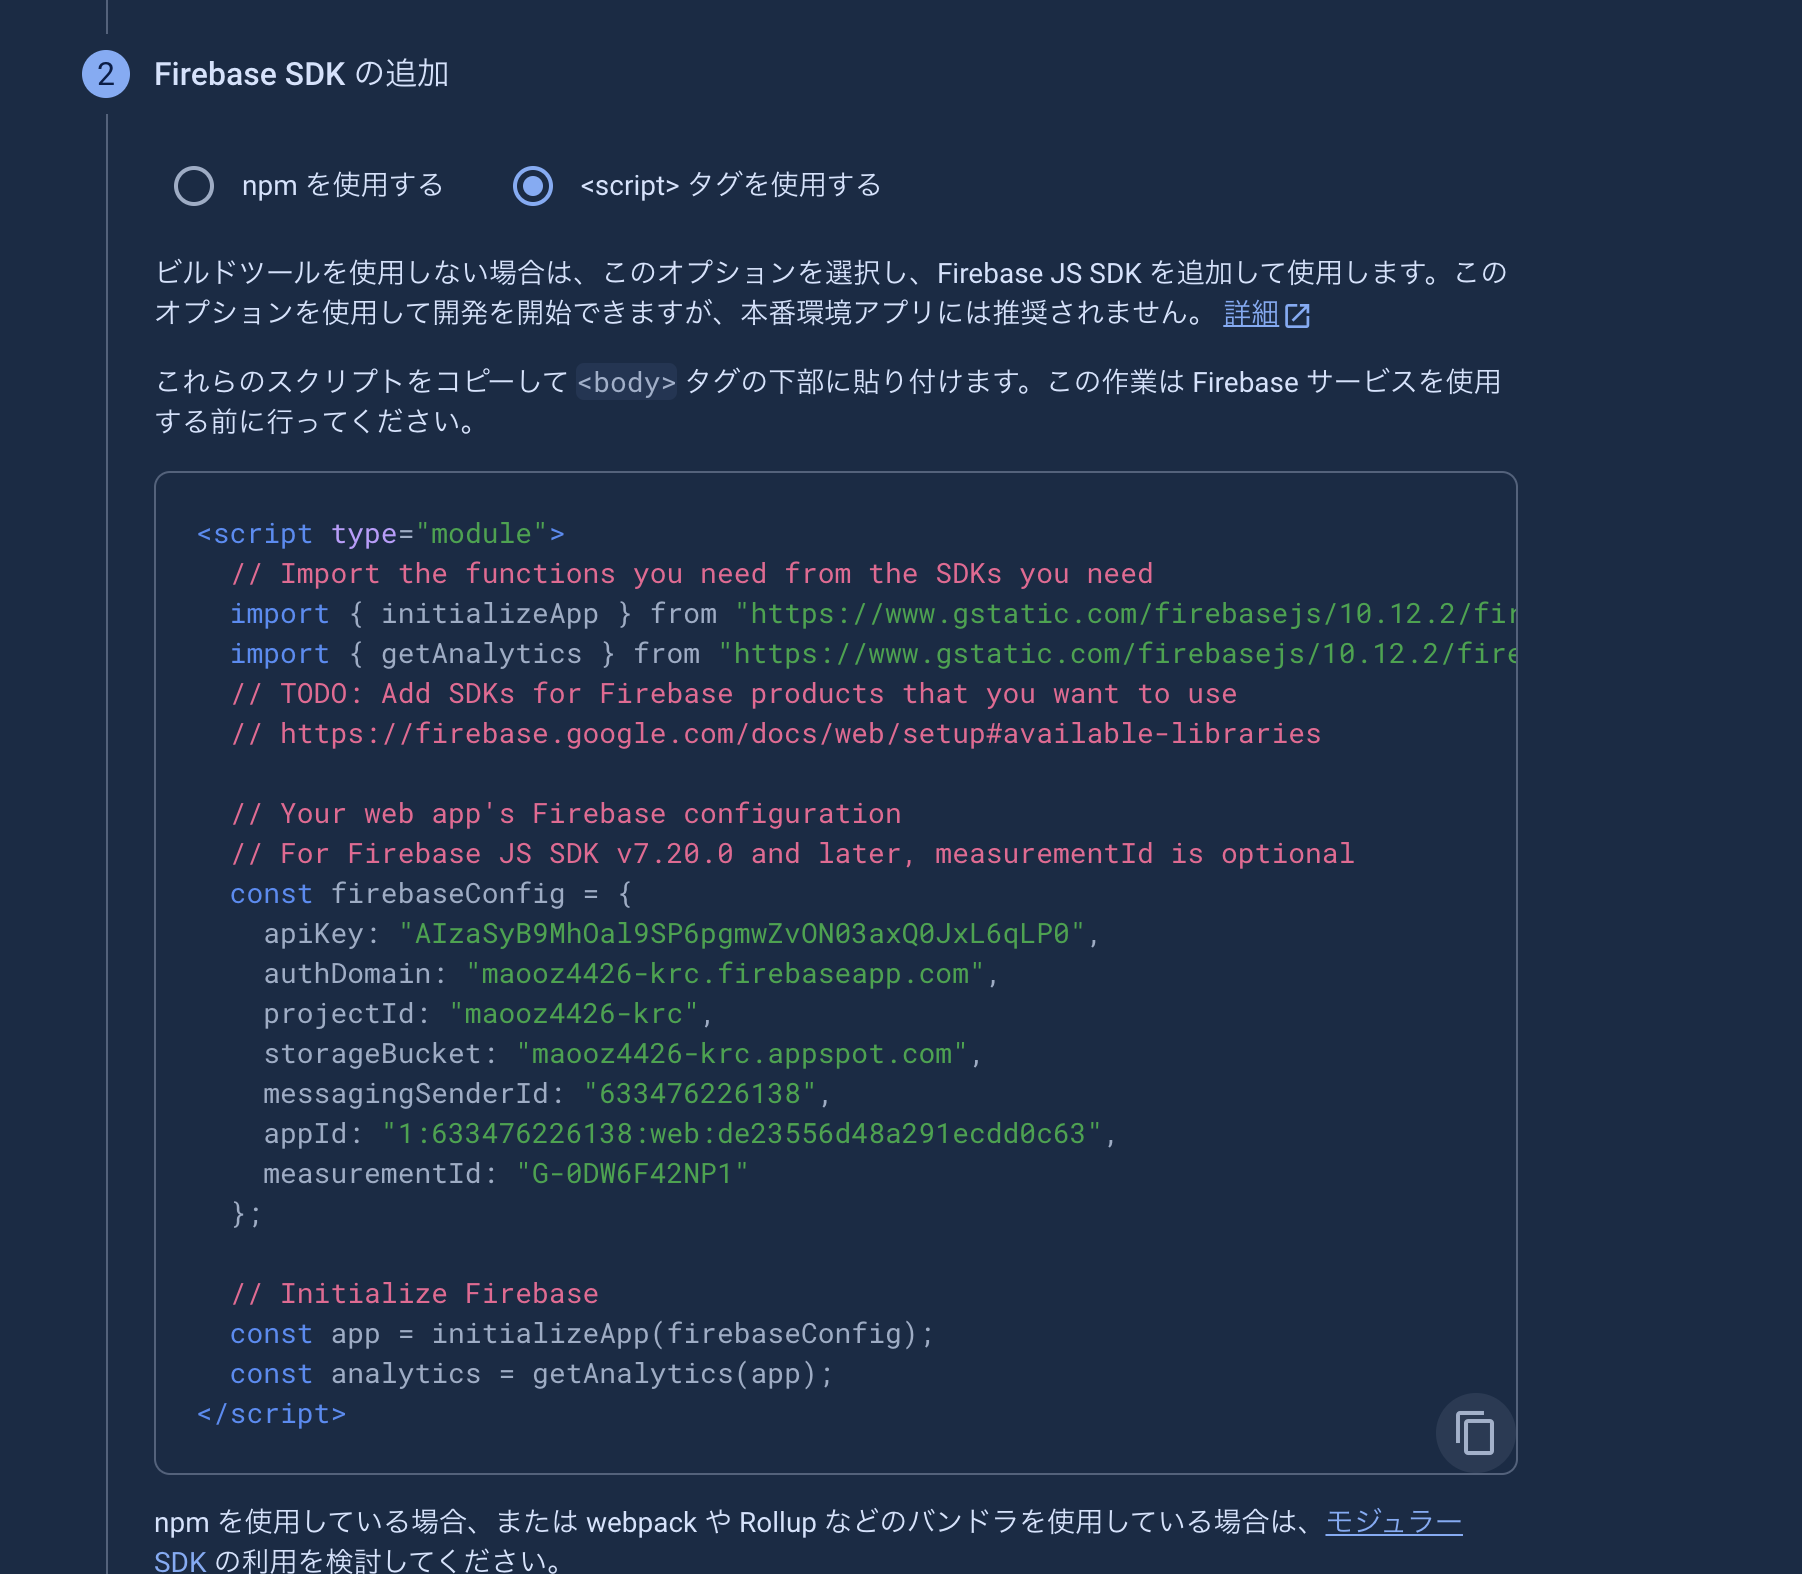
firebaseSDKをインストールします。
yarn add firebase
REACT_APP_APP_KEY=
REACT_APP_AUTH_DOMAIN=
REACT_APP_DATABASE_URL=
REACT_APP_PROJECT_ID=
REACT_APP_STORAGEBUCKET=
REACT_APP_MESSAGING_SENDER_ID=
REACT_APP_APP_ID=
REACT_APP_MEASUREMENT_ID=
下のようなファイルを作ります。
import firebase from "firebase";

const config = {
  apiKey: process.env.REACT_APP_APP_KEY,
  authDomain: process.env.REACT_APP_AUTH_DOMAIN,
  databaseURL: process.env.REACT_APP_DATABASE_URL,
  projectId: process.env.REACT_APP_PROJECT_ID,
  storageBucket: process.env.REACT_APP_STORAGEBUCKET,
  messagingSenderId: process.env.REACT_APP_MESSAGING_SENDER_ID,
  appId: process.env.REACT_APP_APP_ID,
  measurementId: process.env.REACT_APP_MEASUREMENT_ID,
};
firebase.initiaraizeApp(config);
export default config;
FirebaseCLIをインストール
デプロイに必要なFirebaseCLIをインストールします。
yarn global add firebase-tools
firebase login
ログイン画面に飛ぶので、ログインしてください。
ログインし終わったら初期化してください
firebase init
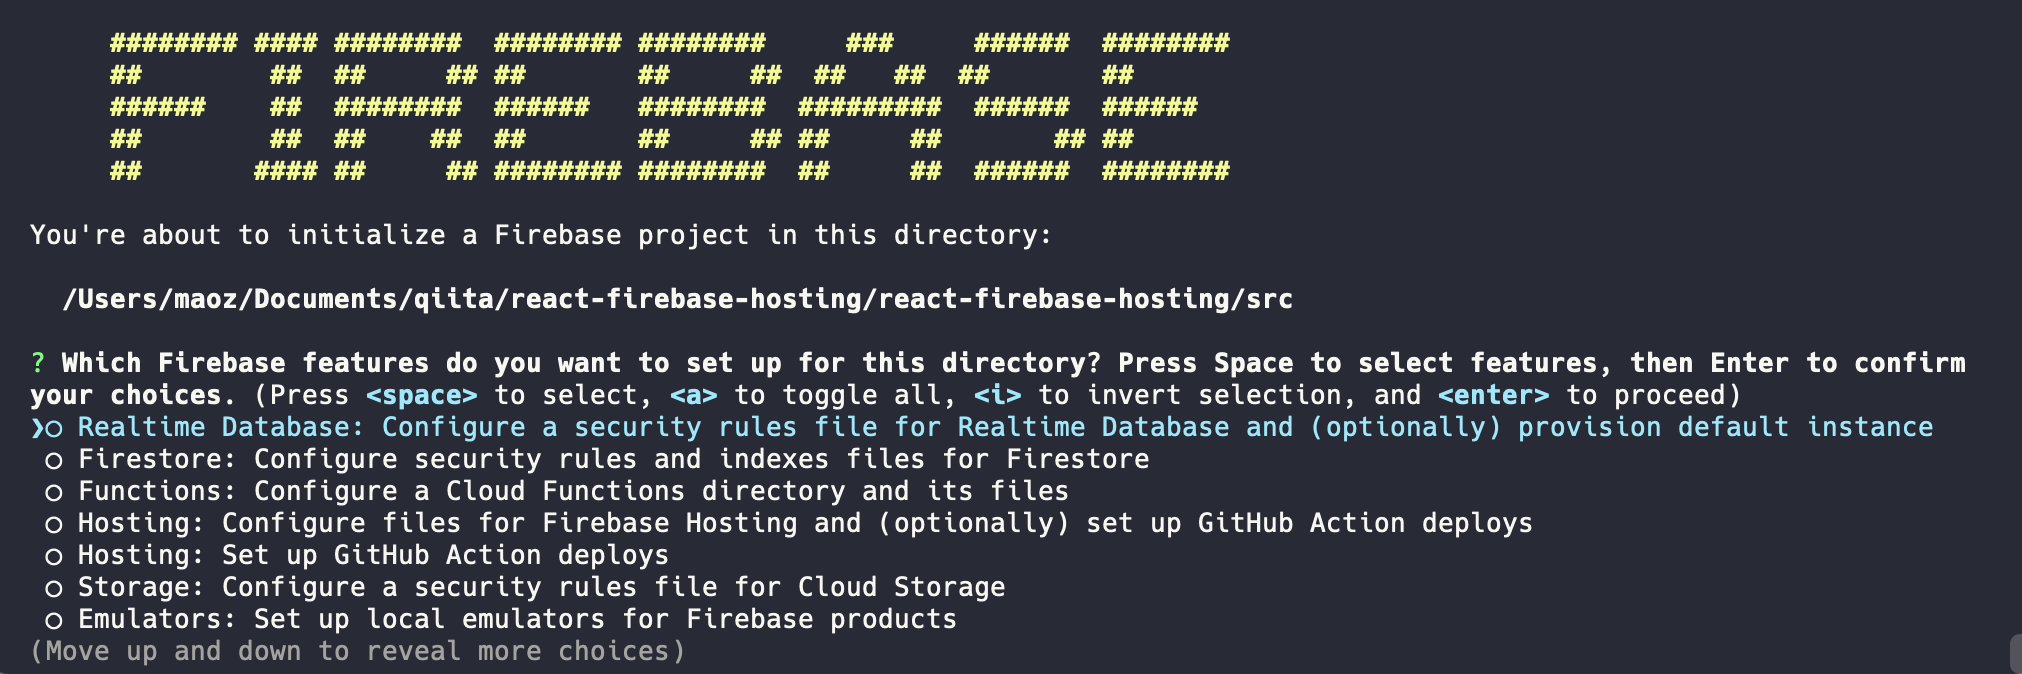
ここから矢印キーで青の>を動かせるので、Hosting: Configure files for Firebase Hosting and (optionally) set up GitHub Action deploysを選択します。選択できると以下のような画面になると思います。
? Which Firebase features do you want to set up for this directory? Press Space to select features, then Enter to confirm
your choices. (Press <space> to select, <a> to toggle all, <i> to invert selection, and <enter> to proceed)
 ◯ Realtime Database: Configure a security rules file for Realtime Database and (optionally) provision default instance
 ◯ Firestore: Configure security rules and indexes files for Firestore
 ◯ Functions: Configure a Cloud Functions directory and its files
❯◉ Hosting: Configure files for Firebase Hosting and (optionally) set up GitHub Action deploys
 ◯ Hosting: Set up GitHub Action deploys
 ◯ Storage: Configure a security rules file for Cloud Storage
 ◯ Emulators: Set up local emulators for Firebase products
(Move up and down to reveal more choices)
選択すると、下のような画面が出てくるので、Use an existing projectを選択します。
? Please select an option: (Use arrow keys)
❯ Use an existing project
  Create a new project
  Add Firebase to an existing Google Cloud Platform project
  Don't set up a default project
ここだけ写真ですいません
すると下のようになります。
=== Hosting Setup

Your public directory is the folder (relative to your project directory) that
will contain Hosting assets to be uploaded with firebase deploy. If you
have a build process for your assets, use your build's output directory.

? What do you want to use as your public directory?
これはデプロイされたものを指定します。
この後yarn buildでデプロイしますが、buildディレクトリにできるので、それを指定します。
? What do you want to use as your public directory? build
次に下のような表示が出ます。
? Configure as a single-page app (rewrite all urls to /index.html)? (y/N)
今回は該当するのでyesを選択します。
? Configure as a single-page app (rewrite all urls to /index.html)? (y/N) y
次にGithubで自動デプロイを有効にするか聞かれます。
? Set up automatic builds and deploys with GitHub? (y/N)
今回はしないのでNにします
? Set up automatic builds and deploys with GitHub? (y/N) N
以下の表示されたら成功です。
✔  Wrote build/index.html

i  Writing configuration info to firebase.json...
i  Writing project information to .firebaserc...
i  Writing gitignore file to .gitignore...

✔  Firebase initialization complete!
次に下のコマンドでビルドします。
yarn build
下の表示が出てきたらビルドできています
Creating an optimized production build...
Compiled successfully
ここからfirebaseにデプロイします。
firebase deploy
以下の文面が出てきたら成功です!
✔ Deploy complete!
本当にデプロイできたか確認してみましょう。
下の方に行くとHostingURLが書かれていると思うのでそこにアクセスします。
Project Console: https://console.firebase.google.com/project/react-firebase-hosting-qiita/overview
Hosting URL: https://react-firebase-hosting-qiita.web.app
最後に
firebaseはGithubを利用してCI/CDを行えるらしく、CI/CDについてよくわかっていないことも多いので、次はそれを挑戦してみようと思います。


