テーテーテーテテテテッテテー
カァァァン!!!
ワァァァァ-----!!
テーテーテーテテテテッテテー
概要
Unity Graphics Programmingを読んでComputeShaderやGPU Instancingについて学ぶ機会があったので、復習序に以前書いたこちらの記事の内容を発展させる形で大量のドカベンロゴを表示/アニメーションさせてみました。
折角なのでこちらの実装内容などについてメモします。
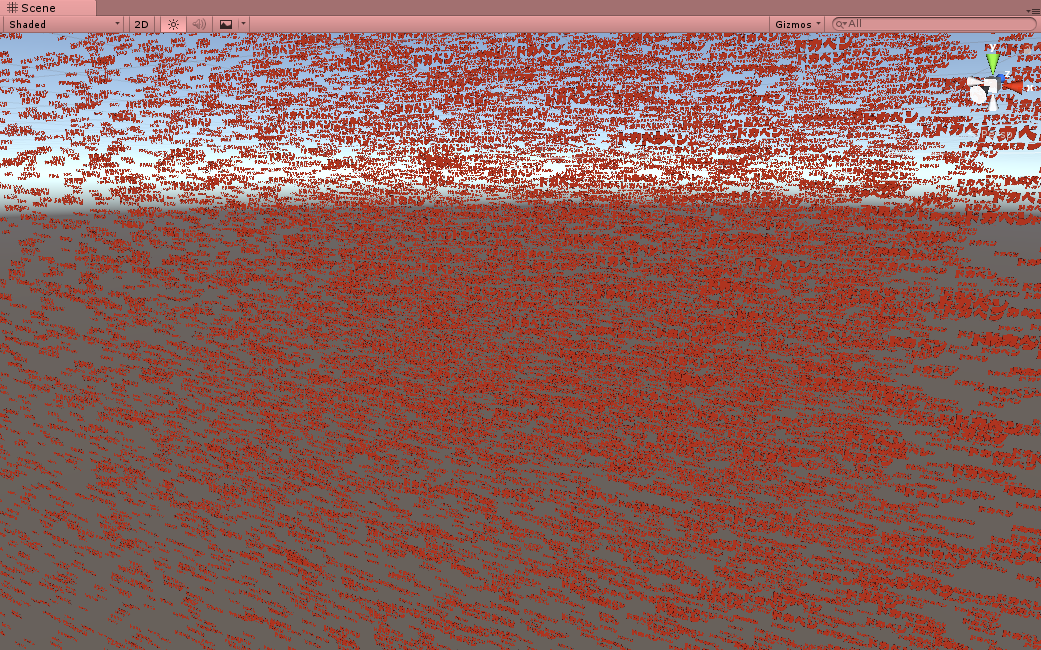
※ちなみに、下記のキャプチャはSceneViewから見たものですが、大体32768個ぐらいのタイトルロゴを同時表示してます。
- Unity2017.2.0p1で実装/動作確認
- プロジェクト一式はGitHubにアップしてます。
実装について
やっている事を大まかに纏めると以下の流れになります。
- スクリプト(C#)ではAssetの各種参照の保持やComputeShaderの算出値を入れる為のComputeBuffer等を用意し、ComputeShaderとメッシュの描画を実行。
- ComputeShaderはアニメーションに必要な情報(回転行列)等を算出して↑で用意したComputeBufferに保持。
- Shaderではスクリプト(C#)側で計算した位置情報やComputeShaderで算出した回転行列などを元に頂点アニメーションを行う。
上記の点を踏まえて一部ソースコードを掲載しつつ要点を纏めていきます。
スクリプト(C#)
- やっている事としては上述の通り、Assetの参照の保持やバッファの確保/破棄と各種機能の呼び出しです。
- Startではバッファの確保及び初期化を行っております。
- なお、タイトルロゴの表示位置に関しては境界内にランダムに配置する形で座標をバッファに格納し、Shader側で参照してます。
- UpdateではComputeShaderを実行し、その後に算出した値を用いてメッシュの描画を行っております。
- Startではバッファの確保及び初期化を行っております。
GPUDokaben.cs
void Start()
{
    // バッファ生成
    this._DokabenDataBuffer = new ComputeBuffer(this._MaxObjectNum, Marshal.SizeOf(typeof(DokabenData)));
    this._AnimationStartPositionBuffer = new ComputeBuffer(this._MaxObjectNum, Marshal.SizeOf(typeof(float)));
    this._GPUInstancingArgsBuffer = new ComputeBuffer(1, this._GPUInstancingArgs.Length * sizeof(uint), ComputeBufferType.IndirectArguments);
    var rotationMatrixArr = new DokabenData[this._MaxObjectNum];
    var timeArr = new float[this._MaxObjectNum];
    for (int i = 0; i < this._MaxObjectNum; ++i)
    {
        // バッファに初期値を代入
        var halfX = this._BoundSize.x / 2;
        var halfY = this._BoundSize.y / 2;
        var halfZ = this._BoundSize.z / 2;
        // 境界内にランダムで配置
        rotationMatrixArr[i].Position = new Vector3(
            Random.Range(-halfX, halfX),
            Random.Range(-halfY, halfY),
            Random.Range(-halfZ, halfZ));
        rotationMatrixArr[i].Rotation = Matrix2x2.identity;
        // 0~90度の間でランダムに開始させてみる
        // →同じアニメーションを行うなら0を渡せばok
        timeArr[i] = Random.Range(0f, 90f * Mathf.Deg2Rad);
    }
    this._DokabenDataBuffer.SetData(rotationMatrixArr);
    this._AnimationStartPositionBuffer.SetData(timeArr);
    rotationMatrixArr = null;
    timeArr = null;
}

void Update()
{
    // ComputeShader
    int kernelId = this._ComputeShader.FindKernel("MainCS");
    this._ComputeShader.SetFloat("_Time", Time.time);
    this._ComputeShader.SetFloat("_AnimationSpeed", this._AnimationSpeed);
    this._ComputeShader.SetBuffer(kernelId, "_DokabenDataBuffer", this._DokabenDataBuffer);
    this._ComputeShader.SetBuffer(kernelId, "_AnimationStartPositionBuffer", this._AnimationStartPositionBuffer);
    this._ComputeShader.Dispatch(kernelId, (Mathf.CeilToInt(this._MaxObjectNum / ThreadBlockSize) + 1), 1, 1);

    // GPU Instaicing
    this._GPUInstancingArgs[0] = (this._DokabenMesh != null) ? this._DokabenMesh.GetIndexCount(0) : 0;
    this._GPUInstancingArgs[1] = (uint)this._MaxObjectNum;
    this._GPUInstancingArgsBuffer.SetData(this._GPUInstancingArgs);
    this._DokabenMaterial.SetBuffer("_DokabenDataBuffer", this._DokabenDataBuffer);
    this._DokabenMaterial.SetVector("_DokabenMeshScale", this._DokabenMeshScale);
    Graphics.DrawMeshInstancedIndirect(this._DokabenMesh, 0, this._DokabenMaterial, new Bounds(this._BoundCenter, this._BoundSize), this._GPUInstancingArgsBuffer);
}
- ちなみに今回のアニメーションとしてはX軸の回転だけであり、必要な行列としては2x2あれば十分だったので、こちらの方を自前で用意しました。
- ※理由としてはコメントにある通りUnity側で用意している物が4x4しか無かった為。(勿論4x4を用いて実装する事も可能)
GPUDokaben.cs
/// <summary>
/// 2x2の行列
/// </summary>
/// <remarks>Unityが用意している物が4x4しか無い上に、そんなに必要無いので用意</remarks>
public struct Matrix2x2
{
    public float m00;
    public float m11;
    public float m01;
    public float m10;
    /// <summary>
    /// 単位行列
    /// </summary>
    public static Matrix2x2 identity
    {
        get
        {
            var m = new Matrix2x2();
            m.m00 = m.m11 = 1f;
            m.m01 = m.m10 = 0f;
            return m;
        }
    }
}
Compute Shader
- Compute Shaderでやる事としては、以前書いた記事にある回転行列の算出及び保持となります。
- ※処理内容についてはそのまま流用。
- なお、Shader側では参照できるUnity標準の組み込み変数(
_Time、_SinTime、etc..)が存在しない様だったので、こちらについてはC#側から時間を渡してComputeShader内で算出しております。(今回の例で言えば_SinTimeが該当)
GPUDokaben.compute
// コマ落ちアニメーション(※値自体はほぼ目コピ)
groupshared float Animation[AnimationLength] =
{
    1,
    0.9333333333333333,
    0.8666666666666667,
    0.8,
    0.7333333333333333,
    0.6666666666666666,
    0.6,
    0.5333333333333333,
    0.4666666666666667,
    0.4,
    0.3333333333333333,
    0.26666666666666666,
    0.2,
    0.13333333333333333,
    0.06666666666666667,
    0
};

[numthreads(ThreadBlockSize, 1, 1)]
void MainCS(uint3 id : SV_DispatchThreadID)
{
    // インデックス取得
    const unsigned int index = id.x;

    // 時間の正弦を算出(ShaderLabの"_SinTime"の代わり)
    // →序にアニメーション開始位置のバッファを加算してアニメーションをずらせるように設定
    float sinTime = sin((_Time*_AnimationSpeed)+_AnimationStartPositionBuffer[index]);

    // sinTime0~1に正規化 →0~15(コマ数分)の範囲にスケールして要素数として扱う
    float normal = (sinTime+1)/2;
    // X軸に90度回転
    float rot = Animation[round(normal*(AnimationLength-1))]*radians(90);

    // 回転行列
    float sinX = sin(rot);
    float cosX = cos(rot);
    _DokabenDataBuffer[index].Rotation = float2x2(cosX, -sinX, sinX, cosX);
}
Shader
- Shaderではスクリプト(C#)側から値を渡して貰う為に構造体の宣言やStructuredBuffer等を用意します。
GPUDokaben.shader
            // ドカベンロゴのデータ
            struct DokabenData
            {
                // 座標
                float3 Position;
                // 回転
                float2x2 Rotation;
            };
            // ドカベンロゴのバッファ
            StructuredBuffer<DokabenData> _DokabenDataBuffer;
            // ドカベンMeshのScale(サイズ固定)
            float3 _DokabenMeshScale;
- 後はComputeBufferで算出した情報を用いて頂点シェーダーで座標変換して移動や回転等を行っております。
- ちなみに、ドカベンロゴ自体は板ポリ(Unityが標準で用意しているQuad Mesh)にTextureを貼り付けて表示しているだけなので、板ポリをロゴのサイズにScaleし直す必要がありました。そちらについての変形も頂点シェーダーで対応してます。
GPUDokaben.shader
v2f vert (appdata_t v, uint instanceID : SV_InstanceID)
{
    v2f o;
    UNITY_SETUP_INSTANCE_ID(v);
    UNITY_INITIALIZE_VERTEX_OUTPUT_STEREO(o);

    // 回転を適用
    v.vertex.y += ((_MainTex_TexelSize.w/100)/2);
    float2x2 rotationMatrix = _DokabenDataBuffer[instanceID].Rotation;
    v.vertex.yz = mul(rotationMatrix, v.vertex.yz);
    v.vertex.y -= ((_MainTex_TexelSize.w/100)/2);

    // スケールと位置(平行移動)を適用
    float4x4 matrix_ = (float4x4)0;
    matrix_._11_22_33_44 = float4(_DokabenMeshScale.xyz, 1.0);
    matrix_._14_24_34 += _DokabenDataBuffer[instanceID].Position;
    v.vertex = mul(matrix_, v.vertex);

    o.vertex = UnityObjectToClipPos(v.vertex);
    o.texcoord = TRANSFORM_TEX(v.texcoord, _MainTex);
    return o;
}
オマケ : Android端末での動作検証
後述の動作条件を満たしていればスマホでもComputeShader/GPU Instancingを実行する事が出来るみたいだったので、手持ちの端末の中でスペックを満たすもので動作確認してみました。
- ZenFone AR
- Galaxy S6 edge
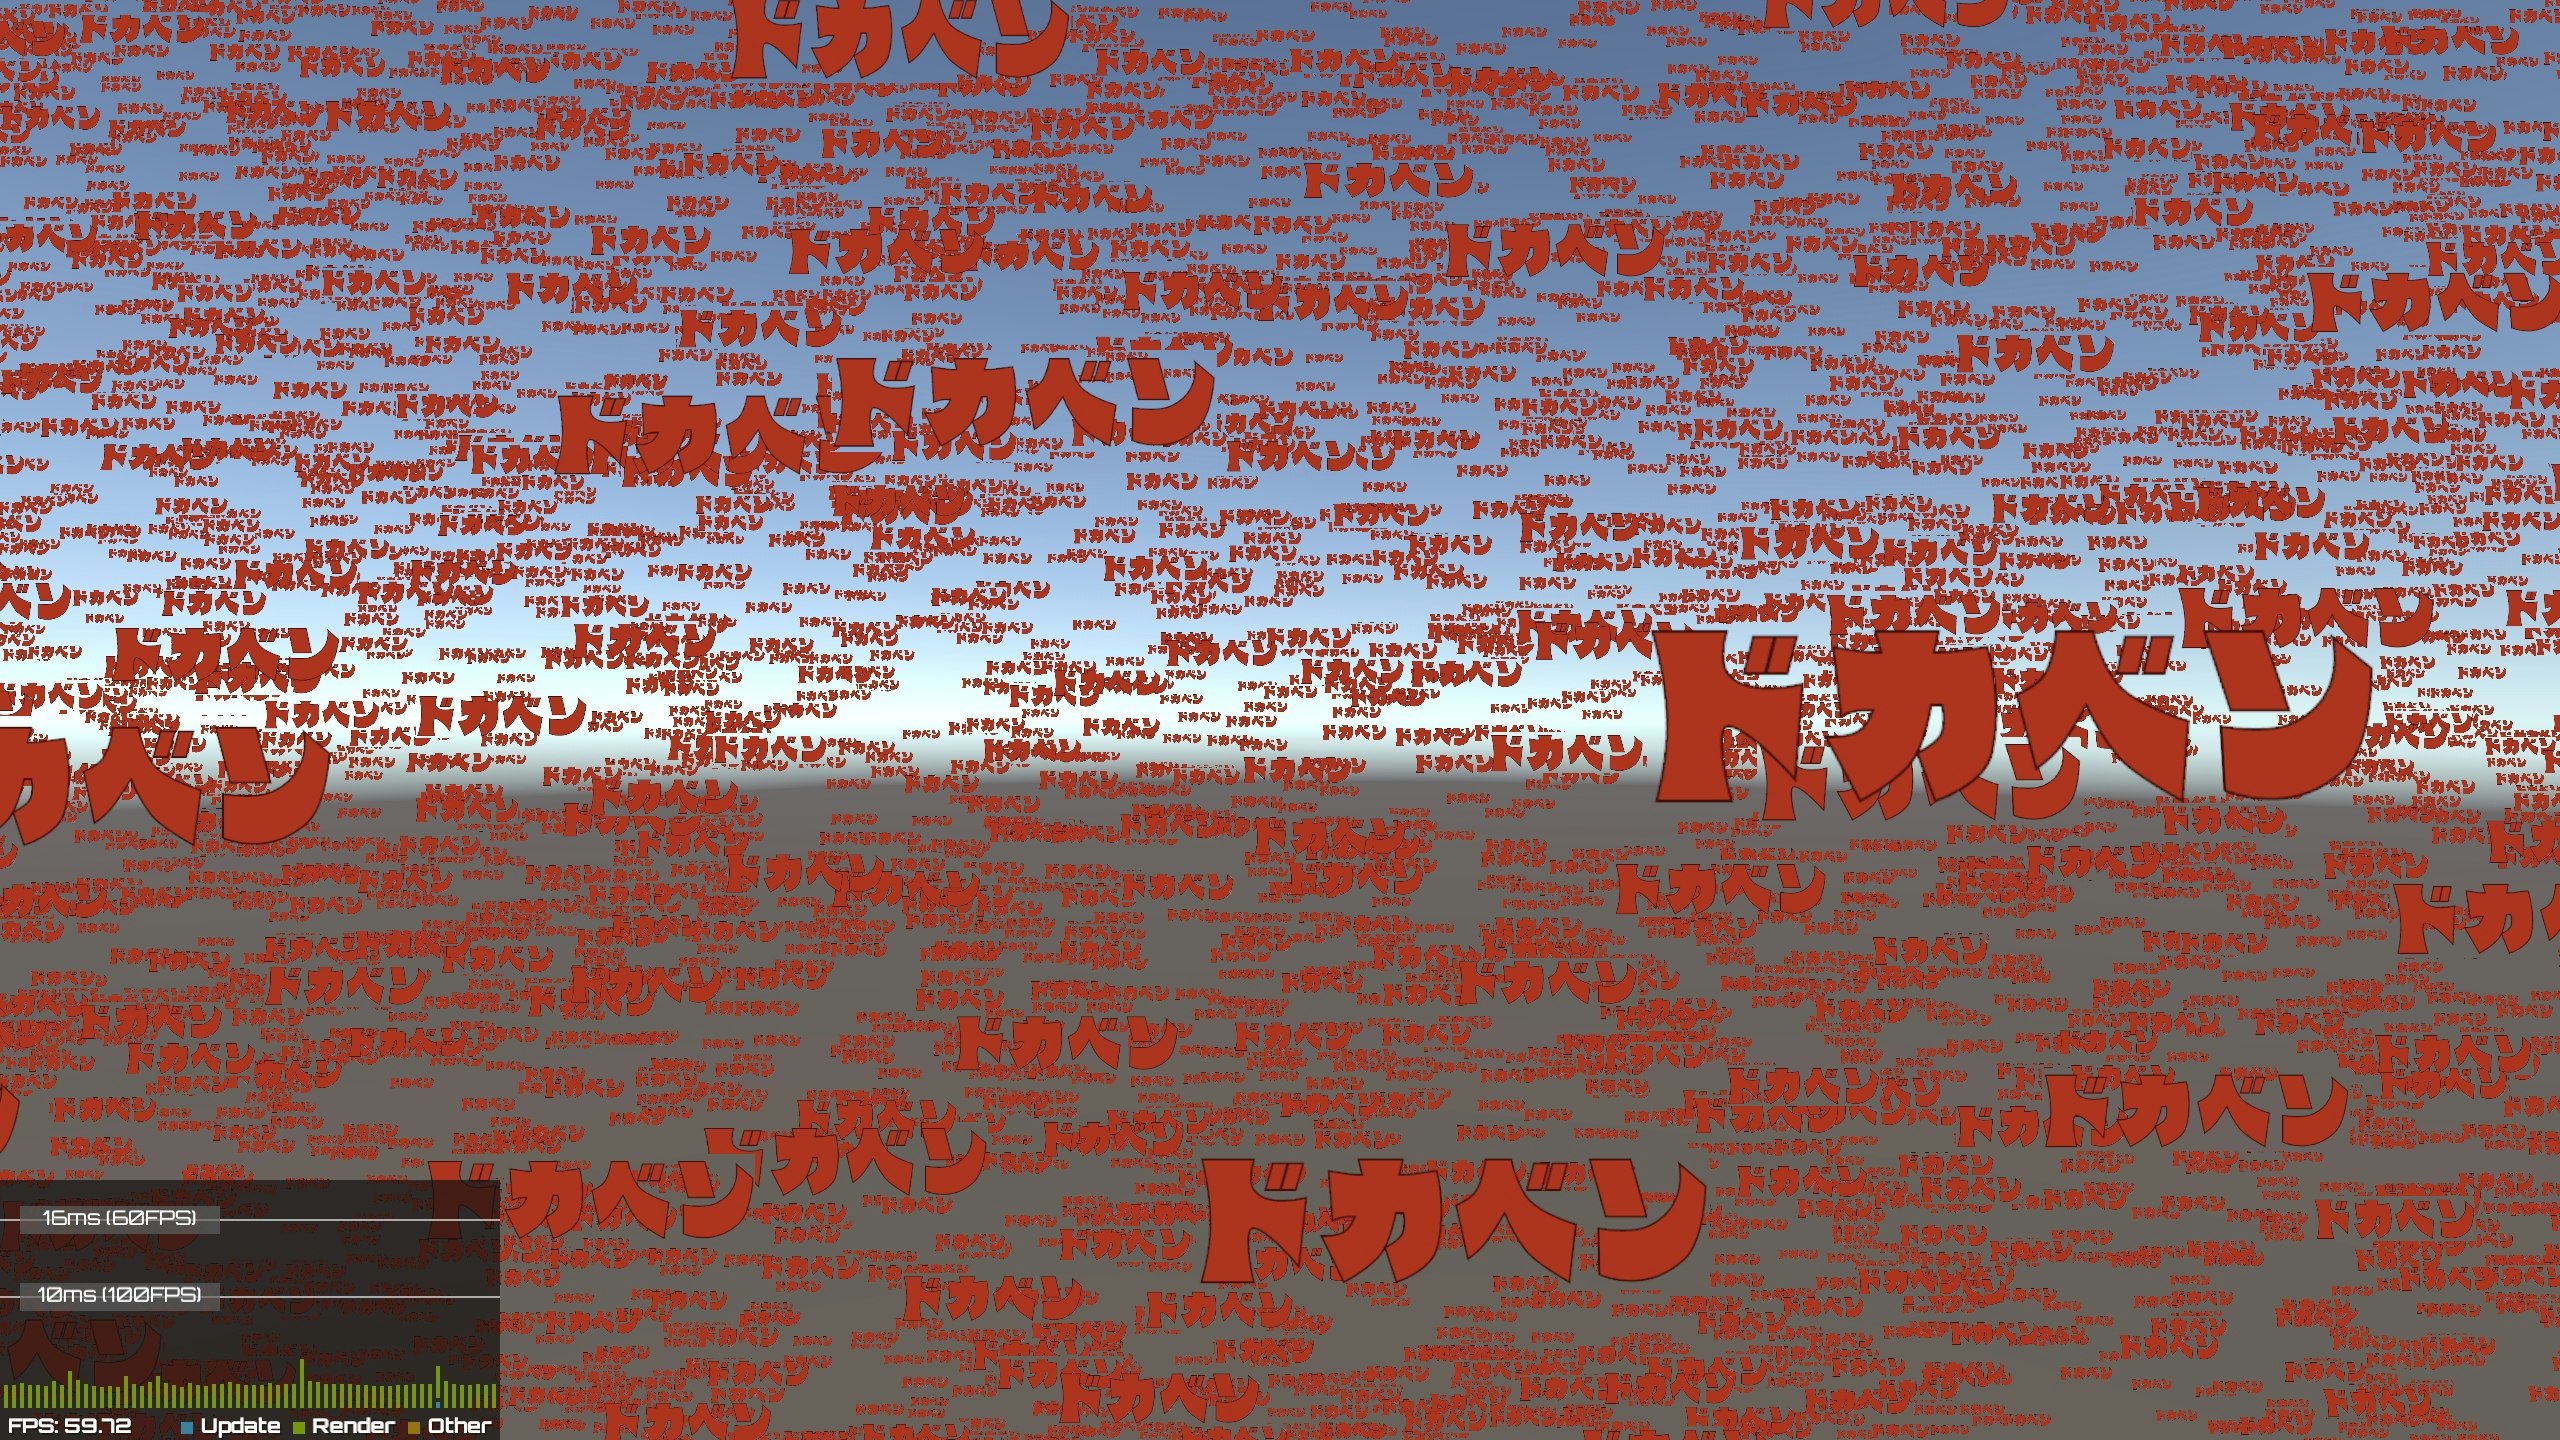
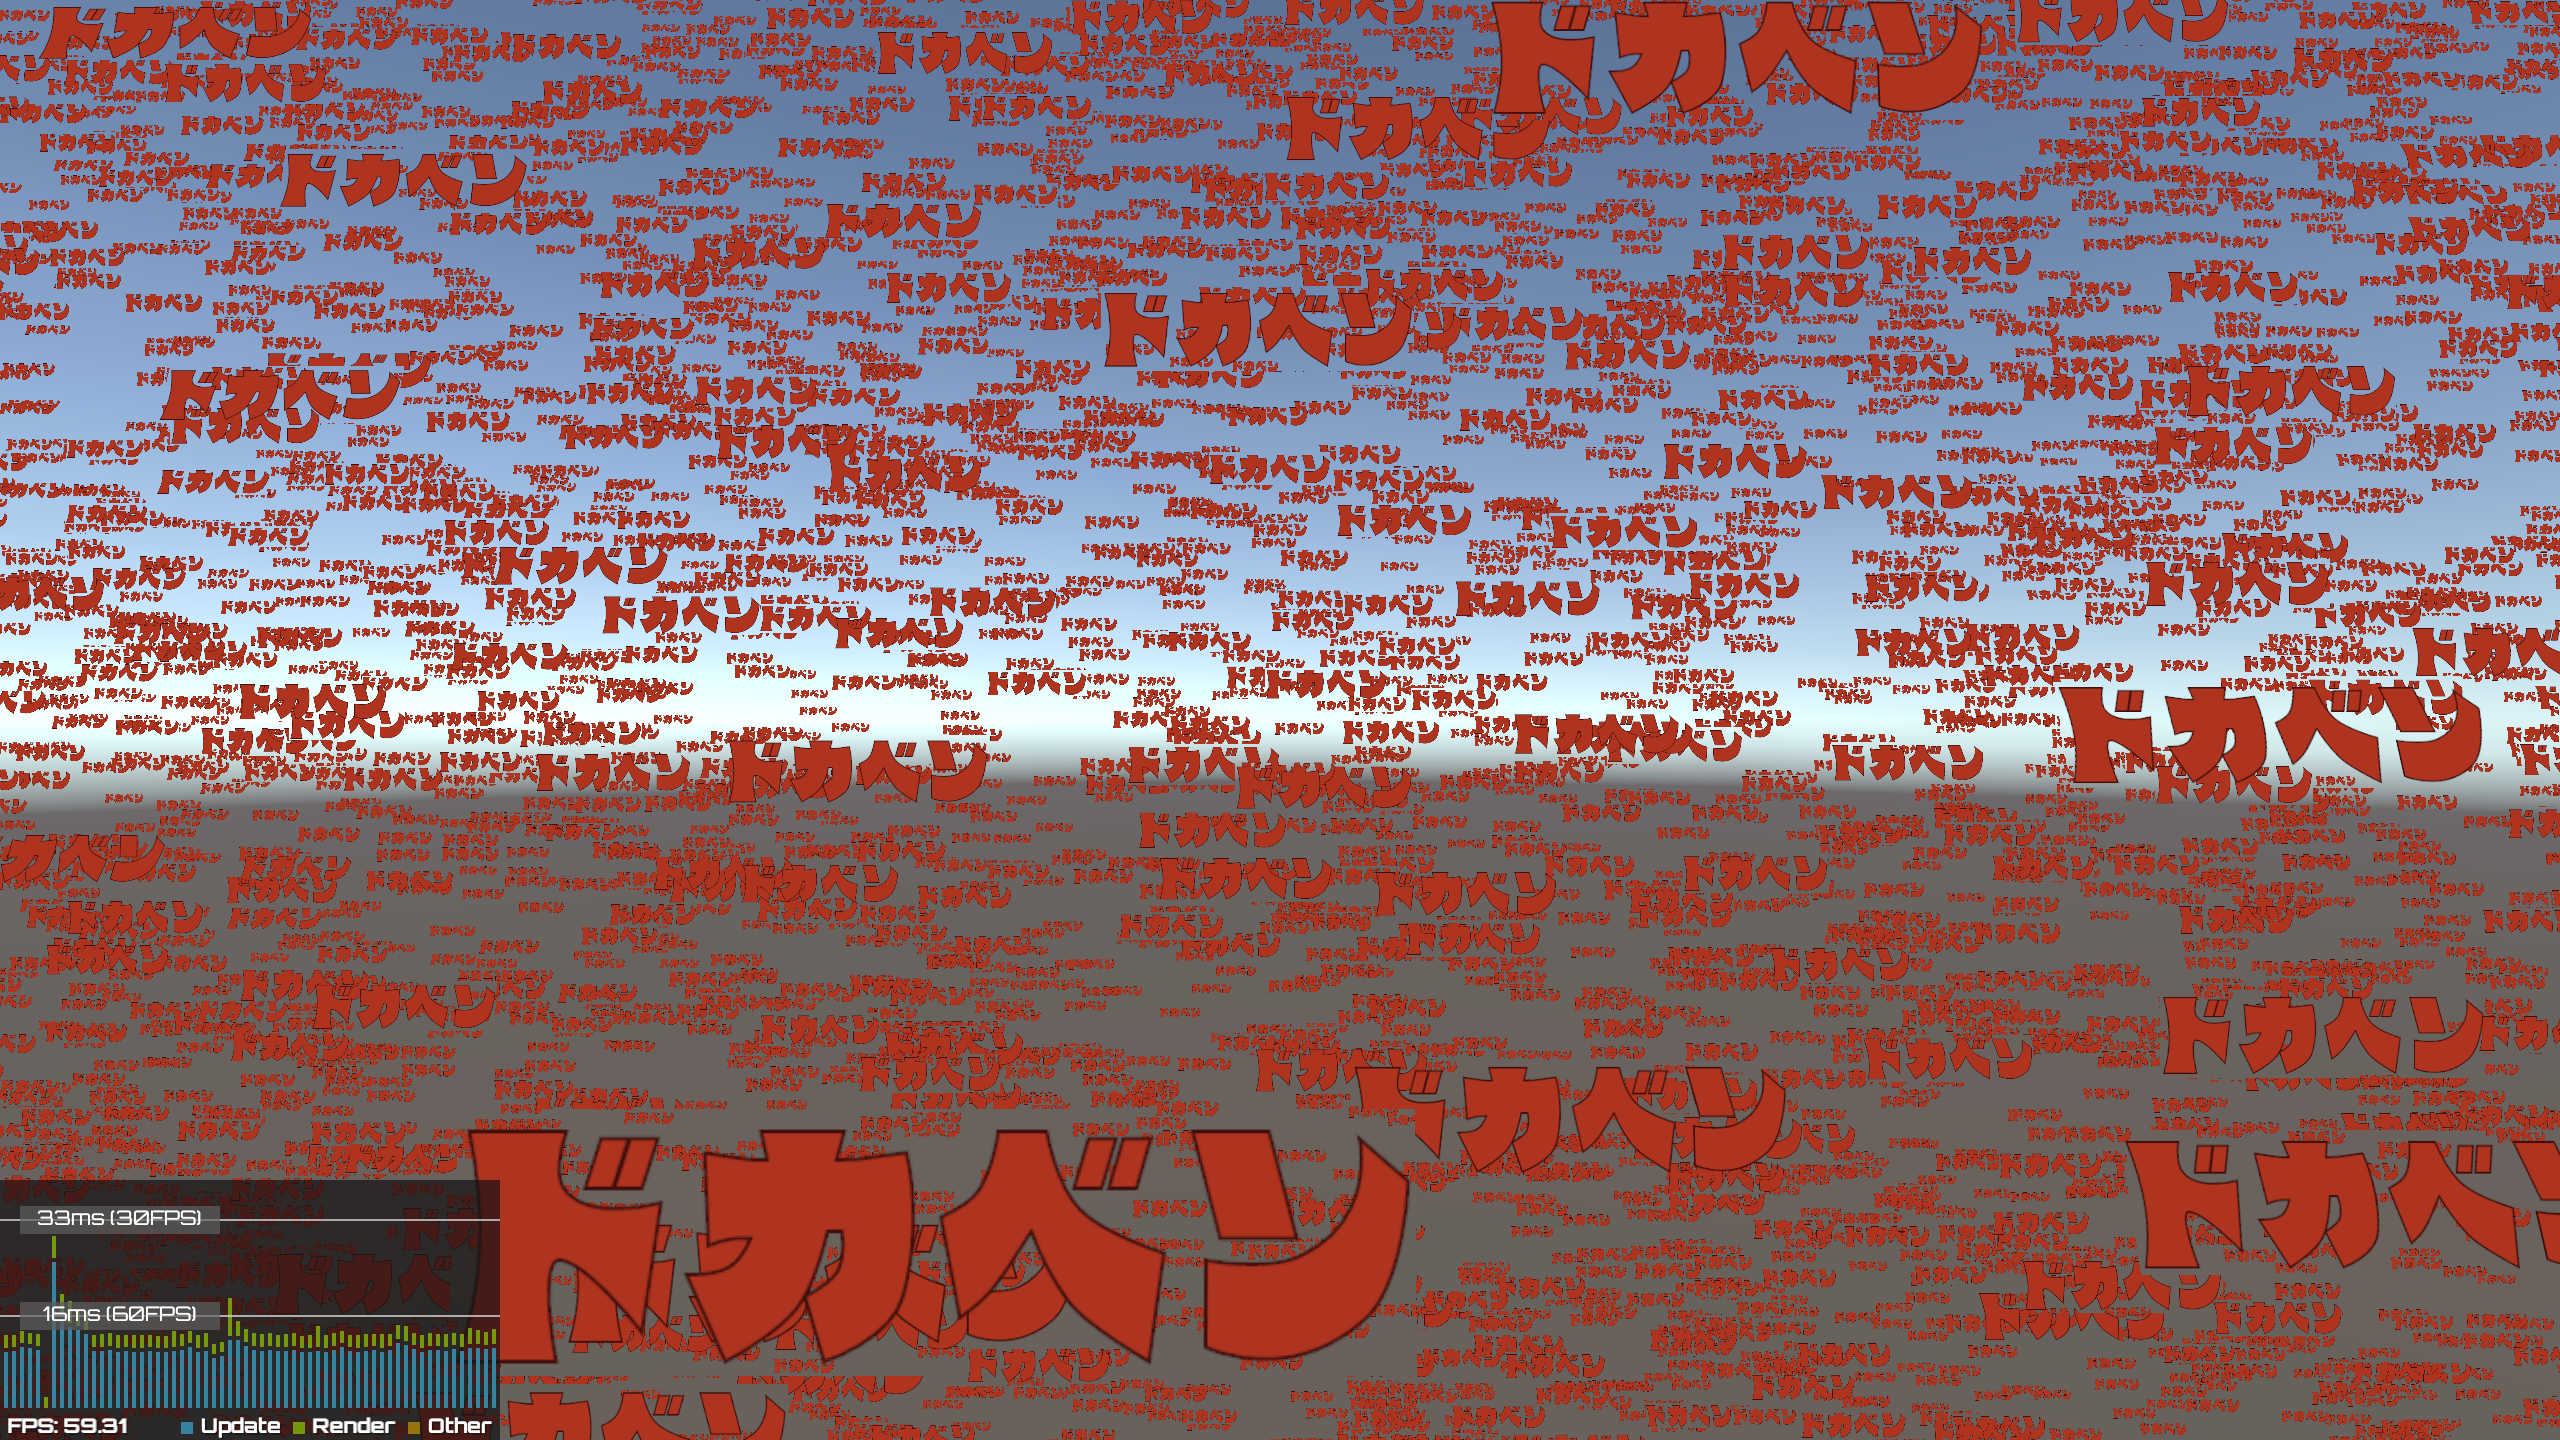
結果として画面左下の簡易プロファイラーを見た感じだと、ZenFone ARの方は大分パフォーマンスに余裕があると言った感じではありましたが、Galaxy S6 edgeの方はギリギリ60fps保っていると言った印象でした。(※SRDebuggerで確認)
動作させるにあたっては以下の条件がありますが、動かせる端末に絞る形であればComputeShaderでの計算などは色々と使い道があるかもしれないと言った印象です。
-
ComputeShader
- Windows and Windows Store, with a DirectX 11 or DirectX 12 graphics API and Shader Model 5.0 GPU
- macOS and iOS using Metal graphics API
- Android, Linux and Windows platforms with Vulkan API
- Modern OpenGL platforms (OpenGL 4.3 on Linux or Windows; OpenGL ES 3.1 on Android). Note that Mac OS X does not support OpenGL 4.3
- Modern consoles (Sony PS4 and Microsoft Xbox One)
-
GPU Instancing
- DirectX 11 and DirectX 12 on Windows
- OpenGL Core 4.1+/ES3.0+ on Windows, macOS, Linux, iOS and Android
- Metal on macOS and iOS
- Vulkan on Windows and Android
- PlayStation 4 and Xbox One
- WebGL (requires WebGL 2.0 API)
※どちらも公式ドキュメントから引用
参考/関連 資料
-
- 冒頭で記載している通り、Compute ShaderやGPU Instancing周りで参考にさせて頂きました。
-
Unity - Manual: Compute shaders
- 公式ドキュメント
-
[Unity] UnityでComputeShaderを使う解説をしているページを訳してみた その3
- 少し古い記事となりますが、ComputeShaderの基礎知識について分かりやすい解説記事となります。
- 元ページはリンク切れ..?
-
- ※前回に引き続きロゴの作成に利用。


