概要
MLflowにてautologを一度有効にすると他のRUNでも有効となってしまうため、disableという引数で停止する方法を共有します。
本記事ではscikit-learnでの実施方法を紹介しますが、他のライブラリも同様の引数のようです。詳細は、ドキュメントにてご確認ください。
Python API — MLflow 1.17.0 documentation
手順
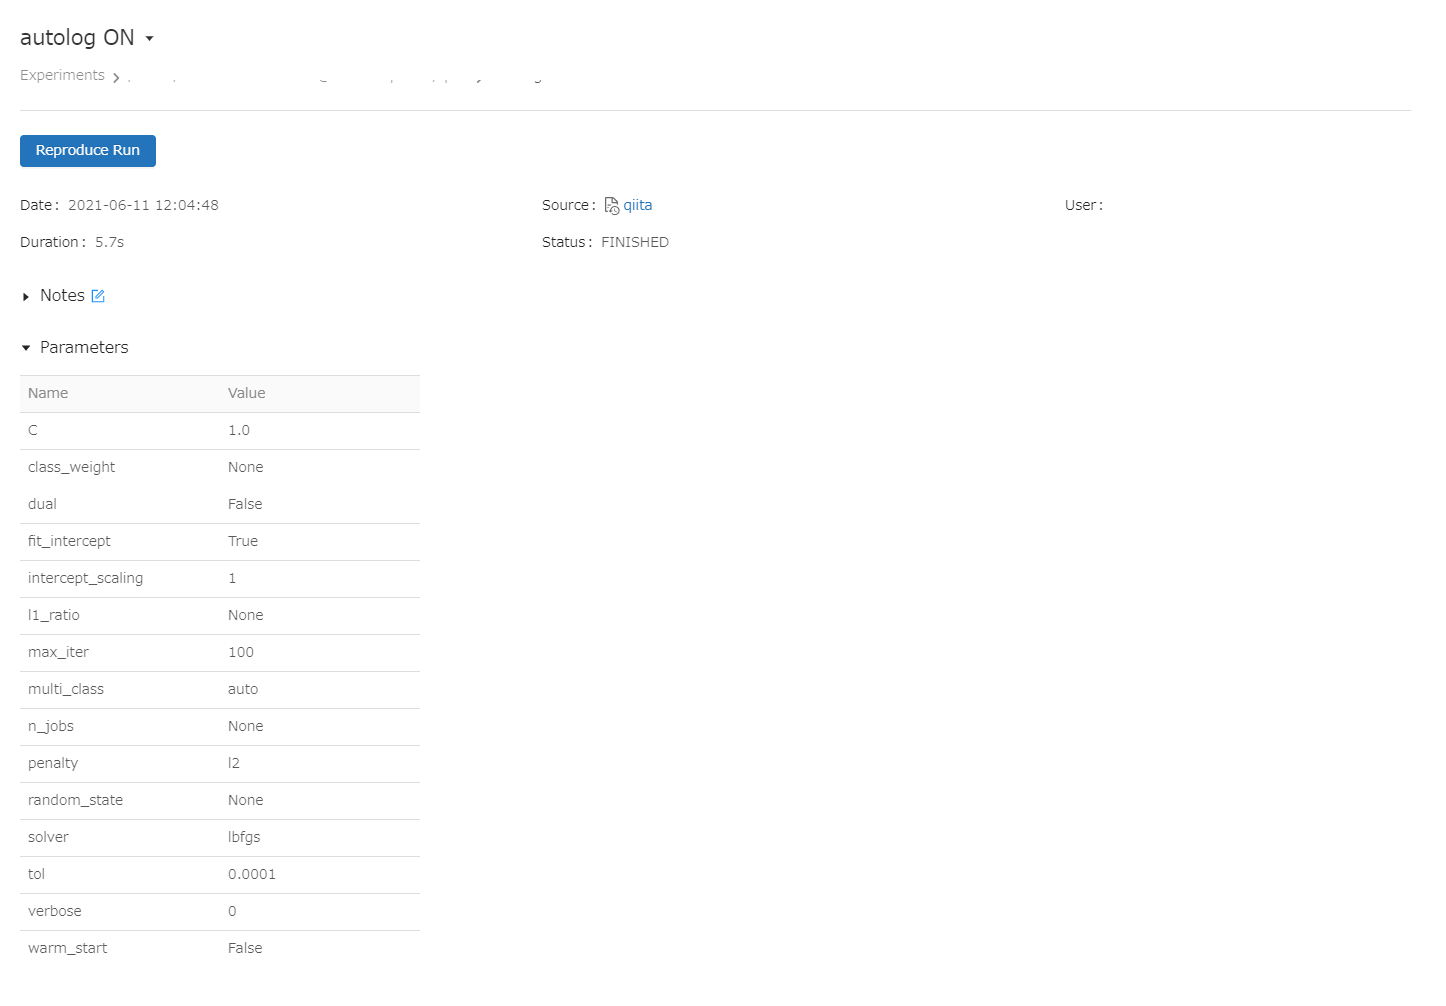
1. Autologを有効にしてMLモデルを作成
import numpy as np
from sklearn.linear_model import LogisticRegression

import mlflow
import mlflow.sklearn


# Autologの有効化
mlflow.sklearn.autolog()

# データ準備
X = np.array([-2, -1, 0, 1, 2, 1]).reshape(-1, 1)
y = np.array([0, 0, 1, 1, 1, 0])


# MLflowにおけるRUNの実行
with mlflow.start_run(run_name="autolog ON") as run:
  lr = LogisticRegression()
  lr.fit(X, y)

2. Autologを無効化
# Autologの無効化
mlflow.sklearn.autolog(disable=True)
3. 再度MLモデルを作成してログが残ってないことを確認
import numpy as np
from sklearn.linear_model import LogisticRegression

import mlflow
import mlflow.sklearn


# データ準備
X = np.array([-2, -1, 0, 1, 2, 1]).reshape(-1, 1)
y = np.array([0, 0, 1, 1, 1, 0])

# MLflowにおけるRUNの実行
with mlflow.start_run(run_name="autolog OFF") as run:
  lr = LogisticRegression()
  lr.fit(X, y)
