概要
Databricks にて Azure IoT Hub の組み込みエンドポイントからのデータ取得する方法を紹介します。本記事で詳細する方法は、検証目的で実行する方法です。
事前準備
環境構築
- Azure IoT Hub の構築 (本手順は Free tier で実施)
- Databricks (本手順は Serveless ではなく汎用コンピュートで実行)
デバイスの作成と接続文字列の取得
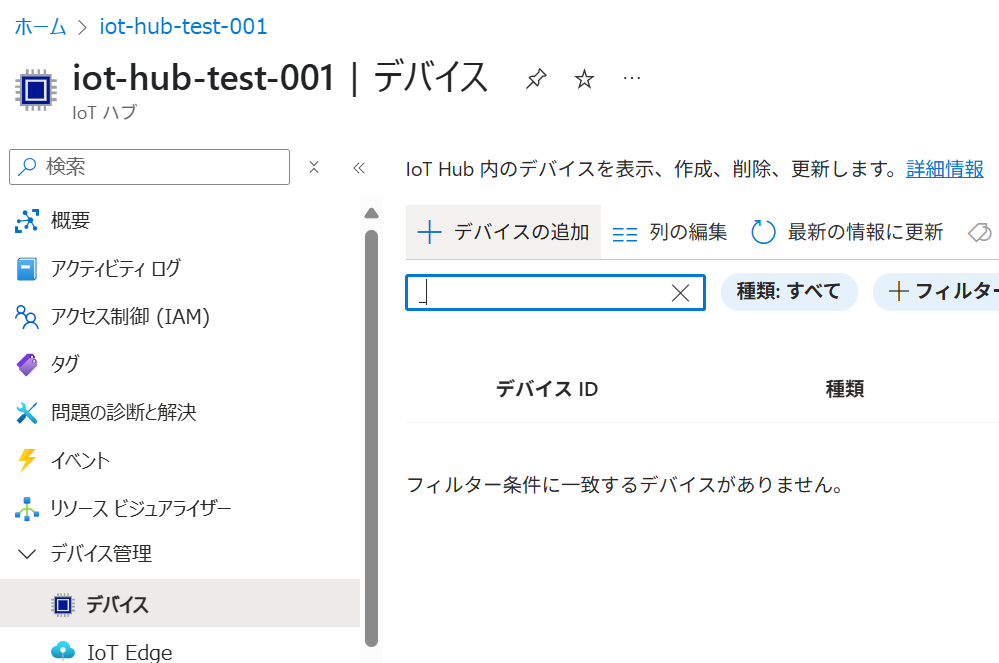
Azure IoT Hub のリソース画面にて、デバイスタブを選択後、+ デバイスの追加を選択します。
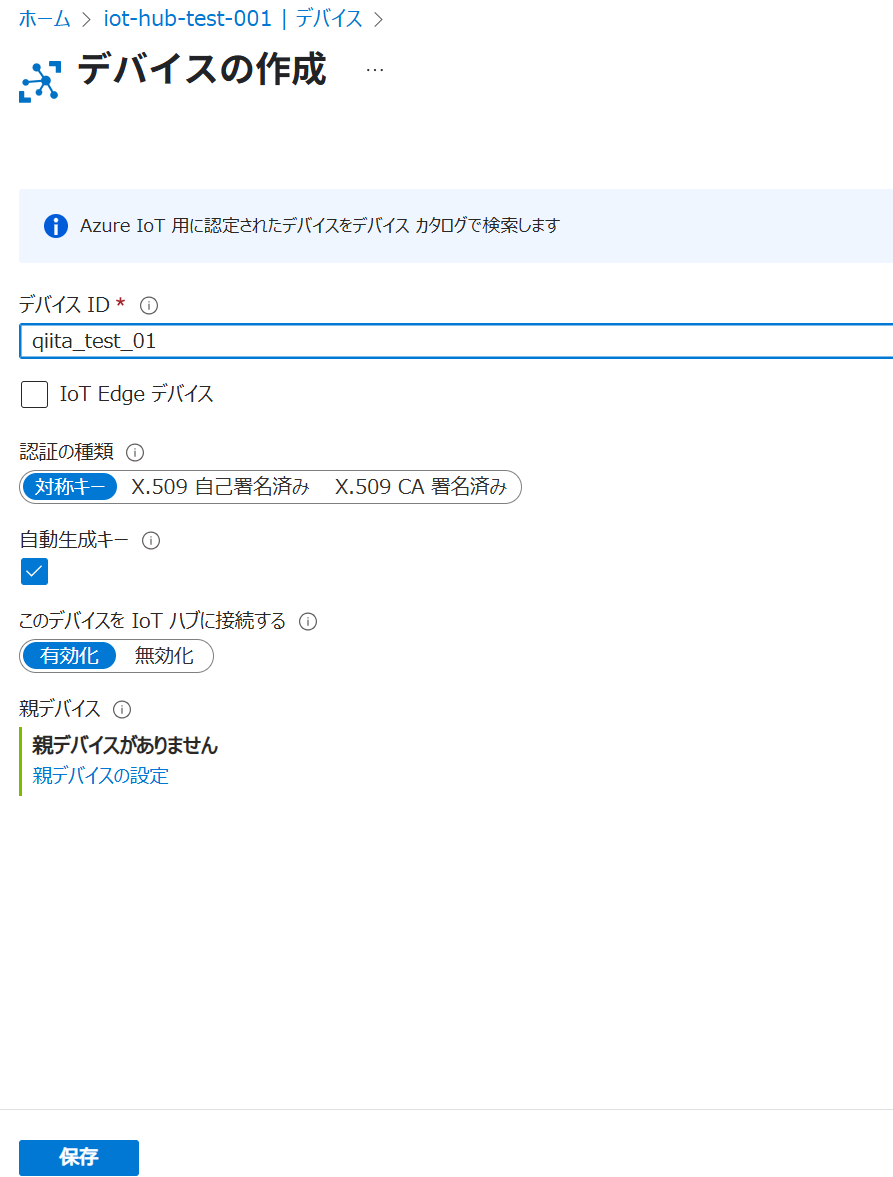
デバイス IDに任意の値を入力し、保存を選択してデバイスを作成します。
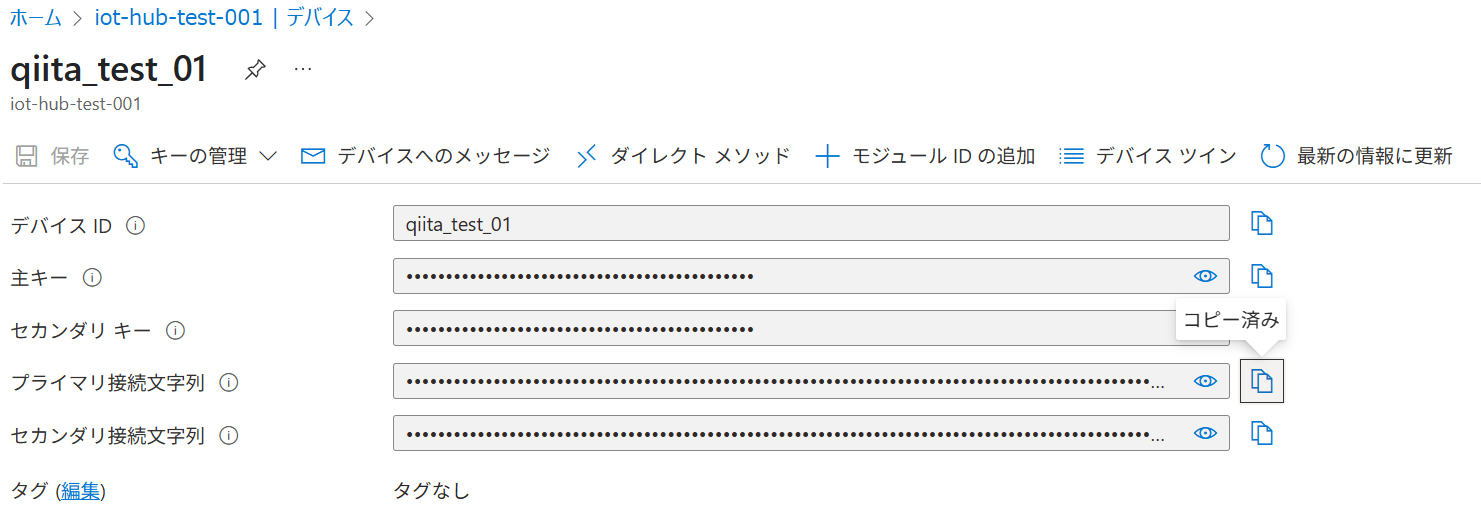
作成したデバイスを表示して、プライマリ接続文字列のコピー済みを選択して値をコピーします。
組み込みのエンドポイントの接続文字列を取得
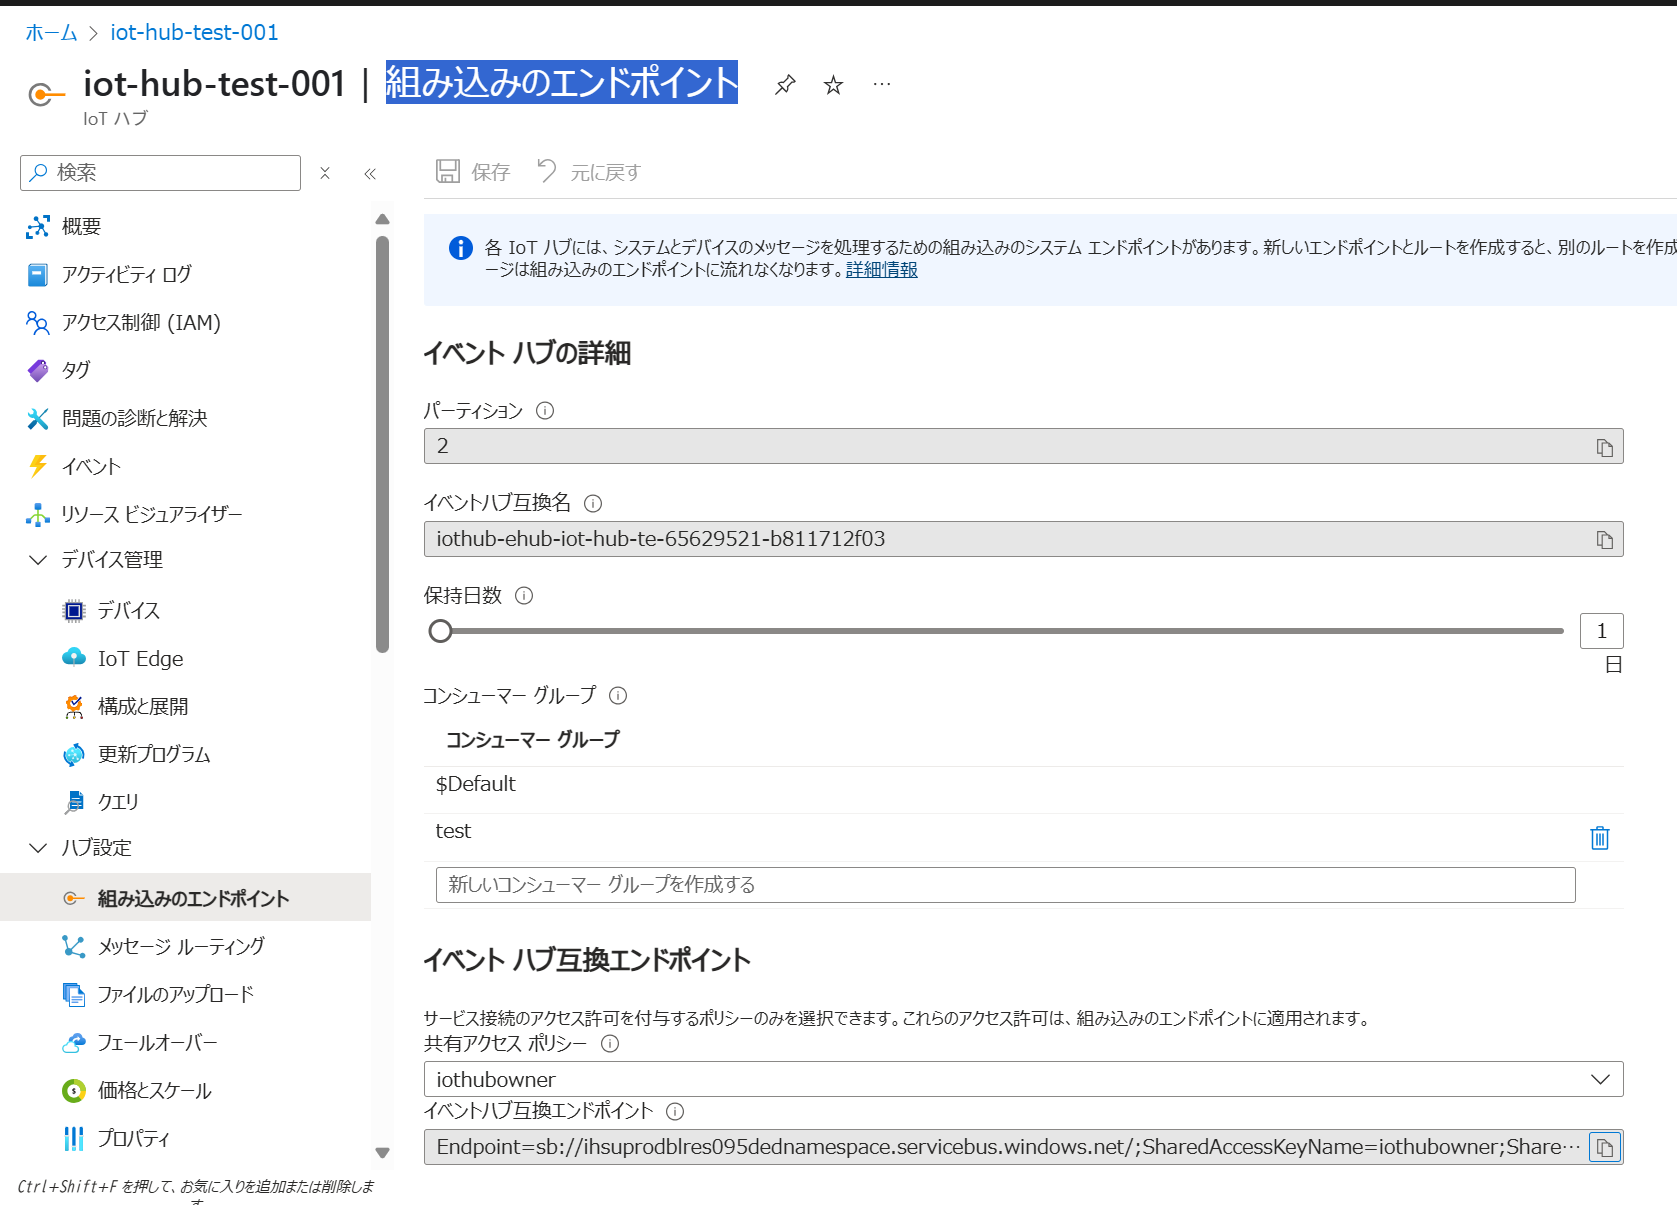
Azure IoT Hub のリソース画面にて、組み込みのエンドポイントタブを選択して、イベントハブ互換エンドポイントの値をコピーします。
テレメトリーを送信する方法
Databricks にて azure-iot-device をインストールします。
%pip install azure-iot-device -q
dbutils.library.restartPython()

デバイスの接続文字列を変数にセットします。
device_conn_str = "HostName=iot-hub-test-001.azure-devices.net;DeviceId=qiita_test_01;SharedAccessKey=r2fxXUdn/4w9iNJdhqnIJZ+h0qxxxxx="

Azure IoT Hub にテレメトリーを送信するコードを記述します。コードの実行は、次の手順である Azure にてテレメトリーの監視のコマンドを実行してから実行してください。
import os, json, random, time, uuid
from datetime import datetime, timezone
from azure.iot.device import IoTHubDeviceClient, Message


def get_sample_date():
    date = {
        "temperature": round(random.uniform(20, 25), 2),
        "timestamp": datetime.now(timezone.utc).isoformat(),
    }

    return json.dumps(date)

# クライアントのインスタンス化
device_client = IoTHubDeviceClient.create_from_connection_string(
    device_conn_str,
    websockets=True,
)

# データの準備
payload = get_sample_date()
msg = Message(payload)
msg.message_id = uuid.uuid4()
msg.content_encoding = "utf-8"
msg.content_type = "application/json"
msg.custom_properties["sensor-location"] = "jp"

# クライアントに接続
device_client.connect()

# テレメトリーの送信
device_client.send_message(msg)
print("✓ sent:", payload)
time.sleep(5)

# クライアントの終了
device_client.shutdown()

Azure ポータルにて下記のコマンドを実行します。Databricks に戻り、テレメトリーの送信を実施して、テレメトリーが受信できることを確認します。
IOTHUB_NAME="iot-hub-test-001"
az iot hub monitor-events --hub-name "$IOTHUB_NAME" --props all

組み込みのエンドポイントから受信する方法
Databricks にて azure-eventhub をインストールします。
%pip install azure-eventhub -q
dbutils.library.restartPython()

組み込みのエンドポイントの接続文字列を変数にセットします。また、コンシューマーグループを$Defaultで指定します。
eh_conn_str = "Endpoint=sb://ihsuprodblres095dednamespace.servicebus.windows.net/;SharedAccessKeyName=iothubowner;SharedAccessKey=FUum/tiOgEuhyeXXX=;EntityPath=iothub-ehub-iot-hub-te-65629521-b811712f03"
consumer_group = "$Default"
下記のコードを実行して、送信済みのテレメトリーを表示できることを確認します。処理が継続するため、セルの実行を停止することを忘れないようにしてください。
import os

os.environ["EH_CONN"] = eh_conn_str
os.environ["CONSUMER_GROUP"] = consumer_group
import asyncio, os, json
from azure.eventhub.aio import EventHubConsumerClient


async def on_event(partition_context, event):
    print(f"{event.body_as_str()}")
    await partition_context.update_checkpoint(event)


async def main():
    eh_conn_str = os.getenv("EH_CONN")
    group = os.getenv("CONSUMER_GROUP")
    client = EventHubConsumerClient.from_connection_string(
        eh_conn_str,
        consumer_group=group,
    )
    async with client:
        await client.receive(
            on_event,
            starting_position="-1",   # 検証目的であるため -1 を指定
        )
await main()
