LaravelでCRUD機能を追加(前回の続き)
1. モデルの更新
app/Models/Post.php に一括で値を保存したいものを設定する
<?php

namespace App\Models;

use Illuminate\Database\Eloquent\Factories\HasFactory;
use Illuminate\Database\Eloquent\Model;


class Post extends Model
{
    use HasFactory;

    protected $fillable =[
        'title',
        'body',
        'user_id',
        'image'
    ];
    //ひとつの投こうは一人
    public function user(){
        return $this->belongsTo(User::class);
    }
}
以下説明
namespace App\Models;
Post クラスは App\Models 名前空間に属している。
これにより、App\Models\Post のようにアクセスでき、他のクラスと名前の競合を防ぐ。
class Post extends Model
{
    use HasFactory;
Post クラスは Model を継承し、Eloquent ORM の機能を利用できるようにする。
use HasFactory; を使うことで、PostFactory などのファクトリーを利用できる。
protected $fillable =[
    'title',
    'body',
    'user_id',
    'image'
];
「マスアサインメント(Mass Assignment)」 を許可するカラムを指定。
fillable に指定されたカラムは、Post::create([...]) のようにしてデータを一括挿入できるようになる。
public function user(){
    return $this->belongsTo(User::class);
}
Post モデルは 1人のユーザー(User)に属する。
1対多 (one-to-many) の関係 を示す belongsTo(User::class) を使用。
posts テーブルの user_id カラムは、users テーブルの id に関連付けられる。
🔹 逆方向の関係
ちなみにUser モデルに hasMany(Post::class) を定義すれば、ユーザーが複数の投稿を持つことができる。
LaravelでCRUD機能を追加(個別表示機能編)
1. 個別表示機能のルート設定
Route::get('post/show/{post}',[PostController::class,'show'])->name('post.show');
1️⃣ Route::get(...)
GET メソッドのリクエストを処理するルートを定義。
クライアント(ブラウザやAPIクライアント)から "post/show/{post}" にアクセスされたときに動作する。
2️⃣ 'post/show/{post}'
post/show/1 のような URL を指定すると、{post} の部分に 投稿の ID が入る。
例えば、post/show/5 にアクセスすると {post} は 5 になる。
3️⃣ [PostController::class, 'show']
PostController の show メソッドを実行する。
4️⃣ 名前付きルート .name('post.show')
name('post.show') を設定することで、ルートを簡単に参照 できる。
例えば、以下のように route() ヘルパーでルート URL を取得できる
$url = route('post.show', ['post' => 5]);
// 結果: http://your-site.com/post/show/5
2. Controllerの作成
ここは前回の記事で解説済みなので飛ばす。
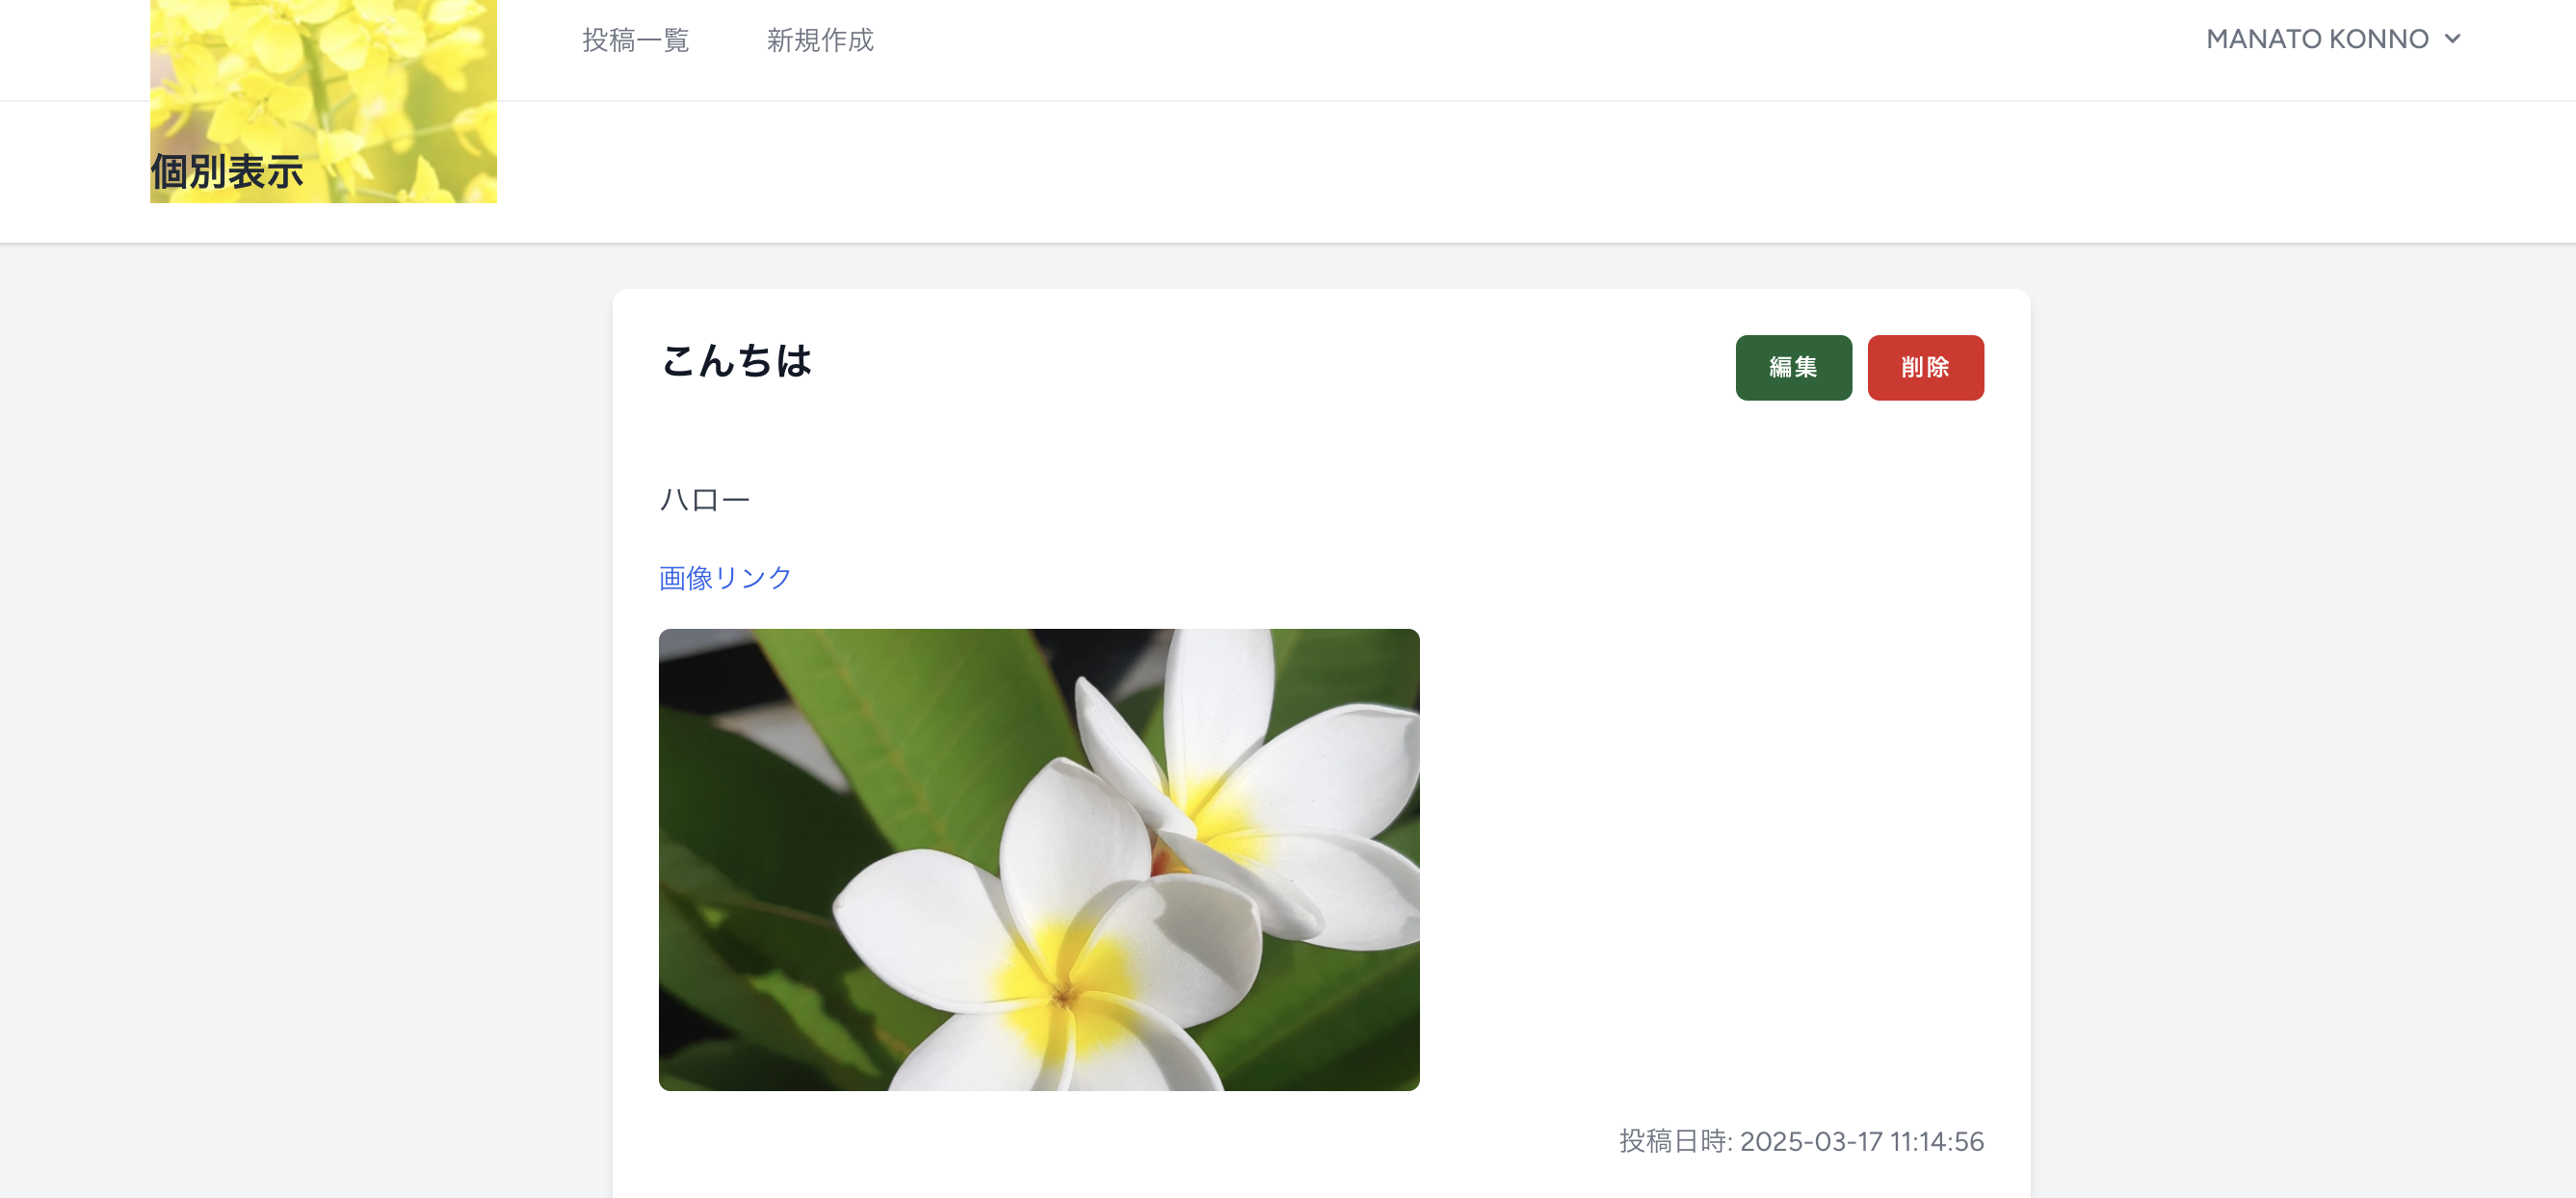
3. ビューの作成
show.blade.phpを次のように作っていく
<x-app-layout>
    <x-slot name="header">
        <h2 class="font-semibold text-xl text-gray-800 dark:text-gray-200 leading-tight">
            個別表示
        </h2>
    </x-slot>

    <div class="max-w-3xl mx-auto px-4 py-6">
        <div class="bg-white dark:bg-gray-800 rounded-lg shadow-md p-6">
            <!-- Post Header Area -->
            <div class="flex justify-between items-start mb-4">
                <h1 class="text-xl font-bold text-gray-900 dark:text-gray-100">
                    {{$post->title}}
                </h1>
                <div class="flex space-x-2">
                    <a href="{{route('post.edit',$post)}}">
                        <x-primary-button class="text-sm">
                            編集
                        </x-primary-button>
                    </a>
                    <form method="post" action="{{route('post.destroy',$post)}}">
                        @csrf
                        @method('delete')
                        <x-primary-button class="bg-red-600 hover:bg-red-700 text-sm">
                            削除
                        </x-primary-button>
                    </form>
                </div>
            </div>

            <!-- Post Content Area -->
            <div class="space-y-4">
                <p class="text-gray-700 dark:text-gray-300 whitespace-pre-line">
                    {{$post->body}}
                </p>

                <!-- Image Display -->
                @if($post->image)
                <div class="mt-4">
                    <a href="{{ asset('storage/' . $post->image) }}" target="_blank" class="text-blue-600 dark:text-blue-400 text-sm hover:underline mb-2 inline-block">
                        画像リンク
                    </a>
                    <div class="mt-2">
                        <img src="{{ asset('storage/' . $post->image) }}" alt="投稿画像" class="max-w-full max-h-60 rounded-md">
                    </div>
                </div>
                @endif

                <div class="text-sm text-gray-500 dark:text-gray-400 text-right">
                    投稿日時: {{$post->created_at}}
                </div>
            </div>
このように実装することで以下のような編集フォームが作れる