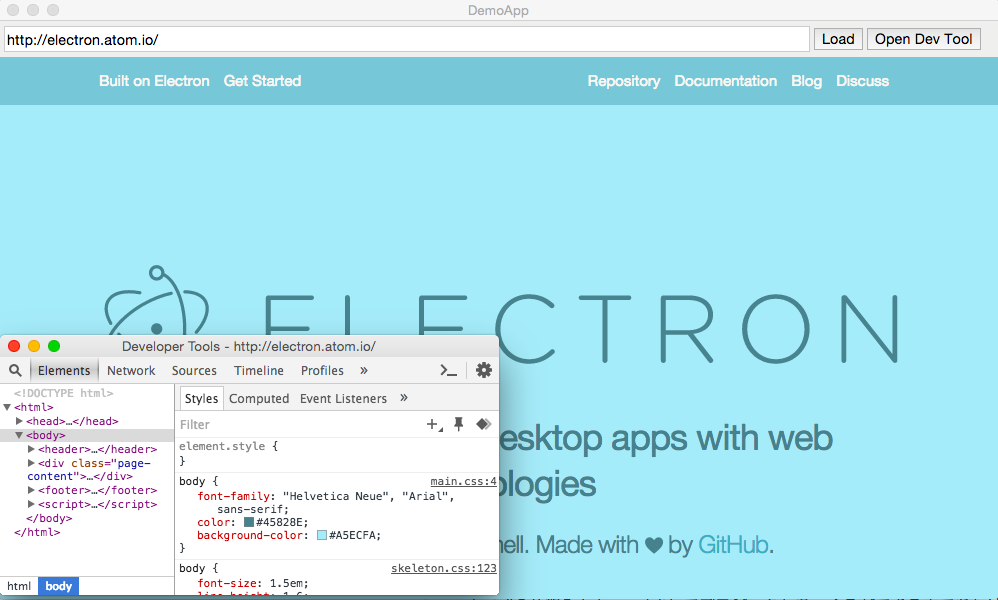
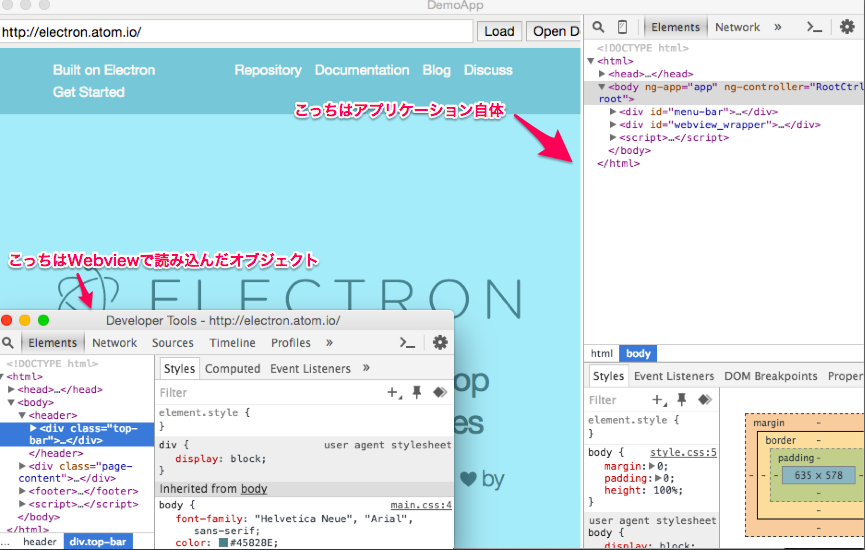
Electronの基本的な挙動が知りたかったので、HTML/CSS/JavaScriptを使ってElectronで簡易ブラウザをつくってみました。
1. 制作物
- URLを入力するとWebviewでロードしてくれる
- ただしボタンを押さないとロードしてくれないしょぼい仕様!!
- Open Dev Toolを押すと、Webview内のDeveloper Toolが開く
セットアップ
npm installの仕組みとかnpm initしてプロジェクトをつくるができる方であれば
セットアップは3分ぐらいで終わると思います。簡単!!
参考 : ElectronとHTML/CSS/JavaScriptでデスクトップアプリを作ろう【入門編】
ファイル構成
Ligさんのサンプルコードを改造する形で3ファイルでつくりました。
- package.json
- index.js
- index.html
- style.css
var app = require('app');
var BrowserWindow = require('browser-window');
require('crash-reporter').start();
var mainWindow = null;
app.on('window-all-closed', function () {
    //if (process.platform != 'darwin')
        app.quit();
});
app.on('ready', function () {
    // ブラウザ(Chromium)の起動, 初期画面のロード
    mainWindow = new BrowserWindow({
        width: 1000,
        height: 600
    });
    mainWindow.loadUrl('file://' + __dirname + '/index.html');
    mainWindow.on('closed', function () {
        mainWindow = null;
    });
});
<!DOCTYPE html>
<html>
<head>
 <meta charset="UTF-8">
 <title>DemoApp</title>
 <meta name="description" content="">
 <meta name="keywords" content=""/>
 <meta name="viewport" content="width=device-width,initial-scale=1.0,maximum-scale=1.0,user-scalable=0">
 <meta http-equiv="X-UA-Compatible" content="IE=edge">
 <link rel="stylesheet" href="style.css">
</head>
<body ng-app="app" ng-controller="RootCtrl as root">
 <div id="menu-bar">
   <input type="text" id="url" value="http://electron.atom.io/"></input>
   <button onclick="load();">Load</button>
   <button onclick="opendev();">Open Dev Tool</button>
 </div>
 <div id="webview_wrapper">
 </div>
</body>
<script>
"use strict";
function load(){
 // reset_webview_wrapper
 var webview_wrapper = document.getElementById("webview_wrapper");
 webview_wrapper.removeChild(webview_wrapper.lastChild);

 // get url
 var url = document.getElementById("url").value;

 // create_new_webview_instanse
 var newWebview = document.createElement("webview");
 newWebview.id = "foo";
 newWebview.setAttribute("src",url);
 // append new_webview
 webview_wrapper.appendChild(newWebview);
}
function opendev(){
 var webview = document.getElementById("foo");
 webview.openDevTools();
}
</script>
</html>
html{
 width:100%;
 height:100%;
}
body{
 margin:0;padding:0;
 height:100%;
}

# menu-bar{
 width:100%;
 padding:5px;
 max-height:30px;
 background-color:#EFF0EE;
 color:#959595;
 display:block;
 white-space: nowrap;
}
# menu-bar input{
 width:80%;
 min-height:20px;
 font-size:14px;
}
# menu-bar button{
 font-size:14px;
 min-height:20px;
}
# webview_wrapper{
 height:100%;
}
2. メモ
1. アプリケーションのWindow表示
アプリケーションのWindow操作は非常に簡単です。
index.js内を1~2行変えるだけでやりたいことができます。
URLを取得する
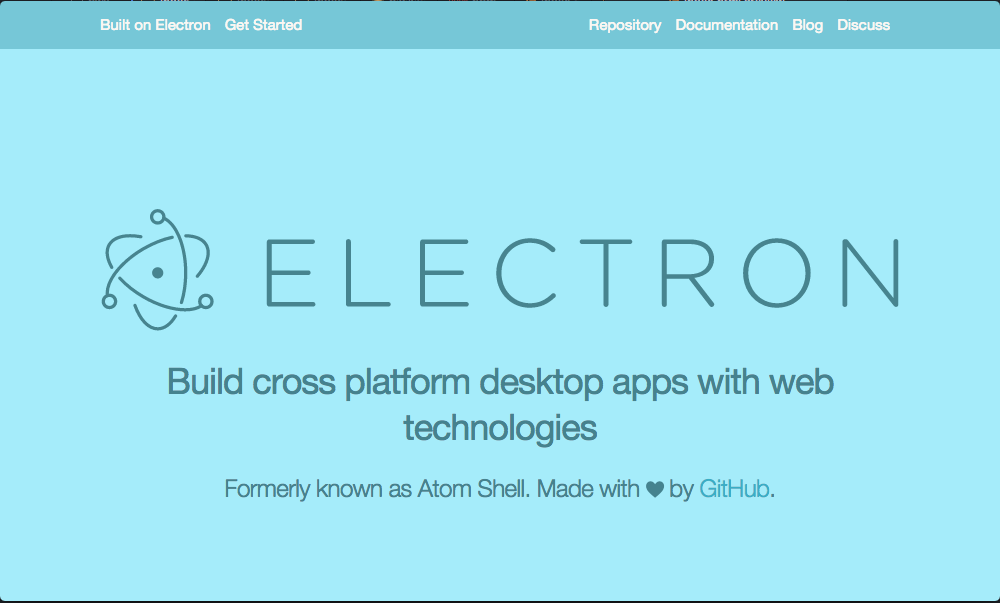
index.js内で、mainWindowの読み込み先をファイルではなくURLにすると、指定されたURLを読み込むアプリケーションになります。
mainWindow.loadUrl('http://electron.atom.io/');
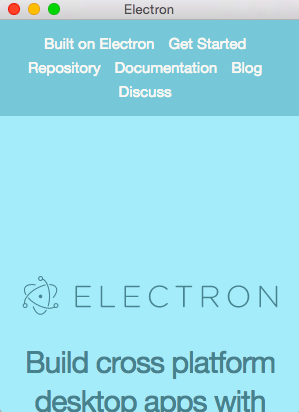
Windowサイズを変える
縦長アプリケーションをつくる際にはこんな感じ。
mainWindow = new BrowserWindow({width: 300,height: 1200});
frameをなくす
frameをなくしたい場合はこんな感じで。
※ただ、frameをなくすとWindowの移動ができなくなります。
mainWindow = new BrowserWindow({width: 1000,height: 600,flame: false});
透過
mainWindow = new BrowserWindow({width: 1000,height: 600,transparent: true});
他に利用できそうなもの
mainWindow = new BrowserWindow({width: 1000,height: 600,center: true});
mainWindow = new BrowserWindow({width: 1000,height: 600, x: 0, y: 0});
//right,bottomは標準ではできなさそう
mainWindow = new BrowserWindow({width: 1000,height: 600, show: false});
mainWindow = new BrowserWindow({width: 1000,height: 600,"always-on-top": true
});
mainWindow = new BrowserWindow({width: 1000,height: 600,kiosk: true
});
2. MenuBar
僕はアプリケーションを利用するときにメニューよりもMenuBarをよく利用するので、MenuBarを作ろうと思いました。MenuBarはhtmlで作ります。
ElectronのsiteのdocumentaionではBrowserActionのsetMenuというらしきものがあるので、メニューバーも簡単につくれるのかなと思ったら、エラーが起こりました。調べてみると、githubでは「Linux Windows」と書かれているという。。。
ちなみにMenuBarはChromeに似せるために、サイズと色を調べて
height:30px; ※厳密には28~29あたり
padding-top:5px;
padding-bottom:5px;
background-color:#EFF0EE;
という感じで実装しました。
3.Webviewタグ
起動時にURLをロードする形ではなく、URLを入力したら毎回レンダリングする形にしたかったので、Webviewタグを利用しました。Webviewタグについては、Real World Electron Development - Qiitaでも記載がありますがChromeのWebviewタグを利用しているため、ほぼ一緒です。Documentationの中身もほぼ一緒でした。
- Google ChromeのWebView
- ElectronのWebview
Electronはアプリケーション上でショートカットコマンドを利用すればDevToolを利用できます。MacUserの場合は Cmd + Opt + iで開くことがですかね。
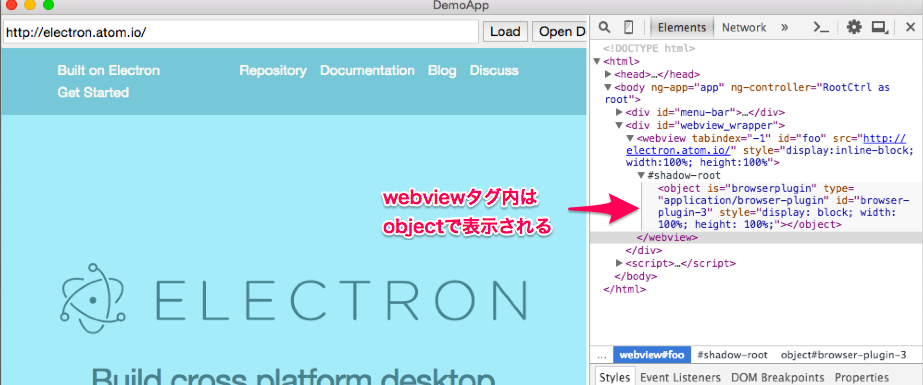
Webviewタグのobject内をinspectしたい場合は、別途DevToolを開くためのスクリプトを用意してあげる必要があります。
var webview = document.getElementById("Webviewタグを参照");
webview.openDevTools();
とすると、webviewのobjectを対象にしたDevToolを開くことができます。
webviewのオブジェクトで簡易なスクリプトを実行する際には
webview.executeJavaScript("document.write('JavaScriptをWebview内で実行することができます。')");
といった形でJavaScriptも実行することができます。
ちなみに簡易ブラウザをさらに拡張しようとして、Webview内のDomを取得してアプリケーション上で表示するというDevToolのInspectorを独自で実装してみようと思ったんですが、messageのやり取り等は経験がないことから別の機会にすることにしました。
4.外部ライブラリの導入
Electronはnodeを利用しているので、nodeのライブラリであれば何でも利用できます。commonJsでrequireする形ではない形で簡易的にjqueryやd3.jsを導入したい場合は、以下のことに気をつける必要があるみたいでした。
ElectronでjQueryがundefinedになる - Qiita
5.参考資料
-
日本語訳 Electron(旧atom-shell) Quick start - Qiita
- ElectronのQuickStartの日本語訳です。
-
Real World Electron Development - Qiita
- Electronのメリットデメリット、現状の仕様の状態について詳しく解説されています。
-
Electron's first meetup - Wagon
- Electron First Meetupの様子です。動画とSpeackerDeckで説明があります。
