1. 目的
計測機器の測定モードをリモートで設定し、自動計測したデータをデータベースに保存するシステムを構築するために、Raspberry Pi OS(Bulleseye)上に、 LAMP環境を構築する。
2. 準備
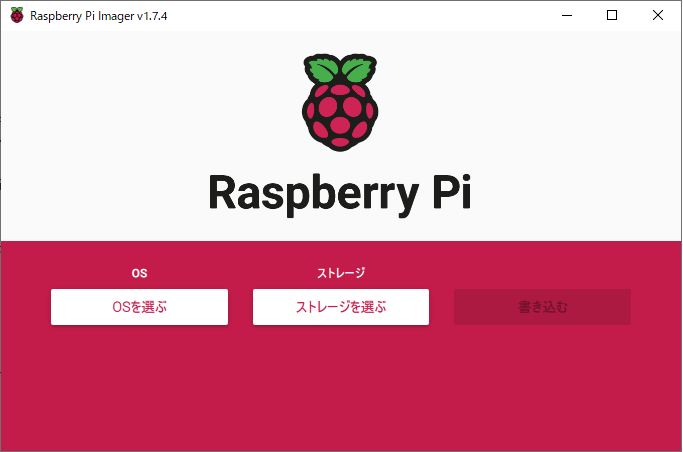
Raspberry Pi OSは、Raspberry Pi Imagerを使用してマイクロSDカードにインストールし、最新状態に更新する。

2.1 ソフトウェアのインストール
必要なソフトウェアをインストールする。
2.1.1 インストール済ソフトウェアのアップデート
sudo apt update && sudo apt upgrade -y && sudo apt autoremove -y
2.1.2 Apache2 インストール
sudo apt install apache2 -y
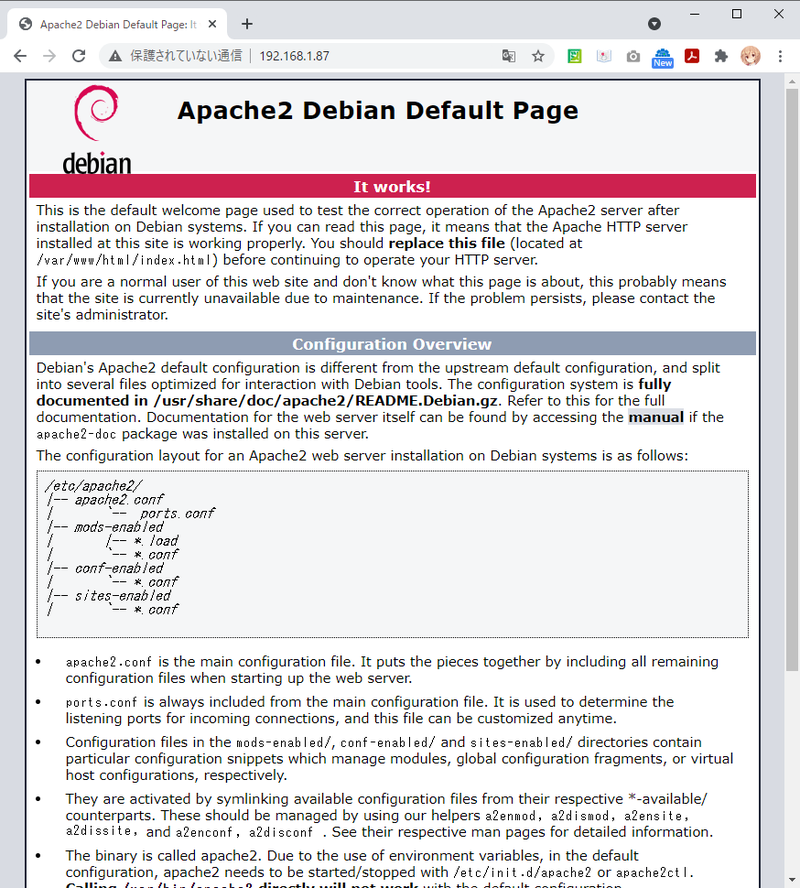
Webブラウザで動作確認。
http://localhost/
2.1.3 PHP インストール
sudo apt install -y php php-cgi php-pear libapache2-mod-php
phpのバージョン確認
php -v
phpinfoを表示してphpがcgiで動作することを確認する。
sudo nano /var/www/html/phpinfo.php
# 以下の3行を記述する
<?php
phpinfo();
?>
ブラウザで確認する。
http://localhost/phpinfo.php
##E 2.1.4 MariaDB インストール
sudo apt install -y mariadb-server php-mysql
mysql_secure_installationというツールを使ってパスワードやユーザ権限などを書き換える。
sudo mysql_secure_installation
Enter current password for root (enter for none):  <--何も押さずにEnter
Switch to unix_socket authentication [Y/n]:        <--n
Change the root password? [Y/n]:                   <--y
New password:                                      <--MariaDBのrootユーザー用パスワードを新規作成
Re-enter new password:                             <--同じパスワードを入力
Remove anonymous users? [Y/n]:                     <--y
Disallow root login remotely? [Y/n]:               <--n
Remove test database and access to it? [Y/n]:      <--y
Reload privilege tables now? [Y/n]:                <--y
localhost以外からアクセスできるようにする。
sudo nano /etc/mysql/mariadb.conf.d/50-server.cnf
binde-addressの行をアンコメントする。
#bind-address     =127.0.0.1 # この行をアンコメント
bind-address     =127.0.0.1
MariaDBにログインして外部端末からのアクセスを許可する。
mysql -u root -p
your passwordには、rootのパスワードを記述する。
MariaDB[(none)]> grant all privileges on *.* to root@"%" identified by 'your password' with grant option;
MariaDB[(none)]> exit
MariaDBを再起動。
sudo systemctl restart mysql.service
2.1.5 phpMyAdmin インストール
sudo apt install -y phpmyadmin
ブラウザでアクセスできるように、Apache2にリンクを張る。
sudo ln -s /etc/phpmyadmin/apache.conf /etc/apache2/conf-available/phpmyadmin.conf
phpmyadminのコンフィグレーションファイルを/etc/apache2/conf-enable 内に登録する。
sudo a2enconf phpmyadmin
Apache2の再起動。
sudo systemctl restart apache2.service
ブラウザでアクセスしてみる。
http://localhost/phpmyadmin/
2.1.6 Node-RED インストール
bash <(curl -sL https://raw.githubusercontent.com/node-red/linux-installers/master/deb/update-nodejs-and-nodered)
このまま継続してよいかの確認。
Are you really sure you want to do this ? [y/N] ? y
ラズベリーパイ用の機能もインストールするかの確認
Would you like to install the Pi-specific nodes ? [y/N] ? y
ソフトウェアがインストールされると、カスタマイズ設定するか問われる。
Would you like to customise the settings now (y/N) ? y
yを入力して設問に答えていく。
Node-RED Settings File initialisation
=====================================
This tool will help you create a Node-RED settings file.

✔ Settings file · /home/raspi/.node-red/settings.js


User Security
=============
✔ Do you want to setup user security? · Yes
✔ Username · raspi
✔ Password · **********
✔ User permissions · full access
✔ Add another user? · No

Projects
========
The Projects feature allows you to version control your flow using a local git repository.

✔ Do you want to enable the Projects feature? · No

Flow File settings
==================
✔ Enter a name for your flows file · flows.json
✔ Provide a passphrase to encrypt your credentials file ·

Editor settings
===============
✔ Select a theme for the editor. To use any theme other than "default", you will need to install @node-red-contrib-themes/theme-collection in your Node-RED user directory. · default


✔ Select the text editor component to use in the Node-RED Editor · monaco (default)

Node settings
=============
✔ Allow Function nodes to load external modules? (functionExternalModules) · Yes


Settings file written to /home/raspi/.node-red/settings.js
自動起動できるようにする。
sudo systemctl enable nodered.service
Node-REDを起動する
sudo systemctl start nodered.service
http://localhost:1880
2.1.7 WiFi AP 化のためのソフトウェアインストール
hostapd、dnsmasq、及びiptables-persistentをインストールする。
iptables-persistentインストール時、「現在の IPv4 ルールを保存しますか?」「現在の IPv6 ルールを保存しますか?」と聞かれるので、両方とも「はい」を選択する。現在のフィルタリングルールが/etc/iptable/rule.v4 および /etc/iptables/rule.v6に保存されるはずですが、空のファイルが生成される。
sudo apt install -y hostapd dnsmasq iptables-persistent
dnsmasqとhostapdのサービスを一旦終了させる。
sudo systemctl stop dnsmasq && sudo systemctl stop hostapd
2.1.7.1 dhcpcd.confの変更
- Raspi-OSのネットワーク関連の設定は、dhcpcd.confに記述する。
- ネットワーク接続は、DHCPによるアドレス取得が基本。
- dhcpcd.conf には、固定アドレスのみ記述する。
- 今回は、Wifiのwlan0を固定アドレス192.168.2.1に設定する記述をする。
sudo nano /etc/dhcpcd.conf
最後尾に3行追記
# 最後尾に以下の3行を追加
interface wlan0
static ip_address=192.168.2.1/24
nohook wpa_supplicant
# 最後尾
2.1.7.2 dnsmasqの設定
DHCPで配布するIPアドレスのレンジを192.168.2.2~192.168.2.20とし、リース時間は24時間とする。
今回は、DNSに関する部分はデフォルトのままとするので、インストールされているdnsmasq.confを退避させ、新たにDHCPだけ記述したdnsmasq.confファイルを作成する。
sudo mv /etc/dnsmasq.conf /etc/dnsmasq.conf.org
sudo nano /etc/dnsmasq.conf
以下の2行を追加する。
# 以下の2行を記述
interface=wlan0
dhcp-range=192.168.2.2,192.168.2.20,255.255.255.0,24h
2.1.7.3 無線LANのアクセスポイント化
(1) hostapdのデフォルト動作ファイルの編集
hostapdのデフォルト動作ファイルを編集し、hostapd.confの場所を指定する。
sudo nano /etc/default/hostapd
hostapd.confの場所は、/etc/hostapd/の配下とする。
#DAEMON_CONF="" # この行をアンコメントし、ファイル先を追記
DAEMON_CONF="/etc/hostapd/hostapd.conf"
(2) hostapd.confファイルの作成
- 無線周波数帯はIEEE 802.11g
- 周波数チャンネルは1
- WPAは、バージョン2
sudo nano /etc/hostapd/hostapd.conf
以下の内容をコピー&ペーストして、SSIDのYOUR_SSIDとパスフレーズのYOUR_PASSPHRASEを適宜変更すること。
# 接続するインタフェース
interface=wlan0

# デバイスドライバ
driver=nl80211

# 利用する周波数帯IEEE 802.11g
hw_mode=g

# 使用するチャンネル
channel=1

# MACアドレスによるフィルタリングはオフ
macaddr_acl=0

# 認証アルゴリズムはWPAのみ
auth_algs=1

# SSIDのステルスはオフ
ignore_broadcast_ssid=0

# EEE 802.11acは無効
ieee80211ac=0

# WMM(QoS制御)有効
wmm_enabled=1

# 日本を指定
country_code=JP

# IEEE 802.11dとIEEE 802.11hは有効
ieee80211d=1
ieee80211h=1

# 無線LANの出力
local_pwr_constraint=3

# スペクトラム制御
spectrum_mgmt_required=1

# WPAのバージョンは2
wpa=2

# 共有鍵認証の方式
wpa_key_mgmt=WPA-PSK

# 暗号化方式
wpa_pairwise=CCMP

# 暗号化方式
rsn_pairwise=CCMP

# SSID
ssid=YOUR_SSID   # YOUR_SSIDを好きなSSIDに変更してね

# パスフレーズ
wpa_passphrase=YOUR_PASSPHRASE  # YOUR_PASSPHRASEを好きなパスフレーズに変更してね
hostapdのマスク解除、自動起動の設定
sudo systemctl unmask hostapd && sudo systemctl enable hostapd
(3) IPの転送
ipV4のポートフォワードをコメントアウトする。
sudo nano /etc/sysctl.conf
#net.ipv4.ip_forward=1  #この行をアンコメント
net.ipv4.ip_forward=1
(4) IPマスカレード
a) iptablesによるIPマスカレードの設定
sudo iptables -t nat -A POSTROUTING -o eth0 -j MASQUERADE
b) IPマスカレード設定ファイルの保存
上記のiptablesによるIPマスカレードの設定は、保存されないため、再起動すると再び上記コマンドを実行する必要がある。
netfilter-persistentコマンドで設定を保存する。
保存先は、iptables-persistentインストール時に作成された/etc/iptables/rules.v4、及びrules.v6となる。
sudo netfilter-persistent save
以上で、自動試験用LAMP環境が構築できる。


