2021/06/18 追記
3-1. Sentryの初期化は不要となりました
2021/06/22 追記
自分の環境では、next build -> next startの流れで実施した場合、
クライアントサイドレンダリングが発生しなくなりました
原因は不明です。分かりましたら追記します
概要
Next.jsのプロジェクトにSentryを導入しようと思ってSentryのProjectを作ったら、
なんだか以前とは異なるスタートガイドが
https://docs.sentry.io/platforms/javascript/guides/nextjs/
実際には自分のプロジェクトではこのようなURLが表示されたが大体同じ内容
Next.jsのVer. 10.0.8以降をサポートしているとのこと
(だが10.0.0で実施しても動作した)
1. SentryのNext.js SDKのインストール
以下の部分
https://docs.sentry.io/platforms/javascript/guides/nextjs/#install
これは公式の手順のまま
yarn add @sentry/nextjs
# or
npm install --save @sentry/nextjs
2. Wizardを使用して設定
以下の部分
https://docs.sentry.io/platforms/javascript/guides/nextjs/#configure
これも手順としては公式のまま
npx @sentry/wizard -i nextjs
実行後はドキュメントでフォローがないので詳細を記述していく
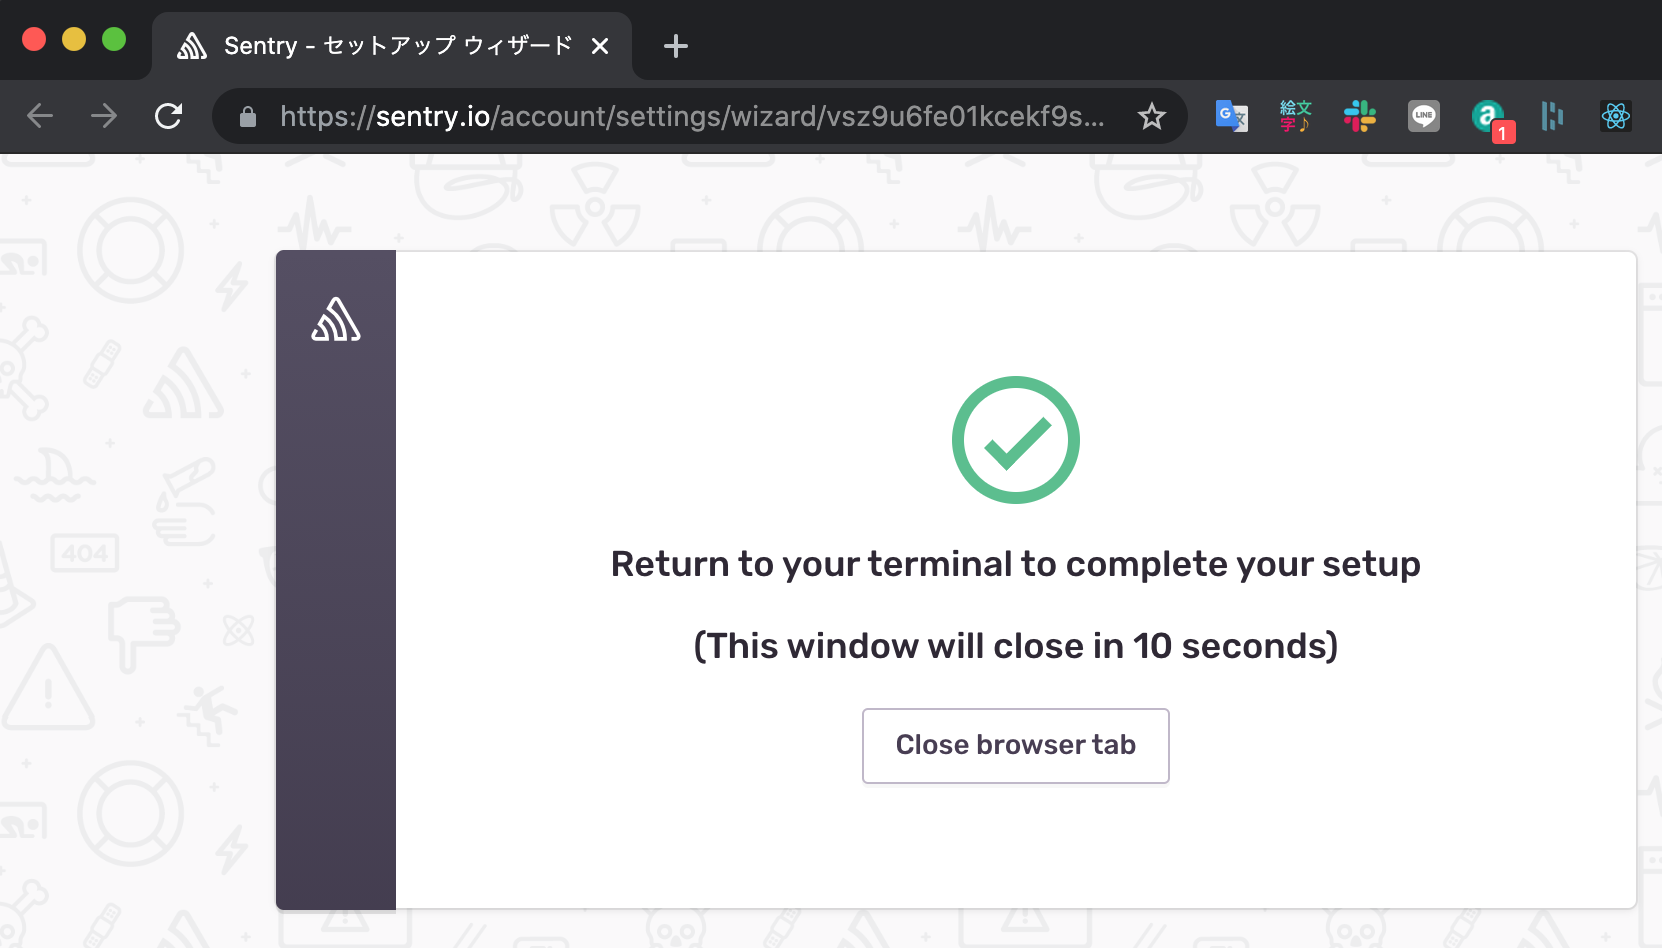
2-1. ブラウザが開く
これの意味は不明、余談だが10秒で消えてしまうのでSSを撮るのが結構苦労した
2-2. コンソール
設定ファイルの追加が行われた旨、表示が出る
# npx @sentry/wizard -i nextjs
info sentry-cli Using cached binary: /Users/makoto-h/.npm/sentry-cli/329df8-sentry-cli-Darwin-universal
Running Sentry Wizard...
version: 1.2.8 | sentry-cli version: 1.66.0
Sentry Wizard will help you to configure your project
Thank you for using Sentry :)

✓ next > 10.0.0 is installed

Please open
https://sentry.io/account/settings/wizard/vsz9u6fe01kcekf9skfmizx2gxd6ipnubjqt3skrq0fugqzz0pj3kpvubhqkwbmx/
in your browser (if it's not open already)

? Please select your project in Sentry: (Use arrow keys)
❯ organization-name / project-name-1
  organization-name / project-name-2

--------------------------------------------------------------------------

? Please select your project in Sentry: explorstate / stay-count

Successfully created sentry.properties

File next.config.js already exists, and _next.config.js also exists.
Please, merge those files.

File sentry.client.config.js already exists, and _sentry.client.config.js also exists.
Please, merge those files.

File sentry.server.config.js already exists, and _sentry.server.config.js also exists.
Please, merge those files.

For more information, see https://docs.sentry.io/platforms/javascript/guides/nextjs/
プロジェクトが複数あると、コンソールでどれに紐づけるかを選ぶように指示されるのでカーソルで選んで選択
Please select your project in Sentry: (Use arrow keys) の部分
すると、以下4ファイルが作成される
next.config.js
sentry.client.config.js
sentry.properties
sentry.server.config.js
既に上記ファイルが存在している場合は、アンダーバー付きのファイルが作成され、マージせよと表示が出る
存在しない場合は何もしないでOK
next.config.jsのマージの例は後述
3. ソースコードへの追記
3-1. Sentryの初期化
※ この項目は不要でした。
sentry.client.config.jsとsentry.server.config.jsに同様のコードがあるためです
3-2. エラー発生コード
以下の部分 (ただしAPIモードの部分除く)
https://docs.sentry.io/platforms/javascript/guides/nextjs/#verify
適当な画面のJSXに追記すればOK
4. エラー発生
Throw errorというボタンが生えているので、押すとエラー発生
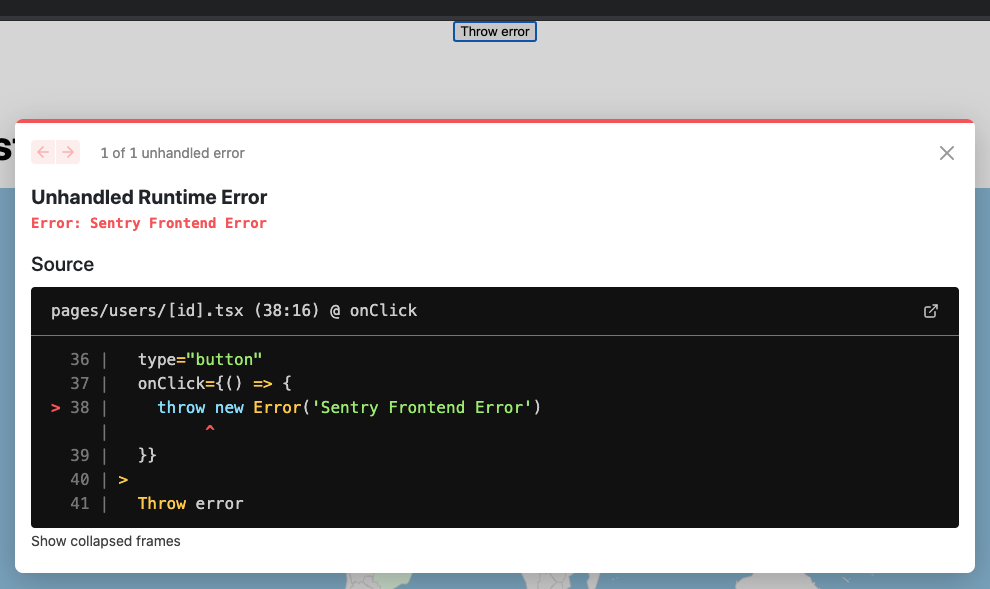
無事Sentryに登録
しかし、なぜか同じイベントが2回登録されている。初期化の位置がおかしいのかも
分かり次第修正

5. next.config.jsのマージ
Wizardが作成する内容は以下
// This file sets a custom webpack configuration to use your Next.js app
// with Sentry.
// https://nextjs.org/docs/api-reference/next.config.js/introduction
// https://docs.sentry.io/platforms/javascript/guides/nextjs/

const { withSentryConfig } = require('@sentry/nextjs');

const moduleExports = {
  // Your existing module.exports
};

const SentryWebpackPluginOptions = {
  // Additional config options for the Sentry Webpack plugin. Keep in mind that
  // the following options are set automatically, and overriding them is not
  // recommended:
  //   release, url, org, project, authToken, configFile, stripPrefix,
  //   urlPrefix, include, ignore
  // For all available options, see:
  // https://github.com/getsentry/sentry-webpack-plugin#options.
};

// Make sure adding Sentry options is the last code to run before exporting, to
// ensure that your source maps include changes from all other Webpack plugins
module.exports = withSentryConfig(moduleExports, SentryWebpackPluginOptions);
例えば既に以下のようなconfigファイルが存在したとき
const dotenv = require('dotenv');
dotenv.config();

module.exports = {
  serverRuntimeConfig: {
    ENV_FOR_SERVER_SIDE: process.env.ENV_FOR_SERVER_SIDE,
  },
  publicRuntimeConfig: {
    ENV_FOR_BOTH: process.env.ENV_FOR_BOTH,
  },
};
以下のようにマージしたら想定通りに動いた
余計なコメントは除去
const dotenv = require('dotenv');
const { withSentryConfig } = require('@sentry/nextjs');

dotenv.config();

const moduleExports = {
  serverRuntimeConfig: {
    ENV_FOR_SERVER_SIDE: process.env.ENV_FOR_SERVER_SIDE,
  },
  publicRuntimeConfig: {
    ENV_FOR_BOTH: process.env.ENV_FOR_BOTH,
  },
};

const SentryWebpackPluginOptions = {};

module.exports = withSentryConfig(moduleExports, SentryWebpackPluginOptions);
履歴
不要になった項目のログ
3-1. Sentryの初期化
このようなURLには記載があるが、
Static Pageの方にはなぜか記載がないので転載
ただし最低限の記載のみ
元の記事だとSentryのimportについて記載がないが、下記の通りで動いた
import * as Sentry from '@sentry/react'

Sentry.init({
  dsn: "https://7dc9a4361a1d4a2da97d414c4bc0470d@o855798.ingest.sentry.io/5819897",
  tracesSampleRate: 1.0,
});