blackbird named plugin
この plugin では named の statistics-channels から様々な情報を取得し、backend にデータを送信します
statistics-channels
bind の機能で統計情報を xml で吐き出す事ができます
詳しくはこちらを参照してください
bind を運用しているところは自前で compile とかしている方も多いと思いますが、compile 時に --with-libxml2 しないとこの機能は有効になりません
ちなみに redhat 系であれば rpm が提供されていますが、この rpm はありがたいことに --with-libxml2 で作られています
Install
blackbird 本体
こちらを参考に install してください
Install named plugin
setup.py で入れる方法と rpm で入れる方法があります
setup.py で install
git clone https://github.com/Vagrants/blackbird-named.git
cd blackbird-named
python setup.py install
rpm で install
yum install blackbird-named --enablerepo=blackbird
plugin の設定をする
config は /etc/blackbird/conf.d/named.cfg にあります
[named]
module = 'named'

# NOTICE
#  - bbd user needs permission to execute rndc.
#    edit /etc/blackbird/defaults.cfg and change user and group.
#
#    user = root
#    group = root
#
#  - if you do not need rndc information, comment out 'rndc-path'
rndc_path = '/usr/sbin/rndc'

# statistics-channels
#  - please set statistics-channels in named.conf
#
# ex)
# statistics-channels {
#         inet 127.0.0.1 port 5353 allow { 127.0.0.1/32; };
# };
#
statistics_host = '127.0.0.1'
statistics_port = '5353'
rndc status の値もモニタリングするようにできてますが、通常であれば rndc は権限的に blackbird が動く bbd user では実行できません
この場合は blackbird の実行権限を root にすることでモニタリング可能になります
[global]
user = root
group = root
が、root で動かすのもどうかなって思うので、内部的には sudo して叩くように変えようと思います・・(まだ未実装)
監視の間隔は 60 秒がデフォルトですが、変更したい場合は
interval = 30
のように指定してください
設定が終わったら blackbird を再起動させます
sudo /etc/init.d/blackbird restart
named.conf で statistics-channels を有効にする
named.cfg にも例が書いてありますが、
statistics-channels {
        inet 127.0.0.1 port 8080 allow { 127.0.0.1; };
};
こんな感じで設定を入れて下さい。port 番号は /etc/blackbird/conf.d/named.cfg と合わせて下さい
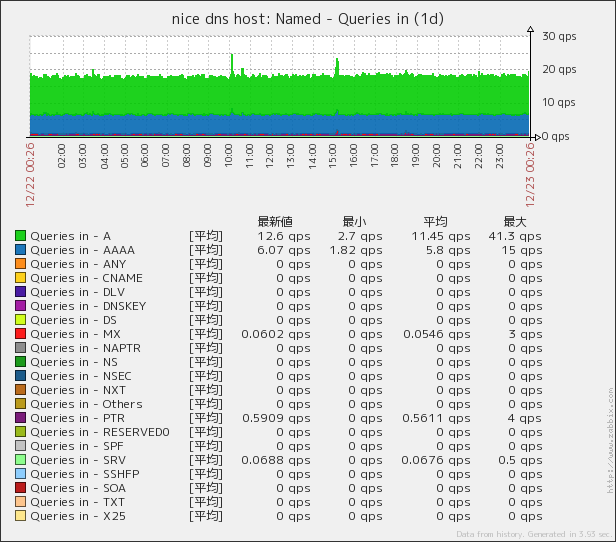
Zabbix 上でデータが入ってきているか確認する
Zabbix の Template は github の repositoryにあります
Zabbix に import して対象のサーバーに適用させて下さい
Zabbix 上の host 名と blackbird が起動しているサーバーの host 名が違う場合は /etc/blackbird/conf.d/named.cfg 上で hostname を設定してあげる必要があります
Zabbix 上と合わせてください
hostname = your_static_hostname
