Symfony Advent Calendar 2023 の13日目の記事です🎄✨
今回の記事では「Syfmonyでユーザー認証機能の実装」について紹介します!
この記事のゴール
ユーザー認証の機能実装ができるというところを目指します!
目次
1. 環境
- PHP:
v8.2.12 - Symfony:
v7.0.1 - MySQL:
v8.0.33
2. 作成済みリポジトリ
3. ユーザー認証機能の実装について
3-1. プロジェクトの作成/設定
- 新規プロジェクト作成
symfony new [プロジェクト名]
symfony server:startしてhttps://127.0.0.1:8000を開いたときに下記画面であれば無事作成できてます!
3-2. 必要なbundleのインストール
composer require orm
composer require symfony/maker-bundle --dev
composer require security
composer require twig
3-3. Userクラスの新規作成
Symfony MakerBundleを使用して、UserEntityを作成します。
bin/console make:user
make:entityを使ったUserEntityクラスのコマンド詳細
$ bin/console make:user

 The name of the security user class (e.g. User) [User]:
 >

 Do you want to store user data in the database (via Doctrine)? (yes/no) [yes]:
 >

 Enter a property name that will be the unique "display" name for the user (e.g. email, username, uuid) [email]:
 >

 Will this app need to hash/check user passwords? Choose No if passwords are not needed or will be checked/hashed by some other system (e.g. a single sign-on server).

 Does this app need to hash/check user passwords? (yes/no) [yes]:
 >

 created: src/Entity/User.php
 created: src/Repository/UserRepository.php
 updated: src/Entity/User.php
 updated: config/packages/security.yaml


  Success!


 Next Steps:
   - Review your new App\Entity\User class.
   - Use make:entity to add more fields to your User entity and then run make:migration.
   - Create a way to authenticate! See https://symfony.com/doc/current/security.html
詳しくは、「Symfony公式ドキュメントのSecurityのThe User」というところに詳しく書いてありますが、行っていることは下記です。
-
UserEntity:src/Entityディレクトリ内にUserEntityが生成されます。ユーザーに関する情報をデータベースに保存するためのEntityです。 -
UserRepository:src/Repositoryディレクトリ内にUserEntityに対するRepositoryクラスが生成されます。リポジトリはデータベースとのやりとりを管理します。 -
セキュリティ関連の設定の更新:config/packages/security.yamlなどの設定ファイルが更新され、ユーザー認証に関する設定が追加されます。
最初make:entityコマンドでUserEntityクラスを新規作成したんですがUserクラスにUserInterfaceが必要だったりしたのでこちらの方が楽です。
その後データベースをマイグレーションすれば、Userクラスの作成は完了です!
bin/console doctrine:migrations:diff
bin/console doctrine:migrations:migrate
3-4. ログイン機能を作成
下記コマンドでログイン画面とログイン処理を作成できます。
bin/console make:auth
make:authを使ったログイン機能の作成コマンド詳細
$ bin/console make:auth

 What style of authentication do you want? [Empty authenticator]:
  [0] Empty authenticator
  [1] Login form authenticator
 > 1

 The class name of the authenticator to create (e.g. AppCustomAuthenticator):
 > LoginFormAuthenticator

 Choose a name for the controller class (e.g. SecurityController) [SecurityController]:
 > UserController

 Do you want to generate a '/logout' URL? (yes/no) [yes]:
 >

 Do you want to support remember me? (yes/no) [yes]:
 >

 How should remember me be activated? [Activate when the user checks a box]:
  [0] Activate when the user checks a box
  [1] Always activate remember me
 >

 created: src/Security/LoginFormAuthenticator.php
 updated: config/packages/security.yaml
 created: src/Controller/UserController.php
 created: templates/security/login.html.twig

  Success!

 Next:
 - Customize your new authenticator.
 - Finish the redirect "TODO" in the App\Security\LoginFormAuthenticator::onAuthenticationSuccess() method.
 - Review & adapt the login template: templates/security/login.html.twig.
-
src/Security/LoginFormAuthenticator.php: ログインフォームの認証を担当するAuthenticatorクラス。このクラスはSymfonyセキュリティコンポーネントによって使用され、ユーザーがログインフォームで提供した認証情報を処理します。 -
config/packages/security.yaml: 新しく生成されたAuthenticatorがセキュリティの設定に追加された。 -
src/Controller/UserController.php: ユーザーに関連するアクションやビューを処理する機能。 -
templates/security/login.html.twig: ユーザーにログインフォームを表示するためのもの。
詳しくは、「Symfony公式ドキュメントのSecurityのForm Login」というところに詳しく書いてあります。
3-5. ユーザーを作成するコマンドを作成
ログインできるユーザーをコマンドで作成できるようにUserCreateCommandを作成します。
bin/console make:command
を実行しテンプレートを作成しこのように中身を変更します。
これで下記コマンドで「メールアドレス」「パスワード」「権限」をつけてデータベースに保存できます。
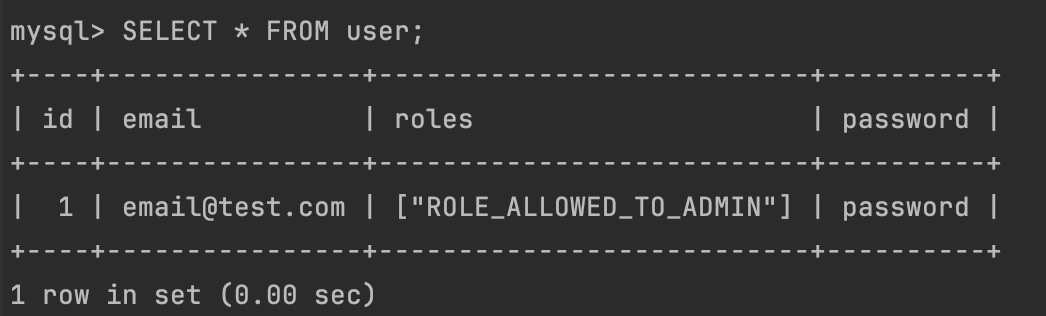
bin/console app:user:create email@test.com password -r ROLE_ALLOWED_TO_ADMIN
データベースを見て先程入れた内容が入っていれば問題ないです!
※Symfonyでのデータベースとの接続についてはこのあたりのセットアップを確認ください
3-6. パスワードのハッシュ化とログイン後の遷移先を変更
- パスワードのハッシュ化しないように変更
※今回は簡単な実装をメインにしているので実際のプロジェクトではハッシュ化やその他の暗号化を行ってください
 security:
     # https://symfony.com/doc/current/security.html#registering-the-user-hashing-passwords
     password_hashers:
-        Symfony\Component\Security\Core\User\PasswordAuthenticatedUserInterface: 'auto'
+        Symfony\Component\Security\Core\User\PasswordAuthenticatedUserInterface:
+            algorithm: plaintext
     # https://symfony.com/doc/current/security.html#loading-the-user-the-user-provider
     providers:
         # used to reload user from session & other features (e.g. switch_user)
(
- ログイン後にログインフォーム画面に遷移するように変更
class LoginFormAuthenticator extends AbstractLoginFormAuthenticator

         // For example:
         // return new RedirectResponse($this->urlGenerator->generate('some_route'));
-        throw new \Exception('TODO: provide a valid redirect inside '.__FILE__);
+        return new RedirectResponse($this->urlGenerator->generate(self::LOGIN_ROUTE));
     }

     protected function getLoginUrl(Request $request): string
(
これで準備完了です!!!!!!!
4. 実際に試してみる
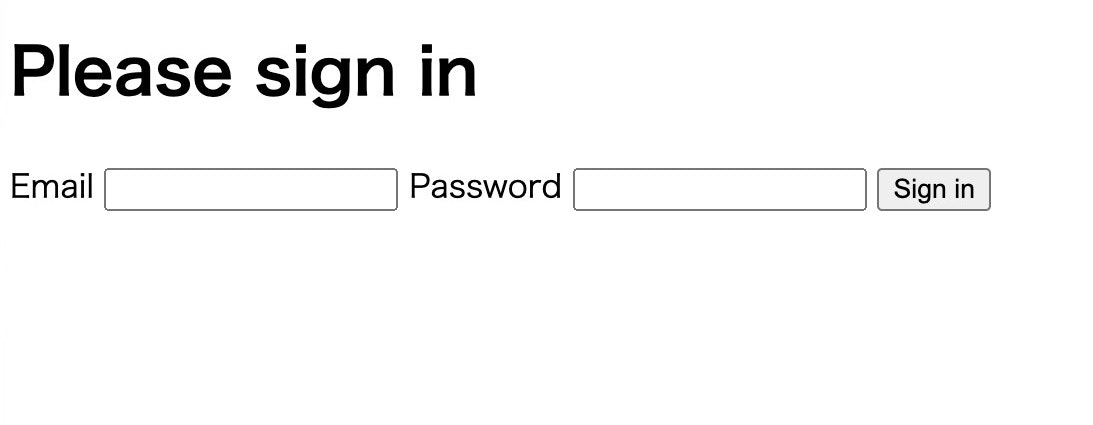
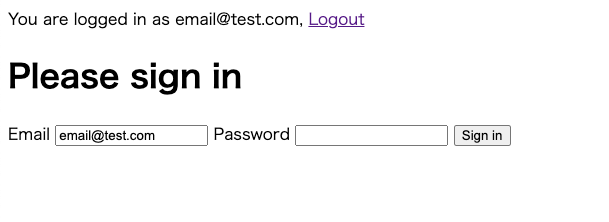
https://127.0.0.1:8000/loginを開くと下記画面になるので、上記で入れた「メールアドレス」「パスワード」を入れてログインでき、https://127.0.0.1:8000/logoutでログアウトが無事できたら成功です🎉🎉🎉
ログイン後にページをリロードしてもログアウトしない限りずっとログイン状態が続いていると思います✨
参考
- Zenn:ユーザー認証周りの機能を一通り実装