Symfony Advent Calendar 2022 5日目の記事です✨
昨日は @ttskch さんの「API PlatformのOpenAPI生成で、プロパティのrequiredをreadのスキーマにだけ適用する」でした!
今回はSymfony Formを使って簡単なフォームを作成しその内容を表示まで行っていきたいと思います!
↓こちらの記事とSymfony4の本が参考になりました!
目次
動作環境
- PHP: v8.1.8
- Symfony: v6.1.7
作成済みリポジトリ
手順
Composerでプロジェクトを作成する
composer create-projectの後に、利用するテンプレートとプロジェクト名を指定して実行します。
$ composer create-project [テンプレート名] [プロジェクト名]
テンプレートにはアプリケーションのフルセット「symfony/website-skelton」と必要最小限の「symfony/skeleton」があります。
今回は、テンプレートを「フルセット(symfony/website-skelton)」にしプロジェクト名を「hello-symfony6」にします。
$ composer create-project symfony/website-skeleton hello-symfony6
実行すると下記のように必要なプログラムをダウンロードしプロジェクトを作成します。
ダウンロード時間は1,2分ぐらいでそんなに時間はかからないです。
$ composer create-project symfony/website-skeleton hello-symfony6

Creating a "symfony/website-skeleton" project at "./hello-symfony6"
Info from https://repo.packagist.org: #StandWithUkraine
Installing symfony/website-skeleton (v6.1.99)
  - Downloading symfony/website-skeleton (v6.1.99)
  - Installing symfony/website-skeleton (v6.1.99): Extracting archive
Created project in /Users/makoto/Desktop/hello-symfony6
Loading composer repositories with package information
Updating dependencies
Lock file operations: 1 install, 0 updates, 0 removals
  - Locking symfony/flex (v2.2.3)
Writing lock file
Installing dependencies from lock file (including require-dev)
Package operations: 1 install, 0 updates, 0 removals
  - Downloading symfony/flex (v2.2.3)
  - Installing symfony/flex (v2.2.3): Extracting archive
Generating optimized autoload files
1 package you are using is looking for funding.
Use the `composer fund` command to find out more!

Run composer recipes at any time to see the status of your Symfony recipes.

Loading composer repositories with package information
Restricting packages listed in "symfony/symfony" to "6.1.*"
Updating dependencies
Lock file operations: 134 installs, 0 updates, 0 removals
  - Locking doctrine/annotations (1.13.3)
  - Locking doctrine/cache (2.2.0)
  - Locking doctrine/collections (1.8.0)
...
途中Docker構成を含めるかと聞かれますが、今回は利用しないので「n」を選択します。
Do you want to include Docker configuration from recipes?
    [y] Yes
    [n] No
    [p] Yes permanently, never ask again for this project
    [x] No permanently, never ask again for this project
    (defaults to y): n
プロジェクトの実行
プロジェクトに移動し下記コマンドを実行することでプロジェクトが動きます。
$ symfony server:start
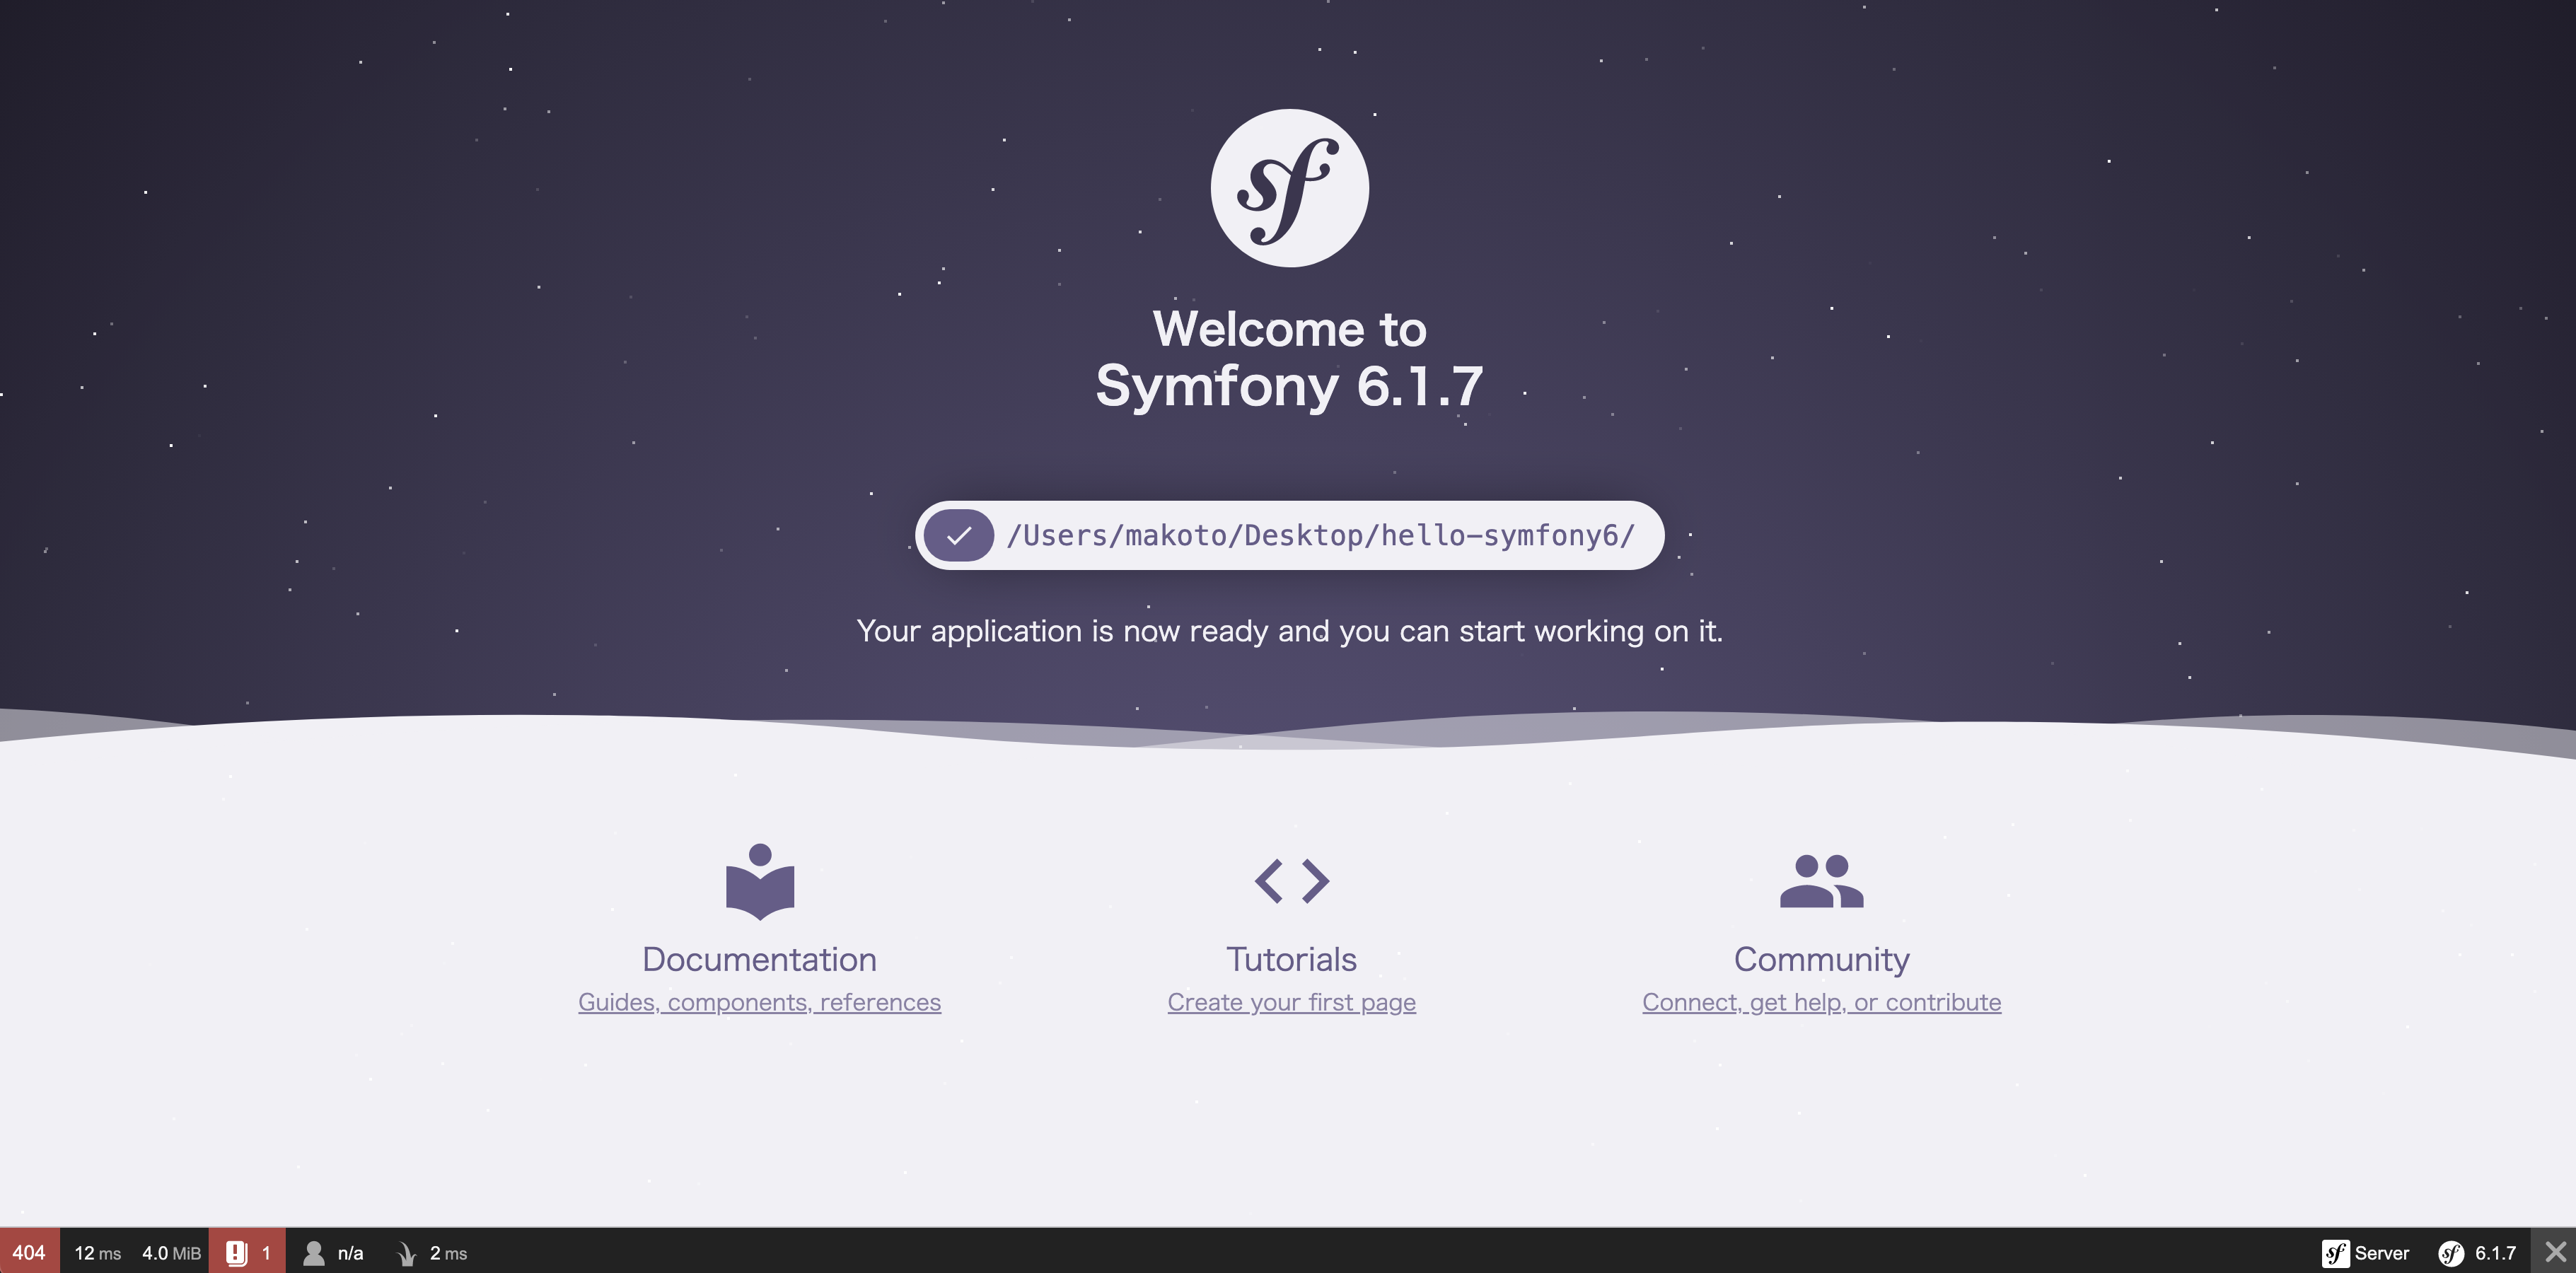
実行後、Webブラウザで「 https://127.0.0.1:8001/ 」にアクセスするとSymfonyアプリケーションの起動画面が表示されます。
※ 実はこのページWebアプリケーションに用意されたWebページではないとのこと。画面の左下に404と表示されていてそこにマウスカーソルを移動すると「HTTP status 404 Not Found」と表示されます。
Symfony Formを使ってフォームを作成する
ControllerとTwigのファイル作成
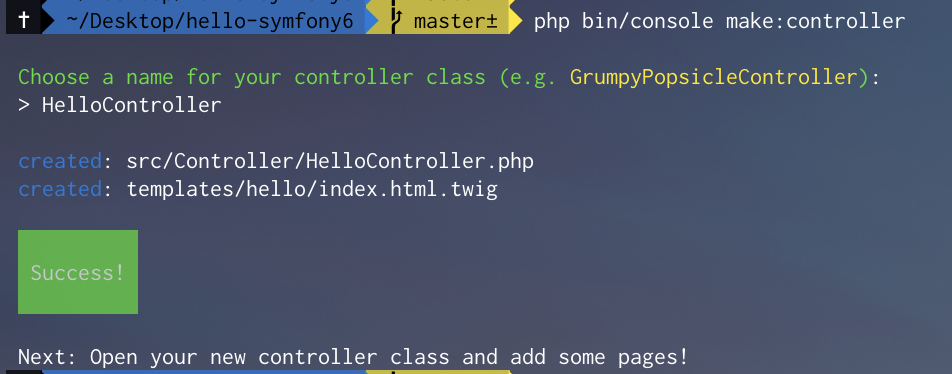
下記コマンドで「HelloController.php」と「index.html.twig」を作成します。
$ php bin/console make:controller
コマンド実行後、Controllerのクラス名は何にするか?と聞かれるので名前は「HelloController」とします。
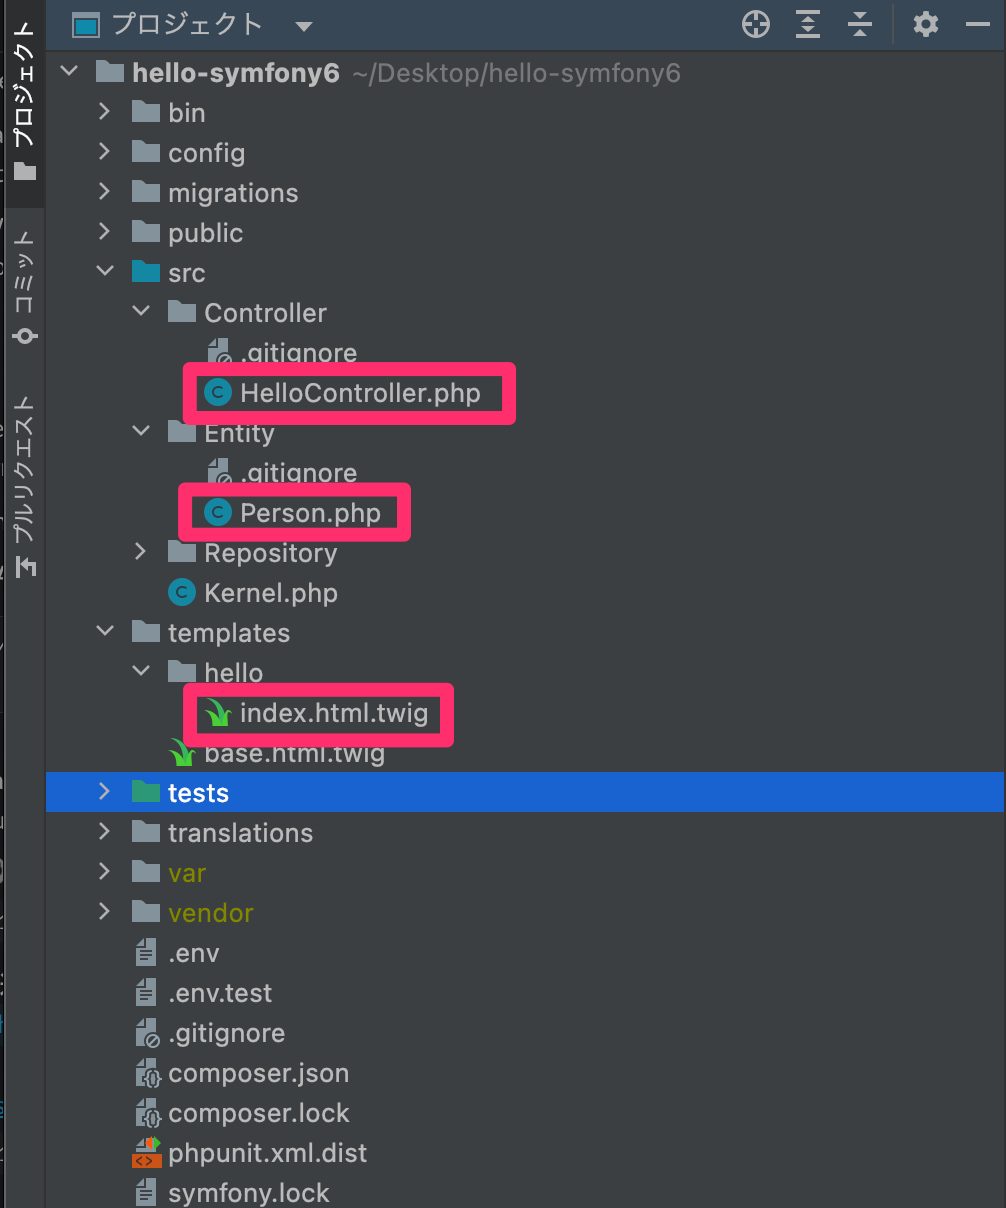
そうするとそれぞれ下記のディレクトリに作成されます。
- src > Controller > HelloController.php
- template > hello > index.html.twig
あと、フォームをオブジェクトで管理するために「Person.php」も作成します。
- src > Entity > Person.php
ControllerとTwigの空ファイルに内容を記述
Formの内容解説すると長くなってしまうので、この記事では割愛し下記ページに詳しく書きました。
src > Controller > HelloController.php
<?php

declare(strict_types=1);

namespace App\Controller;

use App\Entity\Person;
use Symfony\Bundle\FrameworkBundle\Controller\AbstractController;
use Symfony\Component\Form\Extension\Core\Type\EmailType;
use Symfony\Component\Form\Extension\Core\Type\SubmitType;
use Symfony\Component\Form\Extension\Core\Type\TextType;
use Symfony\Component\HttpFoundation\Request;
use Symfony\Component\HttpFoundation\Response;
use Symfony\Component\Routing\Annotation\Route;

class HelloController extends AbstractController
{
    #[Route('/hello', name:'hello')]
    public function index(Request $request): Response
    {
        $person = new Person();

        $form = $this->createFormBuilder($person)
            ->add('name', TextType::class)
            ->add('mail', EmailType::class)
            ->add('save', SubmitType::class, ['label' => 'Click'])
            ->getForm();

        if ($request->getMethod() == 'POST'){
            $form->handleRequest($request);
            $obj = $form->getData();
            $message = '名前は' . $obj->getName() . 'で、' . 'メールアドレスは ' . $obj->getMail() . 'です。';
        } else {
            $message = 'こんにちは!<br>あなたの名前とメールアドレスを教えて下さい!';
        }

        return $this->render('hello/index.html.twig', [
            'title' => 'Hello World!',
            'message' => $message,
            'form' => $form->createView(),
        ]);
    }
}
src > Entity > Person.php
<?php

declare(strict_types=1);

namespace App\Entity;

class Person
{
    private ?string $name = null;
    private ?string $mail = null;

    public function getName(): ?string
    {
        return $this->name;
    }

    public function setName(string $name): static
    {
        $this->name = $name;

        return $this;
    }

    public function getMail(): ?string
    {
        return $this->mail;
    }

    public function setMail(string $mail): static
    {
        $this->mail = $mail;

        return $this;
    }
}
template > hello > index.html.twig
<!DOCTYPE html>
<html>
<head>
    <meta charset="UTF-8">
    <title>{{title}}</title>
</head>
<body>
<h1>{{title}}</h1>
<p>{{message | raw}}</p>
{{ form_start(form) }}
{{ form_widget(form) }}
{{ form_end(form) }}
</body>
</html>
フォーム内容が表示されるか確認
まず、プロジェクトを動かすためにサーバーを起動する。
$ symfony server:start
その後、ルーティングで指定した/helloにアクセスします。
https://127.0.0.1:8001/hello
フォーム入力欄を入力して「click」を押すとその内容がページの上部に表示されました🎉

まとめ
今回Symfony Formを使って簡単なフォームを作成しその内容を表示までをご紹介しました。
SymfonyのFormについては奥が深くこの方法以外についてやカスタムバリデーションを書いたりできるので自分ももっと勉強していきたいと思います。
Symfony Advent Calendar 2022、明日は @77web@github さんです!


