お客様からの強いご要望でバックエンドはAWSの利用必須。ネイティブアプリの開発にFlutter使いたいのにライブラリが用意されていないので泣く泣くReact Nativeで実装するしかない...なんてことありますよね。(ねーだろ
そんな方に朗報です。
まだdev版ではありますが、flutter用のライブラリが提供されています。
現時点で公式から提供されているamplifyのflutterライブラリは以下の4種類。
- Auth
- Analytics (Amazon Pinpoint only)
- API (GraphQL only)
- Storage
今回は、公式の手順を参考にAPIを使ってみます。
手順はこちら
利用するライブラリはこちら。イマイチ人気がなさそうなのがちょい気になるけど。。。
公式の手順の記述には不足、誤りがあるようなのでご注意を。
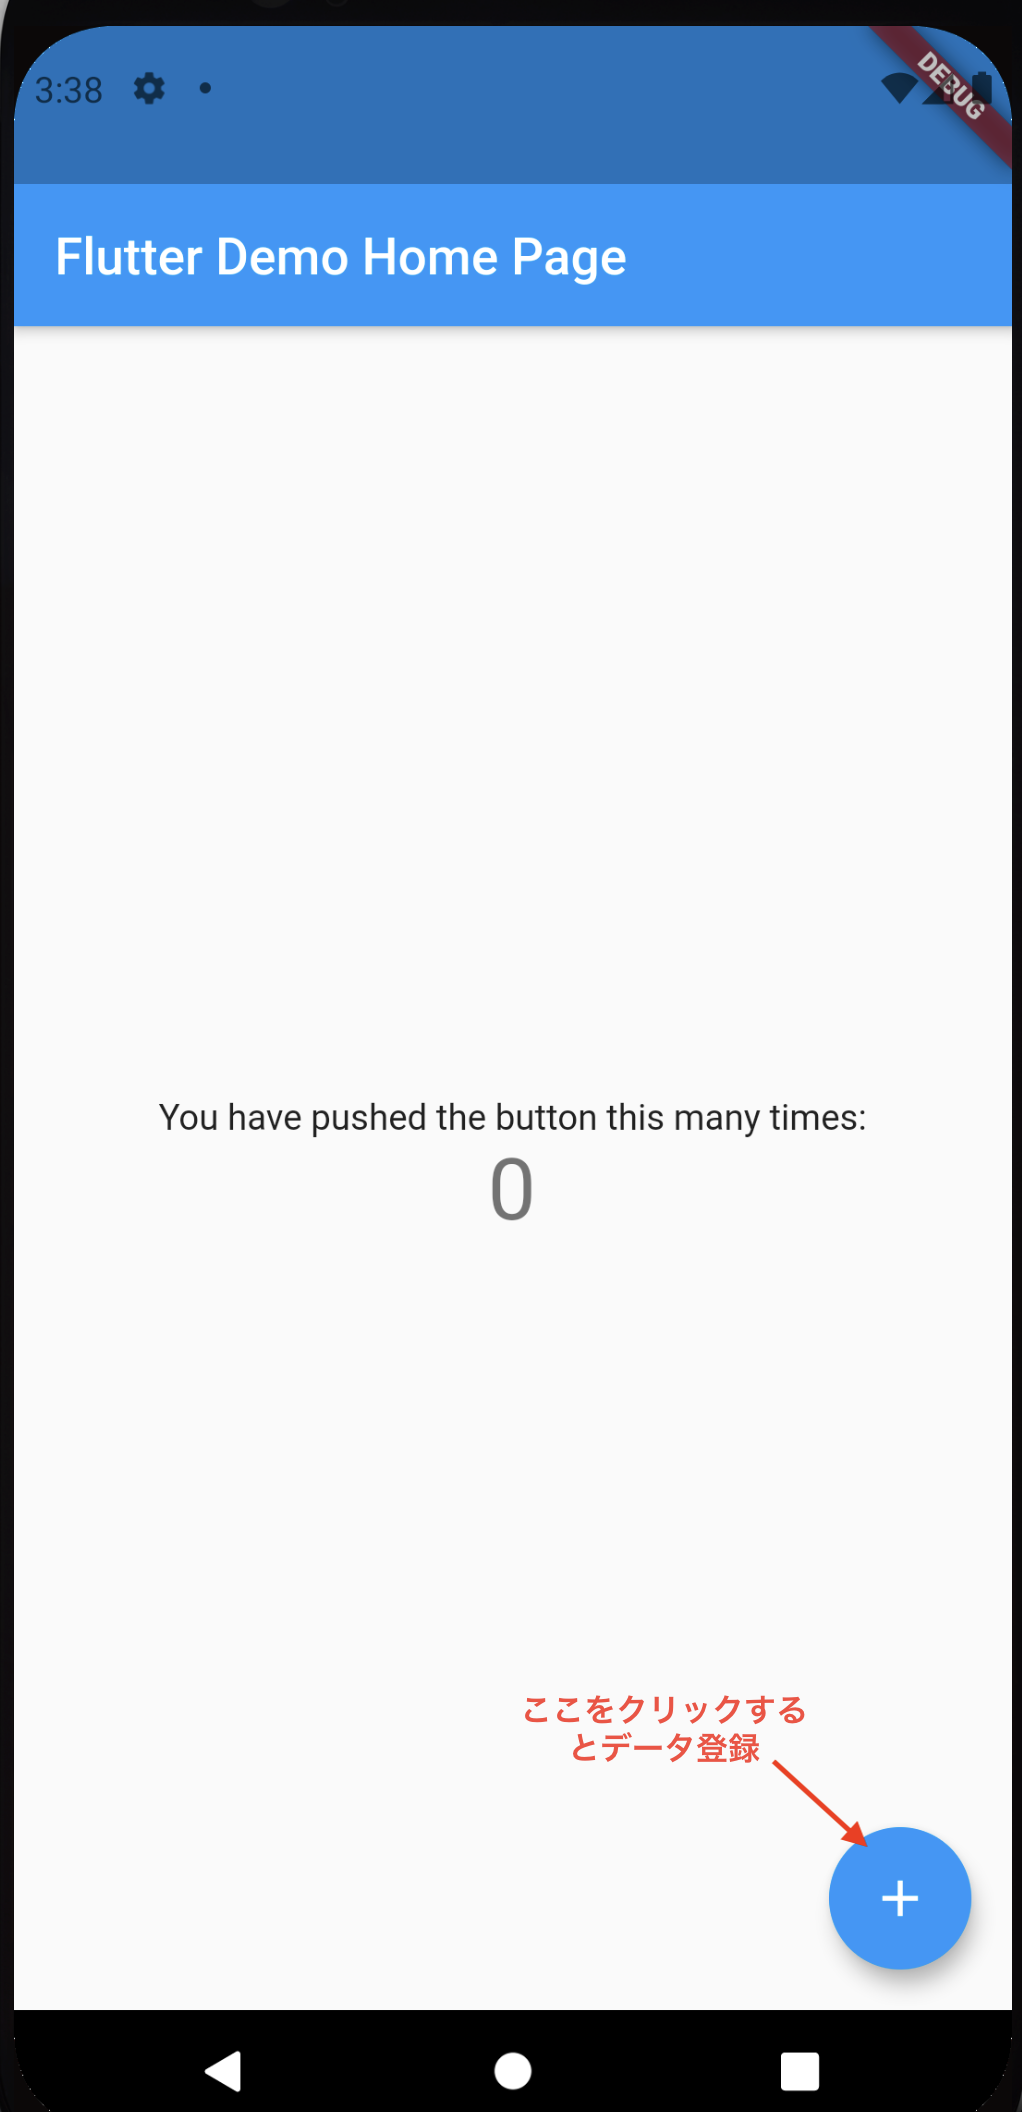
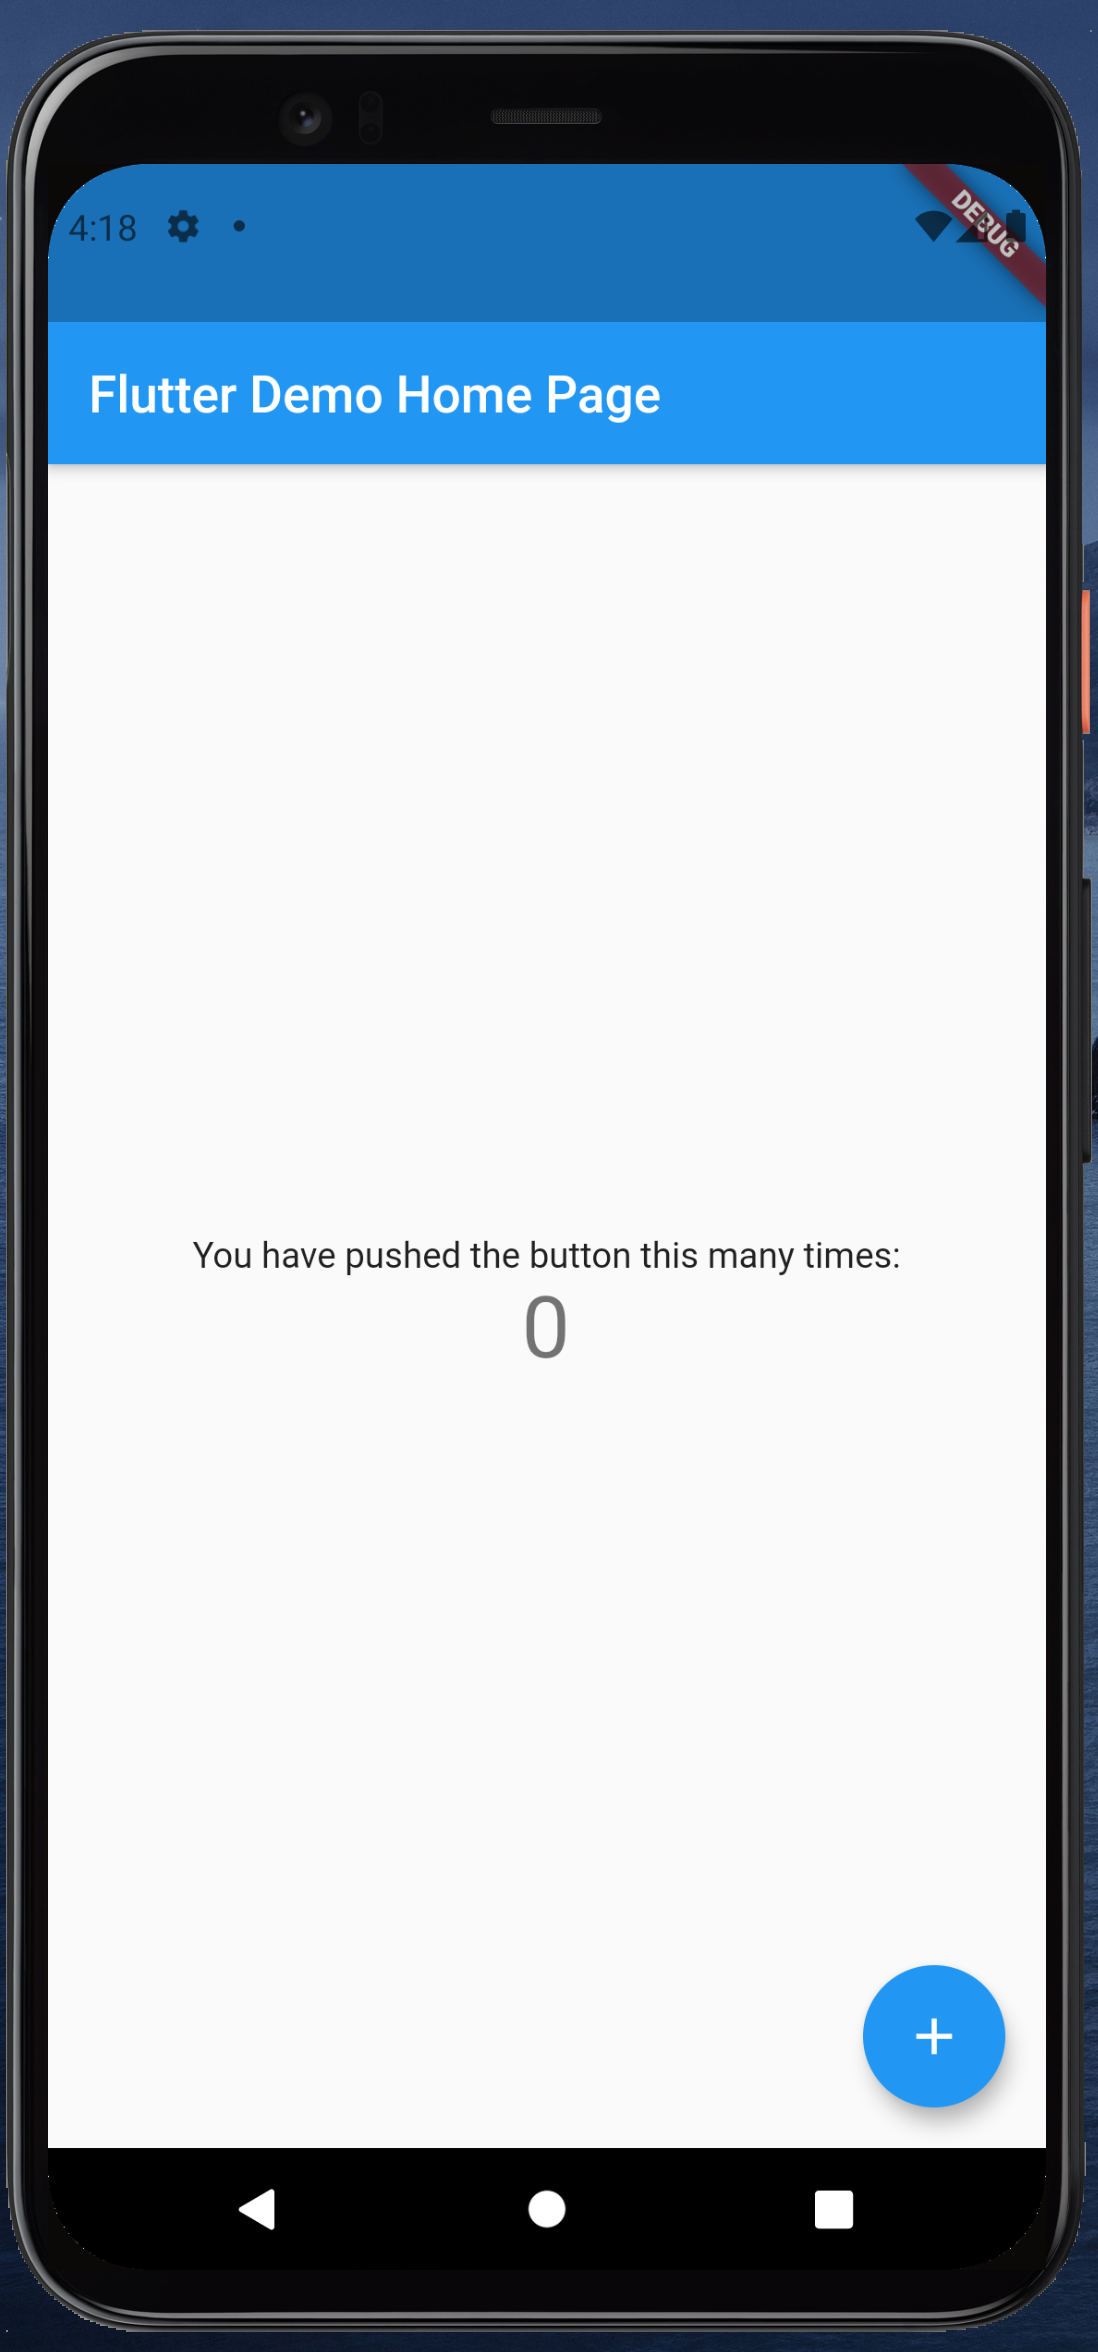
作成したのは、いつものカウンターアプリのボタンを押すとDynamodbにデータが登録されるシンプルなやつです。
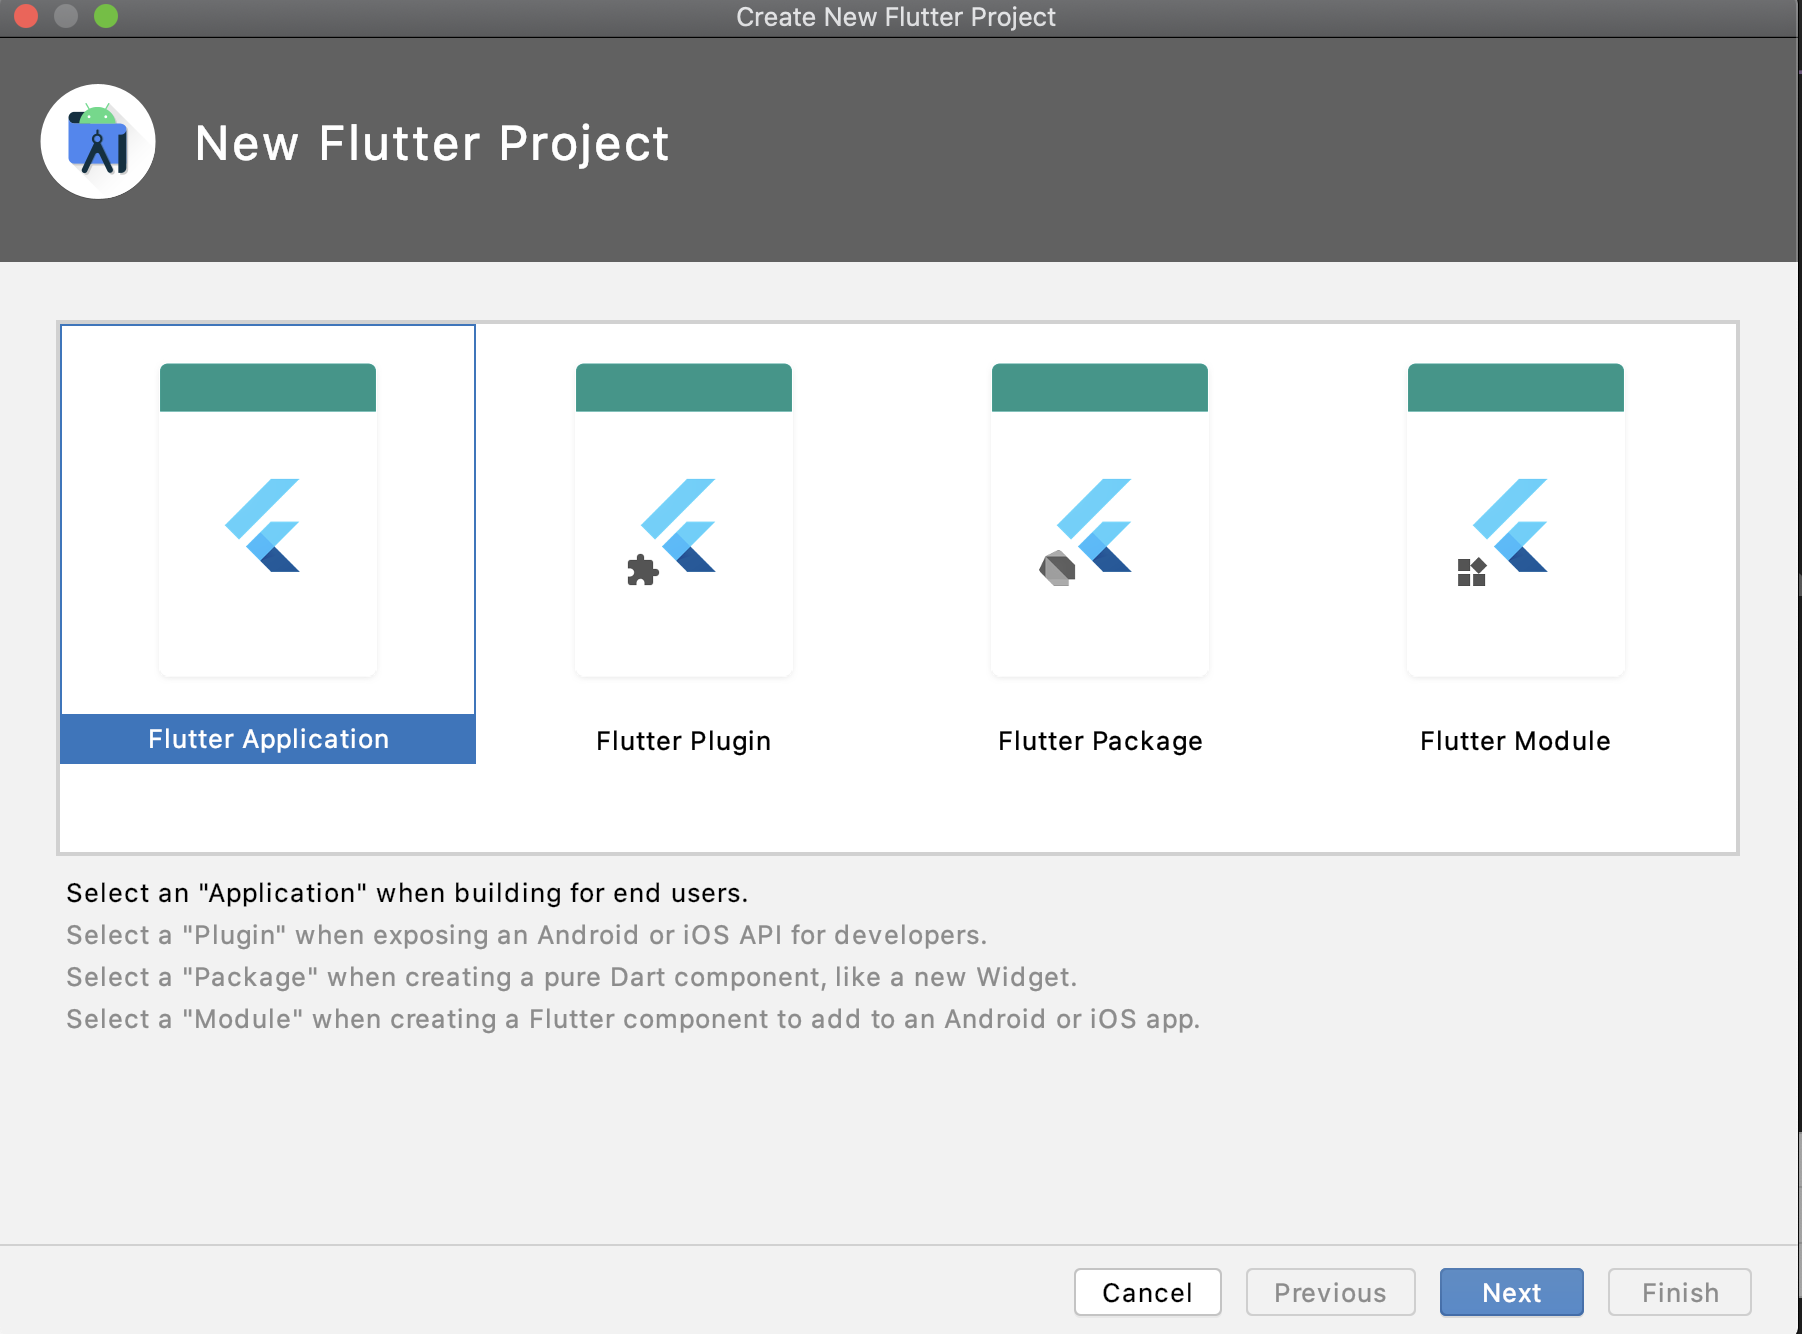
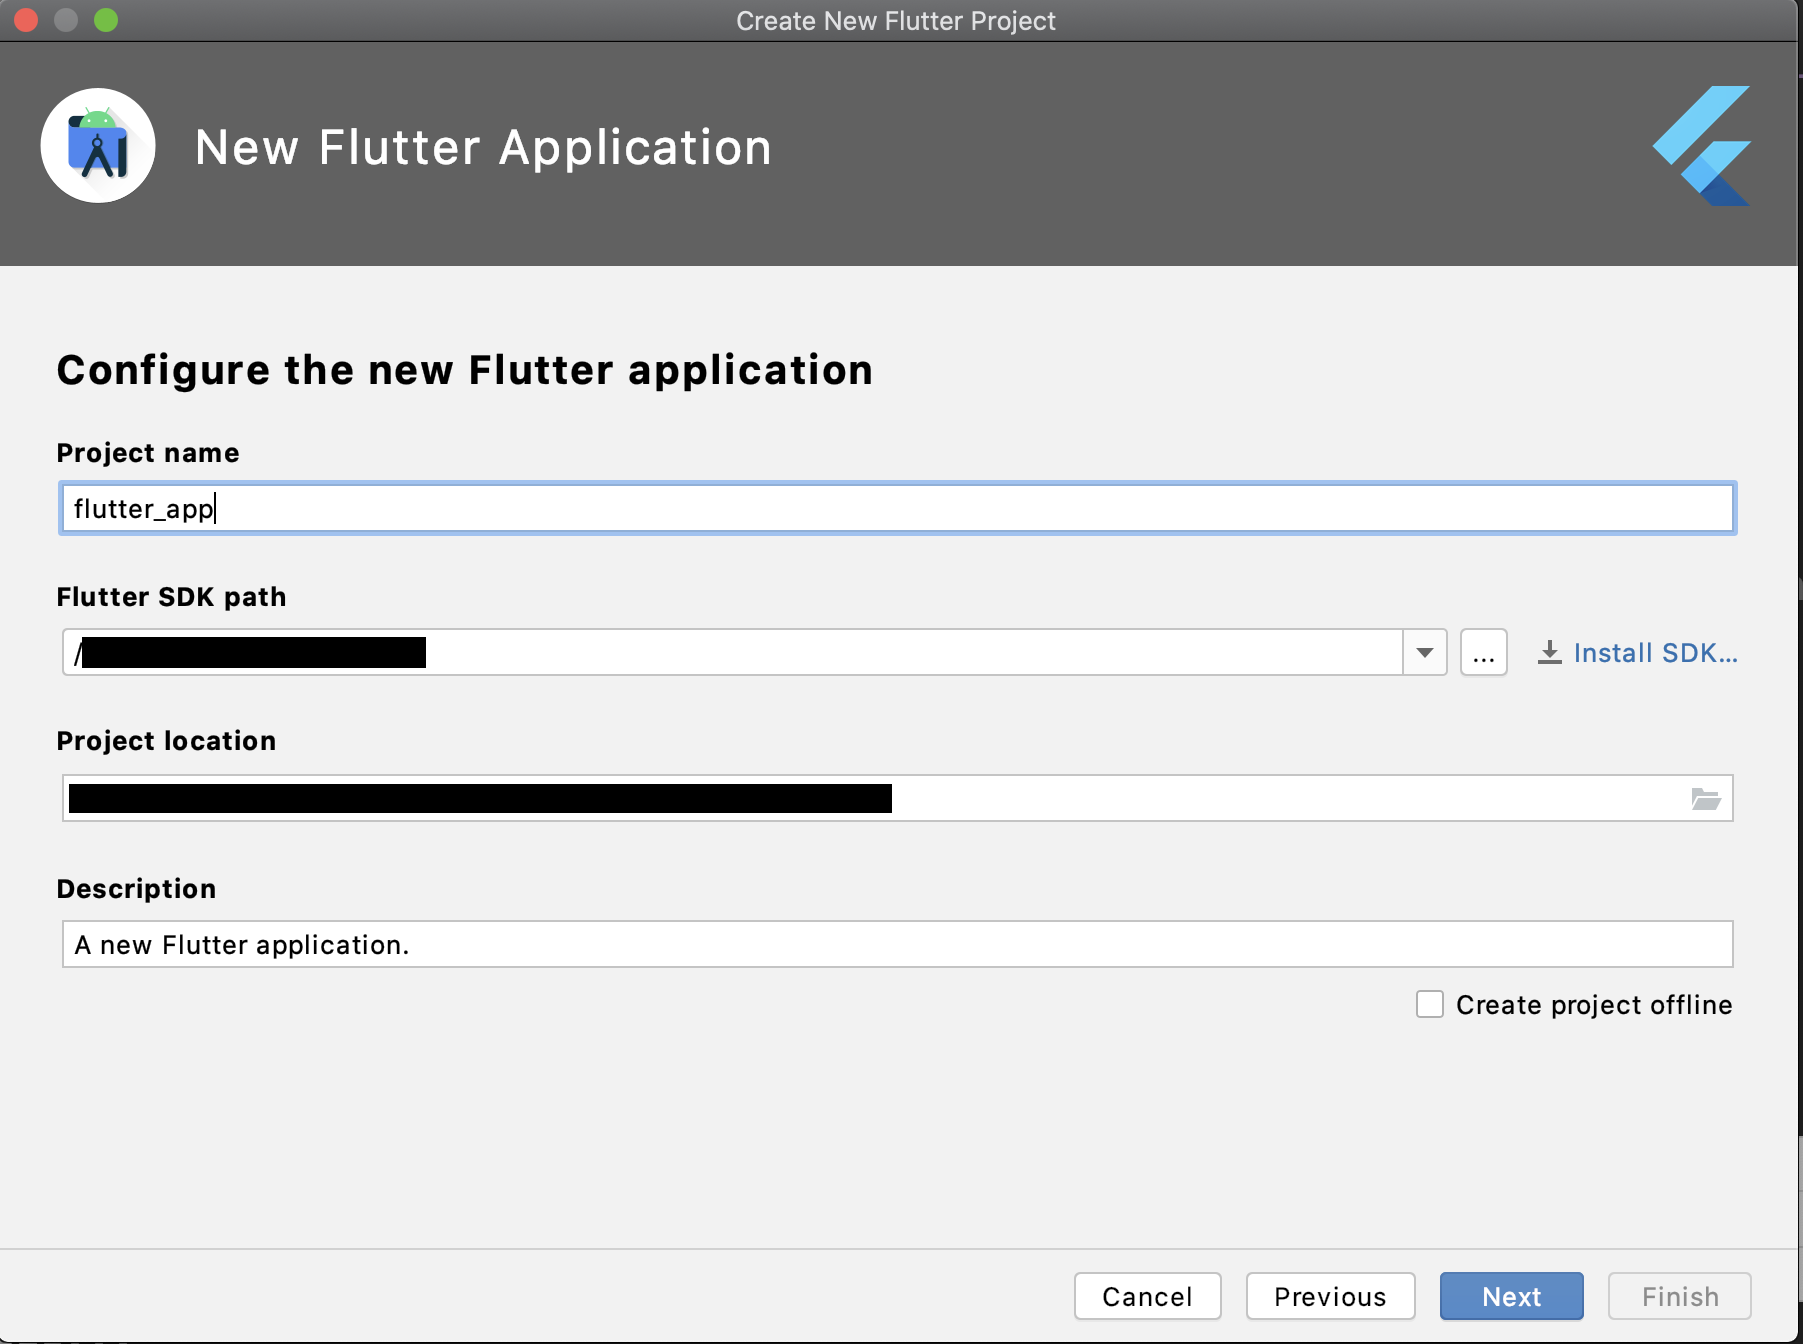
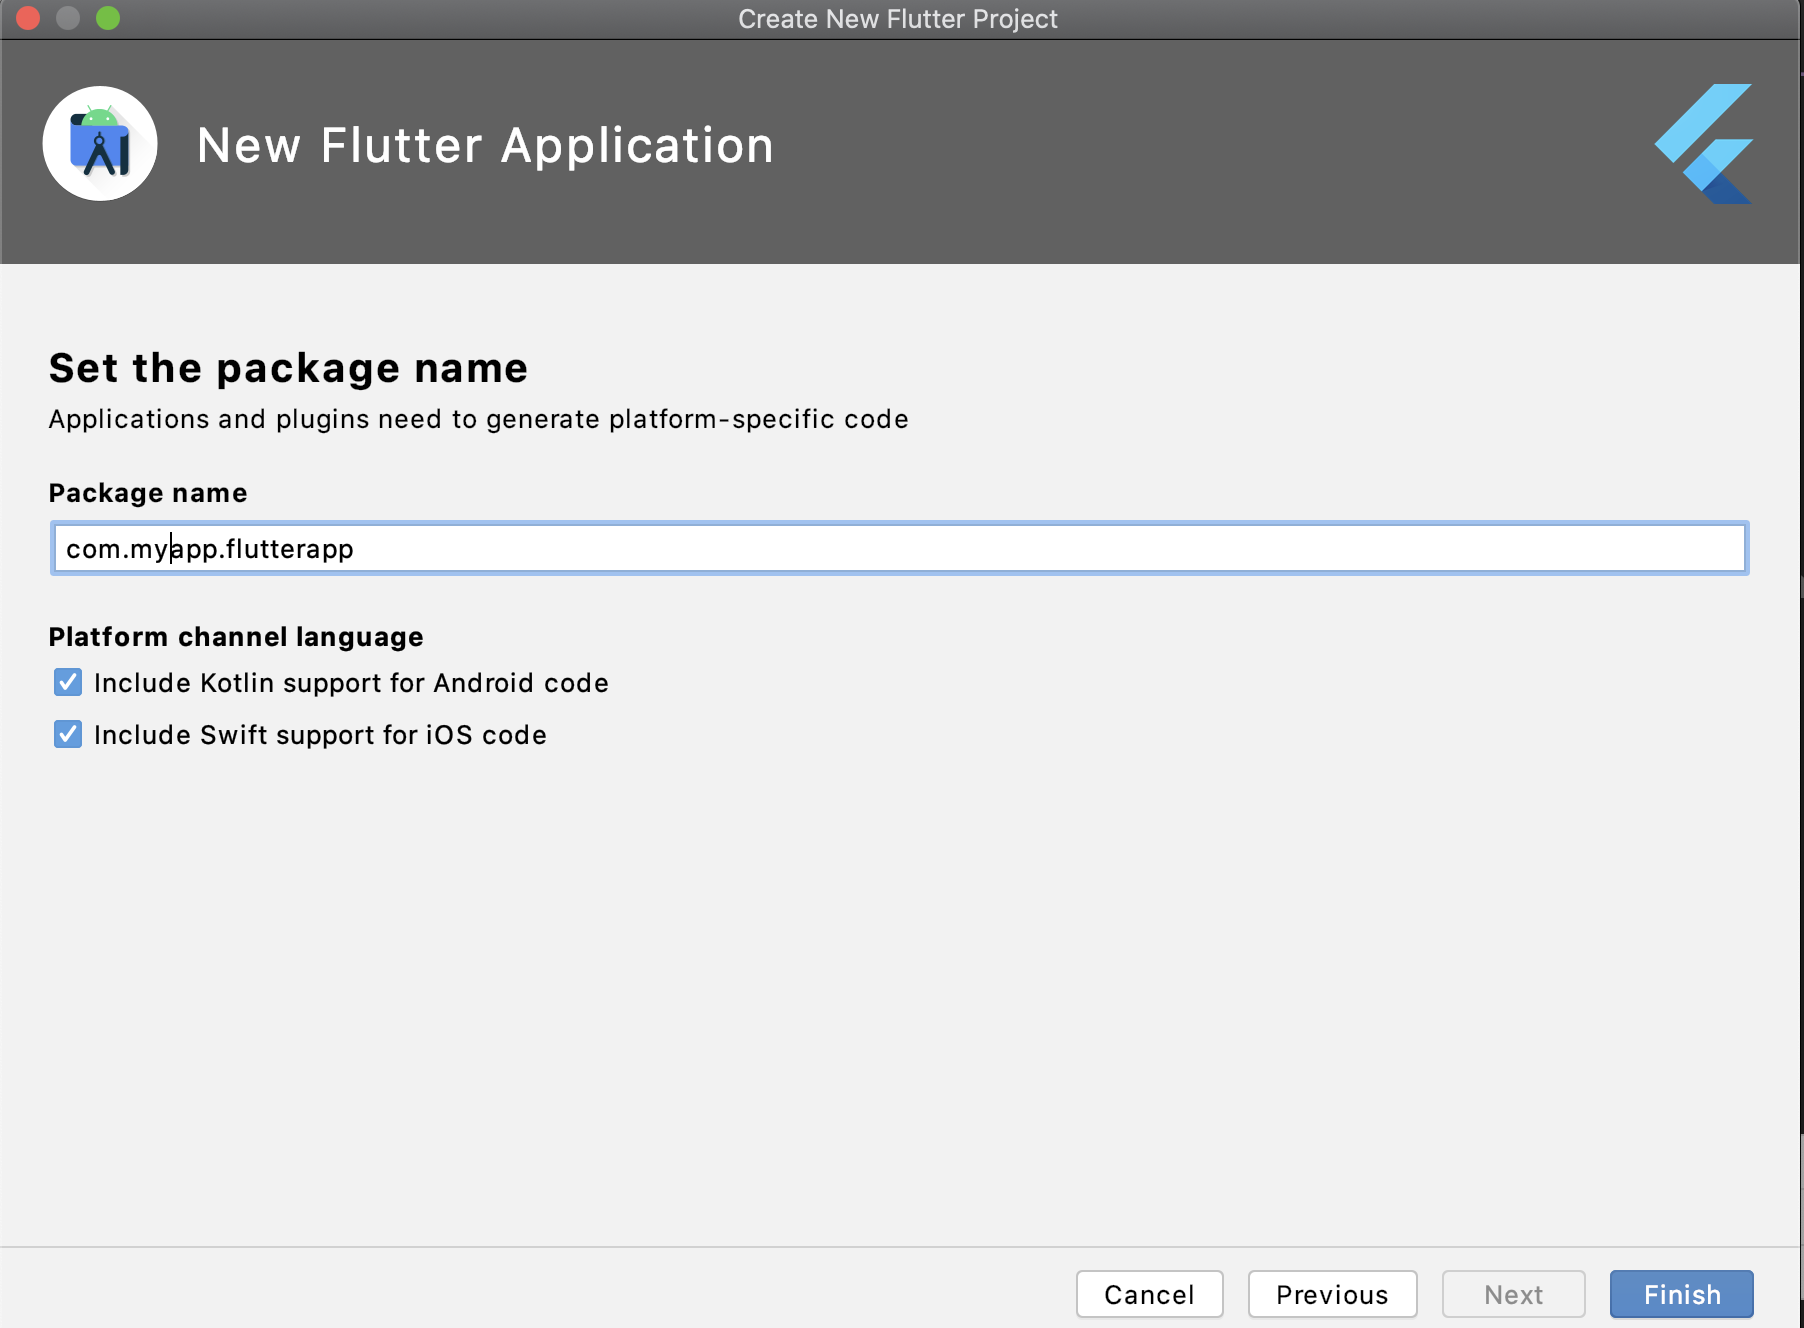
プロジェクト作成
ライブラリ導入
pubspec.yamlファイルに以下の記述を追記します。
公式にはamplify_coreは記載がありませんが、必要なようです。
dependencies:
  flutter:
    sdk: flutter
  amplify_datastore: any
  amplify_core: any
Amplify CLI
Amplifyの初期化とバックエンドの追加をします。
なお、amplifyのflutter対応は比較的最近導入された機能なので古いバージョンを使っている方は更新しましょう。私は以下のバージョンを利用しました。
> amplify -v
4.41.2
作成したFlutterプロジェクト直下に移動し以下コマンドを実行します。
"Choose the type of app that you're building"でflutterを選ぶのがポイント。
> amplify init

? Enter a name for the project flutterapp
? Enter a name for the environment dev
? Choose your default editor: Visual Studio Code
? Choose the type of app that you're building flutter
Please tell us about your project
⚠️  Flutter project support in the Amplify CLI is in DEVELOPER PREVIEW.
Only the following categories are supported:
 * Auth
 * Analytics (Amazon Pinpoint only)
 * API (GraphQL only)
 * Storage
? Where do you want to store your configuration file? ./lib/
? Do you want to use an AWS profile? Yes
バックエンドを追加します。
今回はライブラリを触ってみるだけを目的としているのでサンプルのスキーマ(Todo)をそのまま利用しました。
> amplify add api

? Please select from one of the below mentioned services: GraphQL
? Provide API name: flutterapp
? Choose the default authorization type for the API API key
? Enter a description for the API key:
? After how many days from now the API key should expire (1-365): 7
? Do you want to configure advanced settings for the GraphQL API Yes, I want to make some additional changes.
? Configure additional auth types? No
? Configure conflict detection? Yes
? Select the default resolution strategy Auto Merge
? Do you have an annotated GraphQL schema? No
? Choose a schema template: Single object with fields (e.g., “Todo” with ID, name, description)
? Do you want to edit the schema now? No
> amplify push
✔ Successfully pulled backend environment dev from the cloud.

Current Environment: dev

| Category | Resource name | Operation | Provider plugin   |
| -------- | ------------- | --------- | ----------------- |
| Api      | flutterapp    | Create    | awscloudformation |
? Are you sure you want to continue? Yes
> amplify codegen models
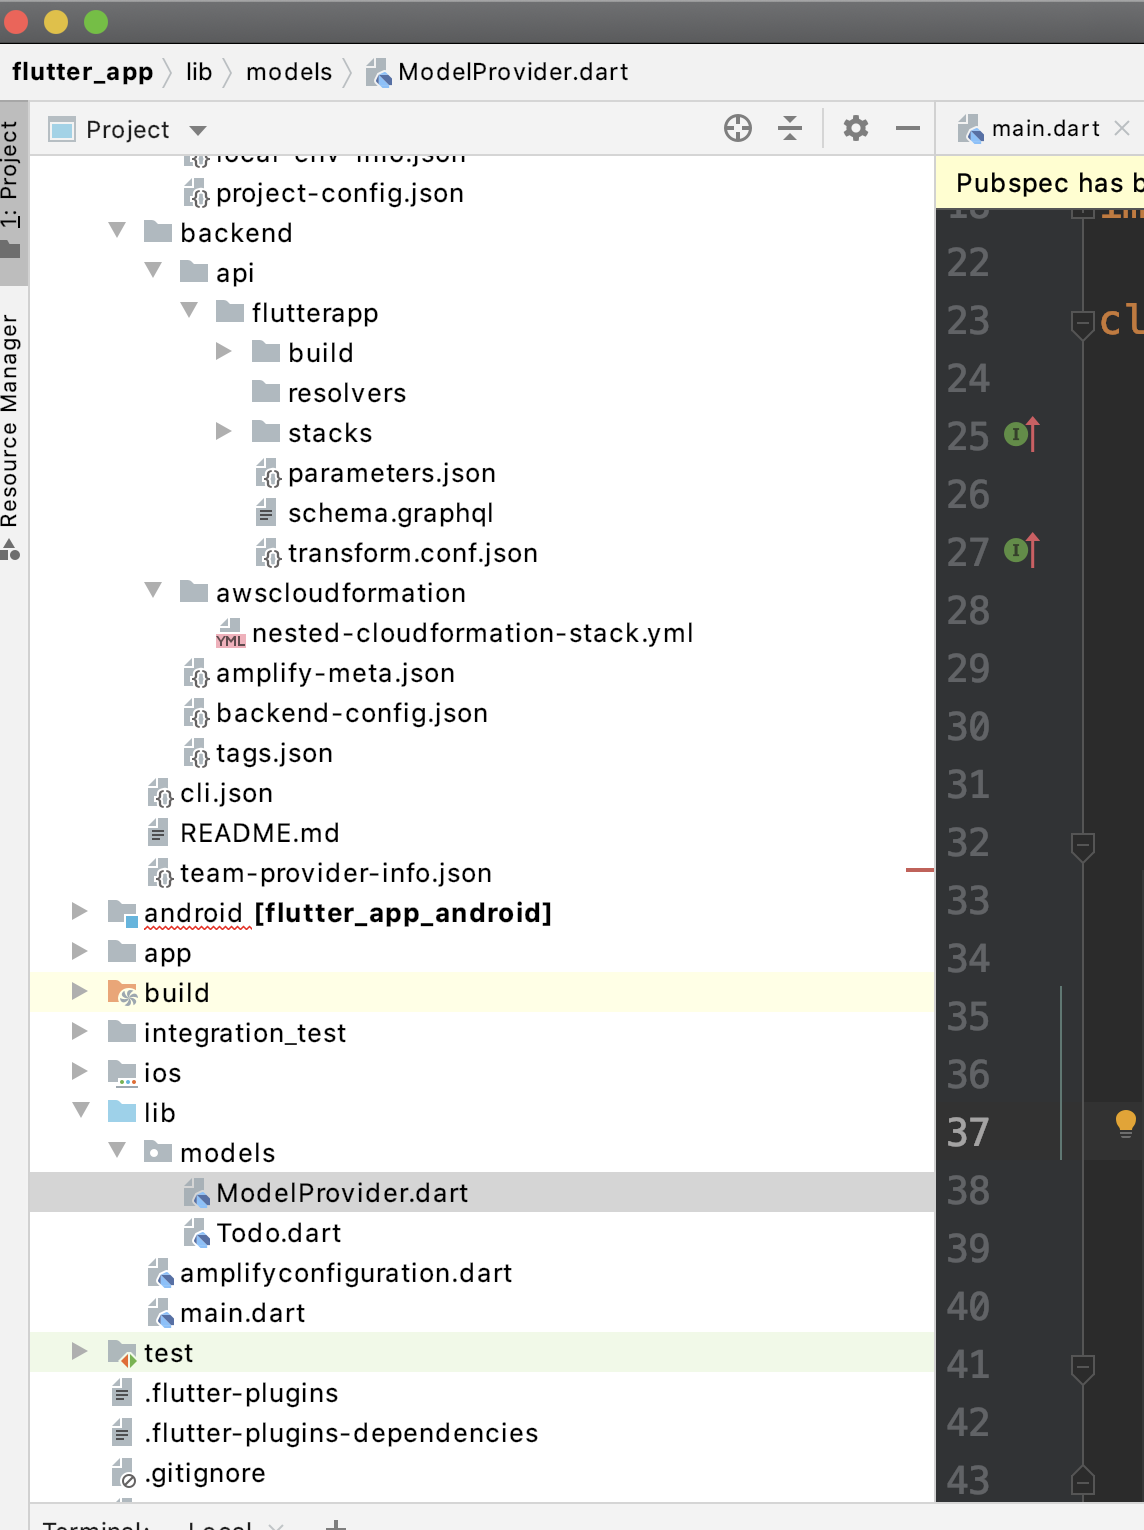
処理が完了すると、lib/models配下にModelProvider.dartとTodo.dartというファイルが作成されていることが確認できます。
Amplify Datastoreの導入
公式のサンプルがinitStateで初期化しているのでそれを参考に、main.dartにAmplifyDataStoreを導入します。
StatefulWidgetクラスはinitStateメソッド持っていないはずなので公式のサンプルはおそらく誤り(?)
ポイントは以下の2箇所
amplifyconfigの読み込み
  void initState() {
    super.initState();
    AmplifyDataStore datastorePlugin =
        AmplifyDataStore(modelProvider: ModelProvider.instance);
    amplifyInstance.addPlugin(dataStorePlugins: [datastorePlugin]);
    amplifyInstance.configure(amplifyconfig);
  }
登録処理
  void _addTodo() async {
    Todo newTodo = Todo(name: 'HOGE');
    await Amplify.DataStore.save(newTodo);
  }
コード全体
import 'package:flutter/material.dart';
import 'package:amplify_core/amplify_core.dart';
import 'package:amplify_datastore/amplify_datastore.dart';
import 'package:flutter_app/amplifyconfiguration.dart';
import 'package:flutter_app/models/ModelProvider.dart';

void main() {
  runApp(MyApp());
}

class MyApp extends StatelessWidget {
  @override
  Widget build(BuildContext context) {
    return MaterialApp(
      title: 'Flutter Demo',
      theme: ThemeData(
        primarySwatch: Colors.blue,
      ),
      home: MyHomePage(title: 'Flutter Demo Home Page'),
    );
  }
}

class MyHomePage extends StatefulWidget {
  MyHomePage({Key key, this.title}) : super(key: key);
  final String title;
  @override
  _MyHomePageState createState() => _MyHomePageState();
}

class _MyHomePageState extends State<MyHomePage> {
  int _counter = 0;
  Amplify amplifyInstance = Amplify();
  @override
  void initState() {
    super.initState();
    AmplifyDataStore datastorePlugin =
        AmplifyDataStore(modelProvider: ModelProvider.instance);
    amplifyInstance.addPlugin(dataStorePlugins: [datastorePlugin]);
    amplifyInstance.configure(amplifyconfig);
  }

  void _addTodo() async {
    Todo newTodo = Todo(name: 'HOGE');
    await Amplify.DataStore.save(newTodo);
  }

  @override
  Widget build(BuildContext context) {
    return Scaffold(
      appBar: AppBar(
        title: Text(widget.title),
      ),
      body: Center(
        child: Column(
          mainAxisAlignment: MainAxisAlignment.center,
          children: <Widget>[
            Text(
              'You have pushed the button this many times:',
            ),
            Text(
              '$_counter',
              style: Theme.of(context).textTheme.headline4,
            ),
          ],
        ),
      ),
      floatingActionButton: FloatingActionButton(
        onPressed: _addTodo,
        tooltip: 'Add',
        child: Icon(Icons.add),
      ), // This trailing comma makes auto-formatting nicer for build methods.
    );
  }
}
動作確認
シミュレーターを起動します。
が、以下のようなエラーがでてしまいます...。
Launching lib/main.dart on sdk gphone x86 in debug mode...
/xxx/flutter_app/android/app/src/debug/AndroidManifest.xml Error:
        uses-sdk:minSdkVersion 16 cannot be smaller than version 21 declared in library [:amplify_core] /xxx/flutter_app/build/amplify_core/intermediates/library_manifest/debug/AndroidManifest.xml as the library might be using APIs not available in 16
        Suggestion: use a compatible library with a minSdk of at most 16,
                or increase this project's minSdk version to at least 21,
                or use tools:overrideLibrary="com.amazonaws.amplify.amplify_core" to force usage (may lead to runtime failures)

FAILURE: Build failed with an exception.

* What went wrong:
Execution failed for task ':app:processDebugMainManifest'.
> Manifest merger failed with multiple errors, see logs

* Try:
Run with --stacktrace option to get the stack trace. Run with --info or --debug option to get more log output. Run with --scan to get full insights.

* Get more help at https://help.gradle.org

BUILD FAILED in 10s
Running Gradle task 'assembleDebug'...
Running Gradle task 'assembleDebug'... Done                        13.0s
Exception: Gradle task assembleDebug failed with exit code 1
どうやら、sdk versionは21以上が必要なようですね。
android/app/build.gradleのminSdkVersionを21に変更します。
defaultConfig {
        // TODO: Specify your own unique Application ID (https://developer.android.com/studio/build/application-id.html).
        applicationId "com.myapp.flutter_app"
        minSdkVersion 21
        targetSdkVersion 30
        versionCode flutterVersionCode.toInteger()
        versionName flutterVersionName
    }
再度ビルドすると無事アプリが起動しました。
右下のボタンをクリックし、Dynamodbを確認するとデータが登録されていることが確認できました。
公式の手順だけだと足りないようなので、もう少し記載があるとうれしいなー。
