ASKを使ってAlexaスキルを作ってみる
以前、趣味でAlexaスキルを作ってみたものの時間を開けて作ってみようとすると、必要な手順やらなどなど色々忘れてしまいがちなので、ここにまとめておこうと思います。
ASK CLIの利用
Alexaスキルを作る方法はいくつかありますが、コンソール上で開発するとコード管理が面倒なのと、スキルとLambda、関連付けなどの作業が煩雑なので良い方法がないものかと思っていたところ、ASK CLI を使うとうまく解決できそうなので、メモしておきます。
ASK CLIのインストールは次の通り。(手順はこちらを参考に)
npm install -g ask-cli
次のコマンドで無事インストールが完了していることを確認。
ask -v
1.7.2
次に認証情報を設定します。
ask init
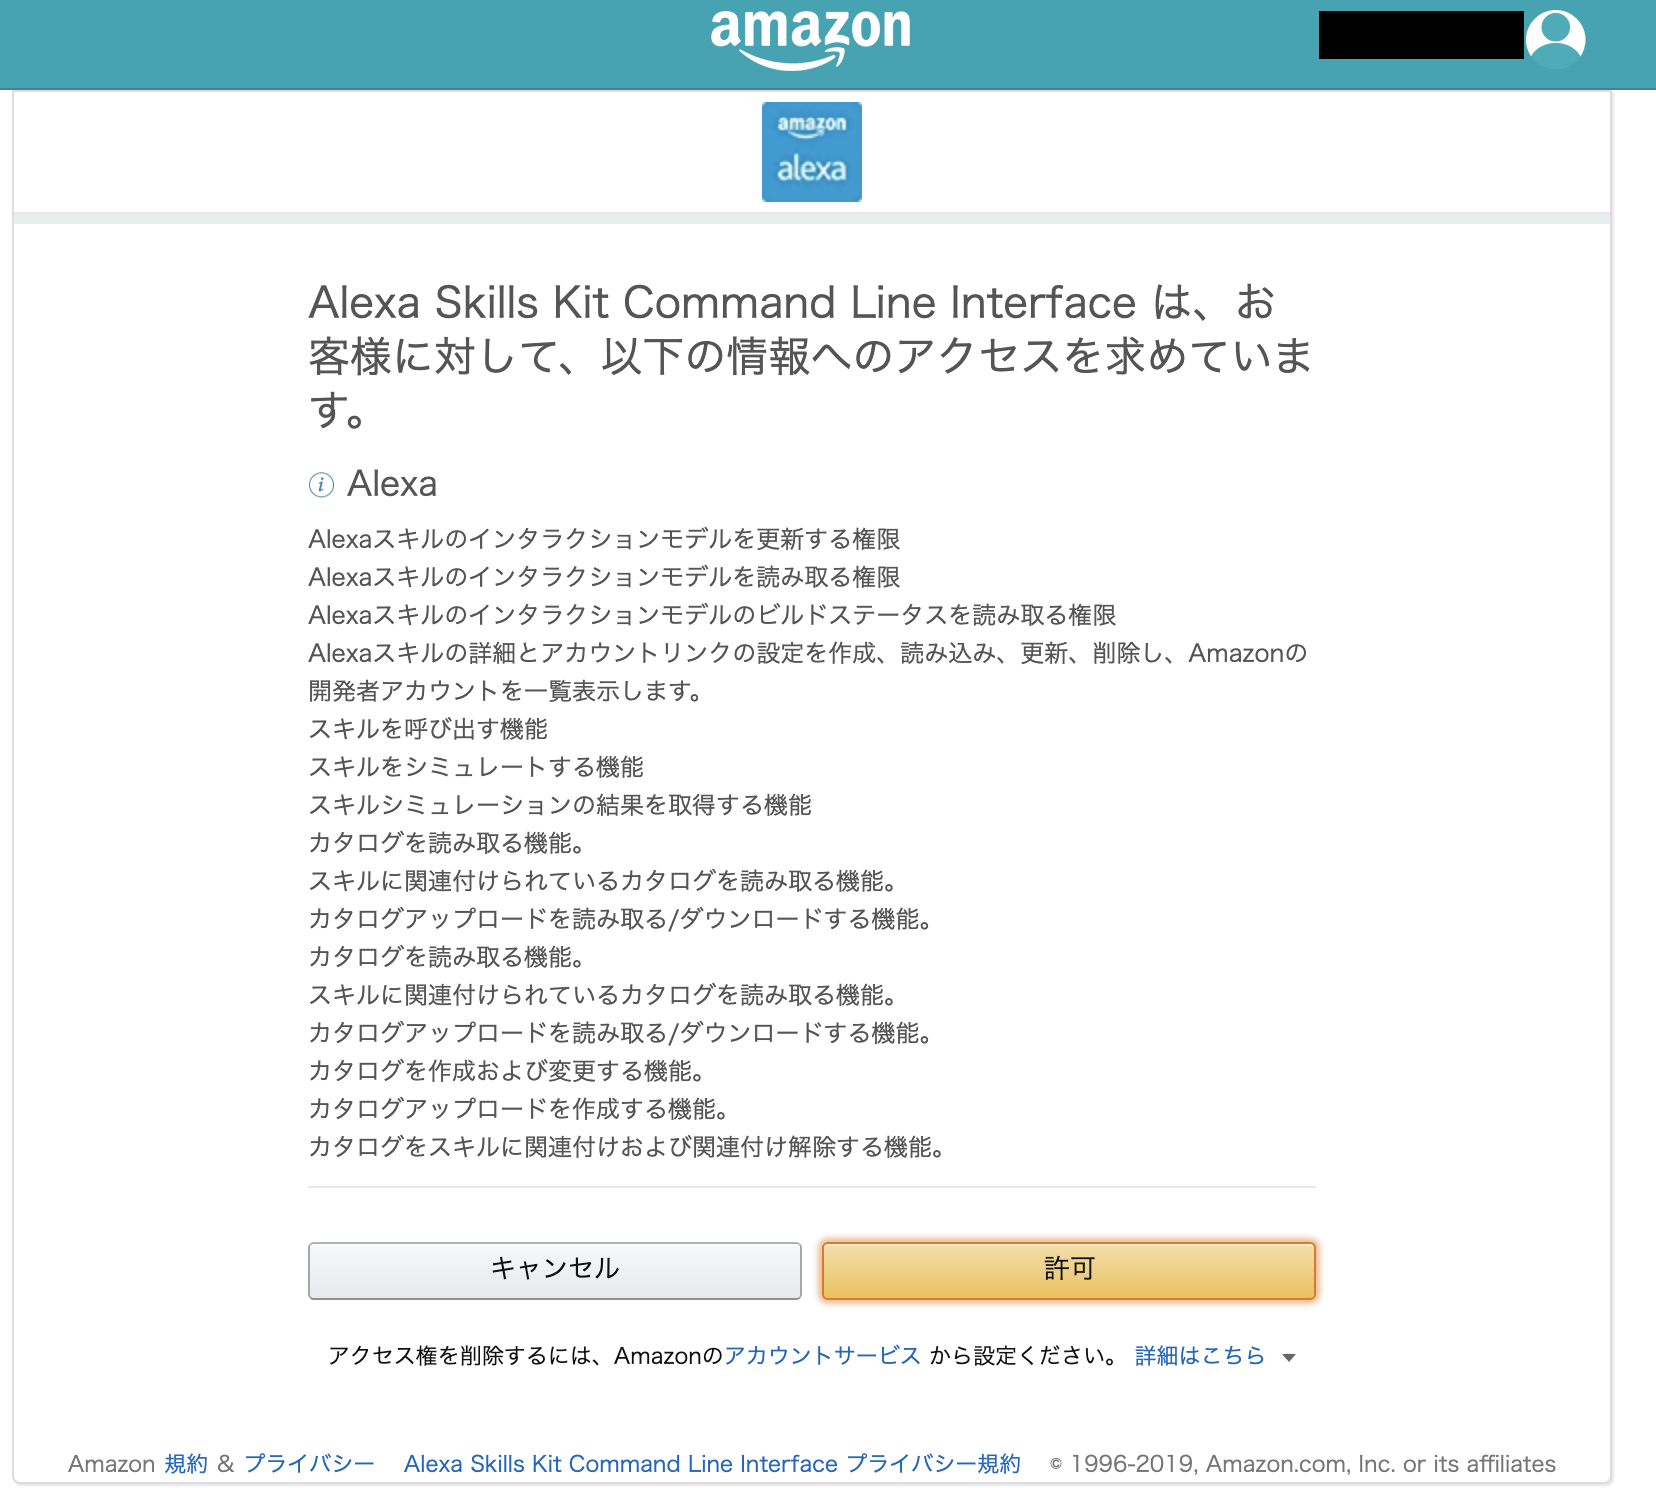
実行すると、ブラウザが起動し以下のような認証画面が表示されます。
認証することで作成するプロジェクトとAlexa Developerアカウントとの紐付けがされます。

「許可」をクリックしてターミナルに戻り、後は対話形式のコマンドに従って必要なLambdaやスキルを作成していきます。
$ ask init
This command will initialize the ASK CLI with a profile associated with your Amazon developer credentials.
------------------------- Step 1 of 2 : ASK CLI Initialization -------------------------
Switch to "Login with Amazon" page and sign-in with your Amazon developer credentials.
If your browser did not open the page, run the initialization process again with command "ask init --no-browser".
ASK Profile "xxxxx" was successfully created. The details are recorded in ask-cli config ($HOME/.ask/cli_config).
Vendor ID set as xxxxxx.

------------------------- Step 2 of 2 : Associate an AWS Profile with ASK CLI -------------------------
? If you want to host your skill's backend code in AWS Lambda (recommended), you
 must associate an AWS profile with the ASK CLI. Do you want to associate an AWS
 profile? Yes
? Please choose from the following existing AWS profiles or create a new one. de
fault
AWS profile "xxxxx" was successfully associated with your ASK profile "xxxxx".

------------------------- Initialization Complete -------------------------
Here is the summary for the profile setup:
  ASK Profile: xxxxx
  AWS Profile: xxxxx
  Vendor ID: xxxxx
プロジェクトの作成
プロジェクトを作成します。
ask new
テンプレートを使用してプロジェクトの作成が可能です。今回LambdaはPython3で作成することにします。
$ ask new
? Please select the runtime Python3
? List of templates you can choose Hello World (using Classes)
? Please type in your skill name:  skill-my-project
Skill "skill-my-project" has been created based on the chosen template
テンプレートはgitにあるものを使っているようです。CLIの選択肢とテンプレートのソースコードの在処のマッピングは以下から確認できます。
https://s3.amazonaws.com/ask-cli/templates/python3-templates.json
デプロイ
ひとまず、作成したプロジェクト(Hello Worldテンプレート)の動作を確認するためデプロイしてみます。
ask deploy
コマンドの実行が完了するとターミナルに以下のようなメッセージが出力されます。
$ ask deploy
Profile for the deployment: [default]
-------------------- Create Skill Project --------------------
Skill Id: amzn1.ask.skill.xxxxxx
Skill metadata deploy finished.
Model deployment finished.
Lambda deployment finished.
Lambda function(s) created:
  [Lambda ARN] arn:aws:lambda:ap-northeast-1:xxxxxx
[Info]: No in-skill product to be deployed.
Your skill is now deployed and enabled in the development stage. Try simulate your Alexa skill skill using "ask dialog" command.
デプロイが正常に完了したようなので結果を見てみます。
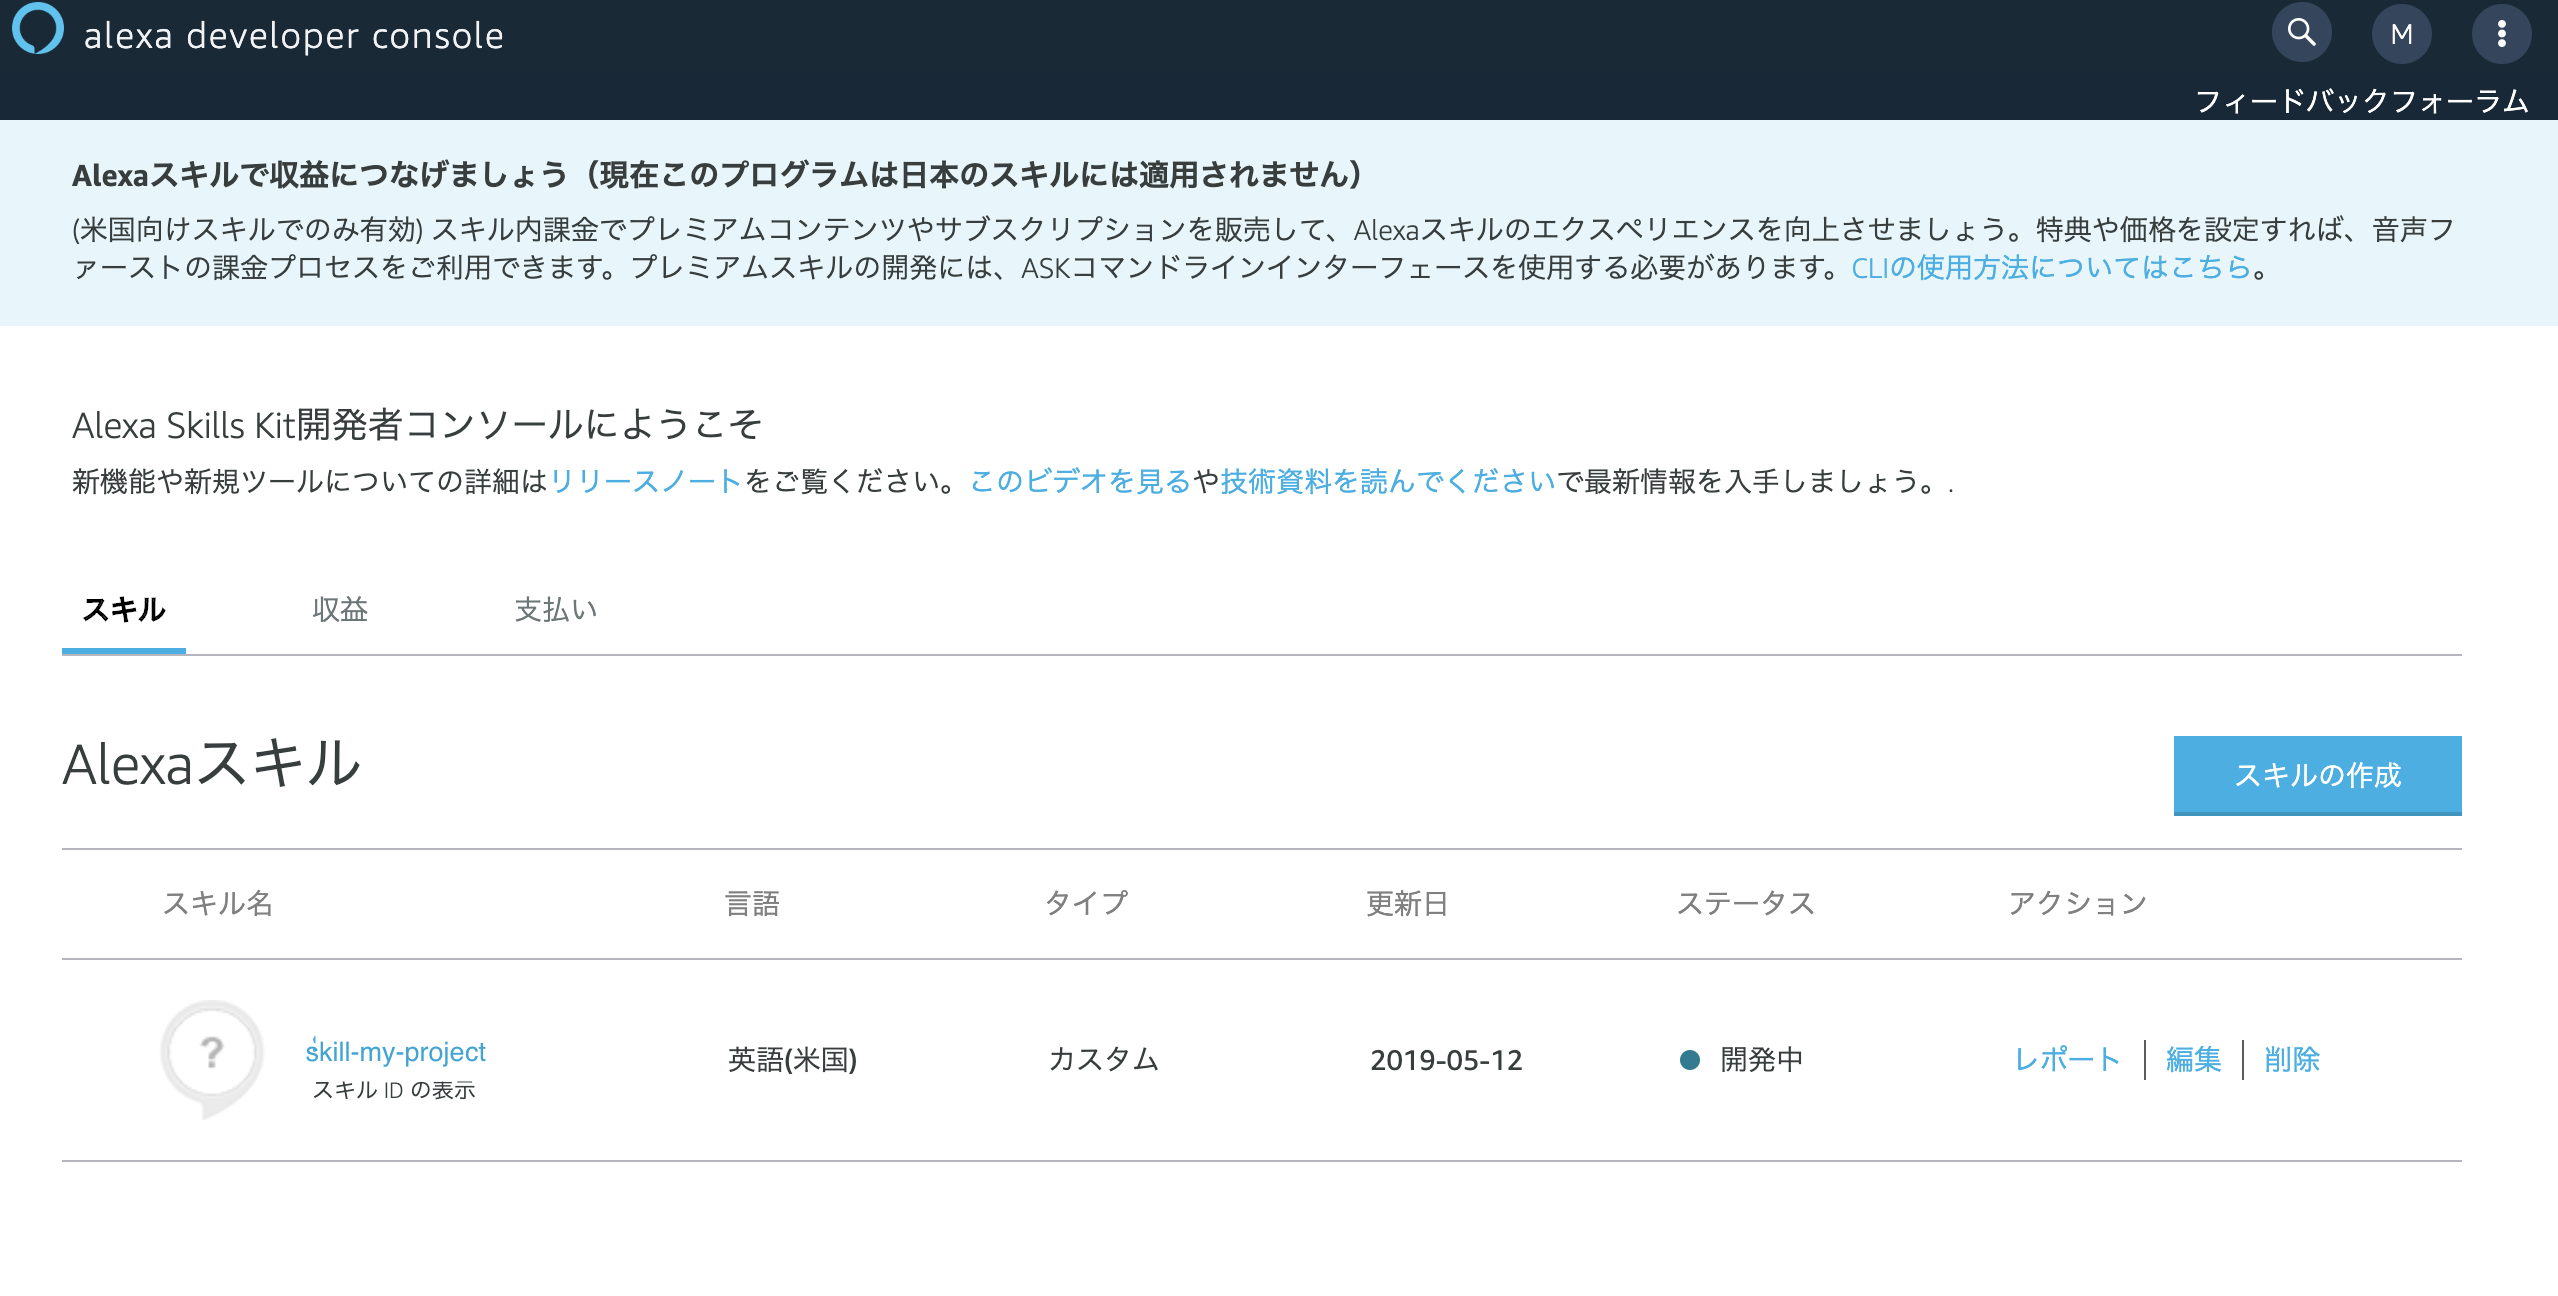
alexa developer consoleに移動して結果を見てみると、以下のとおりCLIからデプロイしたスキルが追加されていることが確認できます。
上記で作成したスキルは言語が「英語(米国)」になっているので、「日本」を追加します。(コンソールから変更できますが、せっかくなのでここでは、ローカルのコードを編集してdeployしてみたいと思います。)
(以降では、ASK Toolkit for Visual Studio Codeを使っています。補完機能がナイスなので、IDEにVS Codeをお使いの方はオススメ
https://developer.amazon.com/ja/docs/ask-toolkit/get-started-with-the-ask-toolkit-for-visual-studio-code.html)
言語の変更
ask newコマンドで作成したプロジェクト直下のskill.jsonを開きます。
"locales"要素に"en-US"を"ja-JP"に変更します。(ついでにその他の要素も日本語に)
{
  "manifest": {
    "publishingInformation": {
      "locales": {
        "ja-JP": {
          "summary": "ASKを使ったサンプル",
          "examplePhrases": [
            "アレクサ、ハローワールドひらいて",
            "はろー",
            "こんにちは"
          ],
          "name": "skill-mk-secret-word",
          "description": "ASKを使ったサンプルです。"
        },
...略...
次に、日本語のモデルを追加します。"models"フォルダ下の"en-US.json"をコピーしてファイル名を"ja-JP.json"とします。
以下のコマンドを実行してモデルを追加します。
ask api update-model -f models/ja-JP.json -l ja-JP -s amzn1.ask.skill.xxxx
(実行時に以下のようなエラーメッセージが出る場合は、"intents"からAMAZON.FallbackIntentを削除して再度実行してみてください。)
"InvalidIntentName: Intent name \"AMAZON.FallbackIntent\" contains invalid characters. Intent names must begin with an alphabetic character and may only contain alphabets, periods, and underscores."
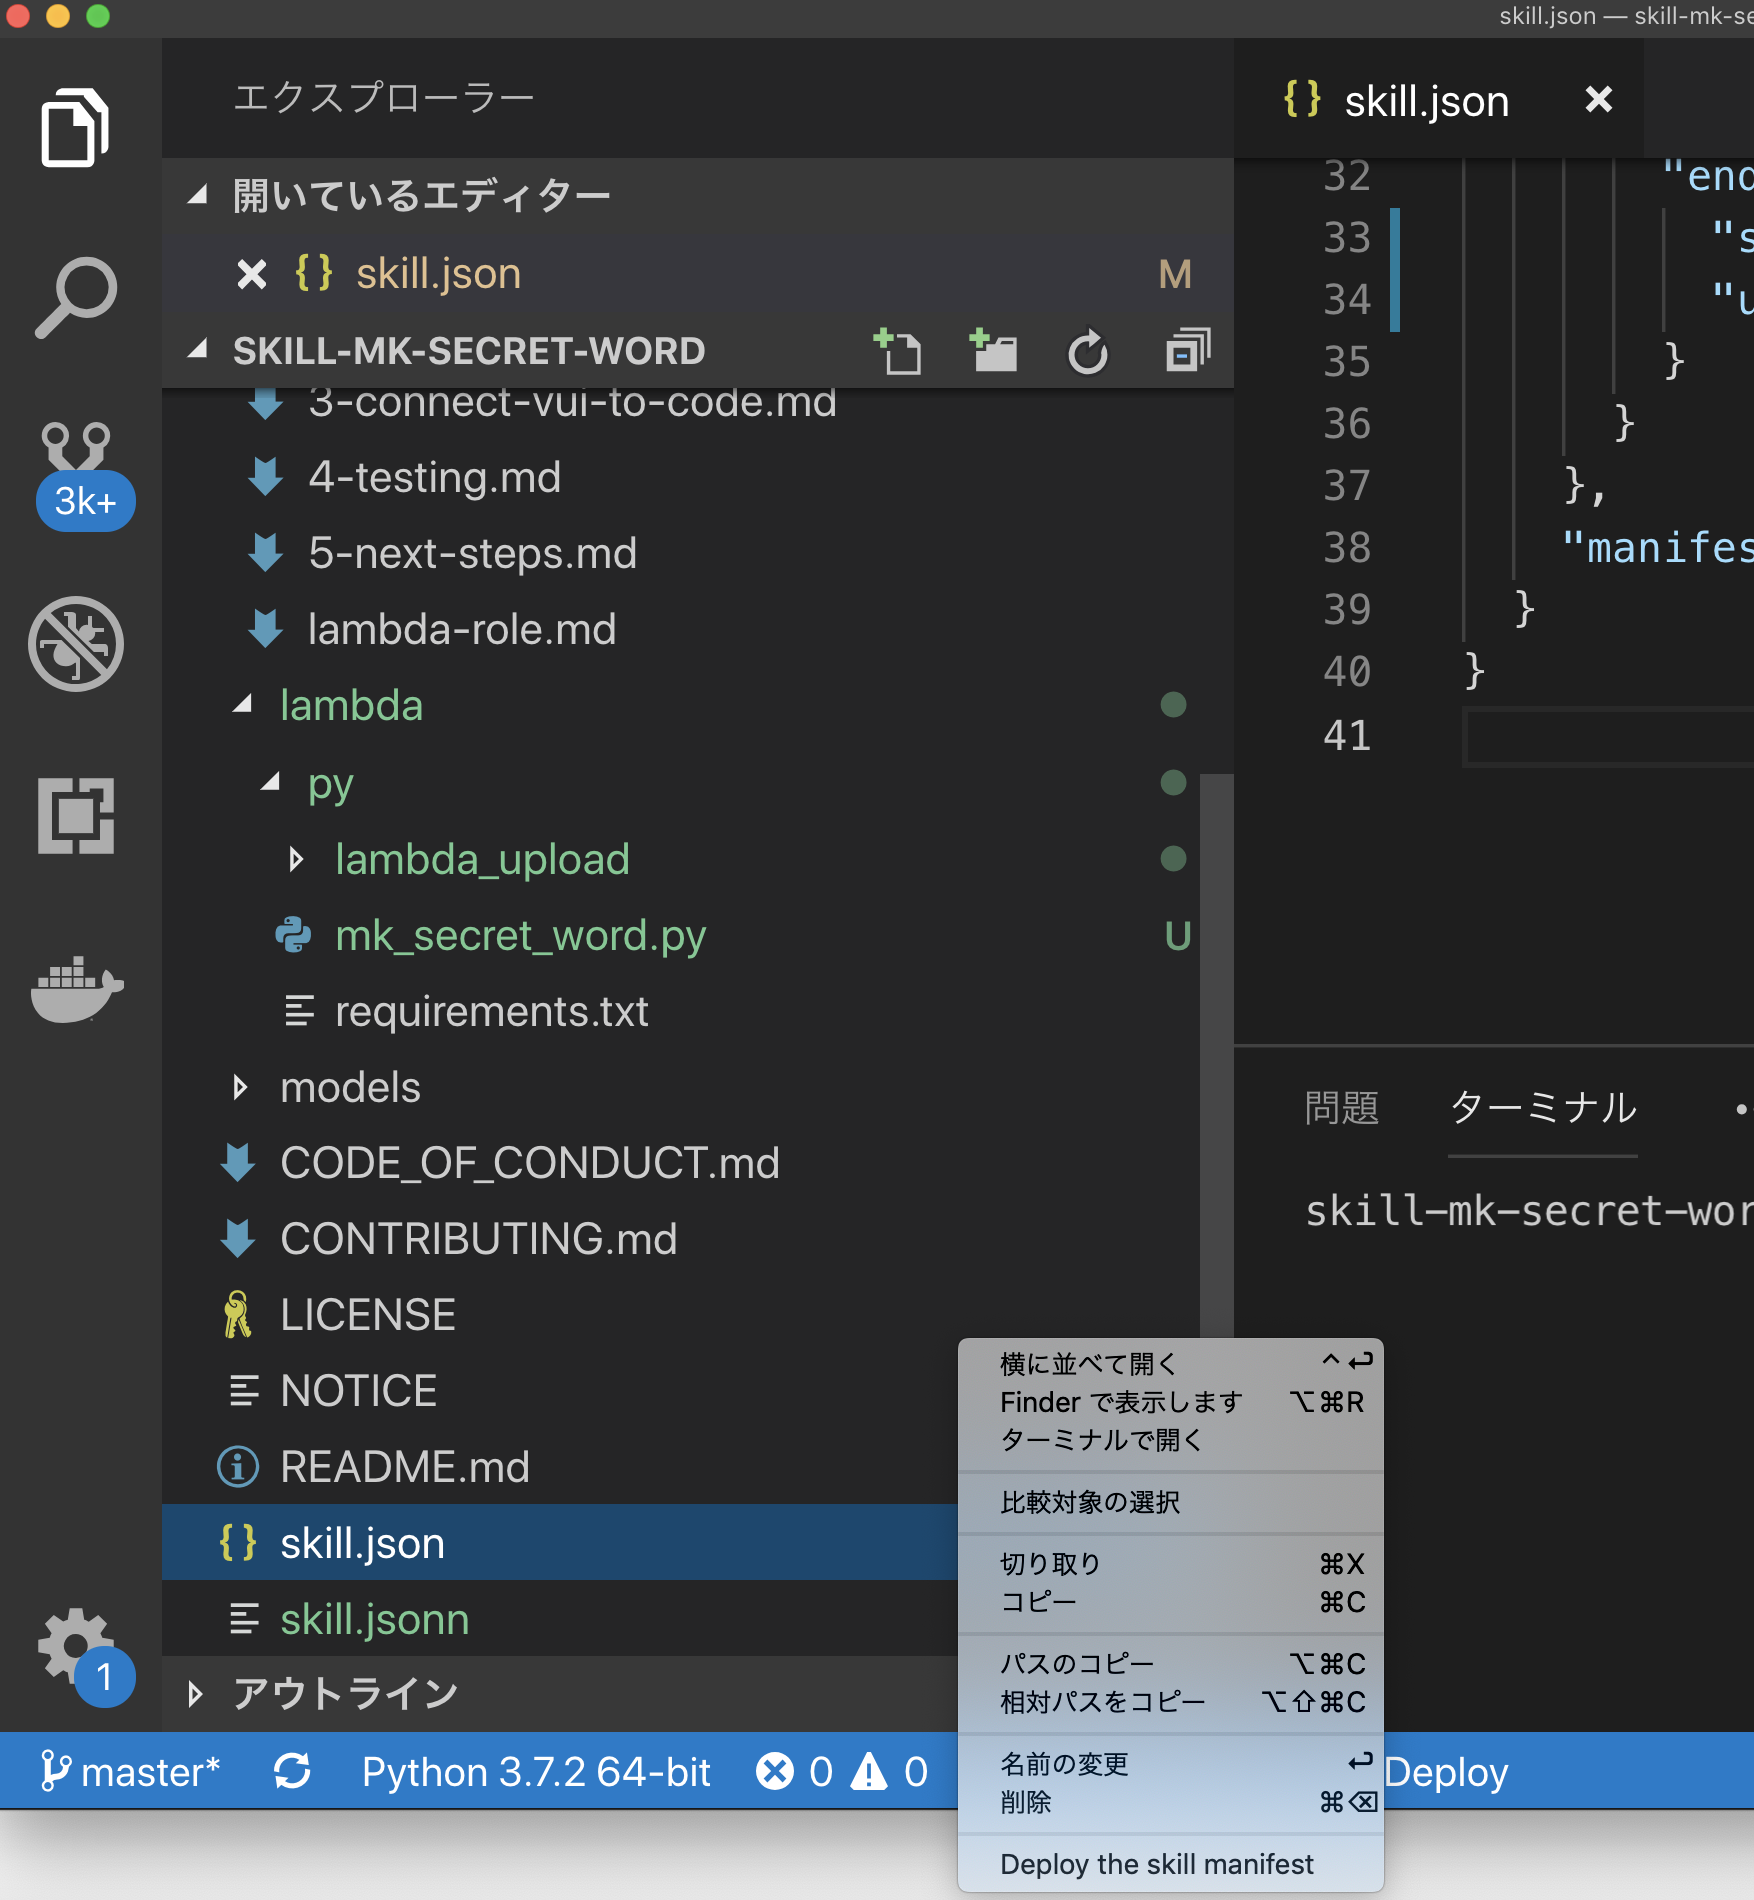
編集後、VS Code上で"skill.json"を選択し、"Deploy the skill manifest"を選択します。(VSCodeでターミナルを表示している場合は、skill.jsonファイルがある場所に移動しておく必要あり。)

AWS Profileの選択ダイアログが表示されるので所望のProfileを選択するとask deploy --target "skill"コマンドが実行されます。もちろん、ターミナルから直接コマンドを実行しても良いです。(モデルやLambdaをデプロイしたい場合は、同じ階層にある"models"、"lambda"フォルダを選択すると同様な操作で実行が可能です。)
alexa developer consoleに移動すると、スキルの言語が「日本語(日本)」となっていることが確認できます。
動作確認
次に動作を確認します。developor consoleからも確認できますが、ここでは折角なので、ask dialogを使って確認してみます。
$ ask dialog -l ja-JP
  User  >  greeter
  Alexa >  Welcome to the Alexa Skills Kit, you can say hello!
"User >"に発話を入力すると、"Alexa >"にテキストで応答が返ってきます。
ここまでで、テンプレートのデプロイと動作確認までできました。後は、好きに手直しして自分のスキルを作っていきます。
ASK CLIのコマンド仕様は以下を参照してください。
https://developer.amazon.com/ja/docs/smapi/ask-cli-command-reference.html#init-command
まとめ
ASK CLIを利用することで、ローカルのIDEを使って簡単に開発できますし、Alexaスキル、Lambdaが容易にコード化できるので、便利ですね。

