今回は、Amplify-CLIを利用したWebアプリのホスティングを紹介します。(自身の備忘録として。)
手順は公式を参考に。
Amplify
アプリ作成の前にAmplifyの簡単なご紹介を。Amplifyは、WebやiOS、Androidといったフロントエンドとバックエンドの両方のアプリケーションリリースプロセスを自動化してくれるAWSのサービスです。Webのコンソールから設定するAmplify ConsoleとCLIがありますが、今回はCLIのご紹介を。
事前準備
amplify-cliのインストールと設定
npm install -g @aws-amplify/cli
amplify configure
create-react-appのインストール
npm install -g create-react-app
プロジェクト作成
Reactプロジェクトの作成
create-react-app my-project
amplifyの初期設定
cd my-project
amplify init
amplify-cliがインタラクティブに設定情報を聞いてくるので、回答していきます。
例えば以下のような感じ(基本的には、"return"だけでOK)
? Enter a name for the project my-project
? Enter a name for the environment dev
? Choose your default editor: Visual Studio Code
? Choose the type of app that you're building javascript
Please tell us about your project
? What javascript framework are you using react
? Source Directory Path:  src
? Distribution Directory Path: build
? Build Command:  npm run-script build
? Start Command: npm run-script start
Using default provider  awscloudformation

For more information on AWS Profiles, see:
https://docs.aws.amazon.com/cli/latest/userguide/cli-multiple-profiles.html

? Do you want to use an AWS profile? Yes
? Please choose the profile you want to use default
ここまで答えると、以下のようなメッセージが表示され、プロジェクトの初期化が始まります。
⠹ Initializing project in the cloud...
ホスティング
ホスティング情報追加
amplify add hosting
amplify-cliがインタラクティブに設定情報を聞いてくるので、回答していきます。
今回は、SSL公開にしてみます。
? Select the environment setup: PROD (S3 with CloudFront using HTTPS)
? hosting bucket name my-project-xxxxxxx
? index doc for the website index.html
? error doc for the website index.html
アプリを公開
amplify publish
実行すると、こんな感じで確認メッセージが表示されます。
Current Environment: dev

| Category | Resource name   | Operation | Provider plugin   |
| -------- | --------------- | --------- | ----------------- |
| Hosting  | S3AndCloudFront | Create    | awscloudformation |
? Are you sure you want to continue? Yes
無事Publishが完了すると、以下のようにEndpointが表示されます。(cloudformationで色々リソース作っているみたいなので、結構時間かかります。私の環境だと大体20分くらいかな。)
frontend build command exited with code 0
✔ Uploaded files successfully.
Your app is published successfully.
https://xxxxxxx.cloudfront.net
早速アクセスしてみます。
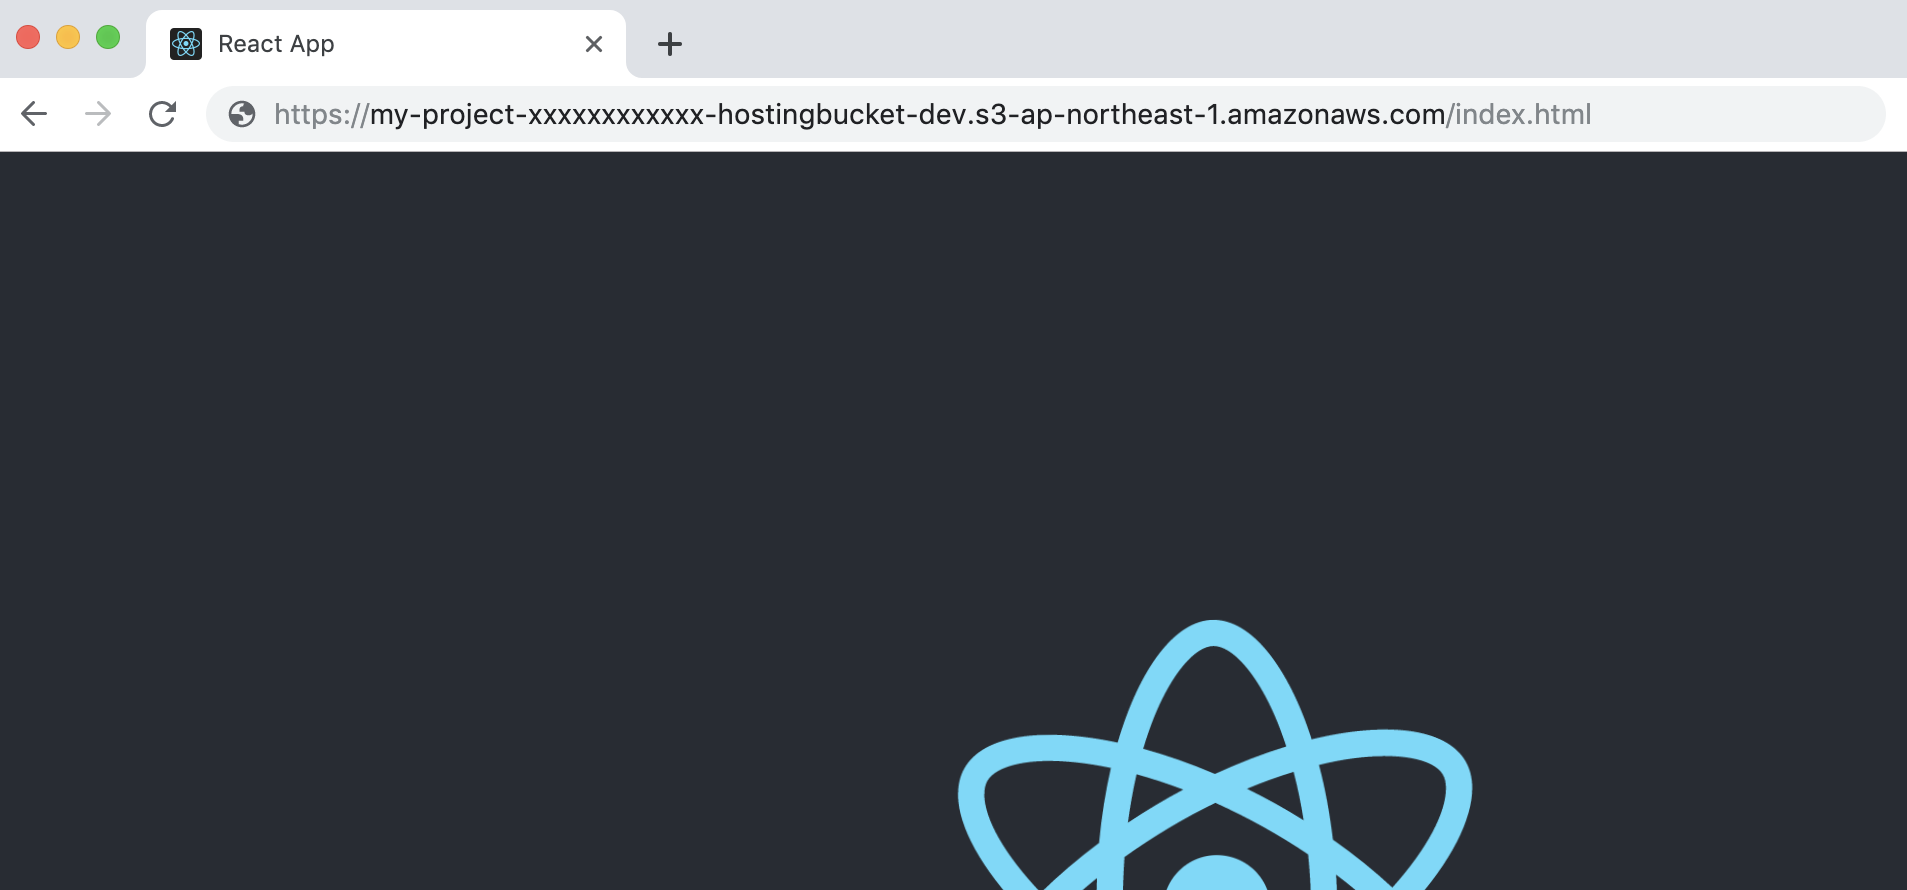
あれれ??なんか期待しないURLにリダイレクトされてしまいます。。。このURLはS3の静的ホスティングのURLのようなので、S3の設定を確認してみます。
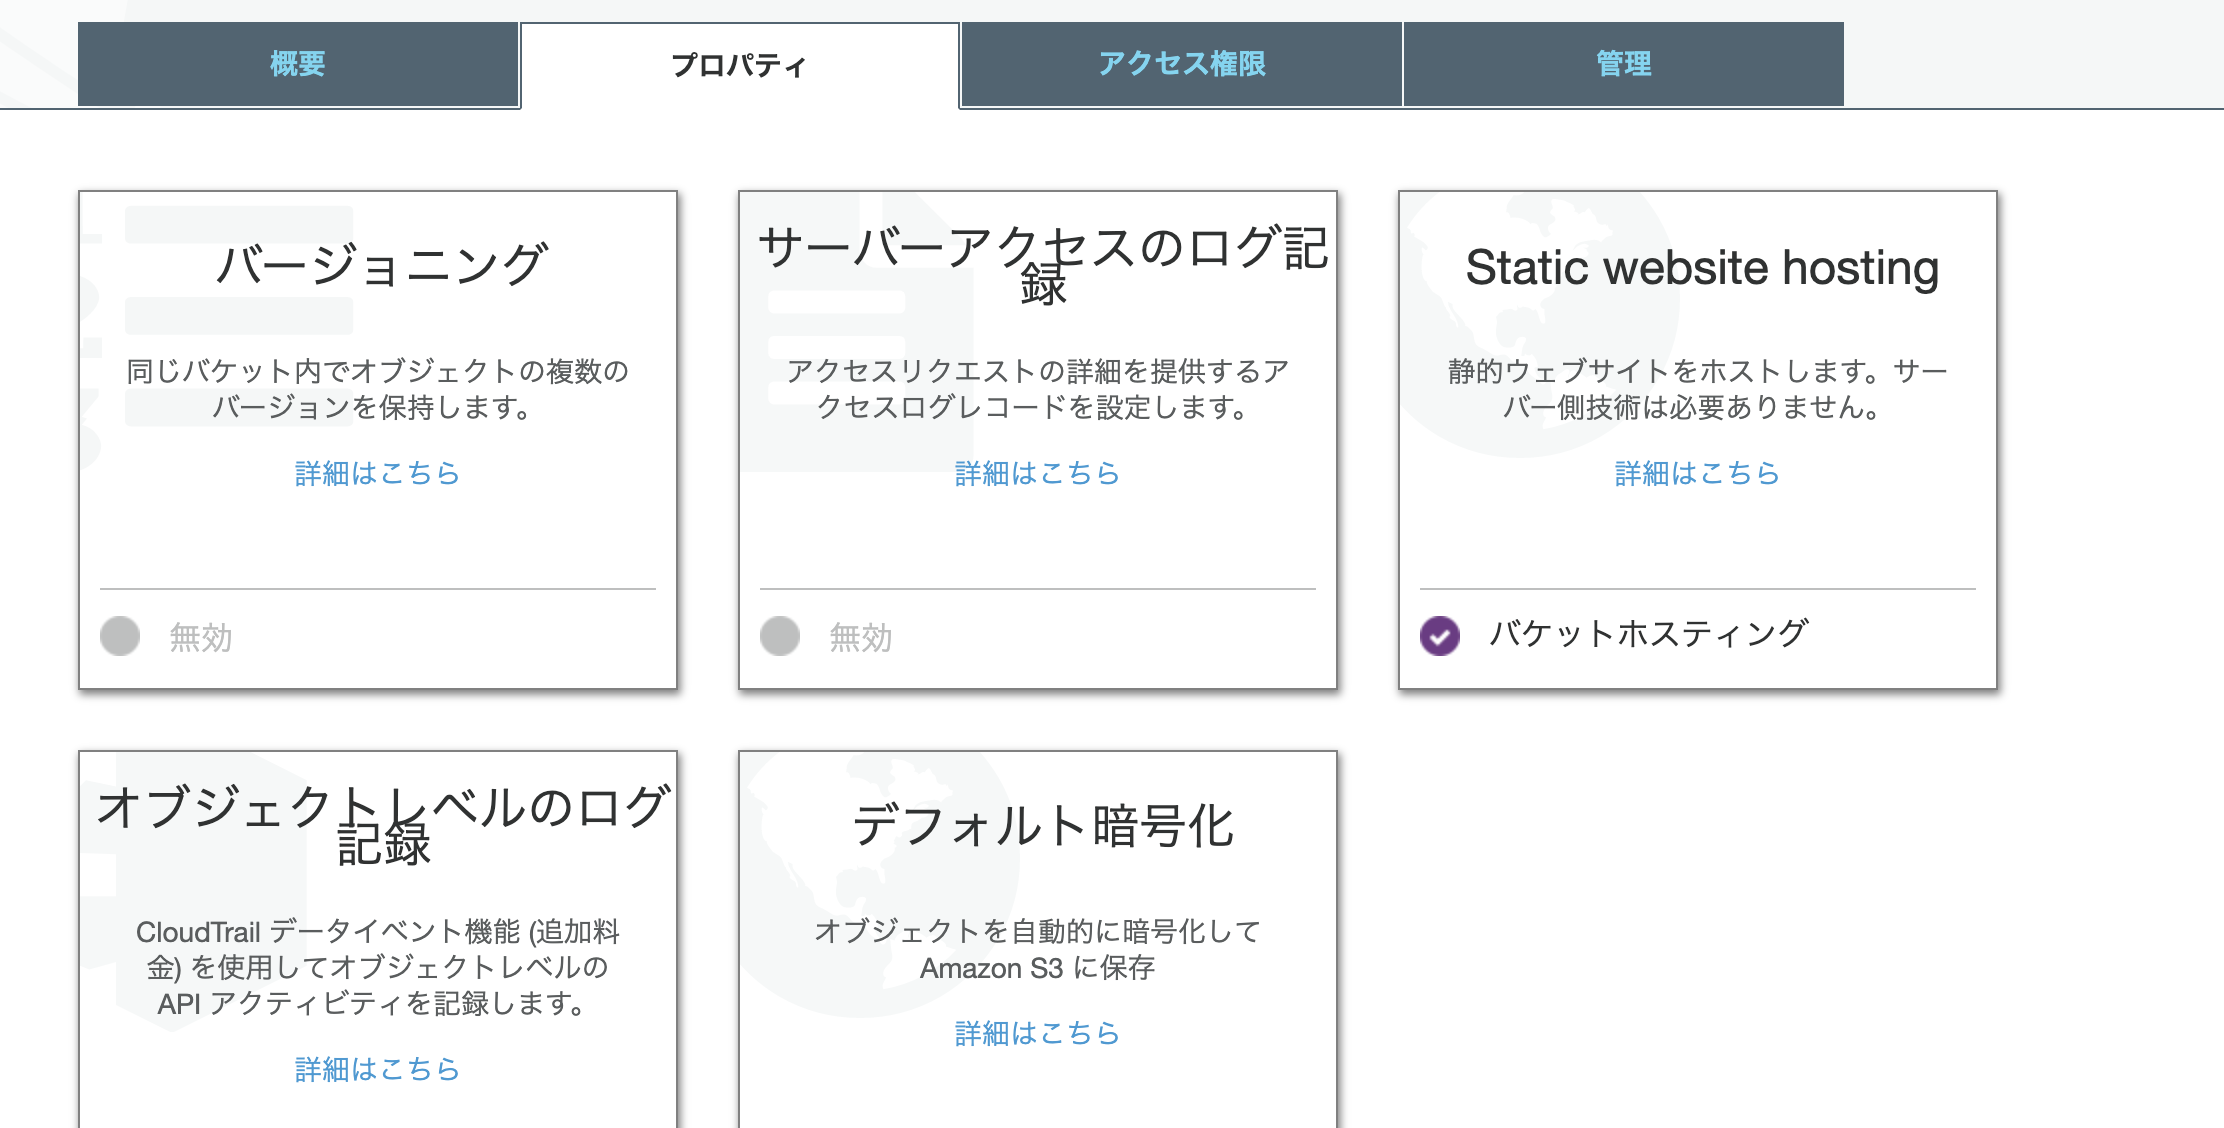
確かに、Static website hostingの設定が有効になっています。
このままでも動作はしますが、これだとS3のバケット名を知っている人はだれでも、非SSLでアクセスできてしまいセキュリティ上よろしくありません。また、CloudFront + WAFでIP制限とかをかけていきたいのでこの設定は無効にしておき、CloudFrontからの接続のみを許可するようにします。
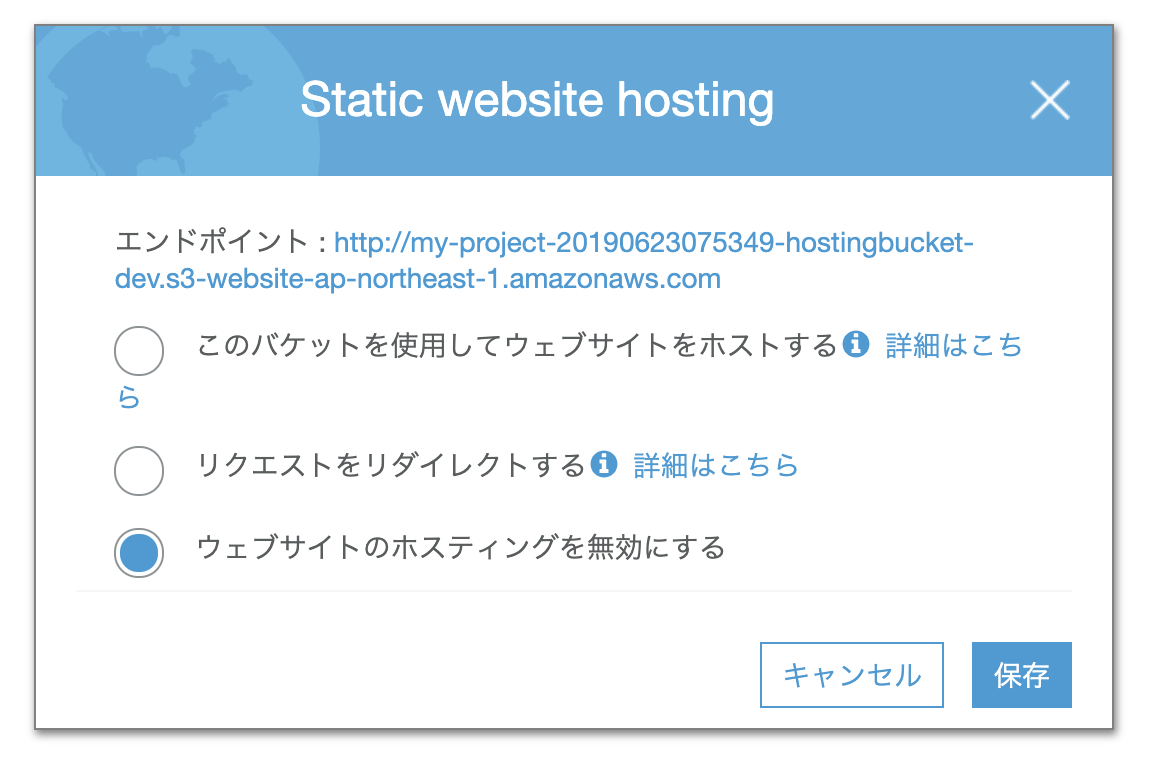
設定はウェブホスティングを無効にするだけです。
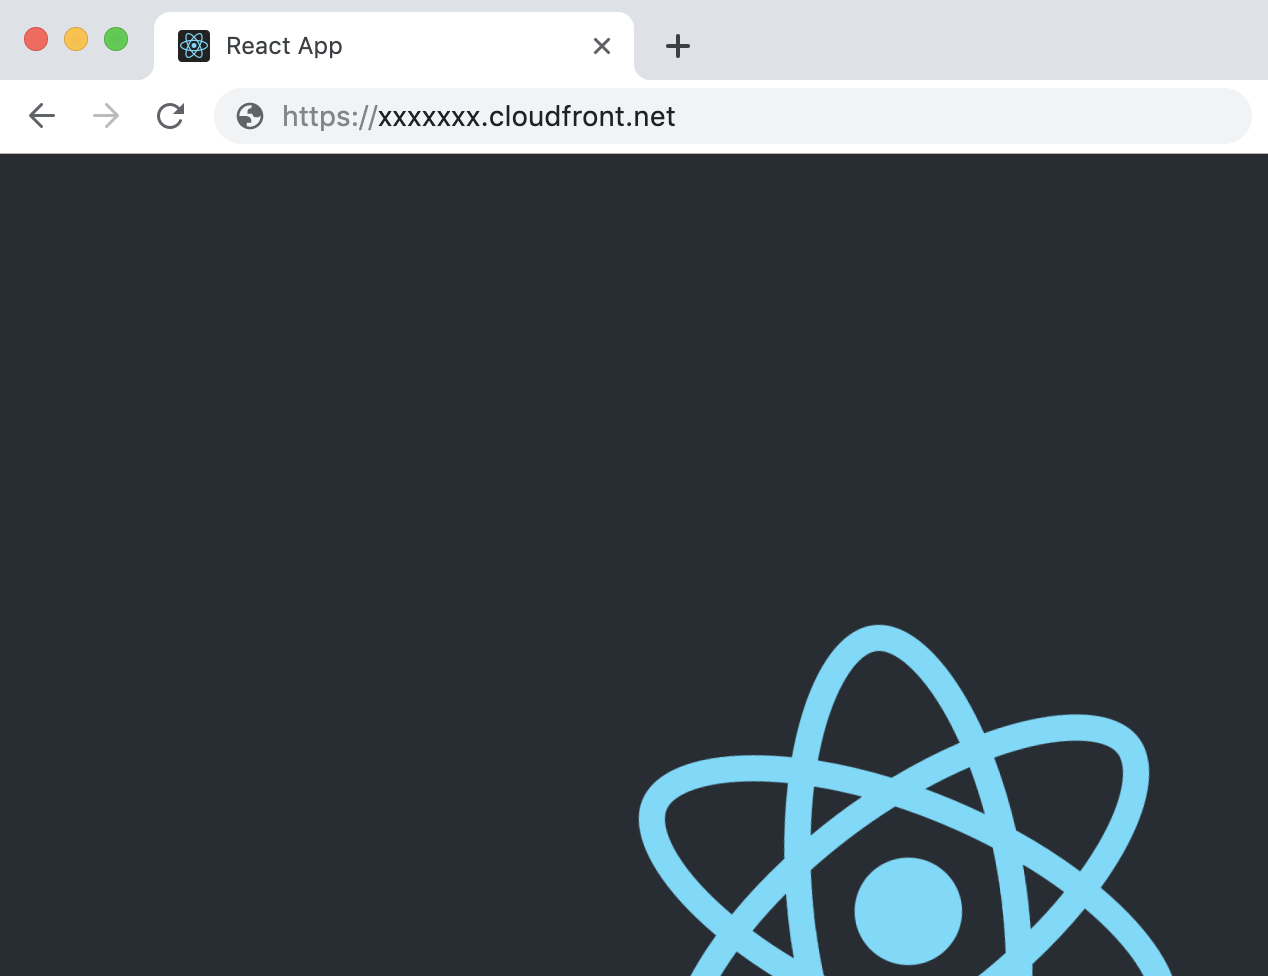
設定変更後、無事CloudFrontのEndpointからのみアクセスできるようになりました。
補足:静的ホスティング設定を無効にした後も、静的ホスティングのURLにリダイレクトされる場合はCloudFrontのキャッシュが効いている可能性があります。
amplify publish --invalidateCloudFrontを実行、またはCloudFront DistributionsのInvalidationを作成して、キャッシュをクリアしてみてください。(反映までに時間がかかる(20分くらい?)ので、気長に待ちましょう)
その他
amplify add hostingするとエラーページやTTLの設定なども良しなにしてくれますが、以下のコマンドでそれらを変更することもできます。
詳しくはこちらを参照。
amplify hosting configure

> Website
  CloudFront
  Publish
"Website" オプション
静的ホスティング用のS3バケットの設定。indexページとerrorページのファイル名を変更可能。初期値はどちらもindex.html
"CloudFront" オプション
CloudFront(CDN)の設定。キャッシュ動作のTTL(Time To Live)を変更可能。またエラーレスポンスをカスタマイズできる。
"Publish" オプション
publish対象外のファイルパターンを指定可能。(例えば、.gitignoreファイルなど)。このオプションで指定した名前にマッチしたパターンのディレクトリやファイルを配信対象から除外することができる。
まとめ
amplify-cliを使うと、たった4ステップ(+ひと手間)だけで簡単にWebアプリをホスティングできてしまいます。超絶簡単ですね。
- create-react-app "project name"
- amplify init
- amplify add hosting
- amplify publish (+ S3設定)