はじめに
ローグライクゲームを開発した時、バグを再現するのが大変だったので「自動でリプレイをしてバグを再現できないか?」と考えた。
バグを再現する材料の一つとして**「入力情報の記録」**が必要だと思い、InputSystemのドキュメントを調べたところ、InputEventTrace なるAPIを見つけました。
この記事では、InputEventTrace の使い方について解説します。
InputEventTraceは何ができる?
まず最初に、InputEventTrace を使用すると何ができるかを簡単に見ていきます。
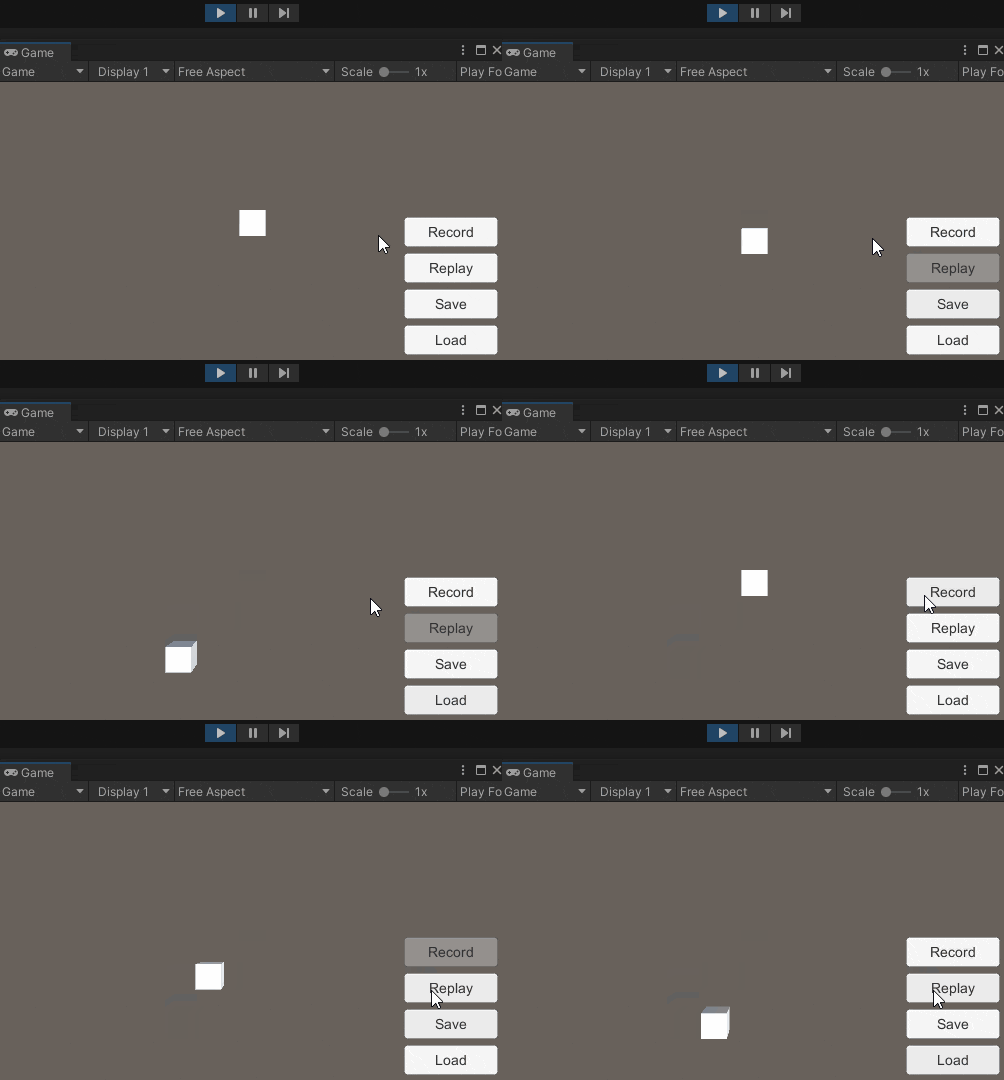
例1.入力をRecord(記録) → Replay(再生)
手動での入力を記録して再生する例。
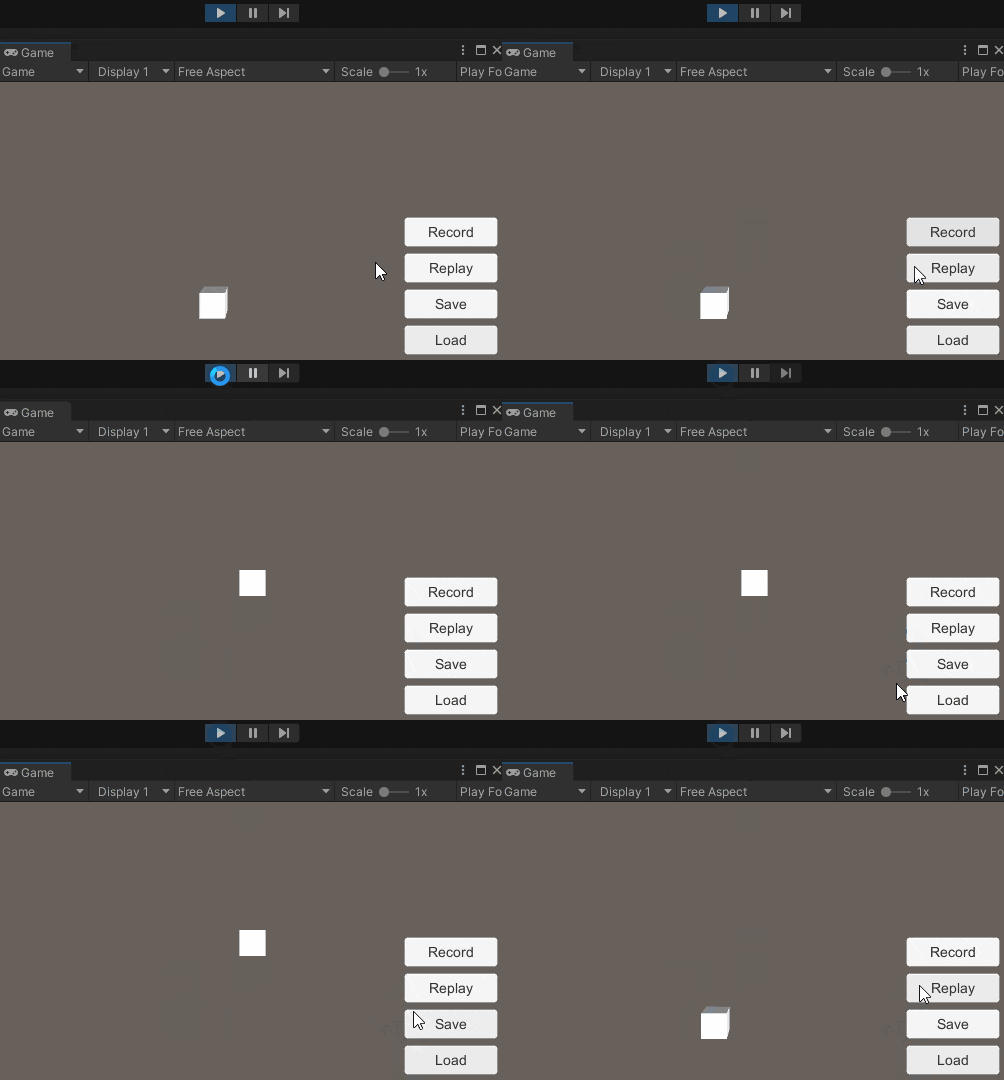
例2.記録をSave(セーブ) → Load(ロード) → Replay(再生)
例1での入力をセーブ&ロードして再生する例。
コード全体
今回書いたコードの全体です。(詳しい解説は後ほど)
using UnityEngine;
using UnityEngine.UI;
using UnityEngine.InputSystem;
using UnityEngine.InputSystem.LowLevel;
using System.IO;

public class InputRecording : MonoBehaviour {

	[SerializeField]
	Transform m_Player;

	[SerializeField]
	Button m_RecordButton;

	[SerializeField]
	Button m_ReplayButton;

	[SerializeField]
	Button m_SaveButton;

	[SerializeField]
	Button m_LoadButton;

	[SerializeField]
	string m_FileName = "recording";

	InputEventTrace m_Trace;
	PlayerInputActions m_PlayerInputActions;
	InputAction m_MoveInput;

	void Awake () {
		// InputActionの初期化(PlayerInputActionsは別のファイルで定義されています)
		m_PlayerInputActions = new PlayerInputActions();
		m_PlayerInputActions.Enable();
		m_MoveInput = m_PlayerInputActions.Player.Move;

		// InputEventTraceの初期化
		m_Trace = new InputEventTrace(Keyboard.current);
		m_Trace.onEvent += ev => Debug.Log(ev.ToString());

		// UIへのイベント登録
		m_RecordButton.onClick.AddListener(ToggleRecording);
		m_ReplayButton.onClick.AddListener(Replay);
		m_SaveButton.onClick.AddListener(Save);
		m_LoadButton.onClick.AddListener(Load);
	}

	void OnDestroy () {
		m_PlayerInputActions.Dispose();

		// InputEventTraceを使った後は必ず解放する必要がある。
		m_Trace.Dispose();
	}

	void Update () {
		// 入力に従って、プレイヤーを移動させる
		var input = m_MoveInput.ReadValue<Vector2>();
		var movement = new Vector3(input.x,0f,input.y) * 4f * Time.deltaTime;
		m_Player.Translate(movement,Space.Self);
	}

	void ToggleRecording () {
		if (m_Trace.enabled) {
			// 入力の記録を停止
			m_Trace.Disable();
		} else {
			// 既存の入力記録を削除してから、入力の記録を開始
			m_Trace.Clear();
			m_Trace.Enable();
		}

		m_Player.position = Vector3.zero;
		m_ReplayButton.interactable = !m_Trace.enabled;

		Debug.Log(m_Trace.enabled ? "Start Recording" : "Stop Recording");
	}

	void Replay () {
		m_Player.position = Vector3.zero;
		m_RecordButton.interactable = false;

		// 入力記録を再生する
		m_Trace.Replay() // ReplayControllerを取得する(※これだけ呼んでも再生されない)
			.OnFinished(() => m_RecordButton.interactable = true) // 記録の再生が終わった時のコールバック
			.PlayAllEventsAccordingToTimestamps(); // 入力されたタイミングも含めて再現

		Debug.Log("Replay");
	}

	void Save () {
		string filePath = GetFilePath();
		string directoryPath = Path.GetDirectoryName(filePath);
		if (!Directory.Exists(directoryPath)) {
			Directory.CreateDirectory(directoryPath);
		}

		// 入力記録を指定したファイルにセーブする
		m_Trace.WriteTo(filePath);
		Debug.Log("Save to " + filePath);
	}

	void Load () {
		string filePath = GetFilePath();
		if (!File.Exists(filePath)) {
			throw new FileNotFoundException();
		}

		// 入力記録を指定したファイルからロードする
		m_Trace.ReadFrom(filePath);
		Debug.Log("Load from " + filePath);
	}

	string GetFilePath () => Path.Combine(Path.GetDirectoryName(Application.dataPath),"InputRecordings",m_FileName + ".txt");

}
使い方(コード解説)
1. InputEventTrace を生成
m_Trace = new InputEventTrace(Keyboard.current);
引数には Keyboard.current を指定したので、キーボードの入力のみを記録します。
何も指定しない場合、すべてのデバイスからの入力が記録されます。
2. 入力の記録を開始・停止する
Enable / Disable 関数で、入力記録の状態を切り替えます。
今回は記録開始前に既存の記録を削除したかったので、 Enable 前に Clear を呼んでいます。
if (m_Trace.enabled) {
	// 入力の記録を停止
	m_Trace.Disable();
} else {
	// 既存の入力記録を削除してから、入力の記録を開始
	m_Trace.Clear();
	m_Trace.Enable();
}
3. 入力記録を再生する
InputEventTrace.Replay 関数で ReplayController を取得できます。
※Replayを呼ぶだけでは再生されないことに注意
// 入力記録を再生する
m_Trace.Replay() // ReplayControllerを取得する(※これだけ呼んでも再生されない)
	.OnFinished(() => m_RecordButton.interactable = true) // 記録の再生が終わった時のコールバック
	.PlayAllEventsAccordingToTimestamps(); // 入力されたタイミングも含めて再現
ReplayController には PlayAllEventsAccordingToTimestamps 以外にも再生に関する関数があるので、自分がやりたいことに適したものを使用します。
InputEventTrace.ReplayController | InputSystem
4. 入力記録をセーブ・ロードする
WriteTo / ReadFrom 関数を使用することで、入力記録を指定したファイルに読み書きできます。
void Save () {
	// ...

	// 入力記録を指定したファイルにセーブする
	m_Trace.WriteTo(filePath);
	Debug.Log("Save to " + filePath);
}

void Load () {
	// ...

	// 入力記録を指定したファイルからロードする
	m_Trace.ReadFrom(filePath);
	Debug.Log("Load from " + filePath);
}
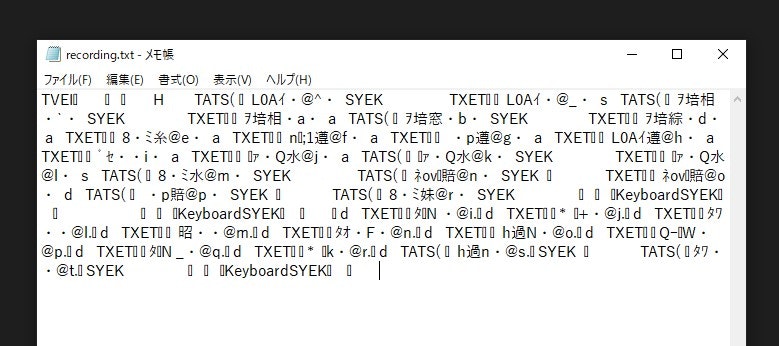
WriteTo 関数では、以下のような文字列が書き出されます。
おわりに
以下が使用したリポジトリです。
ついでに、自動QAについて調べているときに見つけた面白い記事も紹介しておきます。
- 『龍が如く』シリーズはなぜ業界異例の“爆速リリース体制”を実現できる? 全自動バグ取りシステムを開発するQAエンジニアに聞く
- 『FFVII リメイク』は自動デバッグで、休日、夜間問わず、毎日数百回も通しプレイ中。ゲームのバグを自動で検知するシステムを開発【CEDEC 2020】
InputEventTraceのソースコード


