はじめに
以前書いた記事でプリザンターのメール設定手順を調べていた時に、2段階認証ができるという事を知り試してみました。
環境
OS:Windows 11 Pro
DB:SQL Server 2019
プリザンター:1.4.6.4
プリザンターの格納場所は公式の通りです。
C:\web\pleasanter\
前提条件
プリザンターからメールを送信できるように設定する必要があります。
詳細は以前書いた記事を参照ください。
おおまかな手順
基本的にjsonファイルを編集するだけです。
設定内容
- Mail.jsonの"SupportFrom"にメールアドレスを設定する
- Security.jsonのModeをNoneからDefaultEnableに変更する
jsonファイルの格納先は以下の通りです。
C:\web\pleasanter\Implem.Pleasanter\App_Data\Parameters
1. Mail.jsonの変更
Mail.jsonの"SupportFrom"にメールアドレスを設定します。
Mail.json
{
    "SmtpHost": "メールアドレス",
    "SmtpPort": 587,
    "SmtpUserName": "メールアドレス",
    "SmtpPassword": "パスワード",
    "SmtpEnableSsl": true,
    "ServerCertificateValidationCallback": false,
    "SecureSocketOptions": null,
    "FixedFrom": null,
    "AllowedFrom": null,
    "SupportFrom": "\"Pleasanter.org\" <メールアドレス>",
    "InternalDomains": "",
    "Encoding": null,
    "ContentEncoding": null
}
Security.jsonの変更
Security.jsonのModeをNoneからDefaultEnableに変更します。
修正前
Security.json
"SecondaryAuthentication": {
    "Mode": "None",
    "NotificationType": "Mail",
    "CountTolerances": 1,
    "NotificationMailBcc": false,
    "AuthenticationCodeCharacterType": "Number",
    "AuthenticationCodeLength": 8,
    "AuthenticationCodeExpirationPeriod": 300
}
修正後
Security.json
"SecondaryAuthentication": {
    "Mode": "DefaultEnable",
    "NotificationType": "Mail",
    "CountTolerances": 1,
    "NotificationMailBcc": false,
    "AuthenticationCodeCharacterType": "Number",
    "AuthenticationCodeLength": 8,
    "AuthenticationCodeExpirationPeriod": 300
}
設定後はIISの再起動が必要となります。
実際に試してみる
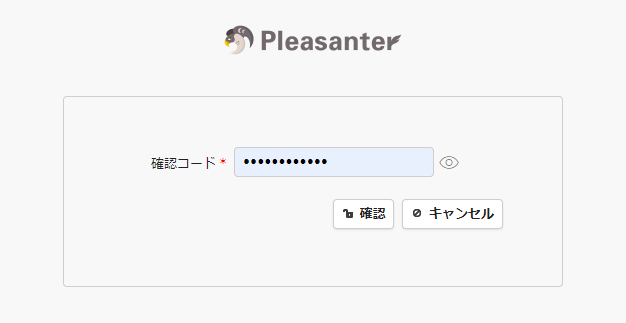
再起動後、ログインすると、確認コードを求められます。
設定したメールアドレスに確認コードが届いているのが確認できます。
mail.txt
Pleasanterの確認コードには、次のコードをお使いください。
確認コード: 99999999
Pleasanterのご利用ありがとうございます。
確認コードをコピペで貼り付けてログインできれば成功です。
感想
jsonの設定だけで2段階認証が利用できるので是非活用したい。