勉強会用の資料です.
今回の記事ではフロント側の環境構築をしていきます.
フロントはvue-cliを用いて開発を進めます.
また,デザインや動作をかっこよくするため,vuetifyを使用します.
開発にはnodeとnpmが必要です.
nodeはサーバサイドのJavaScript実行環境(要はブラウザ上ではなくコマンドライン上からjsを使えるようにするためのもの)です.
npmはモジュール管理ツールです.(pythonでいうpipのようなものです)
macへのインストール書いてもらいました.
→ https://webreportjapan.blogspot.jp/2018/03/vuejs.html
node: v9.3.0
npm: 5.8.0
このチュートリアルから始めるかたは以下のリンクからソースコードをダウンロードするか,
tutorial2-start のタグが付いているリビジョン(8b39332)をチェックアウトしてください.
https://github.com/usa-mimi/tutorial-spa/tree/tutorial2-start
vue-cliのインストール
ソース: 8b39332 → 9a9fbb0
まずはvueを使えるようにするため,vue-cliをグローバルにinstallします.
$ npm install -g vue-cli
frontend用のプロジェクトの作成
frontend というディレクトリを作成したいので, vueへの引数には frontendを渡し,
Project name を別途設定します.
ベースは webpack にします.
最初の質問(プロジェクト名の設定)だけ tutorial-spa とし,後は全部enterで大丈夫です.
$ vue init webpack frontend
? Project name (frontend) tutorial-spa  # <-- ここだけ `tutorial-spa` と入力
? Project description A Vue.js project
? Author shimomura <shimomura@usa-mimi.jp>
? Vue build standalone
? Install vue-router? Yes
? Use ESLint to lint your code? Yes
? Pick an ESLint preset Standard
? Set up unit tests Yes
? Pick a test runner jest
? Setup e2e tests with Nightwatch? Yes
? Should we run `npm install` for you after the project has been created? (recommended) npm  # <-- ここまで入力したらinstallが始まります.

   vue-cli · Generated "frontend".


# Installing project dependencies ...


~~~~~~~ 省略 ~~~~~~~

# Project initialization finished!
# ========================

To get started:

  cd frontend
  npm run dev

Documentation can be found at https://vuejs-templates.github.io/webpack
開発サーバーの起動
- インストール完了時に,ディレクトリ移動して
npm run devを打つと開発サーバが起動します.
$ cd frontend
$ npm run dev
~~~ 省略 ~~~
DONE  Compiled successfully in 3602ms

Your application is running here: http://localhost:8080
- この状態でブラウザで
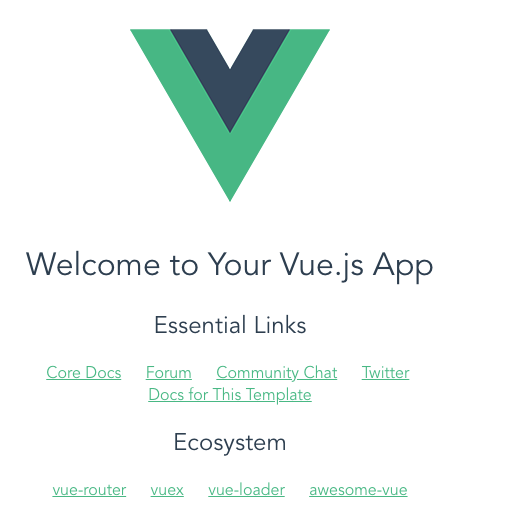
http://localhost:8080にアクセスすると初期画面が表示されます.
ディレクトリ構成
frontエンドは以下のような構成になっています.
また,topにはbabelやeslintなどの設定が隠しファイルとして存在しています.
# .babelrc, .eslintrc.js, .postcssrc.js など
├── build/  # build用スクリプト置き場
├── config/  # アプリケーションのconfig. APIのエンドポイントなどはここで設定する
├── index.html  # エントリーポイント.このhtmlファイルが最初に読み込まれる.
├── node_modules/  # インストールしたライブラリ群の置き場所
├── package.json  # 必要なライブラリ一覧.requirements.txt的なもの.
├── package-lock.json  # パッケージ管理用のファイル.npmが勝手に作成,更新する.手動で変更することはないはず.
├── src/  # ソースファイル置き場.基本この下にコードを記述していく.
├── static/  # imgやcssなどの静的ファイル置き場.webpackの対象とならない,純粋な静的ファイル.
└── test/  # テストコード置き場.
src/
├── App.vue  # VueのRootコンポーネント.index.htmlの<div id="app"></div>にバインドされる本体
├── assets/  # 静的ファイル置き場.こっちはwebpackの対象となる.
│   └── logo.png  # vueのロゴファイル.
├── components/  # コンポーネント置き場
│   └── HelloWorld.vue  # 初期コンポーネント
├── main.js  # jsのエントリーポイント.プログラムでいうmain関数.
└── router/  # router設定置き場
    └── index.js
lintの設定を修正
ソース: 9a9fbb0 → 285901b
vue-cliではデフォルトでESLintというlinterが入っています.
pythonでいうflake8のような構文チェッカーで,ルールを無視した書き方をするとエラーや警告を出します.
非常に鬱陶しい存在ですが,こいつがいるおかげでソースがきれいになり,typo等のケアレスミスが防げます.
ルールはカスタマイズできるので,自分の好みにあった設定をしましょう.
ルール一覧は公式から確認してください.
https://eslint.org/docs/rules/
本チュートリアルでは comma-dangle を always-multiline にしてみます.
これは
複数行に渡るリスト等の宣言時に,必ずカンマを付けるというものです.
a = [
  'hoge',
  'huga',  // ← ここにカンマが必要
]
ルールの変更は .eslintrc.js ファイルのrulesを変更することでできます.
.eslintrc.jsには,頭にピリオドが付いてます.これは,隠しファイルなので,Finderから,frontendディレクトリに移動して、command + shift + ピリオドをクリックしてください。隠しファイルが見えると思います。
...
  // add your custom rules here
  rules: {
    'comma-dangle': ['error', 'always-multiline'],  // --- この行追加 ---
    // allow async-await
    'generator-star-spacing': 'off',
    // allow debugger during development
    'no-debugger': process.env.NODE_ENV === 'production' ? 'error' : 'off'
  }
}
変更完了後,再度開発サーバを起動させてみましょう.
テンプレートのコードではカンマがついていない箇所があるため,エラーが発生するはずです.
$ npm run dev

> tutorial-spa@1.0.0 dev /Users/ユーザー名/tutorial-spa/frontend
> webpack-dev-server --inline --progress --config build/webpack.dev.conf.js


~~~ 省略 ~~~

Errors:
  1  http://eslint.org/docs/rules/comma-dangle


  ✘  http://eslint.org/docs/rules/comma-dangle  Missing trailing comma
  src/router/index.js:12:28
        component: HelloWorld
                              ^

  ✘  http://eslint.org/docs/rules/comma-dangle  Missing trailing comma
  src/router/index.js:13:6
      }
        ^

  ✘  http://eslint.org/docs/rules/comma-dangle  Missing trailing comma
  src/router/index.js:14:4
    ]
      ^


✘ 3 problems (3 errors, 0 warnings)


Errors:
  3  http://eslint.org/docs/rules/comma-dangle
このように構文エラーの箇所と内容が表示されます.
構文チェックから自動修正
node_modules/eslint/bin/eslint.js を直接実行することでjsファイルの構文エラーを自動修正することも可能です.
コメントで教えてもらいました.
直に叩かなくても $ npm run lint で上記の実行できます.
tpywaoさんありがとうございます m(_ _)m
コマンドの引数として対象となるディレクトリを指定します.
--fix オプションを付けるとエラー内容を自動修正します.
- 再度構文エラーの確認
$ node_modules/eslint/bin/eslint.js src  # エラーの確認
/Users/ユーザー名/tutorial-spa/frontend/src/main.js
  14:21  error  Missing trailing comma  comma-dangle

/Users/ユーザー名/tutorial-spa/frontend/src/router/index.js
  12:28  error  Missing trailing comma  comma-dangle
  13:6   error  Missing trailing comma  comma-dangle
  14:4   error  Missing trailing comma  comma-dangle
- 構文エラーの自動修復
$ node_modules/eslint/bin/eslint.js src --fix # エラーの修復
こっちでも大丈夫 →
$ npm run lint --fix
- 再度構文エラーのチェック
$ node_modules/eslint/bin/eslint.js src # もう一度確認(出力なし=エラーなし
# src などのディレクトリ指定だとvueファイルを拾ってくれないようです.
# src/*.vue src/components/*.vue などのように直に指定しましょう.
ブラウザの自動起動
ソース: 285901b → 75d6f5e
開発時には npm run dev を実行し,サーバを起動しますが,
どうせサーバを起動した後にブラウザで確認を行うので,コマンド実行後にブラウザを開くようにしてみましょう.
この設定は frontend/config/index.js 内にあります.
ここの18行目にある autoOpenBrowser を false から true に変更するとコマンド実行時にブラウザが起動するようになります.
デフォルトのポート番号(8080)を変更したい場合もここで変更できます.
      // Various Dev Server settings
      host: 'localhost', // can be overwritten by process.env.HOST
      port: 8080, // can be overwritten by process.env.PORT, if port is in use, a free one will be determined
      autoOpenBrowser: true,  // ←←← false から true に変更
      errorOverlay: true,
      notifyOnErrors: true,
      poll: false, // https://webpack.js.org/configuration/dev-server/#devserver-watchoptions-
変更後, サーバー起動コマンドを実行するとブラウザが自動起動します.
$ npm run dev
vuetifyのインストール
ソース: 75d6f5e → 96ab6f4
vuetifyはvue用のマテリアルデザインのcssフレームワークです.
マテリアルデザインはGoogleが推進しているUIデザインで,htmlのパーツを物(=material)のように表現します.
詳しい話は公式のガイドラインで確認してください.
まず npm コマンドで vuetify をインストールします.
このとき, --save オプションを付けてください.
# 付け忘れた場合は --save オプションをつけて再度コマンドを実行すれば大丈夫です.
$ npm install --save vuetify
+ vuetify@1.0.12
added 1 package from 1 contributor in 8.433s
--save オプションを付けると package.jsonの中にインストールされているライブラリ情報が書き込まれます.
これは前記事で説明したpipのrequirements.txtのようなものです.
vuetifyの設定
次に frontend/src/main.js を開き,Vueにプラグインとして登録します.
import Vue from 'vue'
import App from './App'
import router from './router'
import Vuetify from 'vuetify'  # ←←← 追加(プラグイン読み込み)

Vue.config.productionTip = false

Vue.use(Vuetify)  # ←←← 追加(プラグイン登録)

/* eslint-disable no-new */
new Vue({
  el: '#app',
  router,
  components: { App },
  template: '<App/>',
})
また,デザインで使用するcssおよびiconが必要になります.
今回は公式が公開しているcdnから取得することにします.
frontend/index.html を開き,<head> タグの中にリンクを張ります.
<!DOCTYPE html>
<html>
  <head>
    <meta charset="utf-8">
    <meta name="viewport" content="width=device-width,initial-scale=1.0">
    <link href='https://fonts.googleapis.com/css?family=Roboto:300,400,500,700|Material+Icons' rel="stylesheet"><!-- font, iconのimport -->
    <link href="https://unpkg.com/vuetify/dist/vuetify.min.css" rel="stylesheet"><!-- cssのimport -->
    <title>tutorial-spa</title>
  </head>
  <body>
    <div id="app"></div>
    <!-- built files will be auto injected -->
  </body>
</html>
最後に,'frontend/src/App.vue'を開き,rootの <div> を <v-app> で囲みます.
id="app" は外側の <v-app> に付け替えます.
<template>
  <v-app id="app">
    <div>
      <img src="./assets/logo.png">
      <router-view/>
    </div>
  </v-app>
</template>
これでVuetifyを使用する準備が整いました.
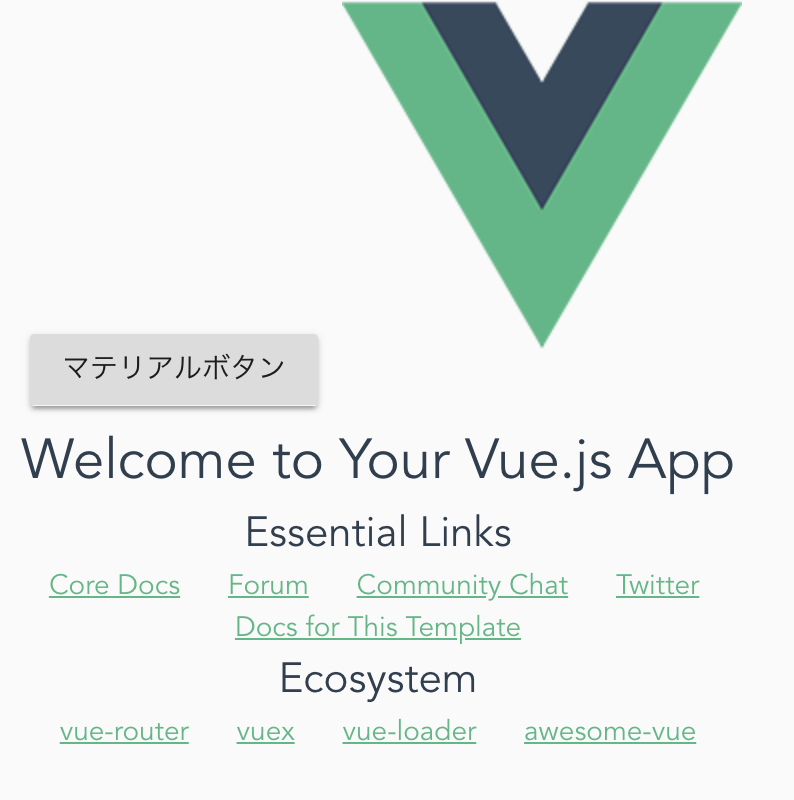
試しにボタンを置いてみましょう.
先ほどのApp.vueに <v-btn> コンポーネントを追加してみます.
<template>
  <v-app id="app">
    <div>
      <v-btn>マテリアルボタン</v-btn>
      <img src="./assets/logo.png">
      <router-view/>
    </div>
  </v-app>
</template>
これでマテリアルデザインのボタンが配置されます.
次はフロント側のデザインを整えていきます

