概要
UIAlertControllerによるダイアログの表示を、汎用クラスを作成し各画面から呼び出せるようにします。
一般的なボタン1つもしくは2つのダイアログを想定。
3つ以上のボタン構成や、テキストフィールド付きのダイアログは使用頻度が低いと考え汎用クラスの要件には含めていません。
基本的なダイアログの記述
AlertDialog
let alert = UIAlertController(title:<#title#>, message:<#message#>, preferredStyle:UIAlertController.Style.alert)

alert.addAction(UIAlertAction(title: <#buttonTItle#> , style:UIAlertAction.Style.default){
	(action:UIAlertAction)in
	//ボタンが押された時の処理

})

alert.addAction(UIAlertAction(title: <#cancelButtonTitle#>, style:UIAlertAction.Style.cancel){
	(action:UIAlertAction)in
	//キャンセルボタンが押されたときの処理

})

present(alert, animated: true, completion:nil)
<# #>の部分はXcode上だとプレースホルダーとして扱われます。
汎用クラス化
適当なswiftファイルを作成し(ここではCommon.swift)以下のように記述します。
struct~の構成はお好みで。
ButtonTitleをnilにするとボタンが表示されません。またisDestructive:trueにするとボタンが赤字で表示されます(削除などのアクションに使用)
completionでどのボタンを選択したかが返ってきます(cancelならfalse)。nilを設定することもできます。
preferredActionを指定するとボタンが太字になります。状況によって使い分けるようにしてください。
topViewController()で最前面のViewControllerを取得しダイアログを表示します。
Common.swift
import UIKit

struct Common {
	struct Utility {

		/// アラートダイアログ
		/// - Parameters:
		///   - title: タイトル
		///   - message: メッセージ
		///   - okButtonTitle: 右側のボタンタイトル。nilでボタン非表示
		///   - isDestructive: 右側のボタンスタイル、trueで赤文字になる(削除などのアクション向け)
		///   - cancelButtonTitle: 左側キャンセルボタンのタイトル。nilでボタン非表示
		///   - completion: キャンセルボタンタップでfalseを返す。OKボタンタップでtrueを返す。(省略可)
		static func showAlert(title: String?, message: String?, okButtonTitle: String?, isDestructive: Bool, cancelButtonTitle: String?, completion: ((Bool) -> Void)?) {
			let buttonStyle: UIAlertAction.Style!
			if isDestructive == true {
				buttonStyle = .destructive
			} else {
				buttonStyle = .default
			}

			let alert = UIAlertController(title: title, message: message, preferredStyle: UIAlertController.Style.alert)

			if let okButtonTitle = okButtonTitle {
				let OKAction = UIAlertAction(title: okButtonTitle, style: buttonStyle) { (_: UIAlertAction) in
					if let completion = completion {
						completion(true)
					}
				}
				alert.addAction(OKAction)
				alert.preferredAction = OKAction
			}

			if let cancelButtonTitle = cancelButtonTitle {
				let cancelAction = UIAlertAction(title: cancelButtonTitle, style: UIAlertAction.Style.cancel) { (_: UIAlertAction) in
					if let completion = completion {
						completion(false)
					}
				}
				alert.addAction(cancelAction)
			}

			let topview = topViewController()
			if let topview = topview {
				topview.present(alert, animated: true, completion: nil)
			}
		}

		/// 最上位のViewControllerを取得
		/// - Returns: UIViewController
		static func topViewController() -> UIViewController? {
			var topViewController: UIViewController?
			if #available(iOS 13.0, *) {
				let scenes = UIApplication.shared.connectedScenes
				let windowScene = scenes.first as? UIWindowScene
				let window = windowScene?.windows.first
				topViewController = window?.rootViewController
			} else {
				topViewController = UIApplication.shared.keyWindow?.rootViewController
			}

			while (topViewController?.presentedViewController) != nil {
				topViewController = topViewController?.presentedViewController
			}

			return topViewController
		}
	}
}
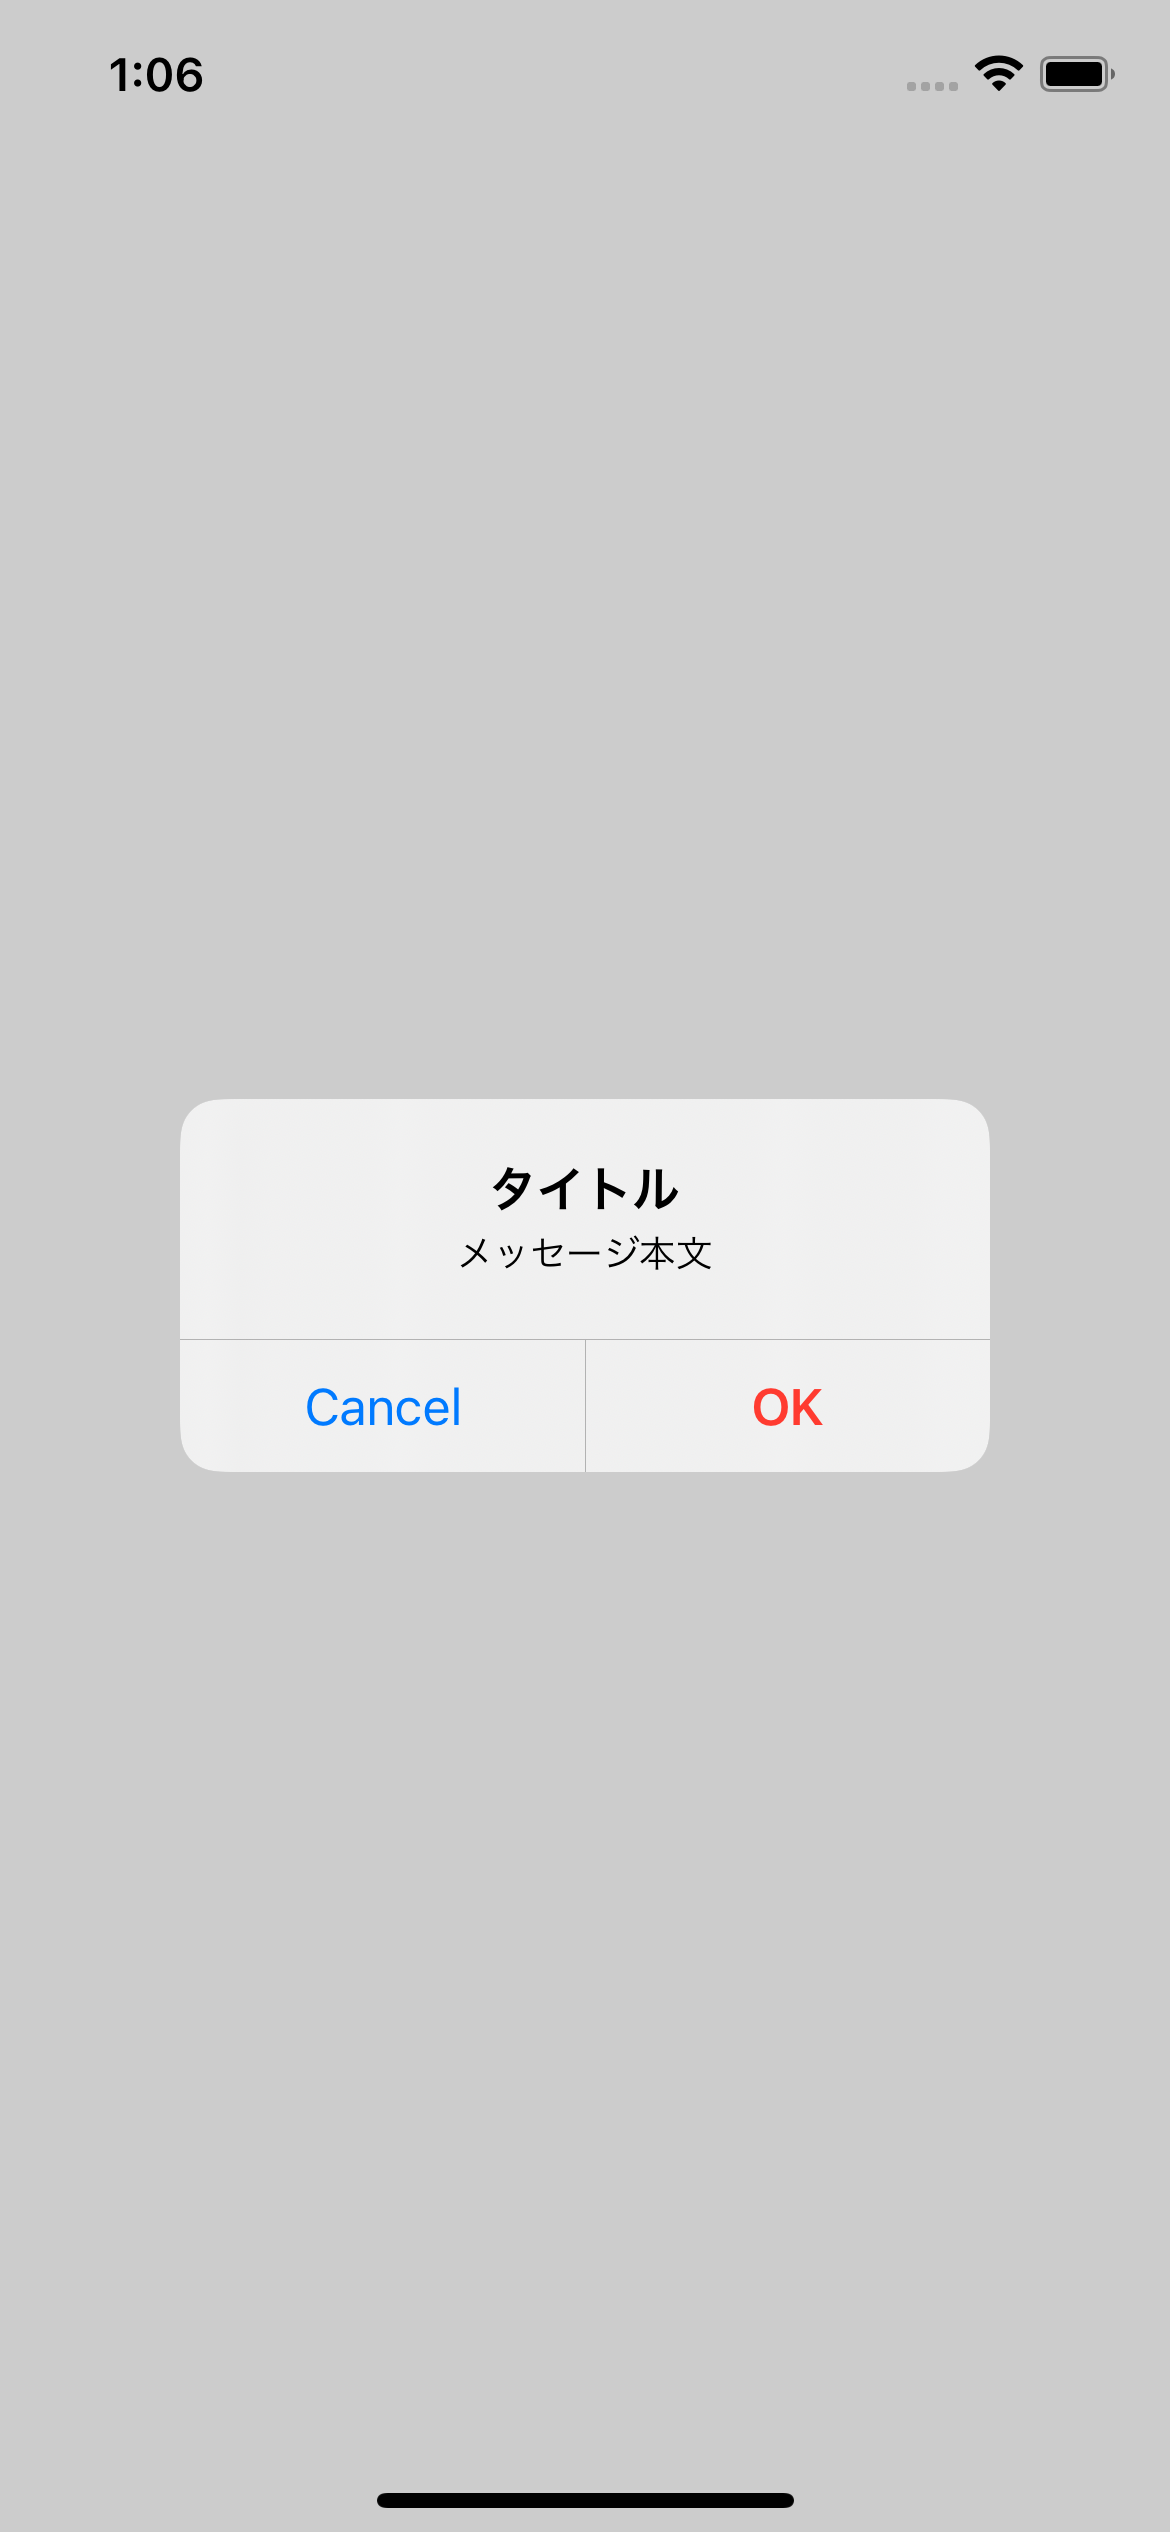
使い方
viewController.swift
// ボタンひとつのシンプルなダイアログ
Common.Utility.showAlert(title: "タイトル", message: "メッセージ本文", okButtonTitle:"OK", isDestructive: false, cancelButtonTitle: nil, completion: nil)


// ボタンふたつのパターン
Common.Utility.showAlert(title: "タイトル", message: "メッセージ本文", okButtonTitle: "OK", isDestructive: true, cancelButtonTitle: "Cancel") { status in

	if status == true {
		// OKボタン選択時の処理

	} else {
		// Cancelボタン選択時の処理

	}
}