はじめに
同僚がRuby on Jetsに心酔していたので、いざ試してみよう、と思ったら思いの外ハマったためメモを残しておくことにしました。JetsのドキュメントQuick Startを進めていくところでのハマりどころなので、あわせてご覧くださいませ。
試した環境
$ sw_vers
ProductName:	Mac OS X
ProductVersion:	10.14.5
BuildVersion:	18F132

$ ruby -v
ruby 2.6.4p104 (2019-08-28 revision 67798) [x86_64-darwin18]

$ jets -v
2.1.2
tl;dr
- Lambdaで動くrubyバージョンで開発しよう(2.5系)
- Macで発生するmysql2のインストールエラーはbrewでインストールされたopensslのlibディレクトリがライブラリパスとして認識されていないだけだから
export LIBRARY_PATH=$LIBRARY_PATH:/usr/local/opt/openssl/lib/しとくと良いよ - デフォルトではDBにMySQLが指定されるので、イヤだったら
--database=postgresqlオプションをつけてjets newしよう -
jets new実行時にAWSとの通信があるので、Jetsで利用するためのIAMユーザーを作成してaws configure --profile yournameでプロファイル作ってAWS_PROFILE=yourname jets new ...みたいに環境変数でプロファイルを指定しておこう - デプロイ時にも
AWS_PROFILE=yourname jets deployって感じで、いずれにしても上記で作ったIAMユーザーを使う
jets new demo実行時
mysql2 gemがインストールできない
ld: library not found for -lssl
clang: error: linker command failed with exit code 1 (use -v to see invocation)
make: *** [mysql2.bundle] Error 1
毎度恒例(?)のmysql2 gemがインストールできない問題。デフォルトでJetsはMySQLを利用するらしい。Jets 2.1.2だとmysql2 0.5.2をインストールするようなので、個別にgem installしておくことにした。
gem install mysql2 -v '0.5.2' -- --with-ldflags=-L/usr/local/opt/openssl/lib --with-cppflags=-I/usr/local/opt/openssl/include
bundle installがこけてもプロジェクトディレクトリ自体は作成されるが、bundle install後に後続で処理が続くようなので、エラーが発生したら一旦できかけたディレクトリを削除して、もう1回jets new [Project Name]するのがオススメ。
(追記)
デフォルトではmysqlが選択されるが、以下のようにjets newにdatabaseオプションを渡せばpostgresqlを指定することもできる。
$ jets new demo --database=postgresql
--no-databaseオプションを渡せばDBのセットアップを含めないことも可能。
$ jets new demo --no-database
参考: https://rubyonjets.com/reference/jets-new/
Aws::STS::Errors::InvalidClientTokenIdが発生する
(もしくはINFO: You're missing AWS credentials. Only local services are currently availableというメッセージが表示される)
         run  bundle exec jets webpacker:install from "."
bundler: failed to load command: jets (/Users/mah_lab/.anyenv/envs/rbenv/versions/2.6.4/bin/jets)
Aws::STS::Errors::InvalidClientTokenId: The security token included in the request is invalid.
STS(AWS Security Token Service)のエラーなので、AWS周りの設定に問題があるのだろう、という見立て。まずはaws-cliのバージョンを確認。(古い場合はpip install awscli --upgrade --userでアップデートしておく)
$ aws --version
aws-cli/1.16.150 Python/3.7.3 Darwin/18.6.0 botocore/1.12.140
続けてaws configureで、Jetsで使用するIAMの設定を行う。Jetsのドキュメントに最小限のIAMポリシーを持つグループの設定について解説があるので、まずは例にならってグループの作成を行う。
$ aws iam create-group --group-name Jets
$ cat << 'EOF' > /tmp/jets-iam-policy.json
{
    "Version": "2012-10-17",
    "Statement": [
        {
            "Effect": "Allow",
            "Action": [
                "apigateway:*",
                "cloudformation:*",
                "dynamodb:*",
                "events:*",
                "iam:*",
                "lambda:*",
                "logs:*",
                "route53:*",
                "s3:*"
             ],
            "Resource": [
                "*"
            ]
        }
    ]
}
EOF
$ aws iam put-group-policy --group-name Jets --policy-name JetsPolicy --policy-document file:///tmp/jets-iam-policy.json
そしてグループにユーザーを割り当てる(ユーザー名は任意でOK)。
$ aws iam create-user --user-name jets
$ aws iam add-user-to-group --user-name jets --group-name Jets
$ aws iam create-access-key --user-name jets
取得したクレデンシャルをaws configureで設定(リージョンはお好みで)。
$ aws configure --profile jets
AWS Access Key ID [None]: 使用するIAMのアクセスキー
AWS Secret Access Key [None]: 使用するIAMのシークレットキー
Default region name [None]: ap-northeast-1
Default output format [None]: json
作成したプロファイルを指定してjets newを実行。
$ AWS_PROFILE=jets jets new demo

(中略)

         run  bundle exec jets webpacker:install from "."
      create  config/webpacker.yml
Copying webpack core config
      create  config/webpack
      create  config/webpack/development.js
      create  config/webpack/environment.js
      create  config/webpack/production.js
      create  config/webpack/staging.js
      create  config/webpack/test.js
Copying .postcssrc.yml to app root directory
      create  .postcssrc.yml
Copying .babelrc to app root directory
      create  .babelrc
Installing binstubs
         run  bundle binstubs webpacker from "."
      append  .gitignore
Installing all JavaScript dependencies

(以下、延々とJS周りのセットアップが続く)

================================================================
Congrats 🎉 You have successfully created a Jets project.

Cd into the project directory:
  cd demo

To start a server and test locally:
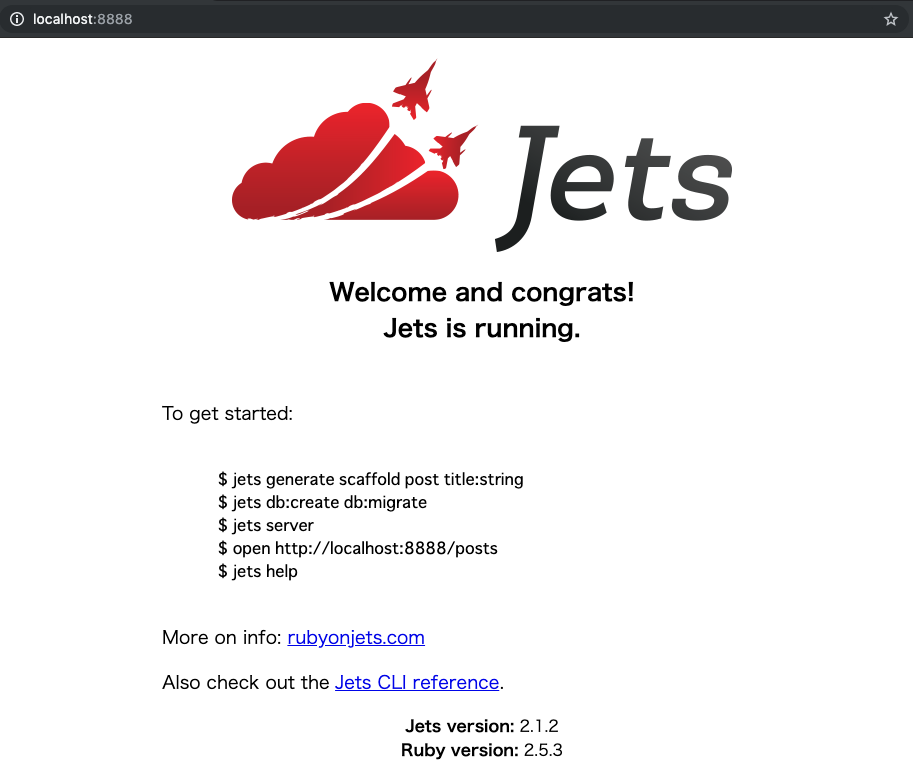
  jets server # localhost:8888 should have the Jets welcome page

Scaffold example:
  jets generate scaffold post title:string body:text published:boolean
  jets db:create db:migrate

To deploy to AWS Lambda, edit your .env.development.remote and add a DATABASE_URL endpoint.
Then run:

  jets deploy
demoディレクトリに移動して、jets serverを起動
ハマることなく動いた。
scaffoldからの流れ
$ jets generate scaffold post title:string
      invoke  active_record
      create    db/migrate/20190831024645_create_posts.rb
      create    app/models/post.rb
      invoke  resource_route
       route    resources :posts
      invoke  scaffold_controller
      create    app/controllers/posts_controller.rb
      invoke    erb
      create      app/views/posts
      create      app/views/posts/index.html.erb
      create      app/views/posts/edit.html.erb
      create      app/views/posts/show.html.erb
      create      app/views/posts/new.html.erb
      create      app/views/posts/_form.html.erb
      invoke    helper
      create      app/helpers/posts_helper.rb

$ jets db:create db:migrate
Created database 'demo_development'
Created database 'demo_test'
== 20190831024645 CreatePosts: migrating ======================================
-- create_table(:posts)
   -> 0.0717s
== 20190831024645 CreatePosts: migrated (0.0718s) =============================
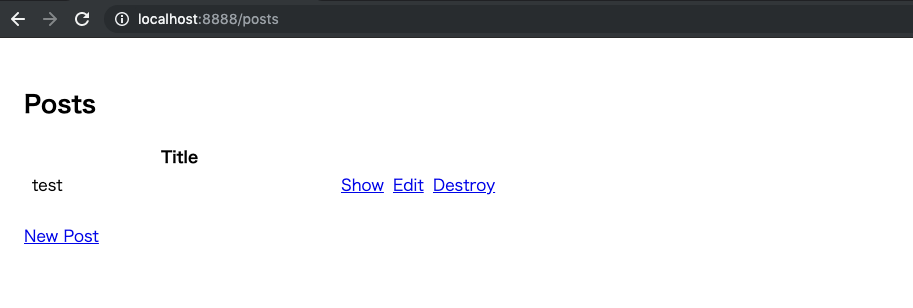
特にハマることもなくscaffoldされた画面が表示された。
なんとなくjets consoleでデータの確認もしてみたが、普通にRailsを使うのと同じようにコンソールを扱うことができる。
$ jets console
Jets booting up in development mode!
irb(main):001:0> Post.first
=> #<Post id: 1, title: "test", created_at: "2019-08-31 02:49:18", updated_at: "2019-08-31 02:49:18">
jets deploy
Lambdaで使えるrubyバージョンは2.5系ですよ
$ AWS_PROFILE=jets jets deploy
Deploying to Lambda demo-dev environment...
Building CloudFormation templates.
Deploying CloudFormation stack with jets app!
12:19:55PM CREATE_IN_PROGRESS AWS::CloudFormation::Stack demo-dev User Initiated
12:19:58PM CREATE_IN_PROGRESS AWS::S3::Bucket S3Bucket
12:19:59PM CREATE_IN_PROGRESS AWS::S3::Bucket S3Bucket Resource creation Initiated
12:20:20PM CREATE_COMPLETE AWS::S3::Bucket S3Bucket
12:20:21PM CREATE_COMPLETE AWS::CloudFormation::Stack demo-dev
Stack success status: CREATE_COMPLETE
Time took for stack deployment: 31s.
You are using Ruby version 2.6.4 which is not supported by Jets.
Jets uses Ruby 2.5.3.  You should use a variant of Ruby 2.5.x
「JetsはRuby 2.5.3を使うよ」と言われるので、Ruby 2.5.3を使うようにする。
$ rbenv local 2.5.3
$ bundle install -j4
deploy時にもmysql2 gemのインストールで怒られる
(中略)
=> cd /tmp/jets/demo/cache && env BUNDLE_IGNORE_CONFIG=1 bundle install --path /tmp/jets/demo/cache/vendor/gems --without development test
F
(中略)
ld: library not found for -lssl
clang: error: linker command failed with exit code 1 (use -v to see invocation)
make: *** [mysql2.bundle] Error 1
BUNDLE_IGNORE_CONFIGオプションがついているので、bundle configによる設定が効かない ![]() (関連コード)。
(関連コード)。
なので、よく見かけるオプションをつける付け焼き刃的な解決方法ではなく、根本的にライブラリが読み込めない問題を解決してあげる必要がある。。
具体的には以下のように$(brew --prefix openssl)/libがライブラリパスとして認識されるように環境変数で設定しよう。
export LIBRARY_PATH=$LIBRARY_PATH:/usr/local/opt/openssl/lib/
何でもググって付け焼き刃で対応してはいけないという教訓である。。(関連Issueコメント)
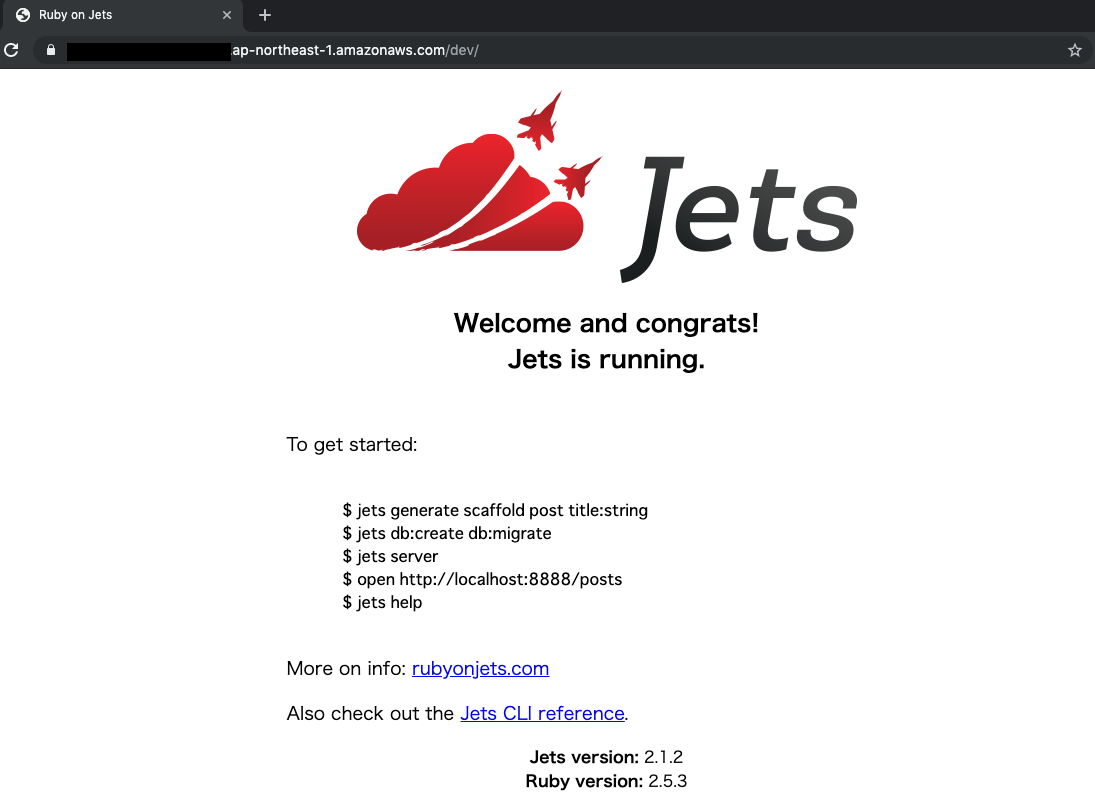
deployできた・・・!
RDSの設定について
もちろんこのままだとRDBの設定ができていないので、/postsにアクセスするとエラーになる。
あとはRDSインスタンスを作成してDBの情報を設定するだけでハマるところはなかったので、そこまで完了したい方は以下の記事を参考に設定してみてください。
Ruby 製サーバーレスフレームワークの Jets を検証してみたら、Rails ライクに使えていい感じだった > RDS MySQL データベース作成


