はじめに
1つのRailsアプリケーションの内で、管理画面のコードをadminみたいなネームスペースでわけて管理する事がありました。
その際の事を忘れないようにメモ。
今回ネームスペースで分けるのは以下の3つです。
admin、staff、participant
※名前は適当なので、ご勘弁ください。
環境
Rails 5.1.3
Ruby 2.4.0
viewに各ネームスペースのディレクトリの作成
以下のディレクトリを作成
./app/views/admin
./app/views/staff
./app/views/participant
layoutsディレクトリ内に各ネームスペースのディレクトリを作成
以下のディレクトリを作成
./app/views/layouts/admin
./app/views/layouts/staff
./app/views/layouts/participant
layoutsディレクトリ内に各ネームスペースのhtml.erbを作成する
<!DOCTYPE html>
<html>
  <head>
    <title>namespace - admin</title>
    <%= csrf_meta_tags %>
    <%= stylesheet_link_tag    'application', media: 'all', 'data-turbolinks-track': 'reload' %>
    <%= javascript_include_tag 'application', 'data-turbolinks-track': 'reload' %>
  </head>
<body>
<% content_for :content do %>
  <%= yield %>
<% end %>
<%= render template: "layouts/application" %>
</body>
</html>
他もそれぞれつくる
./app/views/layouts/staff.html.erb
./app/views/layouts/participant.html.erb
controllerに各ネームスペースのディレクトリの作成
./app/controllers/admin
./app/controllers/staff
./app/controllers/participant
各ネームスペースのcontrollerのフォルダ内でbase.rbを作成
class Admin::Base < ApplicationController
	 layout 'admin'
end
application.html.erbを修正
application.htmlファイル全部を以下に書き換える
<%= content_for?(:content) ? yield(:content) : yield %>
試しにコントローラを作ってみる
rails generate controller admin/TestAdmin new
create  app/controllers/admin/test_admin_controller.rb
       route  namespace :admin do
    get 'test_admin/new'
  end
      invoke  erb
      create    app/views/admin/test_admin
      create    app/views/admin/test_admin/new.html.erb
      invoke  test_unit
      create    test/controllers/admin/test_admin_controller_test.rb
      invoke  helper
      create    app/helpers/admin/test_admin_helper.rb
      invoke    test_unit
      invoke  assets
      invoke    coffee
      create      app/assets/javascripts/admin/test_admin.coffee
      invoke    scss
      create      app/assets/stylesheets/admin/test_admin.scss
他もそれぞれつくる
rails generate controller staff/TestStaff new
rails generate controller participant/TestParticipant new
root.rbがネームスペースでルーティングされている事を確認
  namespace :admin do
    get 'test_admin/new'
  end
作成したコントローラーの修正
base.rbを継承させるように修正する
class Admin::TestAdminController < ApplicationController
  def new
  end
end
↓
class Admin::TestAdminController < Admin::Base
  def new
  end
end
他のコントローラも修正
./app/controllers/participant/test_participant_controller.rb
./app/controllers/staff/test_staff_controller.rb
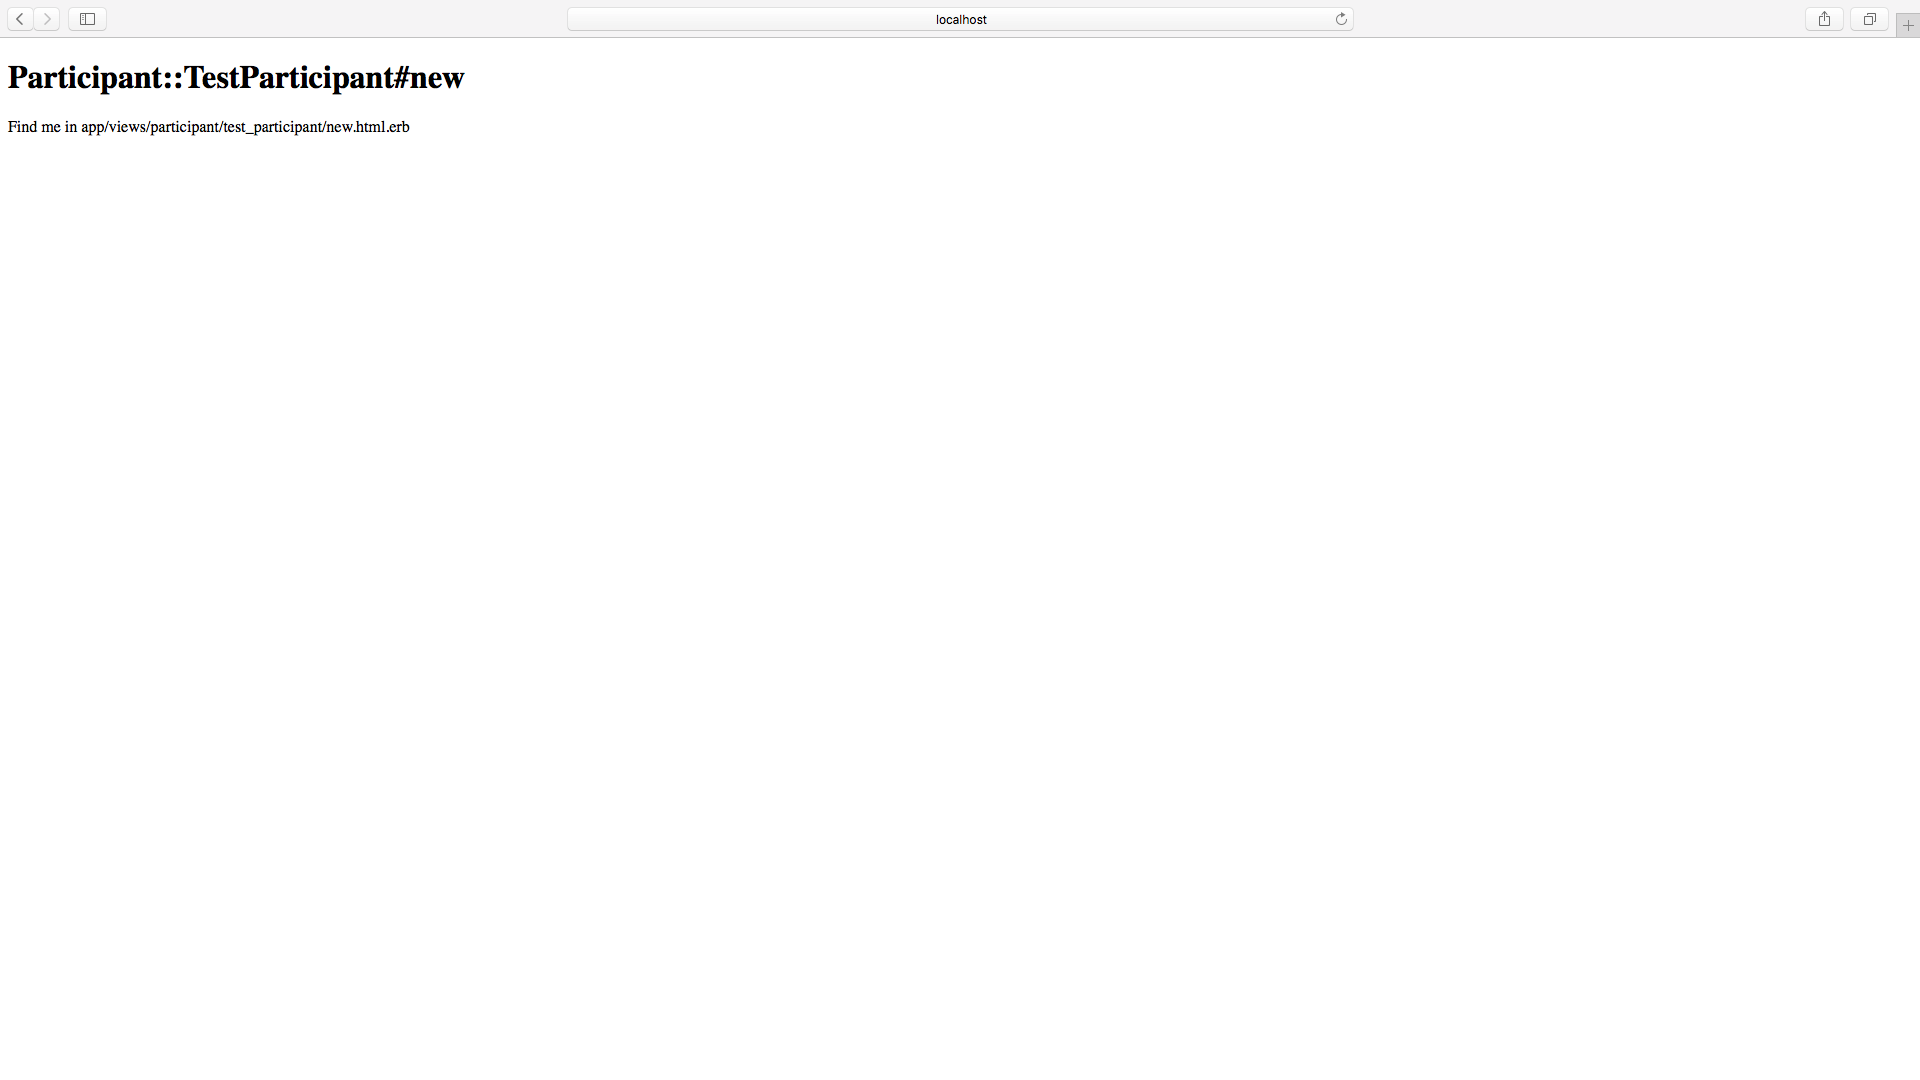
ブラウザで表示の確認
/admin/test_admin/new
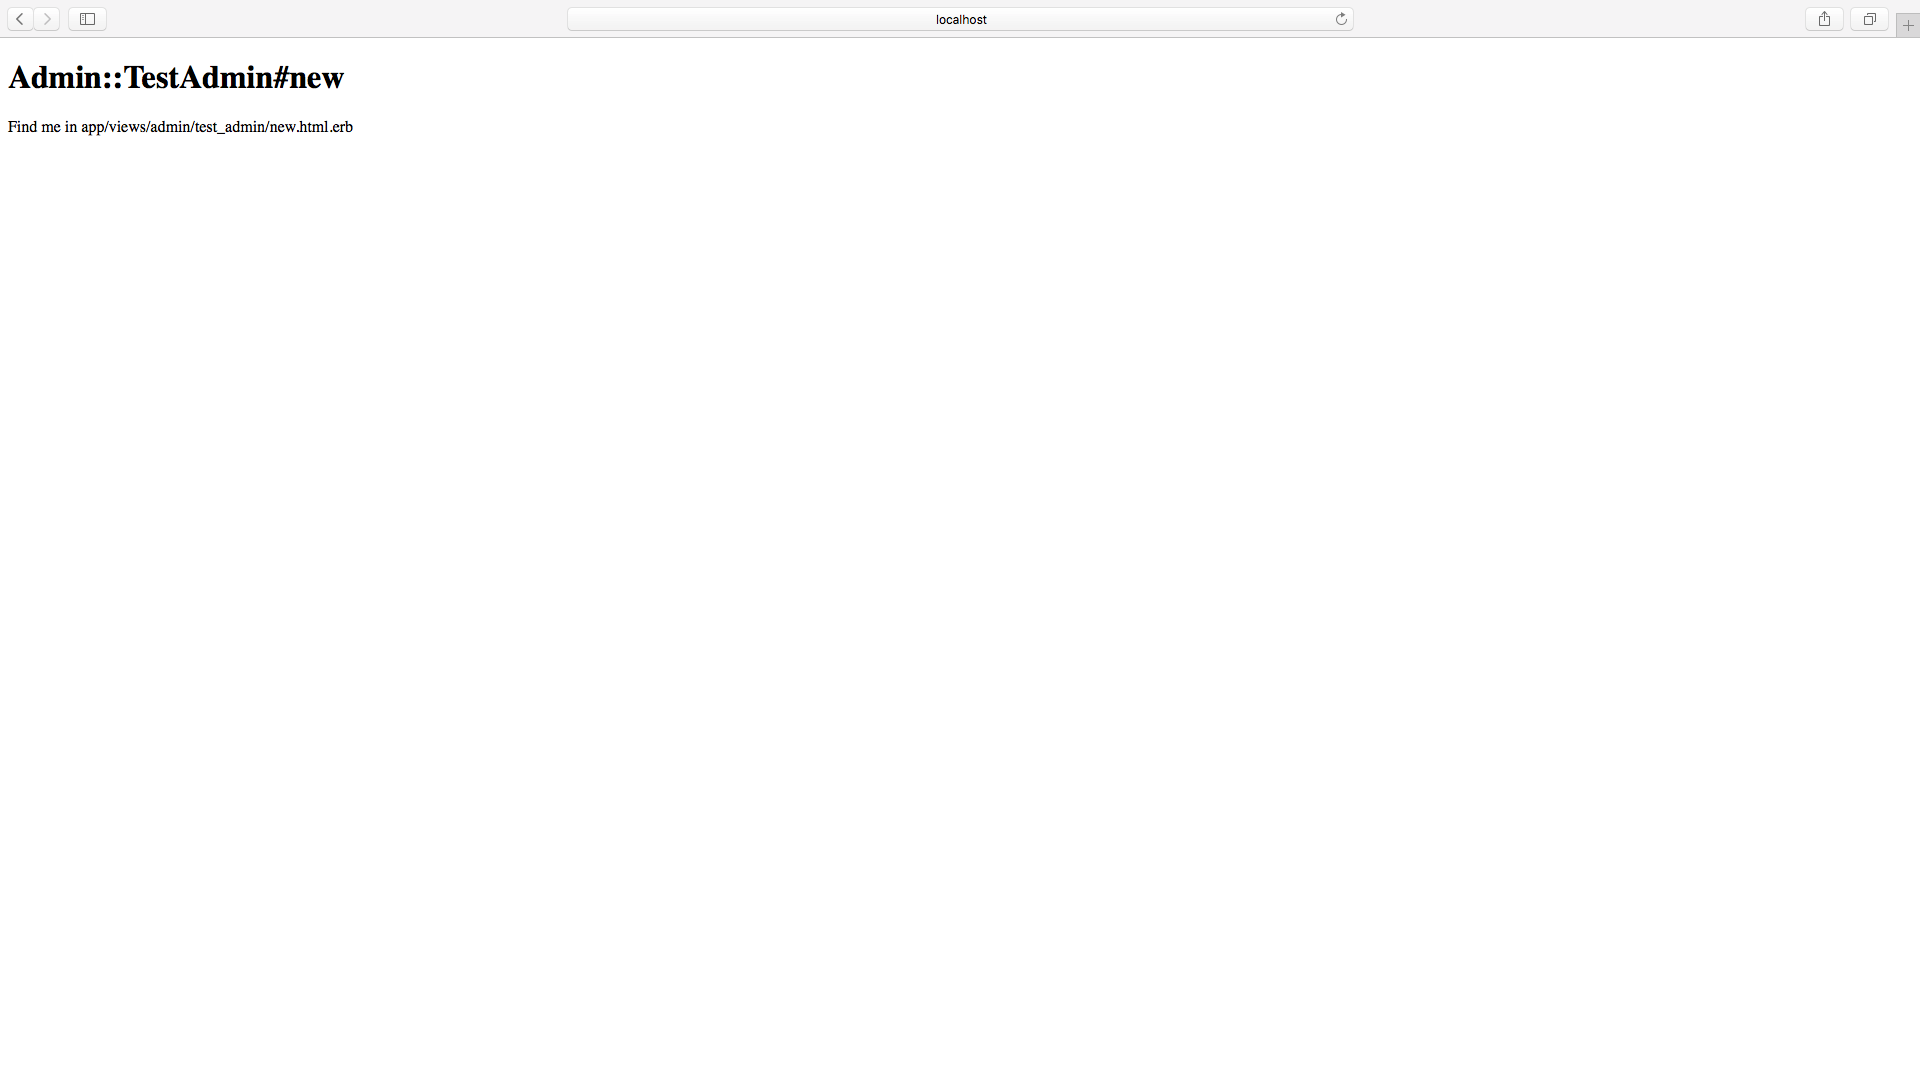
/staff/test_staff/new
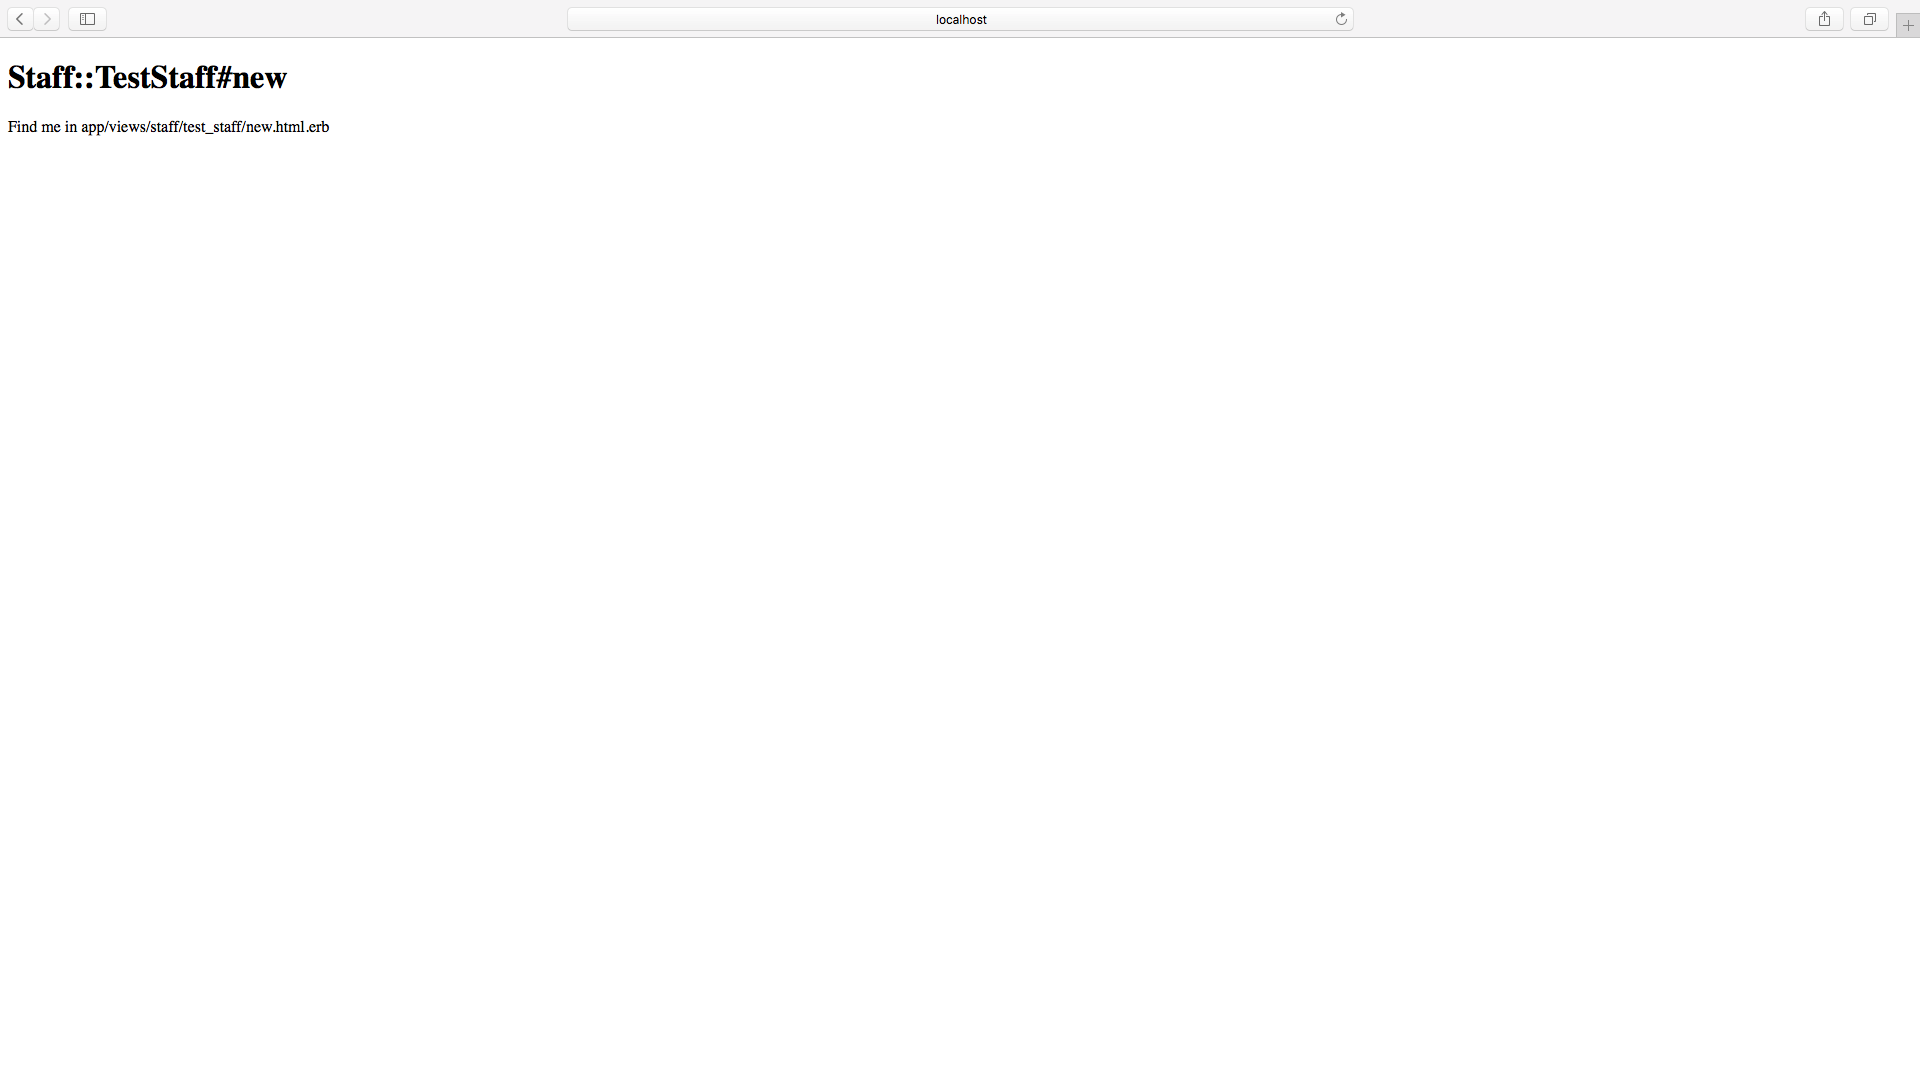
/participant/test_participant/new
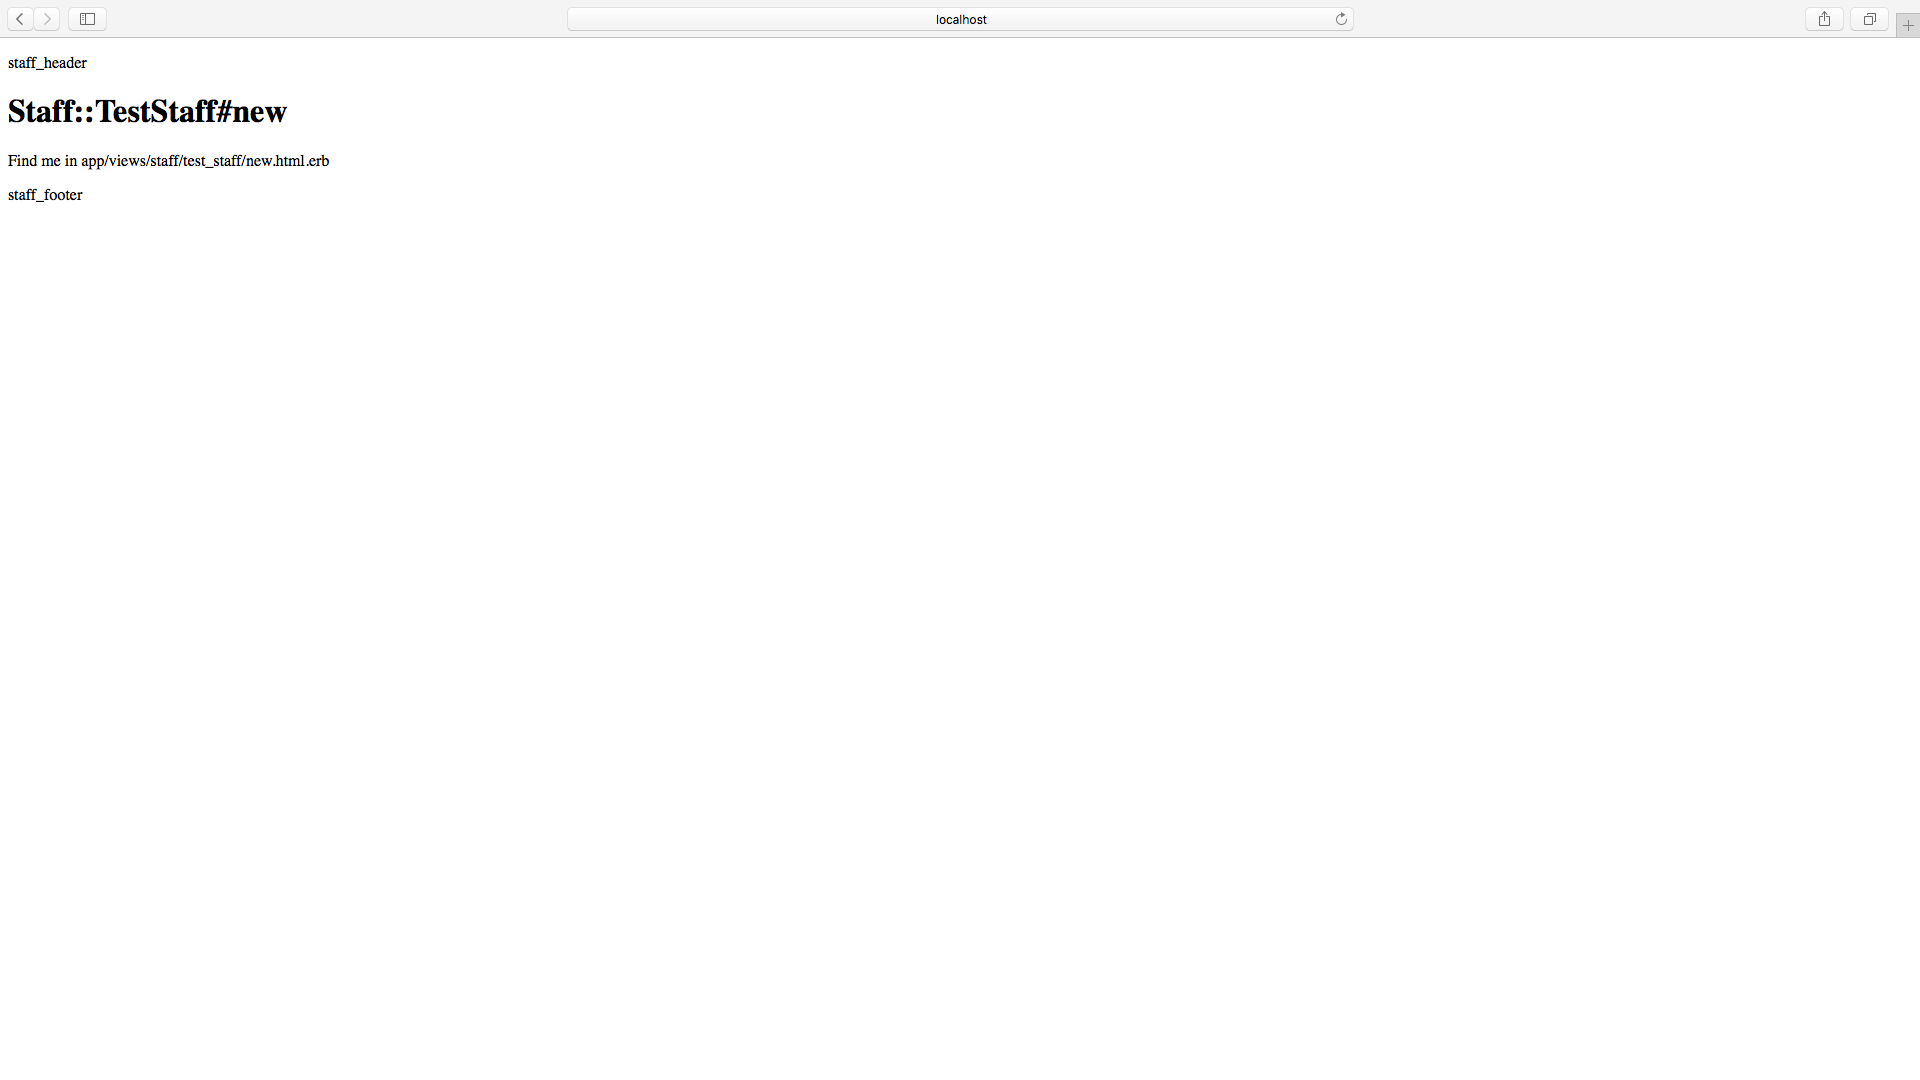
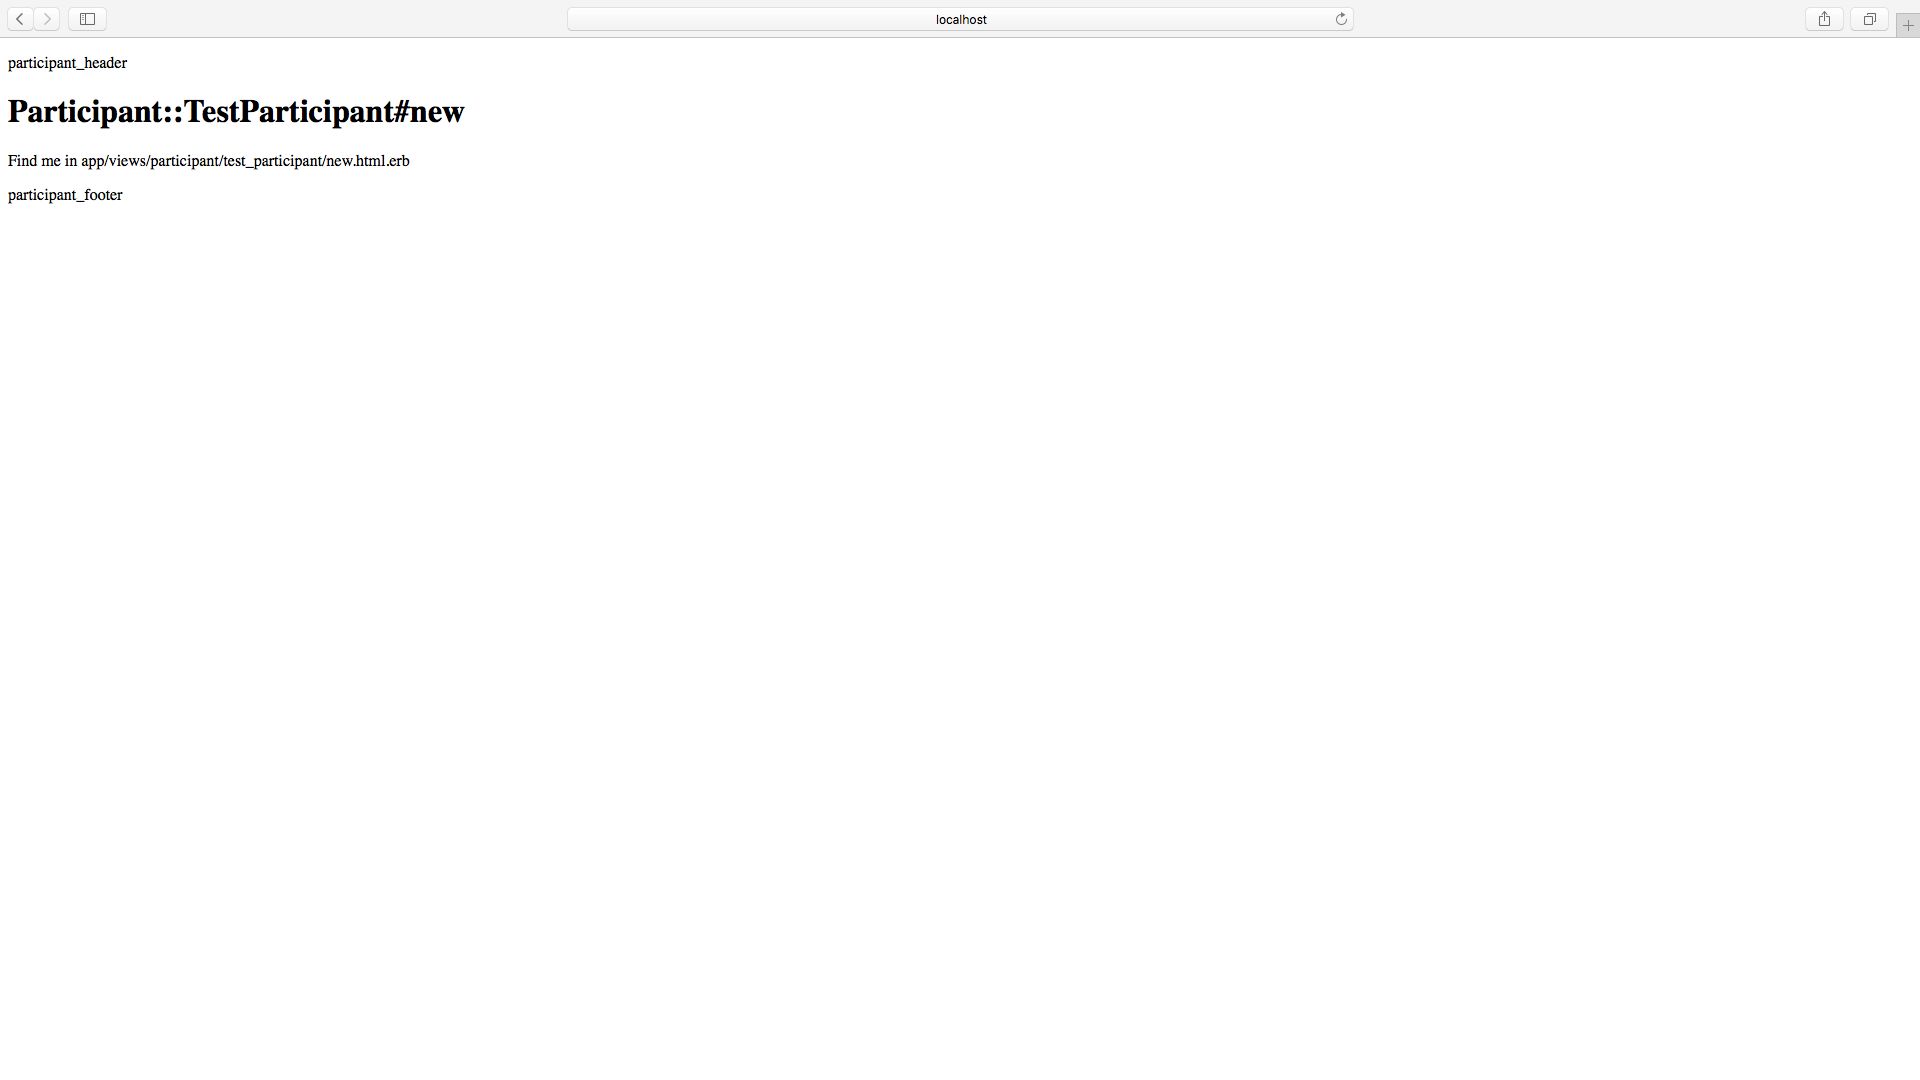
各ネームスペース毎にheaderとfooterを設定する
_header.html.erbと_footer.html.erbの準備をする
以下のようにheaderとfooterの部分テンプレート作成する
<header>
  <p>admin_header</p>
</header>
<footer>
  <p>admin_footer</p>
</footer>
他のそれぞれ作る
./app/views/layouts/staff/_header.html.erb
./app/views/layouts/staff/_footer.html.erb
./app/views/layouts/participant/_header.html.erb
./app/views/layouts/participant/_footer.html.erb
_header.html.erbと_footer.html.erbを呼び出す
<!DOCTYPE html>
<html>
  <head>
    <title>namespace - admin</title>
    <%= csrf_meta_tags %>
    <%= stylesheet_link_tag    'application', media: 'all', 'data-turbolinks-track': 'reload' %>
    <%= javascript_include_tag 'application', 'data-turbolinks-track': 'reload' %>
  </head>
<body>
<% content_for :content do %>
  <%= render 'layouts/admin/header' %>
  <%= yield %>
  <%= render 'layouts/admin/footer' %>
<% end %>
<%= render template: "layouts/application" %>
</body>
</html>
他もそれぞれ呼び出す
./app/views/layouts/staff.html.erb
./app/views/layouts/participant.html.erb
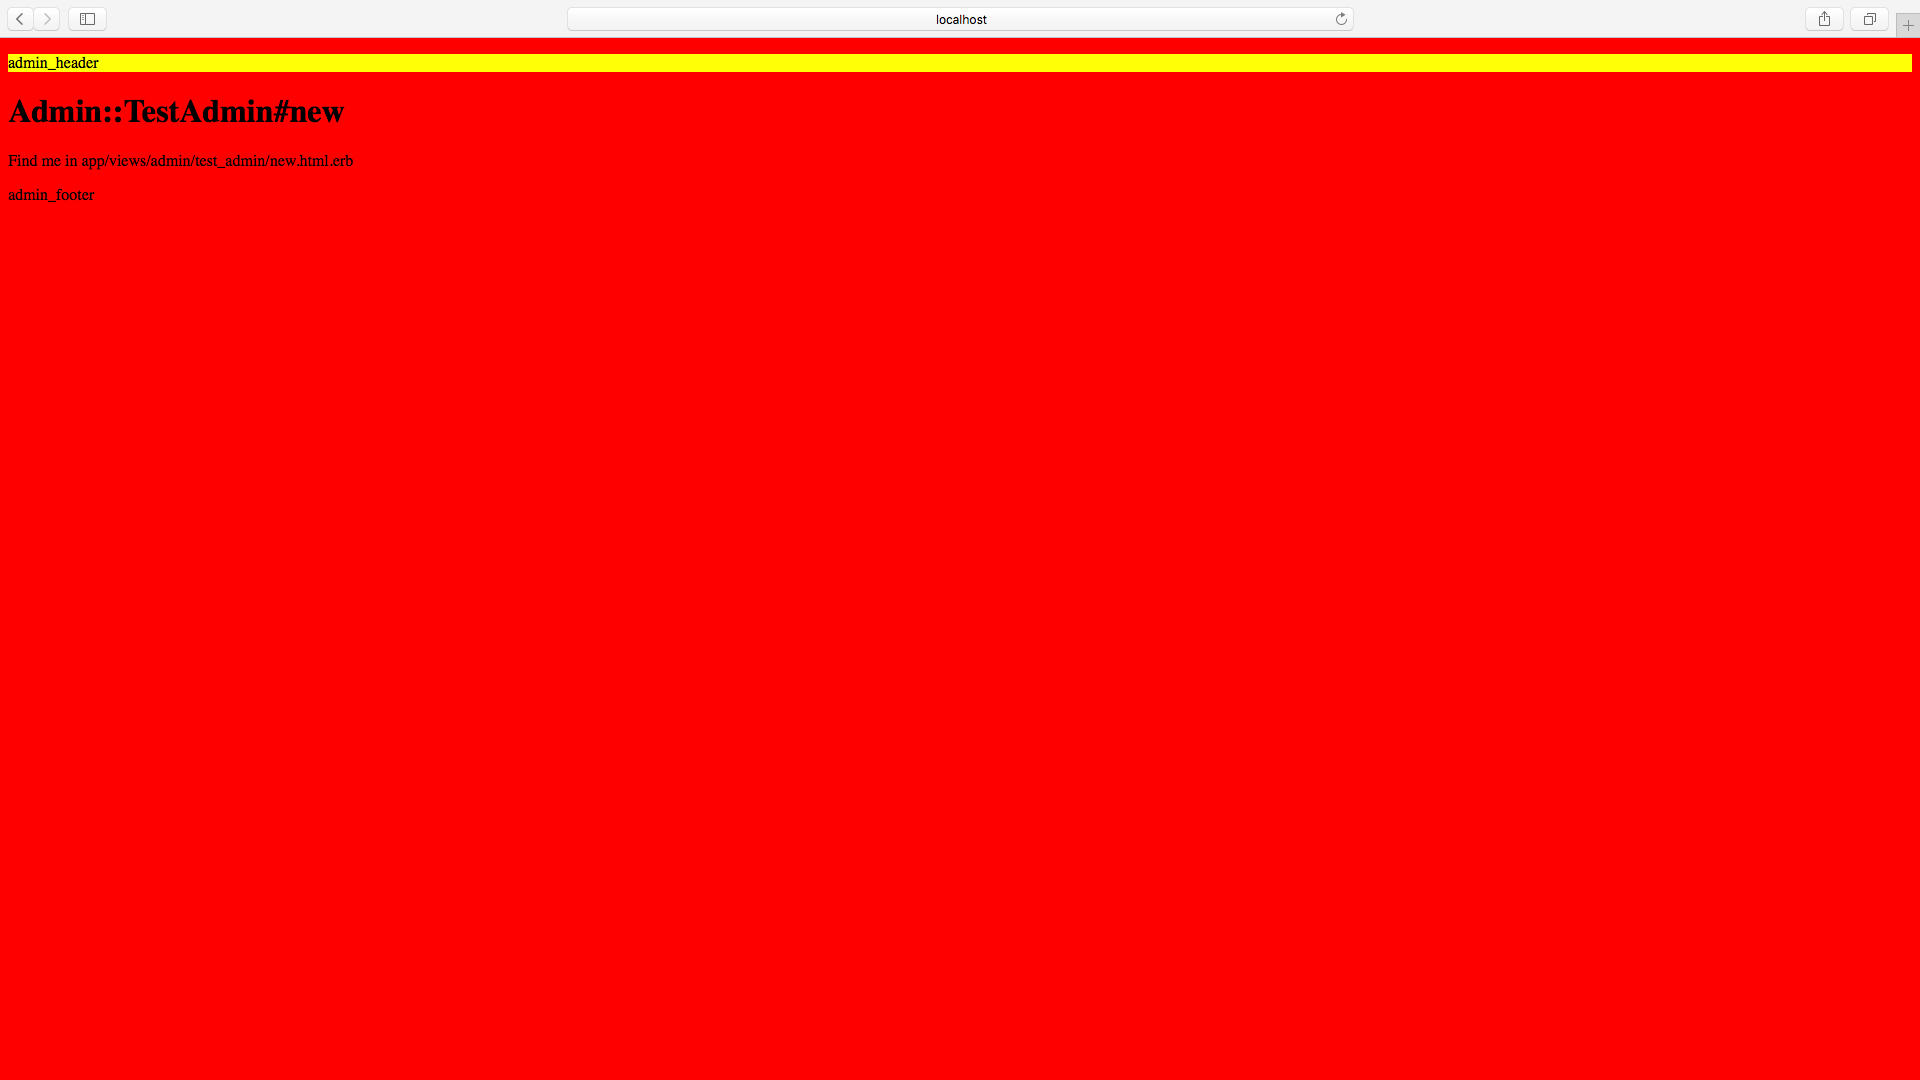
ブラウザで確認
/admin/test_admin/new
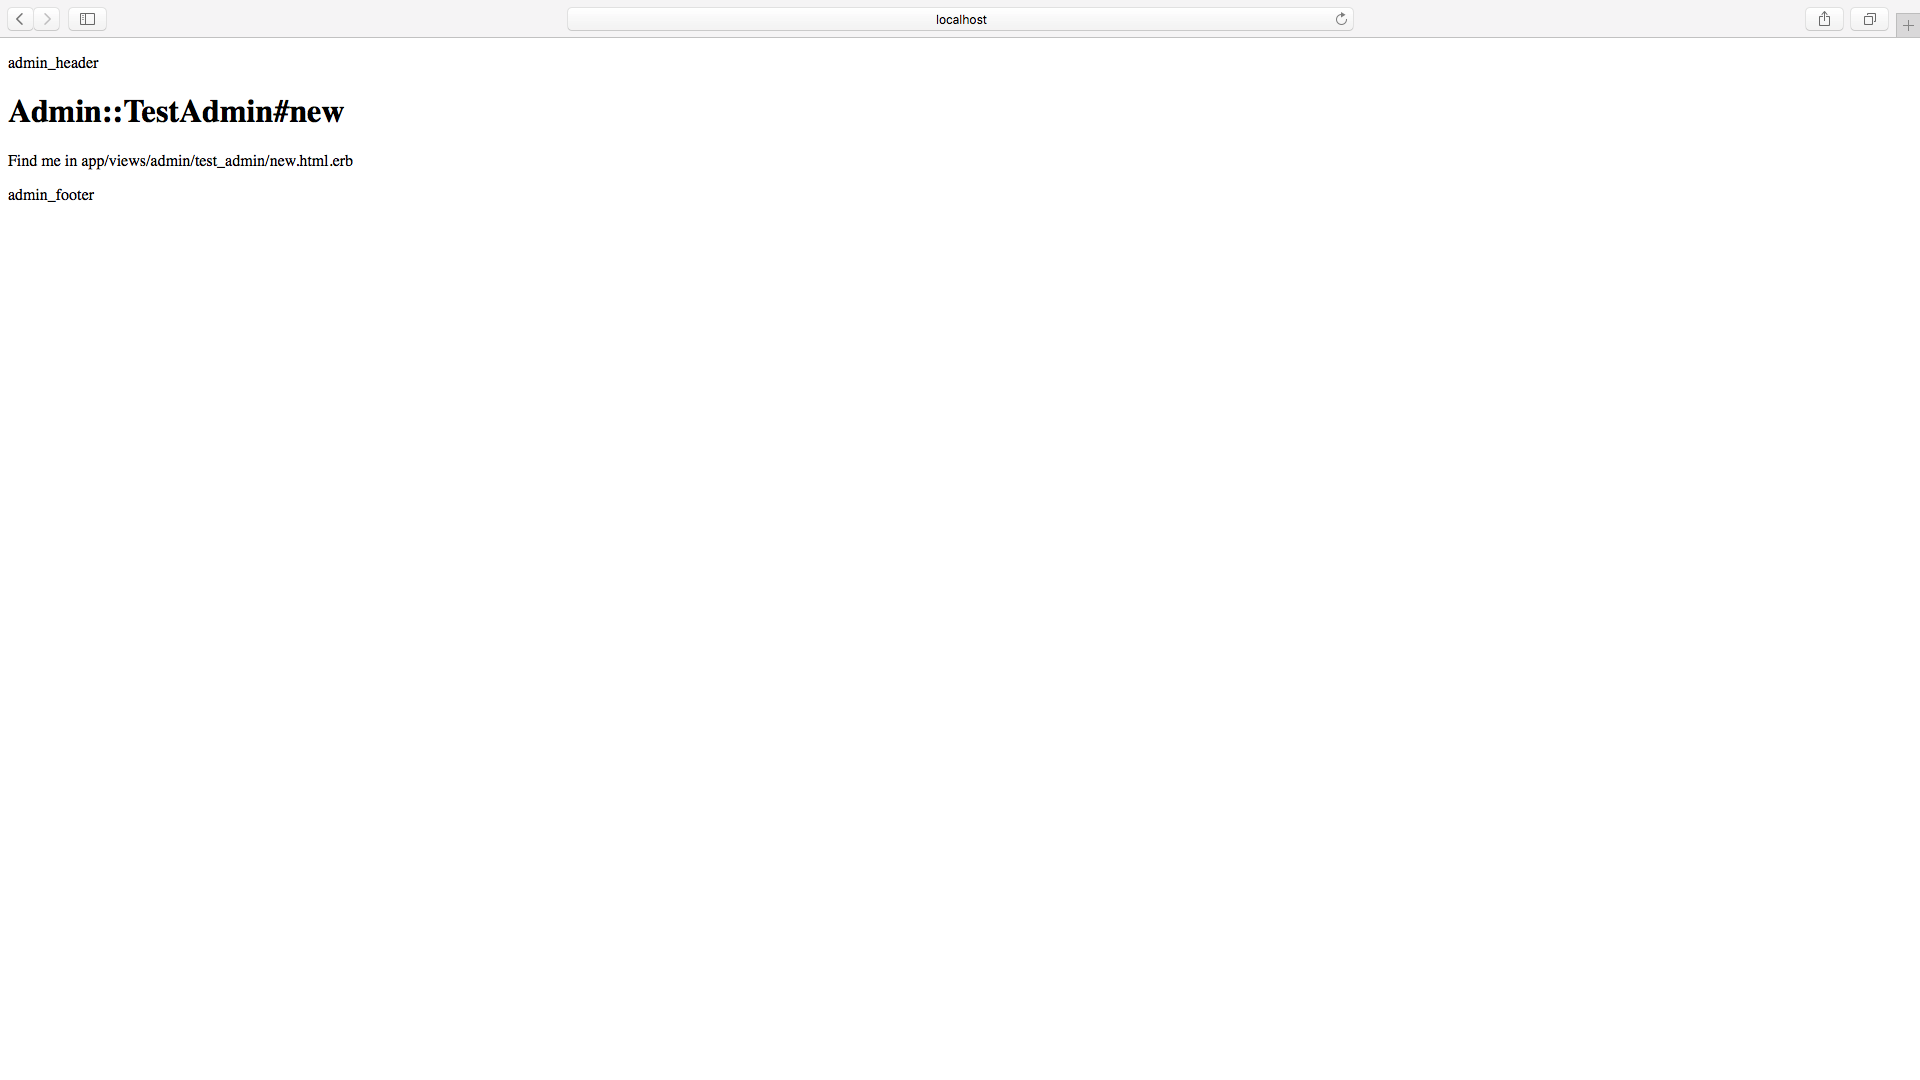
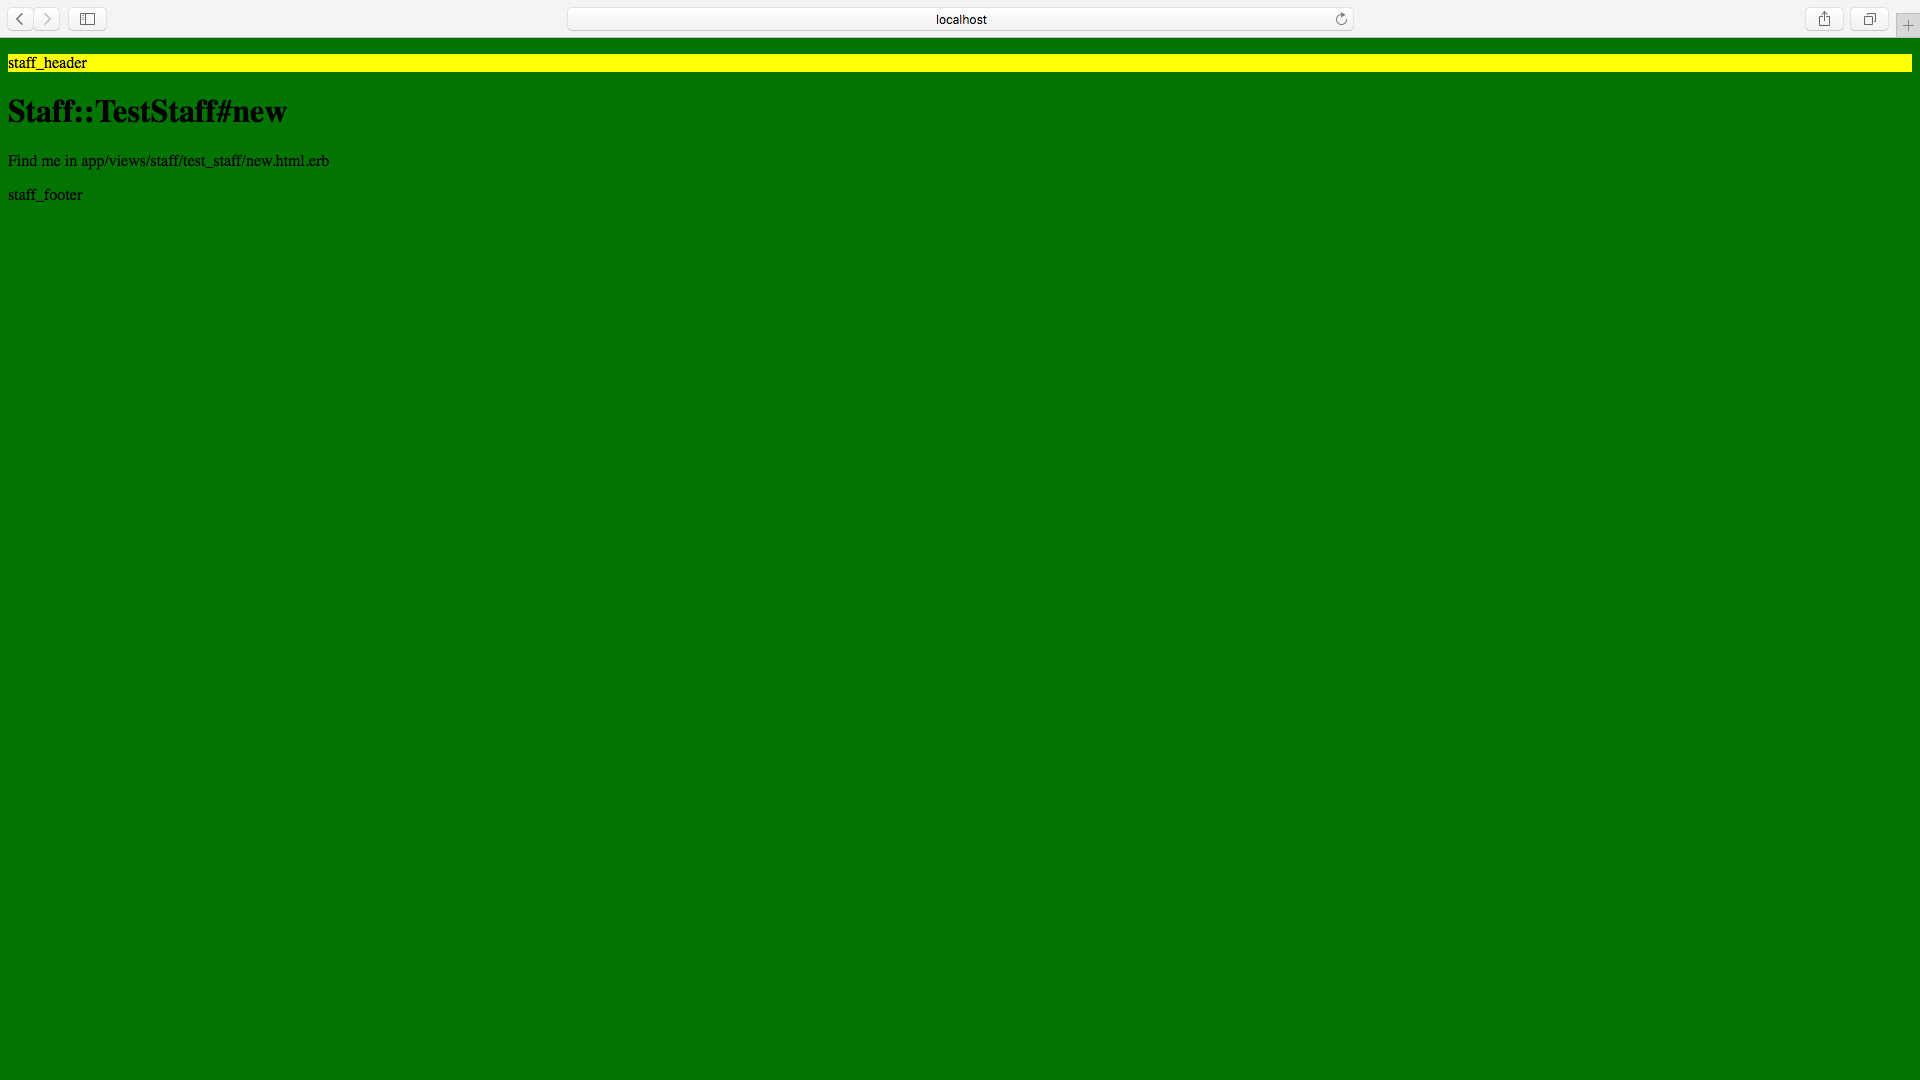
/staff/test_staff/new
/participant/test_participant/new
CSSの振り分けを行う
cssファイルの作成
application.cssとは別にadmin.cssを以下のように作成してください
/*
 * This is a manifest file that'll be compiled into application.css, which will include all the files
 * listed below.
 *
 * Any CSS and SCSS file within this directory, lib/assets/stylesheets, or any plugin's
 * vendor/assets/stylesheets directory can be referenced here using a relative path.
 *
 * You're free to add application-wide styles to this file and they'll appear at the bottom of the
 * compiled file so the styles you add here take precedence over styles defined in any other CSS/SCSS
 * files in this directory. Styles in this file should be added after the last require_* statement.
 * It is generally better to create a new file per style scope.
 *
 *= require_tree ./admin
 */
他もそれぞれcssファイルを作ります。
*= require_tree ./staff
*= require_tree ./participant
作成したcssファイルをアセットプリコンパイルの対象に加える
以下のように追加
Rails.application.config.assets.precompile += %w( admin.css )
Rails.application.config.assets.precompile += %w( staff.css )
Rails.application.config.assets.precompile += %w( participant.css )
それぞれのネームスペース毎にスタイルを適用させる
スタイルリンクタグを修正
<%= stylesheet_link_tag 'application', media: 'all', 'data-turbolinks-track': 'reload' %>
↓
<%= stylesheet_link_tag 'admin', media: 'all', 'data-turbolinks-track': 'reload' %>
他もそれぞれ修正
./app/views/layouts/staff.html.erb
./app/views/layouts/participant.html.erb
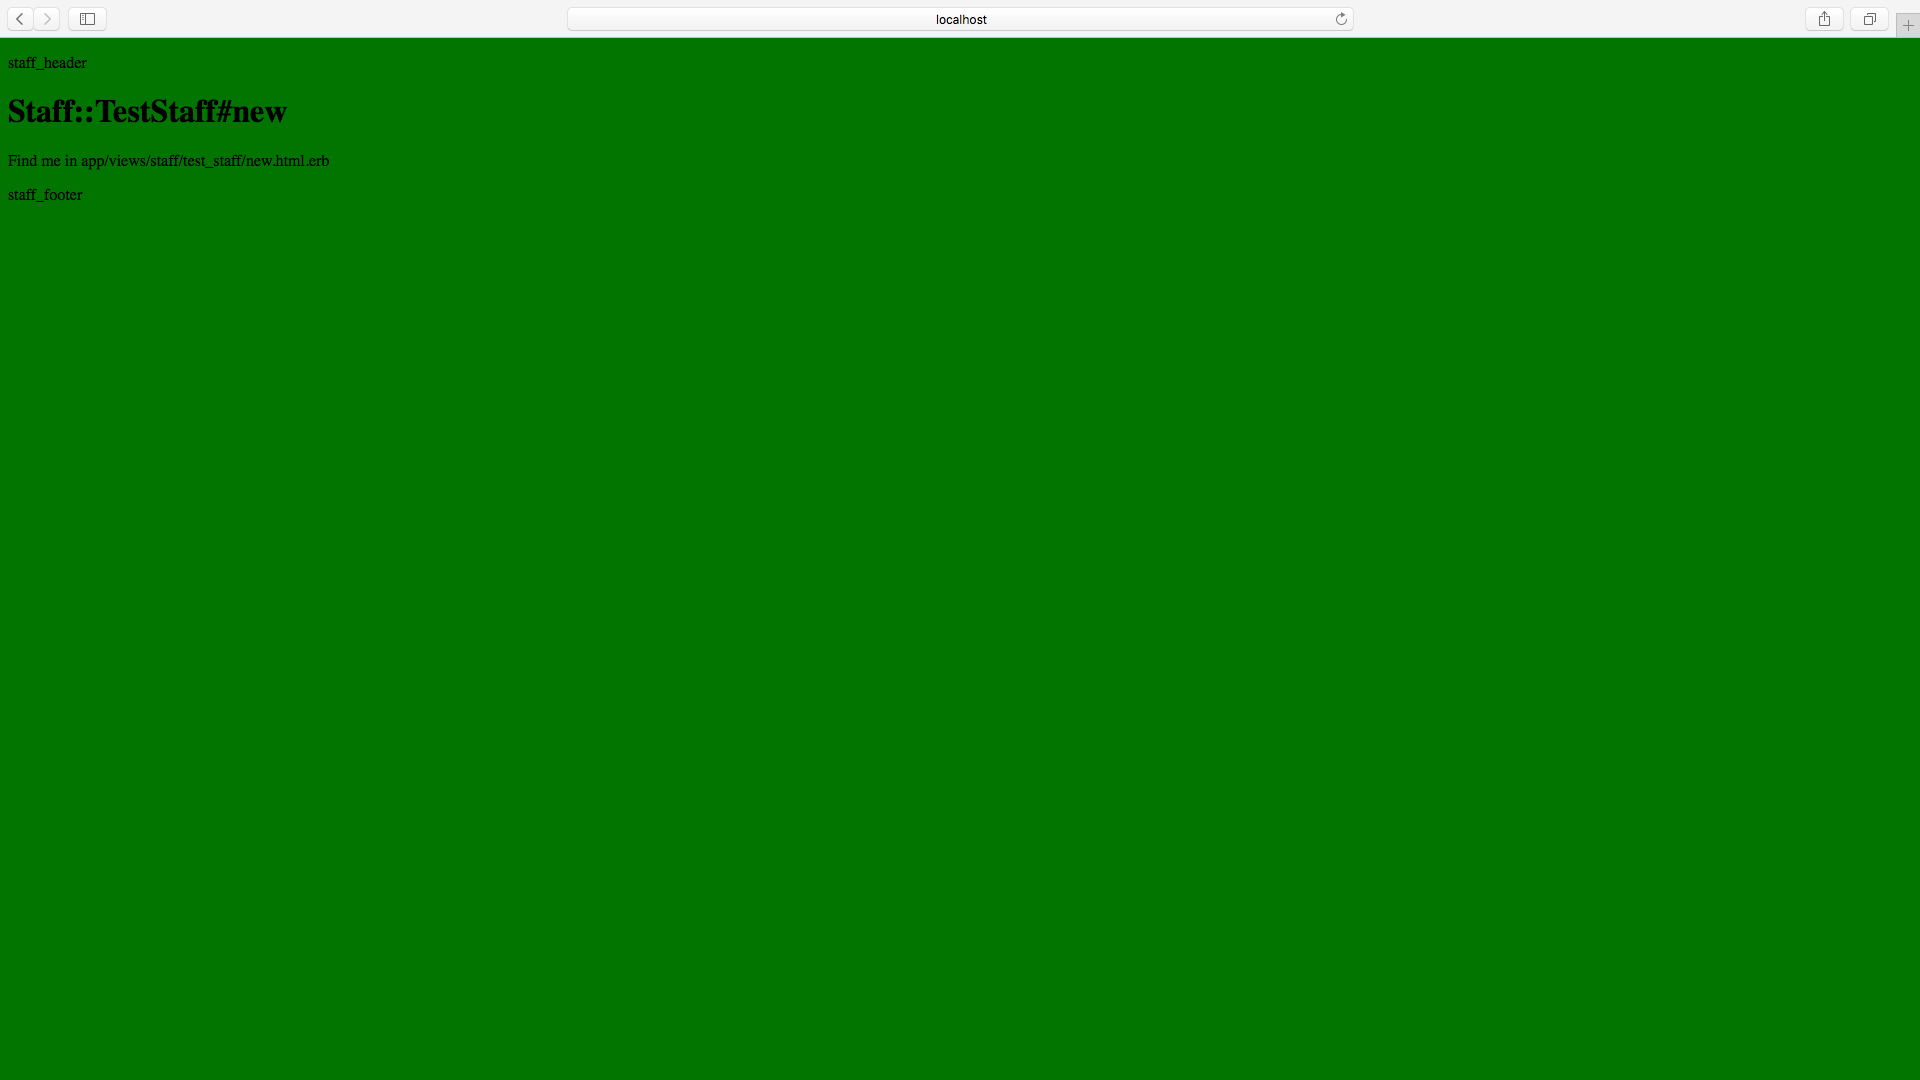
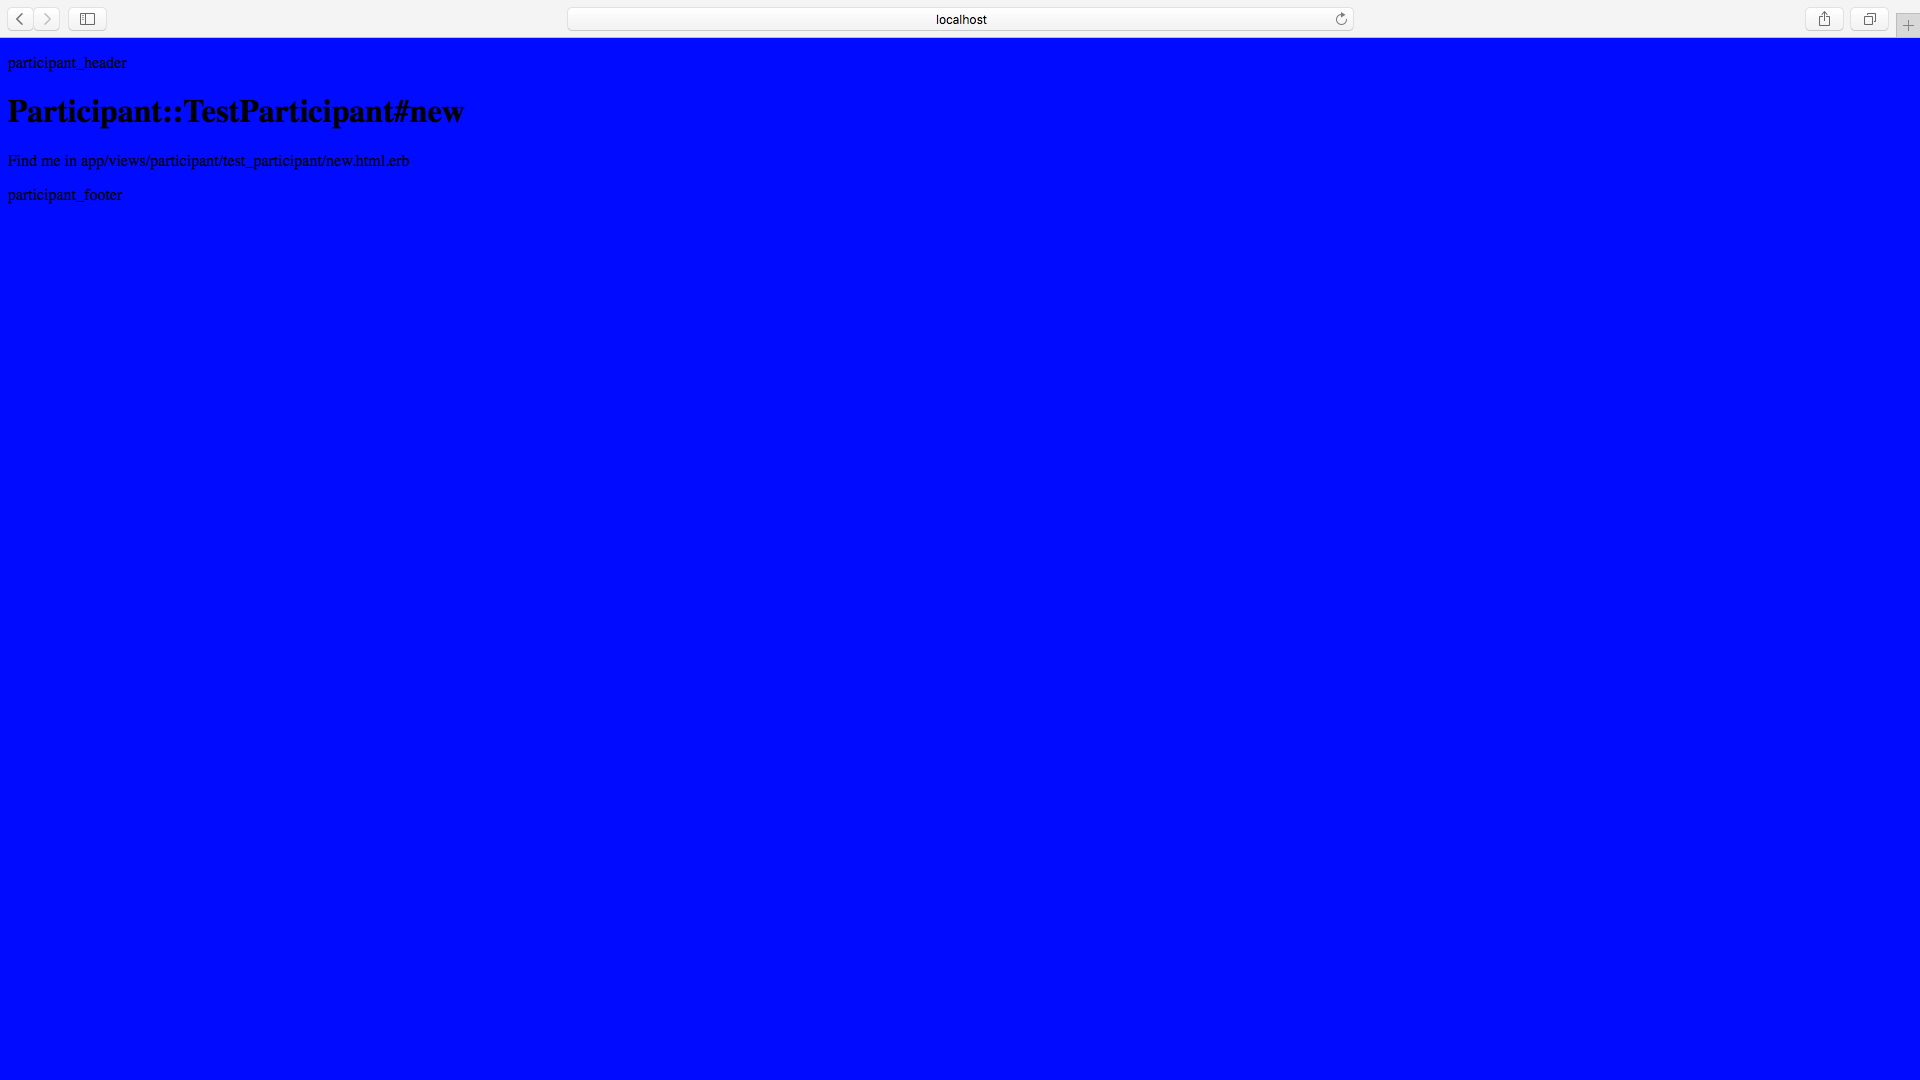
スタイルを適用してみる
今回は、以下のように実験してみました
body {
  background: red;
}
body {
  background: green;
}
body {
  background: blue;
}
ブラウザで確認
/admin/test_admin/new

/staff/test_staff/new
/participant/test_participant/new
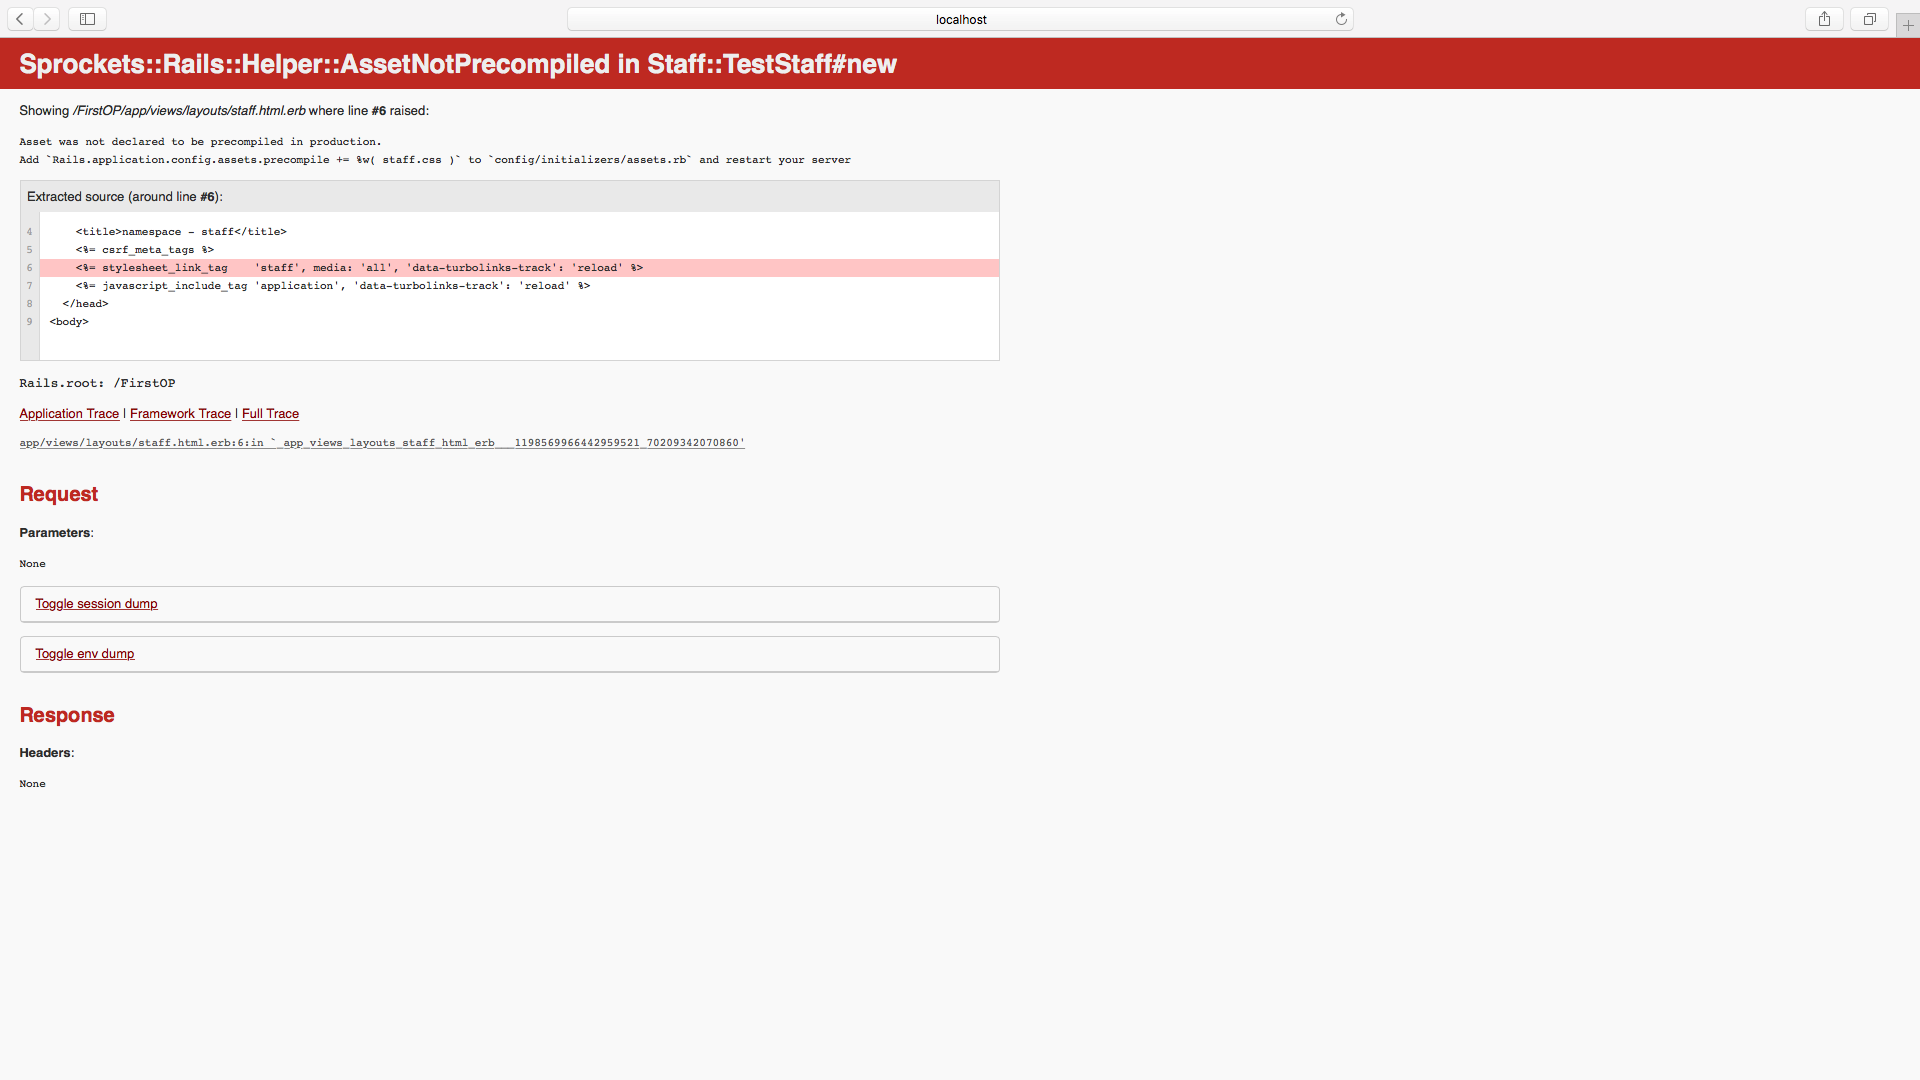
サーバーを一度再起動せずに、アクセスすると以下のようなエラーが画面が表示されます。
その際は、サーバーを再起動してください。
共通のスタイルなど
全体の設定など、共通のスタイルを当てる場合は以下のようにしています。
header {
  background: yellow;
}
を作り
*= require_tree ./public
のようにそれぞれのcssを修正
/admin/test_admin/new
/staff/test_staff/new
/participant/test_participant/new

Jsファイルの振り分けを行う
jsファイルの作成
application.jsとは別にadmin.jsを以下のように作成してください
//= require rails-ujs
//= require turbolinks
//= require_tree ./admin
他もそれぞれjsファイルを作ります。
//= require_tree ./staff
//= require_tree ./participant
作成したjsファイルをアセットプリコンパイルの対象に加える
以下のように追加
Rails.application.config.assets.precompile += %w( admin.js admin.css )
Rails.application.config.assets.precompile += %w( staff.js staff.css )
Rails.application.config.assets.precompile += %w( participant.js participant.css )
それぞれのネームスペース毎にJSを適用させる
JSインクルードタグを修正
<%= javascript_include_tag 'application', 'data-turbolinks-track': 'reload' %>
↓
<%= javascript_include_tag 'admin', 'data-turbolinks-track': 'reload' %>
他もそれぞれ修正
./app/views/layouts/staff.html.erb
./app/views/layouts/participant.html.erb
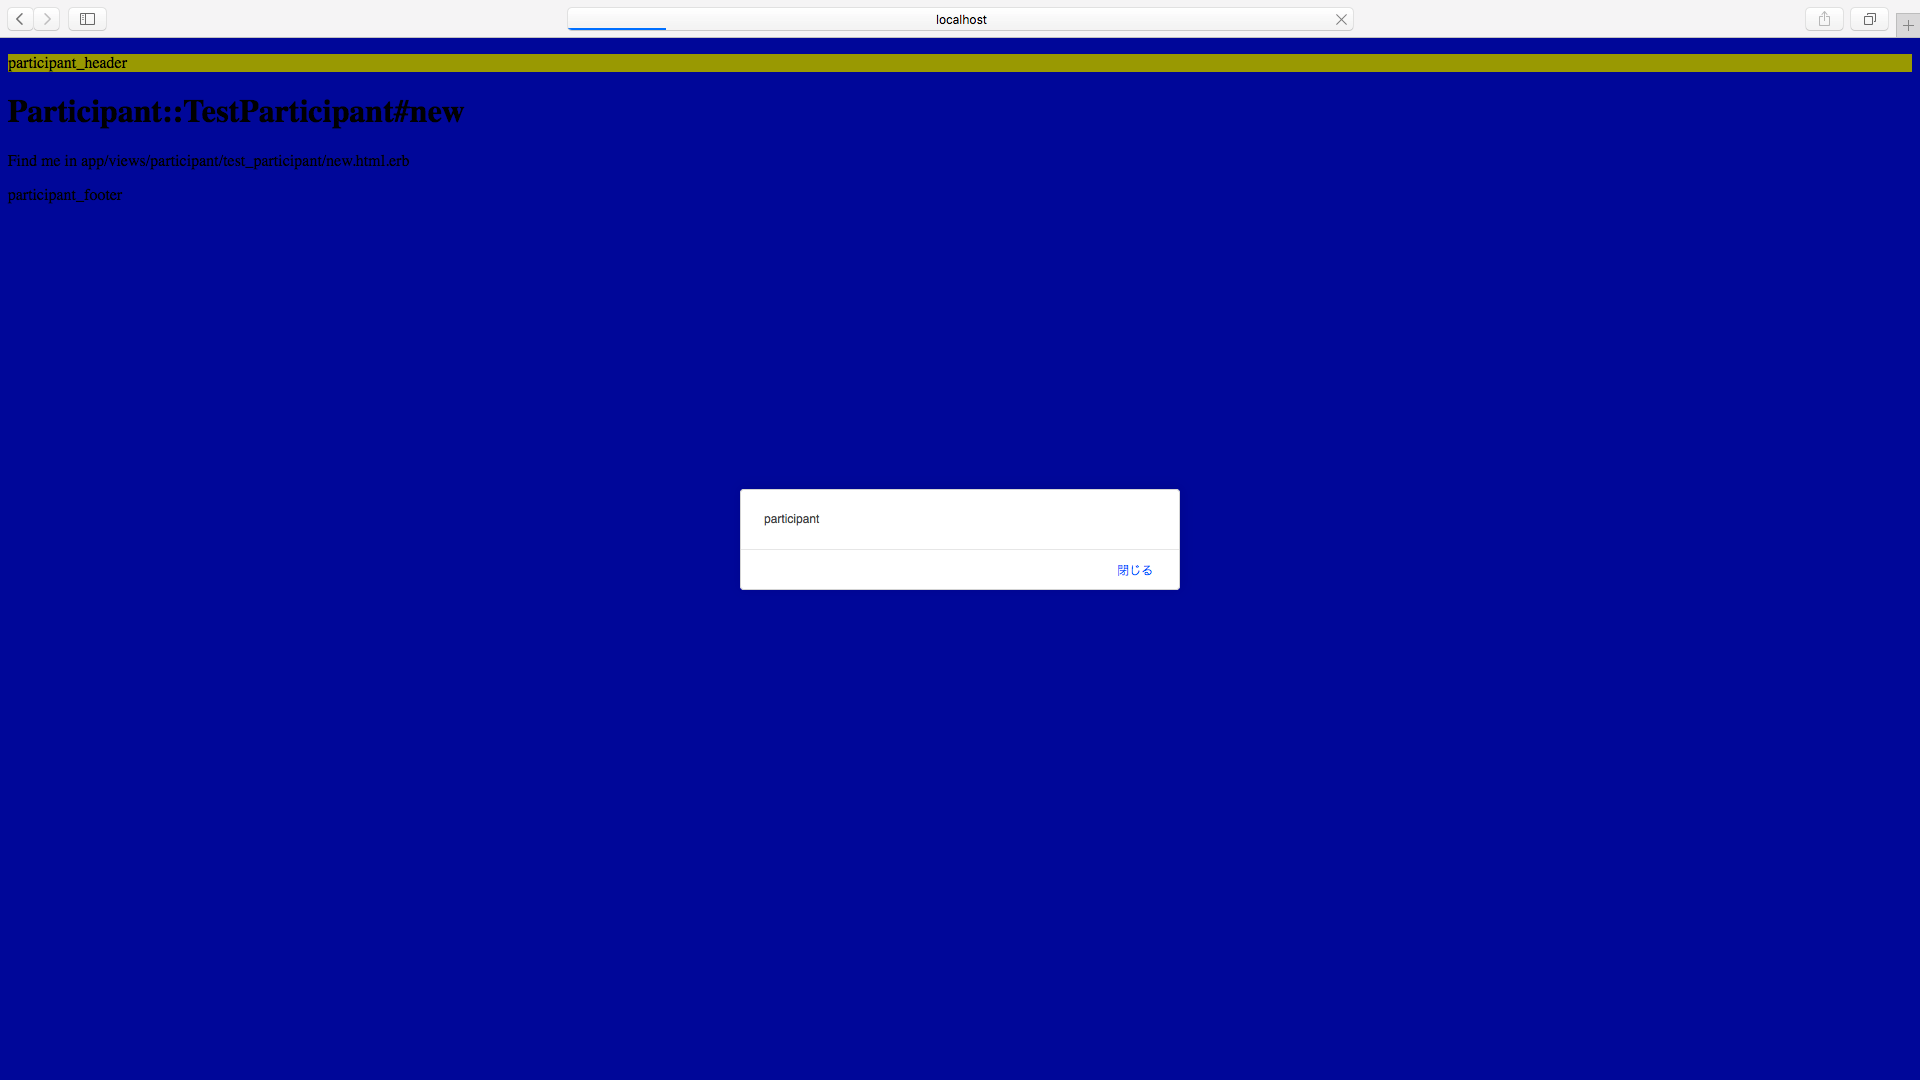
JSを適用してみる
今回は、以下のように実験してみました
alert 'admin'
alert 'staff'
alert 'participant'
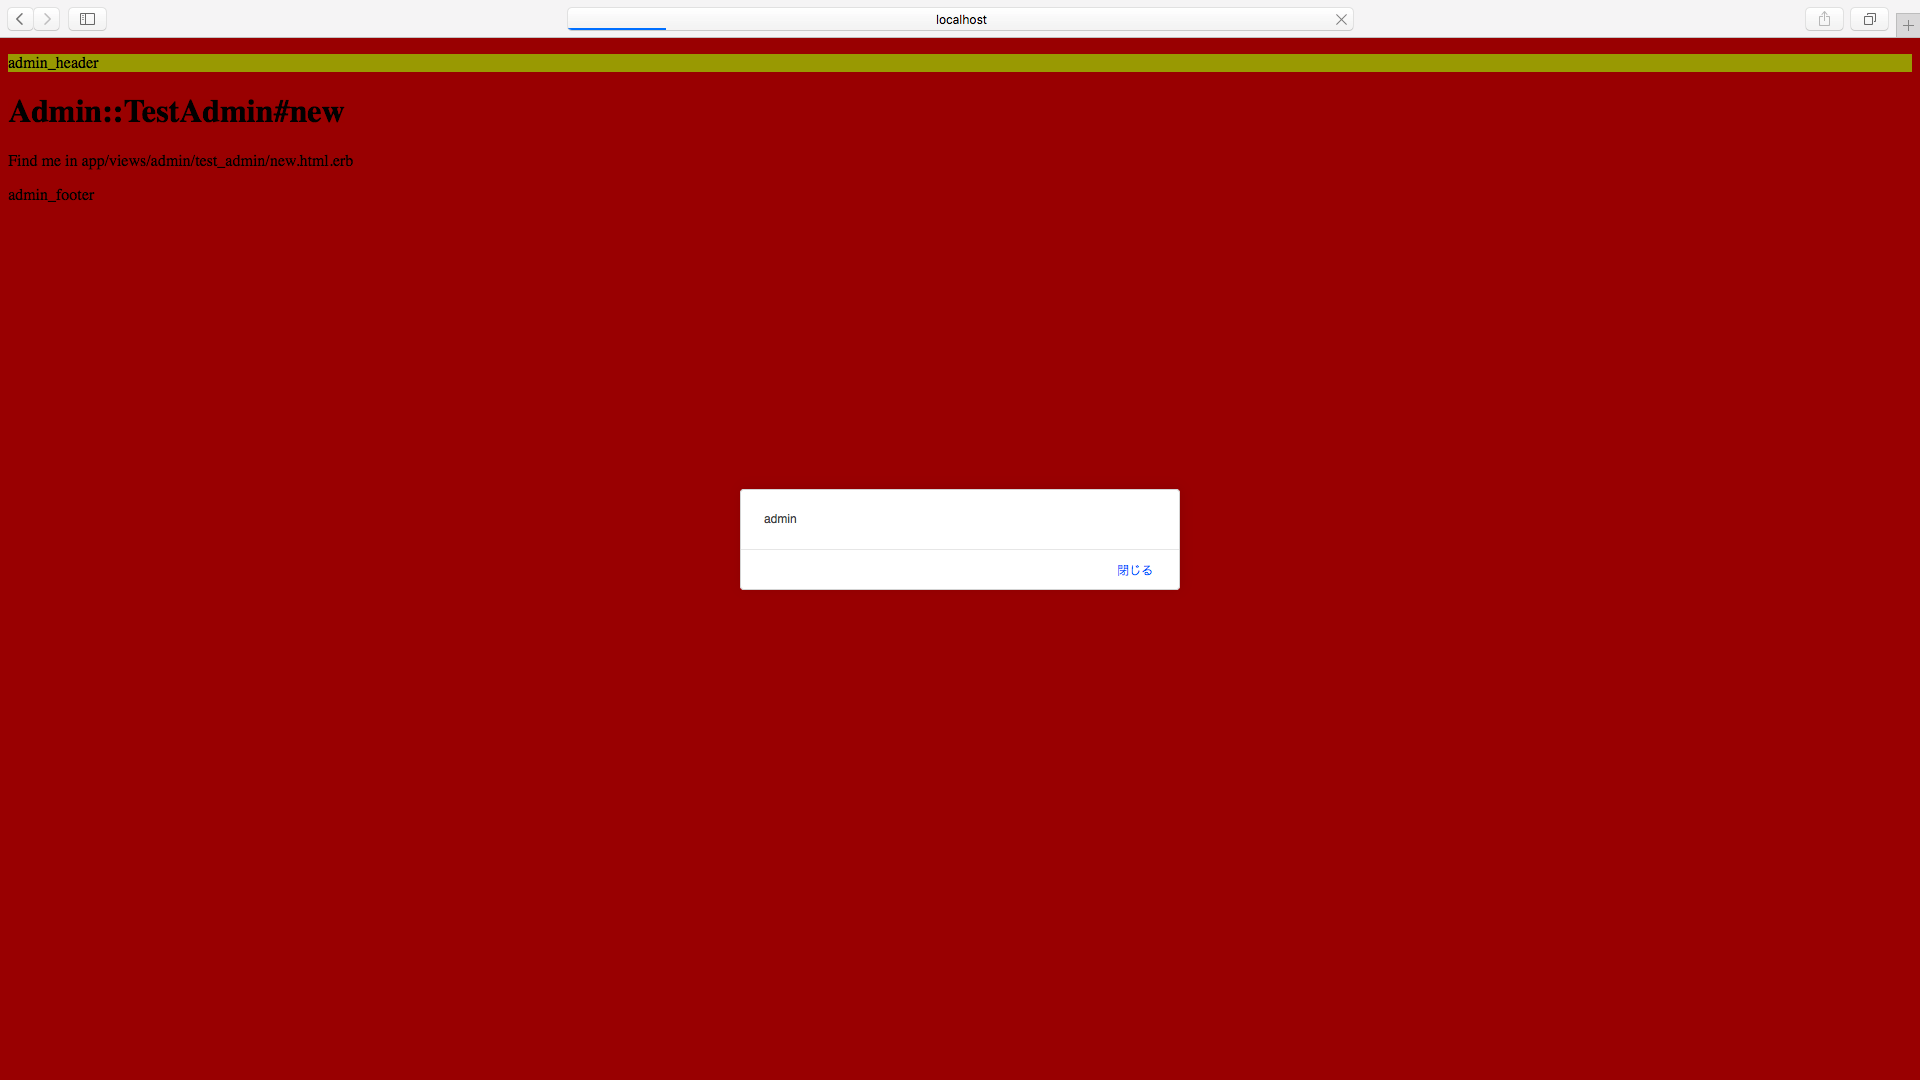
ブラウザで確認
/admin/test_admin/new
/staff/test_staff/new

/participant/test_participant/new
サーバーを一度再起動せずに、アクセスすると以下のようなエラーが画面が表示されます。
その際は、サーバーを再起動してください。

終わりに
以上が、Rails(5)namespaceでディレクトリで分ける方法になります。
勉強不足で、このやり方が最適な方法か否かはわかりません。
もし、もっといい方法知ってる方いらっしゃいましたらぜひコメント等で教えてください。