はじめに
- Active Directory対応の認証バックエンドを作成しました
- Active DirectoryのユーザーIDとパスワードで認証を行います
- ただし、認証以外の認可等は、対応していません
- なので、ごく基本的な仕組みのみの解説となります
- 参考URL https://docs.djangoproject.com/en/2.0/topics/auth/customizing/
前提
以下の条件で確認を行いました。
Django on Docker
- OS: Ubuntu Server 18.04 LTS
- Python: 3.6.5
- Django: 2.0.5
- ldap3: 2.5
Active Directory
- Windows Server 2008 R2 Standard
- 検証用のユーザーは、事前に作成
検証環境
##ソース等一式
https://github.com/maedamikio/public/tree/master/django_ldap
Docker環境の構築
$ docker build -t django_ldap .
$ docker run -it -p 8000:8000 -v $PWD:$PWD -w $PWD --name django_ldap --rm django_ldap /bin/bash
Django環境の構築
データベースの作成
$ python3 manage.py migrate
起動
$ python3 manage.py runserver 0.0.0.0:8000
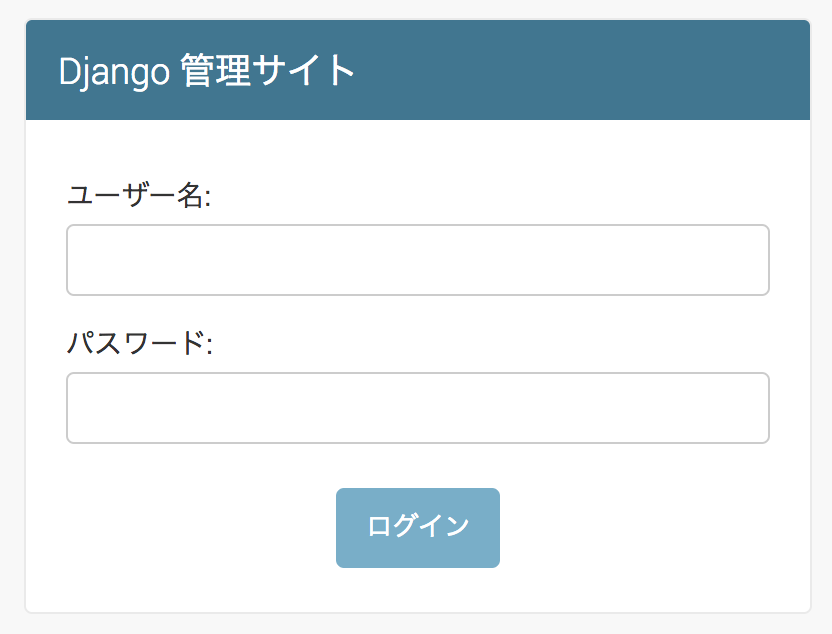
ウェブブラウザでアクセスし、検証環境が構築出来たことを確認します
バックエンド
以下のバックエンドクラスを説明いたします
django_ldap/backend.py
インポート等
Active Directory用のldapとsslのインポート
Djangoの設定とユーザークラスのインポート
from ssl import CERT_NONE, PROTOCOL_SSLv23
from ldap3 import Server, Connection, Tls

from django.conf import settings
from django.contrib.auth.models import User
Active Directory用の認証バックエンドクラス
下記のメソッドが必須です。
authenticateに、Active Directory関係を実装します
get_userは、参考URLからの変更は不要と思います
class Backend:

    def authenticate(self, request, username=None, password=None):
        省略

    def get_user(self, user_id):
        省略
Active Directory関係を実装
最初に、usernameとpasswordが存在するか確認しています
次に、Active Directoryへの接続の準備を行っています
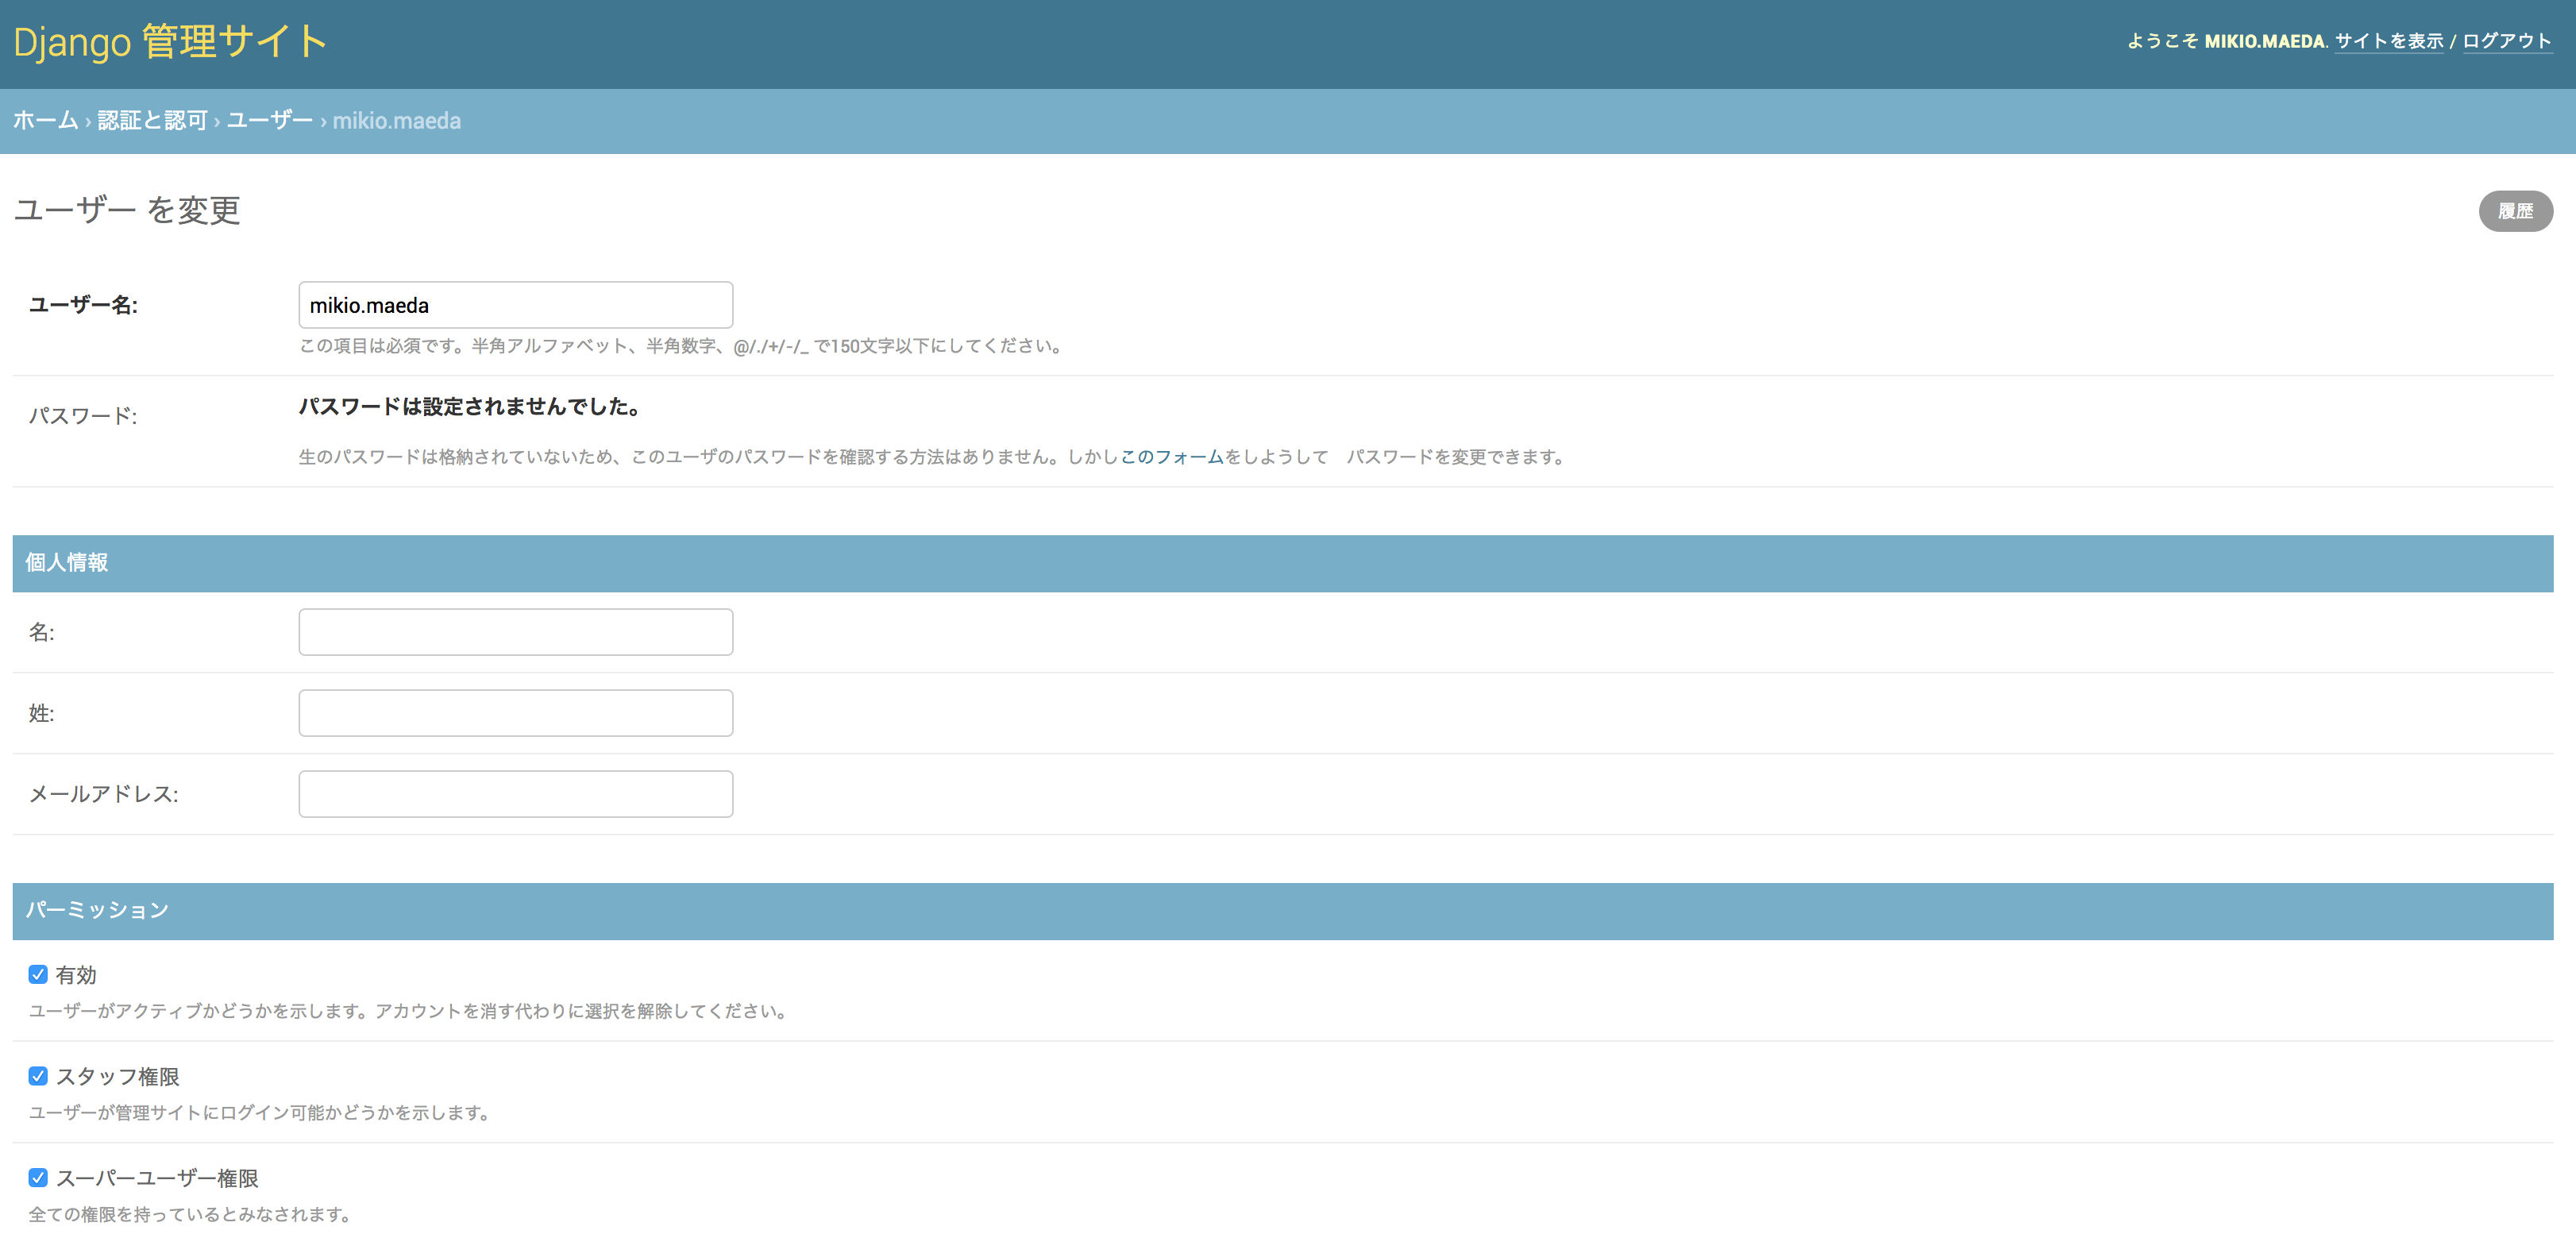
最後に、Djangoに該当usernameが存在しない場合は、新規作成しています
    def authenticate(self, request, username=None, password=None):

        # usernameとpasswordの存在の確認しています
        if not (username and password):
            return None

        # ssl関係を準備しています
        tls = Tls(validate=CERT_NONE, version=PROTOCOL_SSLv23)

        # Active Directoryへの接続の設定を行っています
        # 設定は、settings.pyにまとめて記載しています
        server = Server(host=settings.LDAP_HOST, port=settings.LDAP_PORT, use_ssl=True, tls=tls)

        # Active Directoryへ該当usernameとpasswordで接続しています
        # 設定は、settings.pyにまとめて記載しています
        connection = Connection(
            server,
            user='{}\\{}'.format(settings.LDAP_DOMAIN, username),
            password=password)

        # bindを行って、認証を実施しています
        if not connection.bind():
            return None

        # 認証が成功した場合の処理です
        try:
            # 該当usernameがDjangoに存在しているか確認しています
            user = User.objects.get(username=username)
        except User.DoesNotExist:
            # 該当usernameがDjangoに存在していない場合は、新規作成しています
            user = User(username=username)
            # 今回は、基本的な認証の確認のため、管理者権限でユーザーを作成しています
            user.is_staff = True
            user.is_superuser = True
            user.save()

        # 最後にDjangoユーザーを返却します
        return user
必須のメソッドを実装
ここは、参考URLをそのまま引用しています
    def get_user(self, user_id):
        try:
            return User.objects.get(pk=user_id)
        except User.DoesNotExist:
            return None
Active Directoryの設定
以下の設定を説明いたします
django_ldap/settings.py
# 上記のActive Directory用の認証バックエンドクラスの指定
# ここを変更すると標準のバックエンドは利用されなくなり、すべてActive Directoryになるので注意
AUTHENTICATION_BACKENDS = ['django_ldap.backend.Backend']

# IPアドレスやホスト名を文字列で記載して下さい
LDAP_HOST = 'your-ldap-host-ip-address'

# LDAPSは、標準の636を数値で記載して下さい
LDAP_PORT = 636

# Active Directoryのドメインを文字列で記載して下さい
LDAP_DOMAIN = 'your-ldap-domain'
Acitive Directoryでの認証の確認
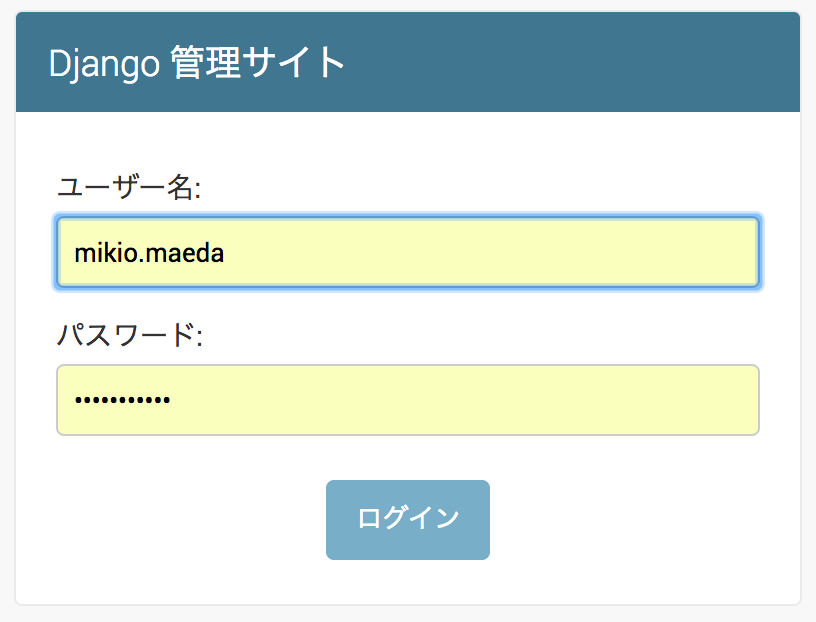
検証サーバーの起動と、管理サイトのログイン画面を表示
$ python3 manage.py runserver 0.0.0.0:8000
認証の確認
ユーザーは、予めActive Directoryへ作成しておいて下さい

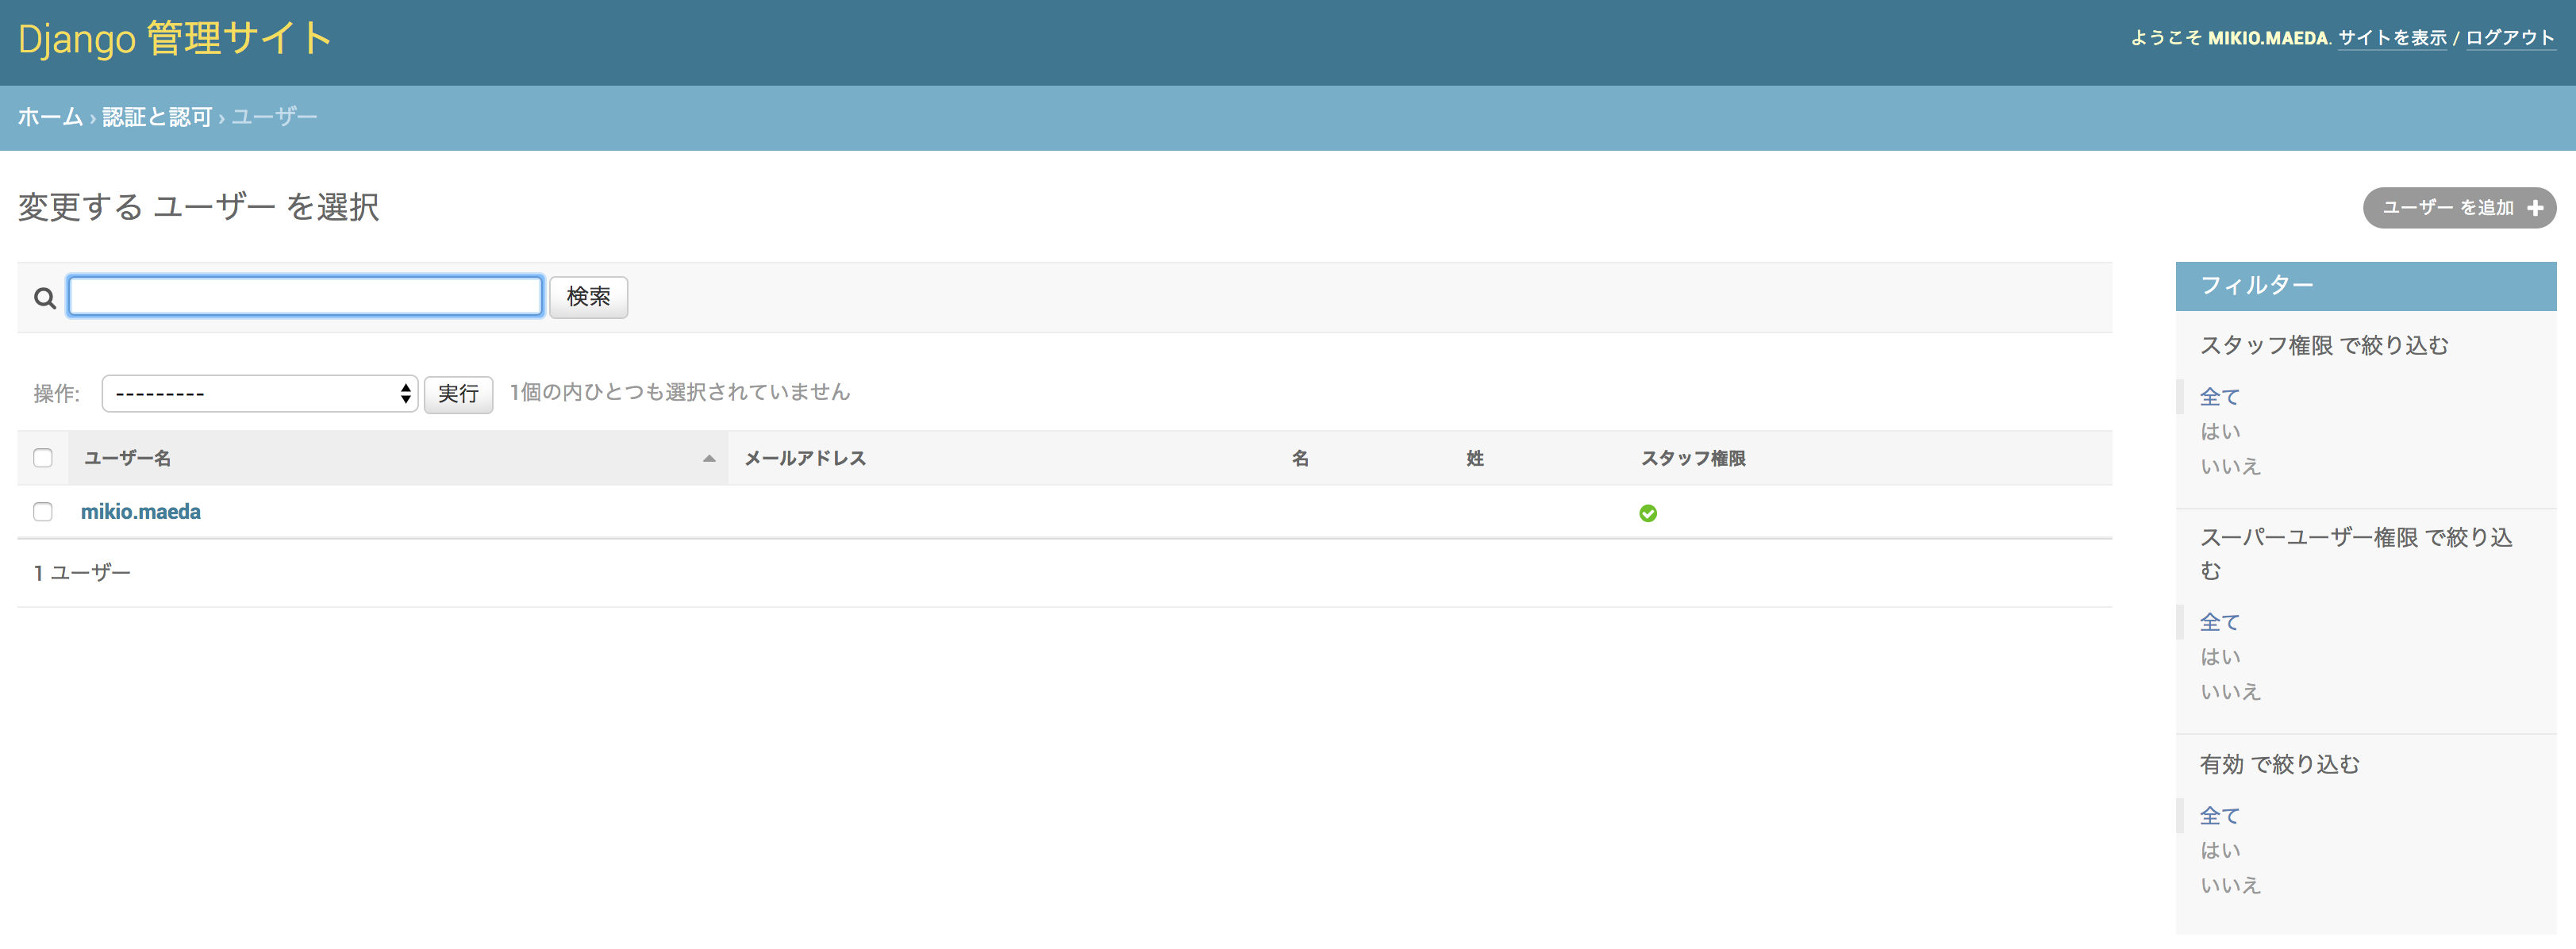
管理サイトの表示

認証と認可のユーザーを表示
ユーザーの詳細を確認

おわりに
今回は、Active Directoryを使った認証の基本的な仕組みを解説しました。
ここから、色々応用して頂ければ幸いです。


