背景
iOSアプリを開発していると、作成したViewを別の場所で使い回したい場合があります。またiOSアプリ向けのSDKを開発する場合、SDK側でViewを定義しておいて、クライアントアプリ側で使ってもらうという状況も想定されます。そのような場合は独自のUIViewクラスを作成し、他の場所でも再利用できるようにしておくとよいでしょう。
カスタムUIViewクラスを作成
File -> New -> FileからCocoa Touch Classを選択し、UIViewクラスを継承したCustomViewクラスを作成します。
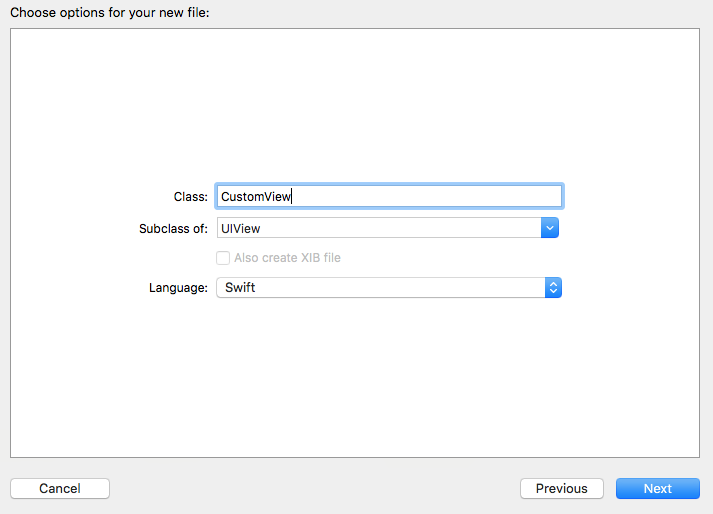
import UIKit

class CustomView: UIView {

}
CustomView.xibの作成
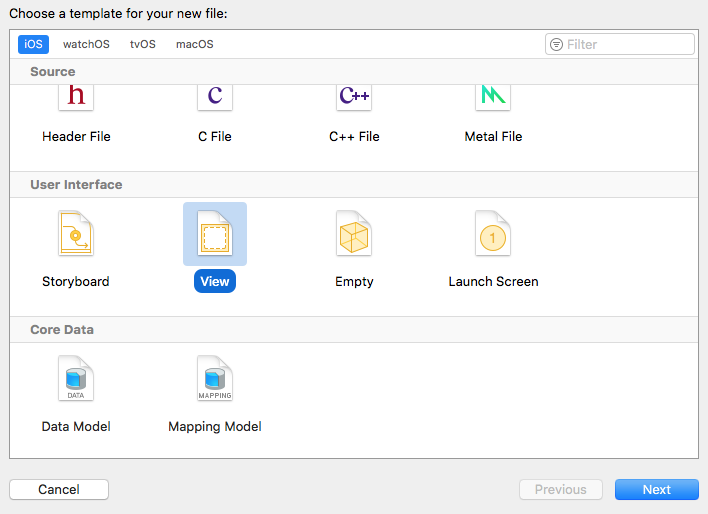
UIの実装をコードで行う方法もありますが、本記事ではxibを利用してUIを組み立てていくことにします。File -> New -> FileからViewを選択し、先ほど作成したクラスと同名のCustomView.xibを作成します。
サイズの調整
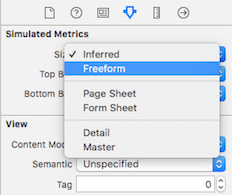
本記事では幅320*高さ50のバナーサイズのViewを作成することにします。まずは右側のAttributes inspectorからSizeを選択し、"Freeform"を指定してください。
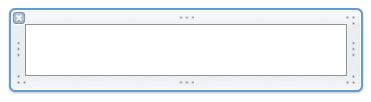
次に、Size inspectorで幅と高さ(320 * 50)を指定します。

これでバナーサイズのシンプルなViewが作成されました。
要素の配置
次にバナーの上にいくつかの要素を追加してみましょう。右下のObject libraryからImage Viewを選択し、ドラッグ&ドロップでViewの上に追加してください。

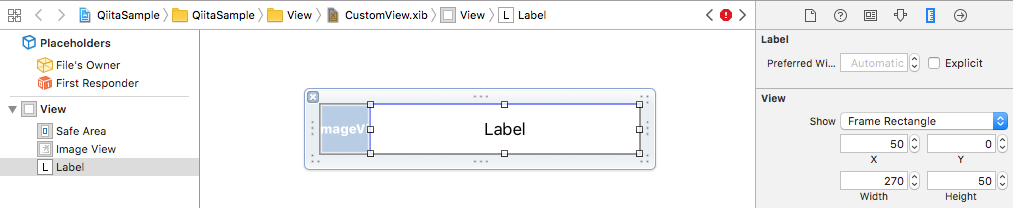
ImageViewはバナーの左端に正方形のアイコンのような形で置くことにします。ImageViewを選択した状態で、右側のSize inspectorを下図(x: 0, y: 0, width: 50, height: 50)のように修正してください。

同じ要領で、ImageViewの右側にUILabelを追加してみます。位置とサイズは(x: 50, y: 0, widht: 270, height: 50)となります。
コードとの接続
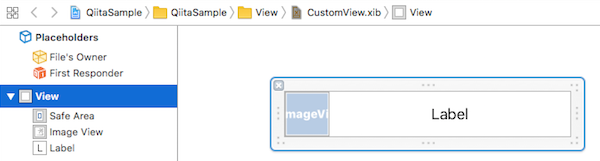
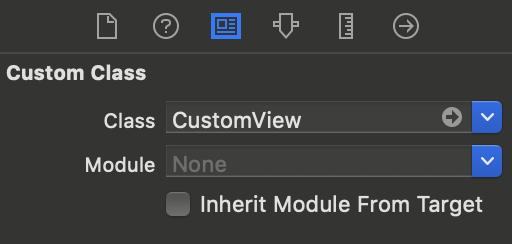
最後にxibとコードの接続を行います。左側のPlaceholdersからViewを選択状態にし、
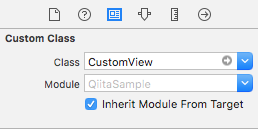
続いて右側のIdentity inspectorでクラス名をCustomViewに指定することで、xibとクラスの連結を行います。
次に要素の接続を行います。Xcode右上のリングが二つ重なったようなマーク(Show the Assistant editor)を選択してください。
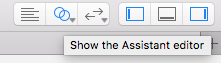
するとCustomViewクラスのコードが右側に表示されるので、
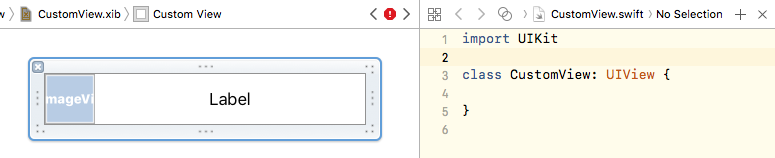
Ctrlを押しながらドラッグ&ドロップでImageViewをコード部分に引っ張って接続してください。
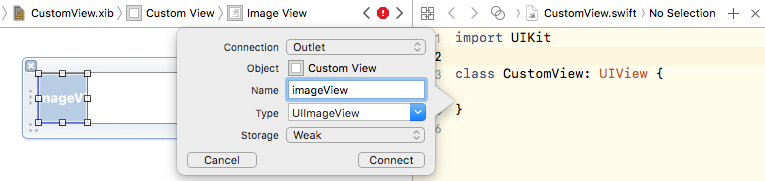
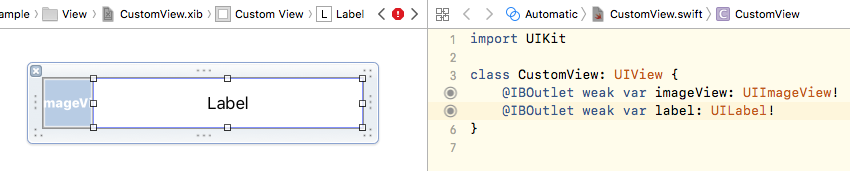
同様にLabelの接続も行い、各要素のproperty登録が完了しました。
CustomViewを再利用可能な状態にする
最後に下記のようにinitメソッドを実装することで、CustomViewを他の場所でも再利用可能な状態にします。
class CustomView: UIView {
    @IBOutlet weak var imageView: UIImageView!
    @IBOutlet weak var label: UILabel!

    override init(frame: CGRect) {
        super.init(frame: frame)
        loadNib()
    }

    required init?(coder aDecoder: NSCoder) {
        super.init(coder: aDecoder)!
        loadNib()
    }

    func loadNib() {
        if let view = Bundle(for: type(of: self)).loadNibNamed(String(describing: type(of: self)), owner: self, options: nil)?.first as? UIView {
            view.frame = self.bounds
            self.addSubview(view)
        }
    }
}
使用方法
Storyboard/xibで一旦UIViewを追加し、InspectorのClass名の箇所をCustomViewに書き換えれば、今回作成したCustomViewを任意の箇所で使用することができます。
注意点
本記事ではView要素のConstraintの設定を省略しています。実際の開発では各View要素のConstraintを設定し、複数の端末サイズに対応するとよいでしょう。