Rancher2.1でGitLabとの連携が簡単になったみたいなので、使い勝手を試してみました。
※今回はGoogle Cloud Platform(GCP)上に環境を構築しています。
- Google Compute Engine上のVMにUbuntu16.04を入れてベース環境を構築します。
- ベース環境にDockerを導入します。
- ベース環境にRancherを導入します。
docker run -d --restart=unless-stopped -p 80:80 -p 443:443 rancher/rancher:latest
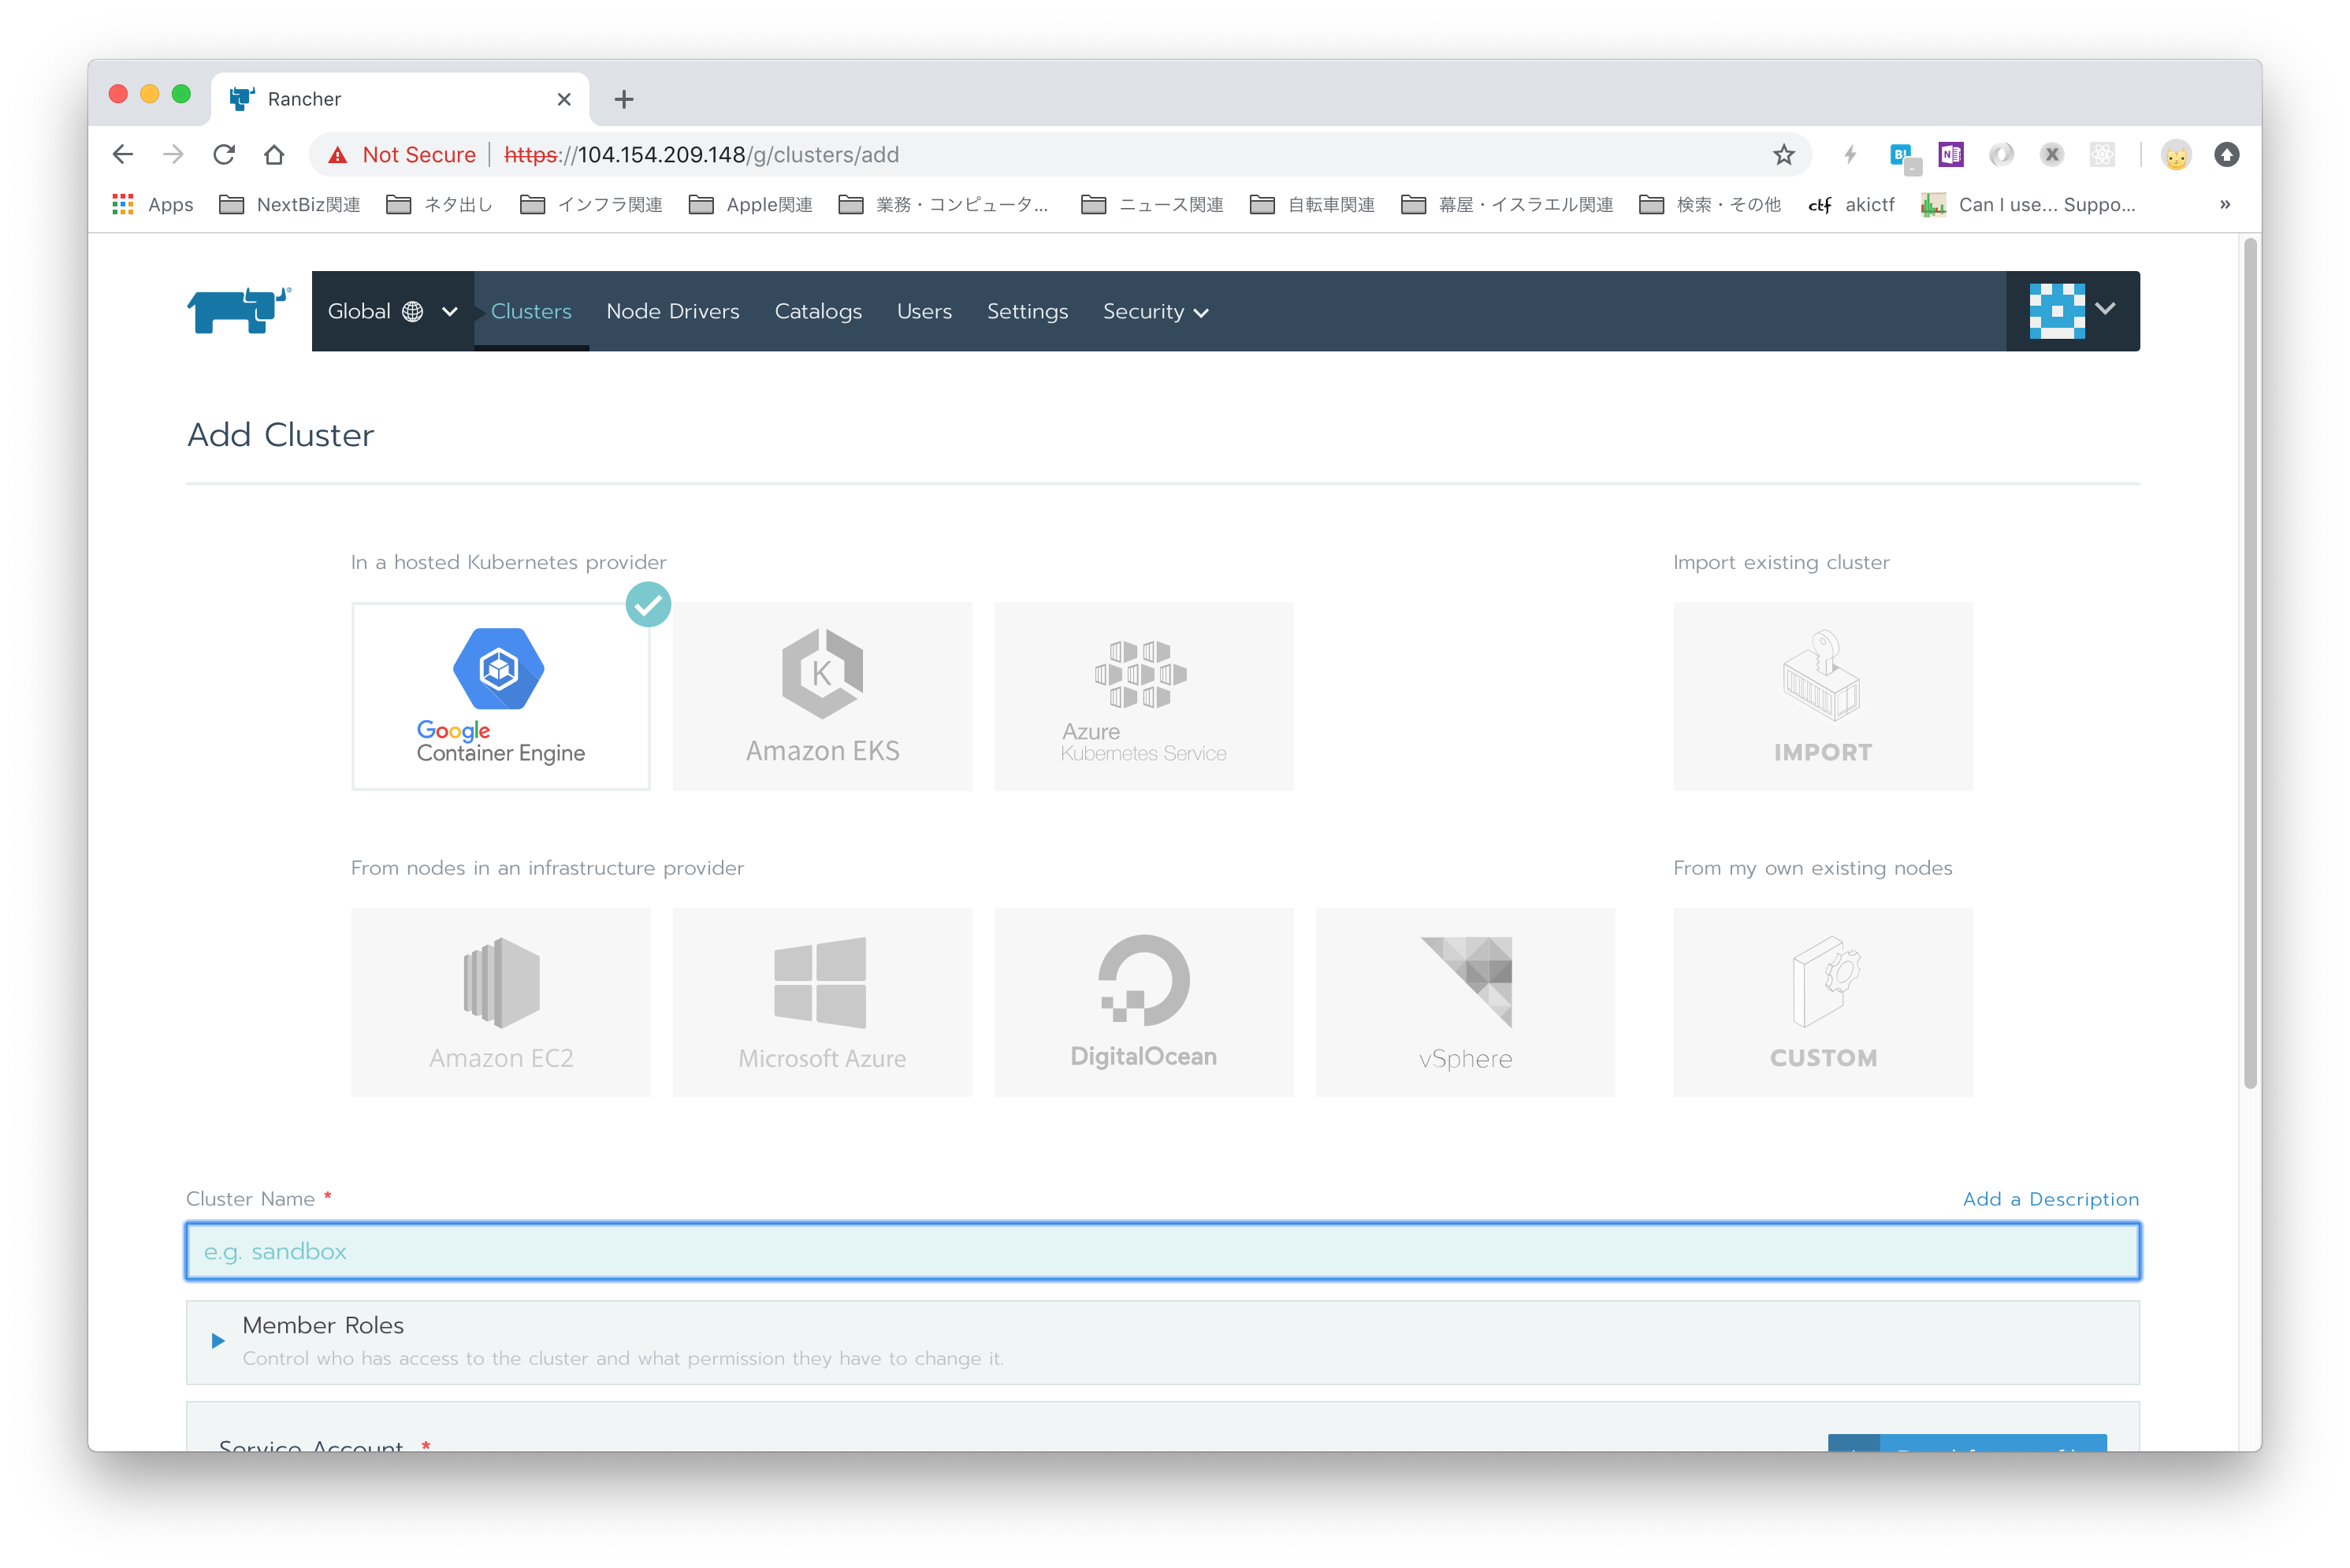
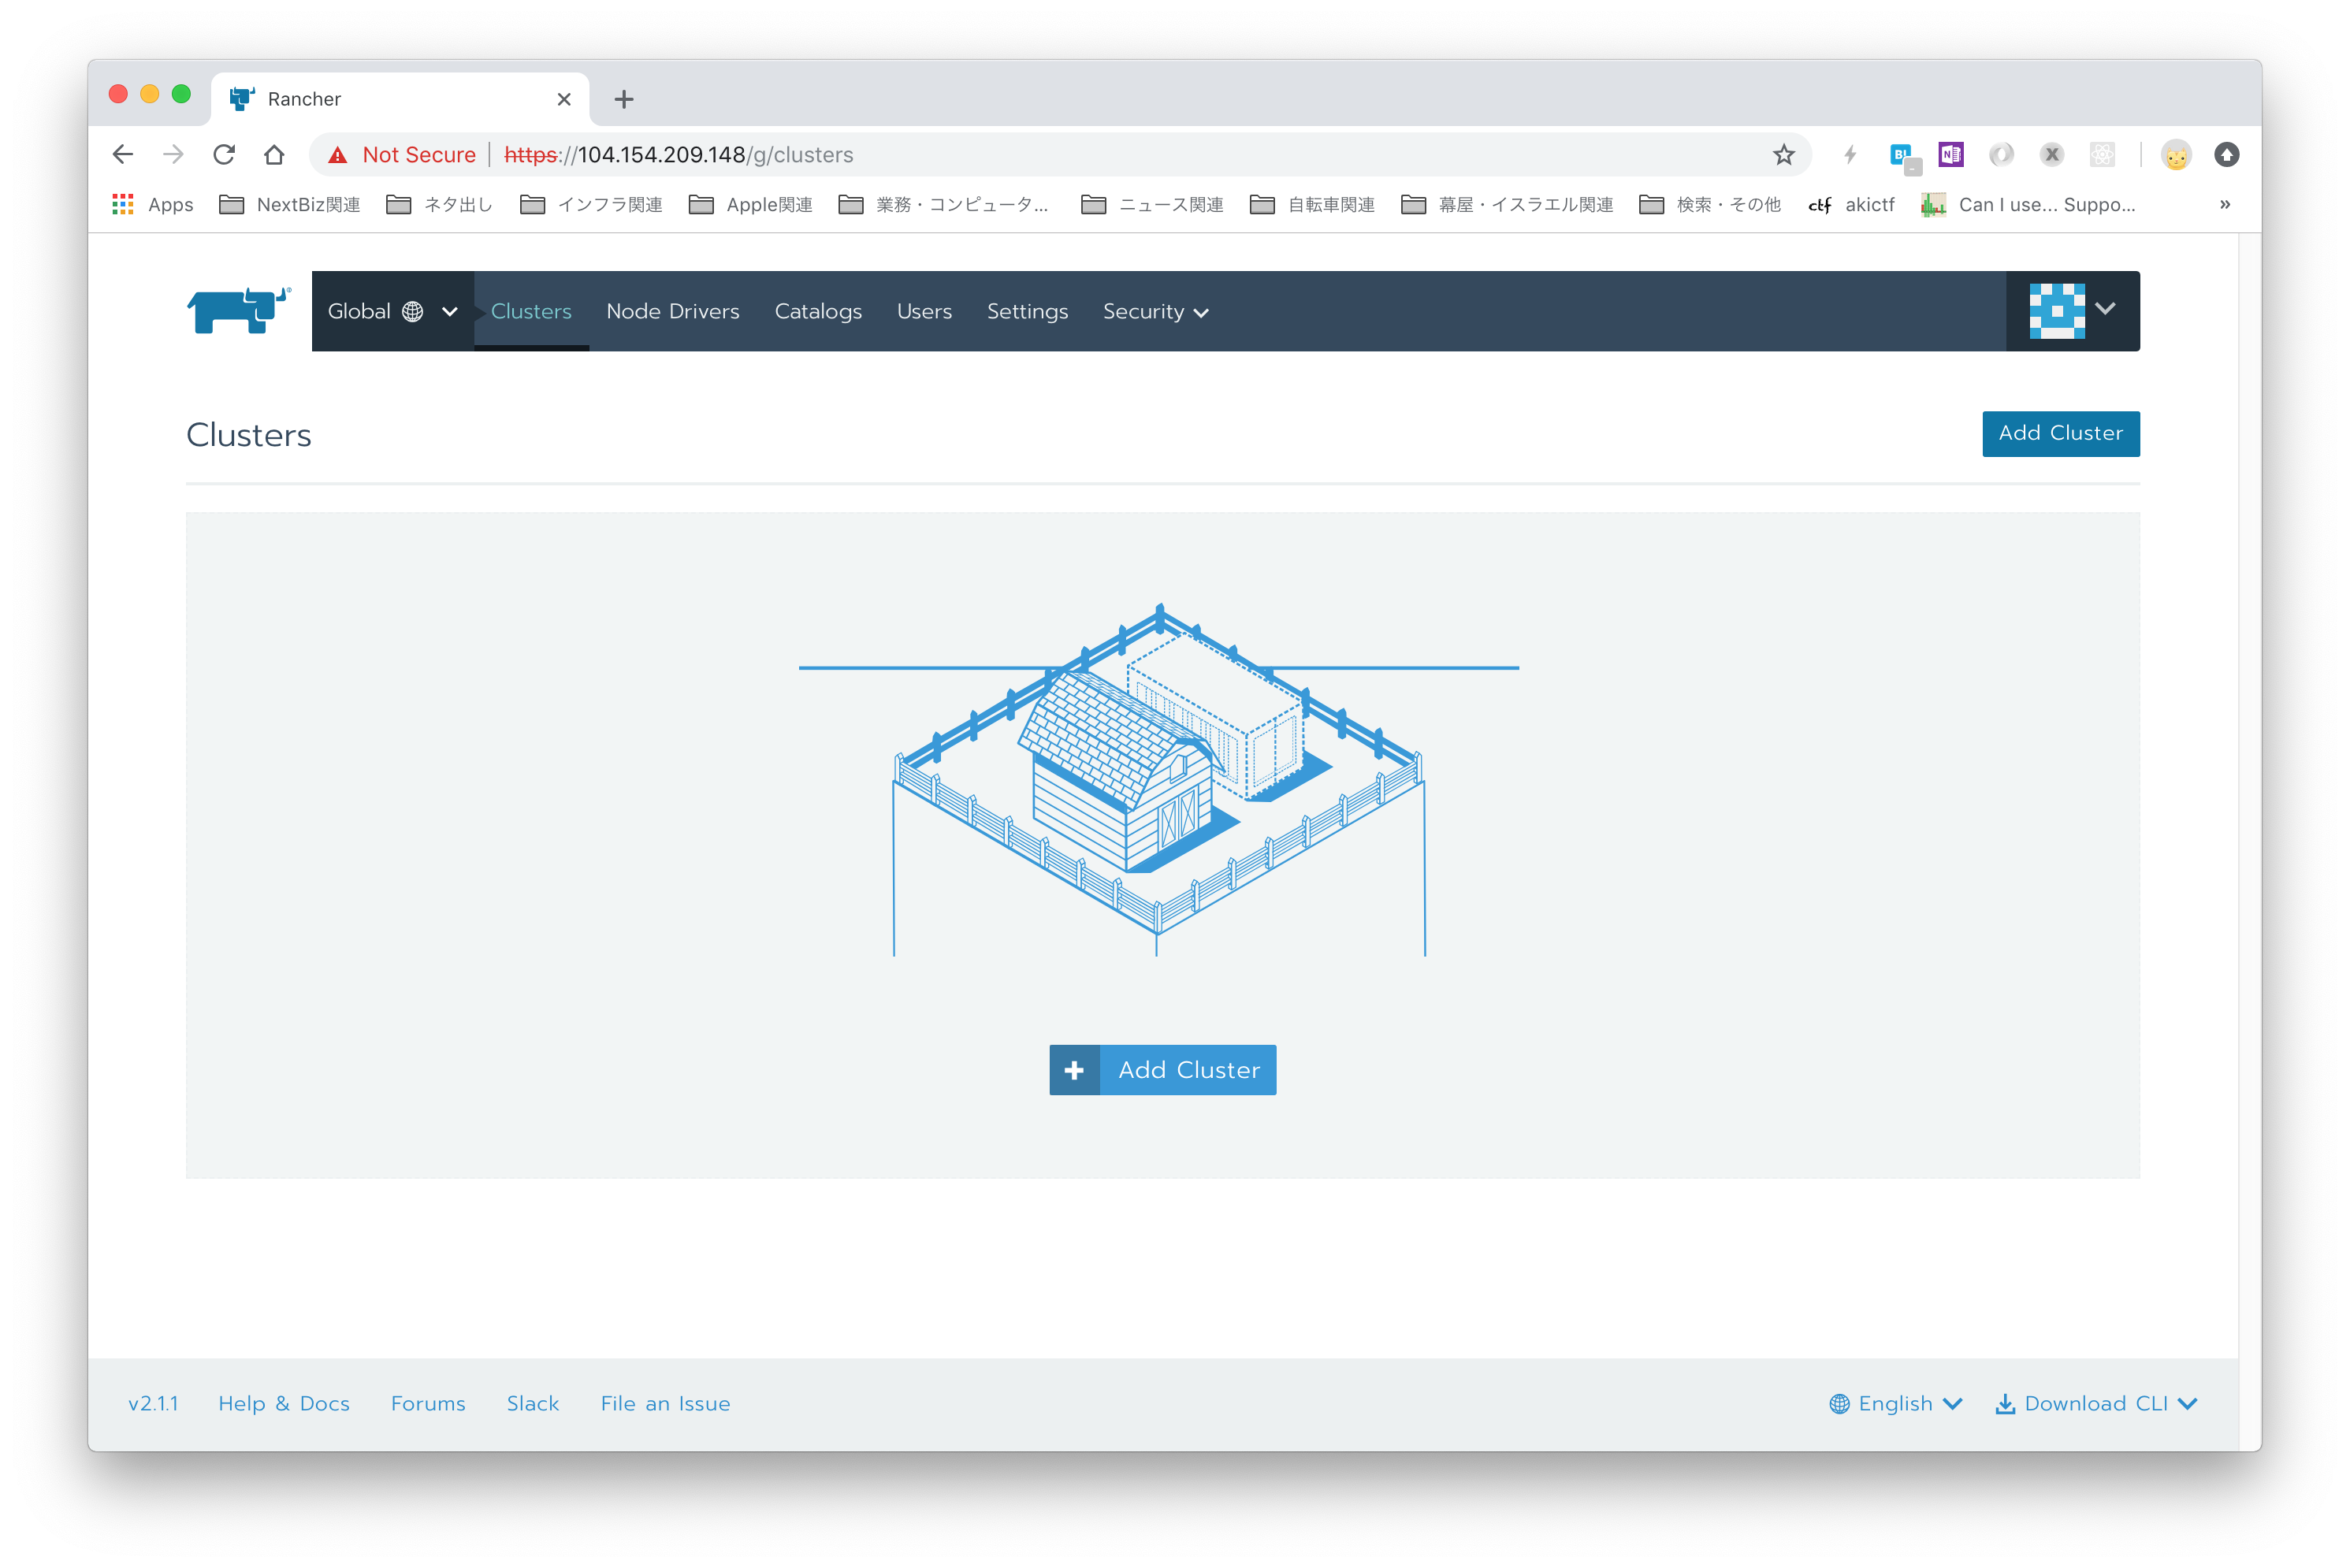 4. RancherからClusterを追加
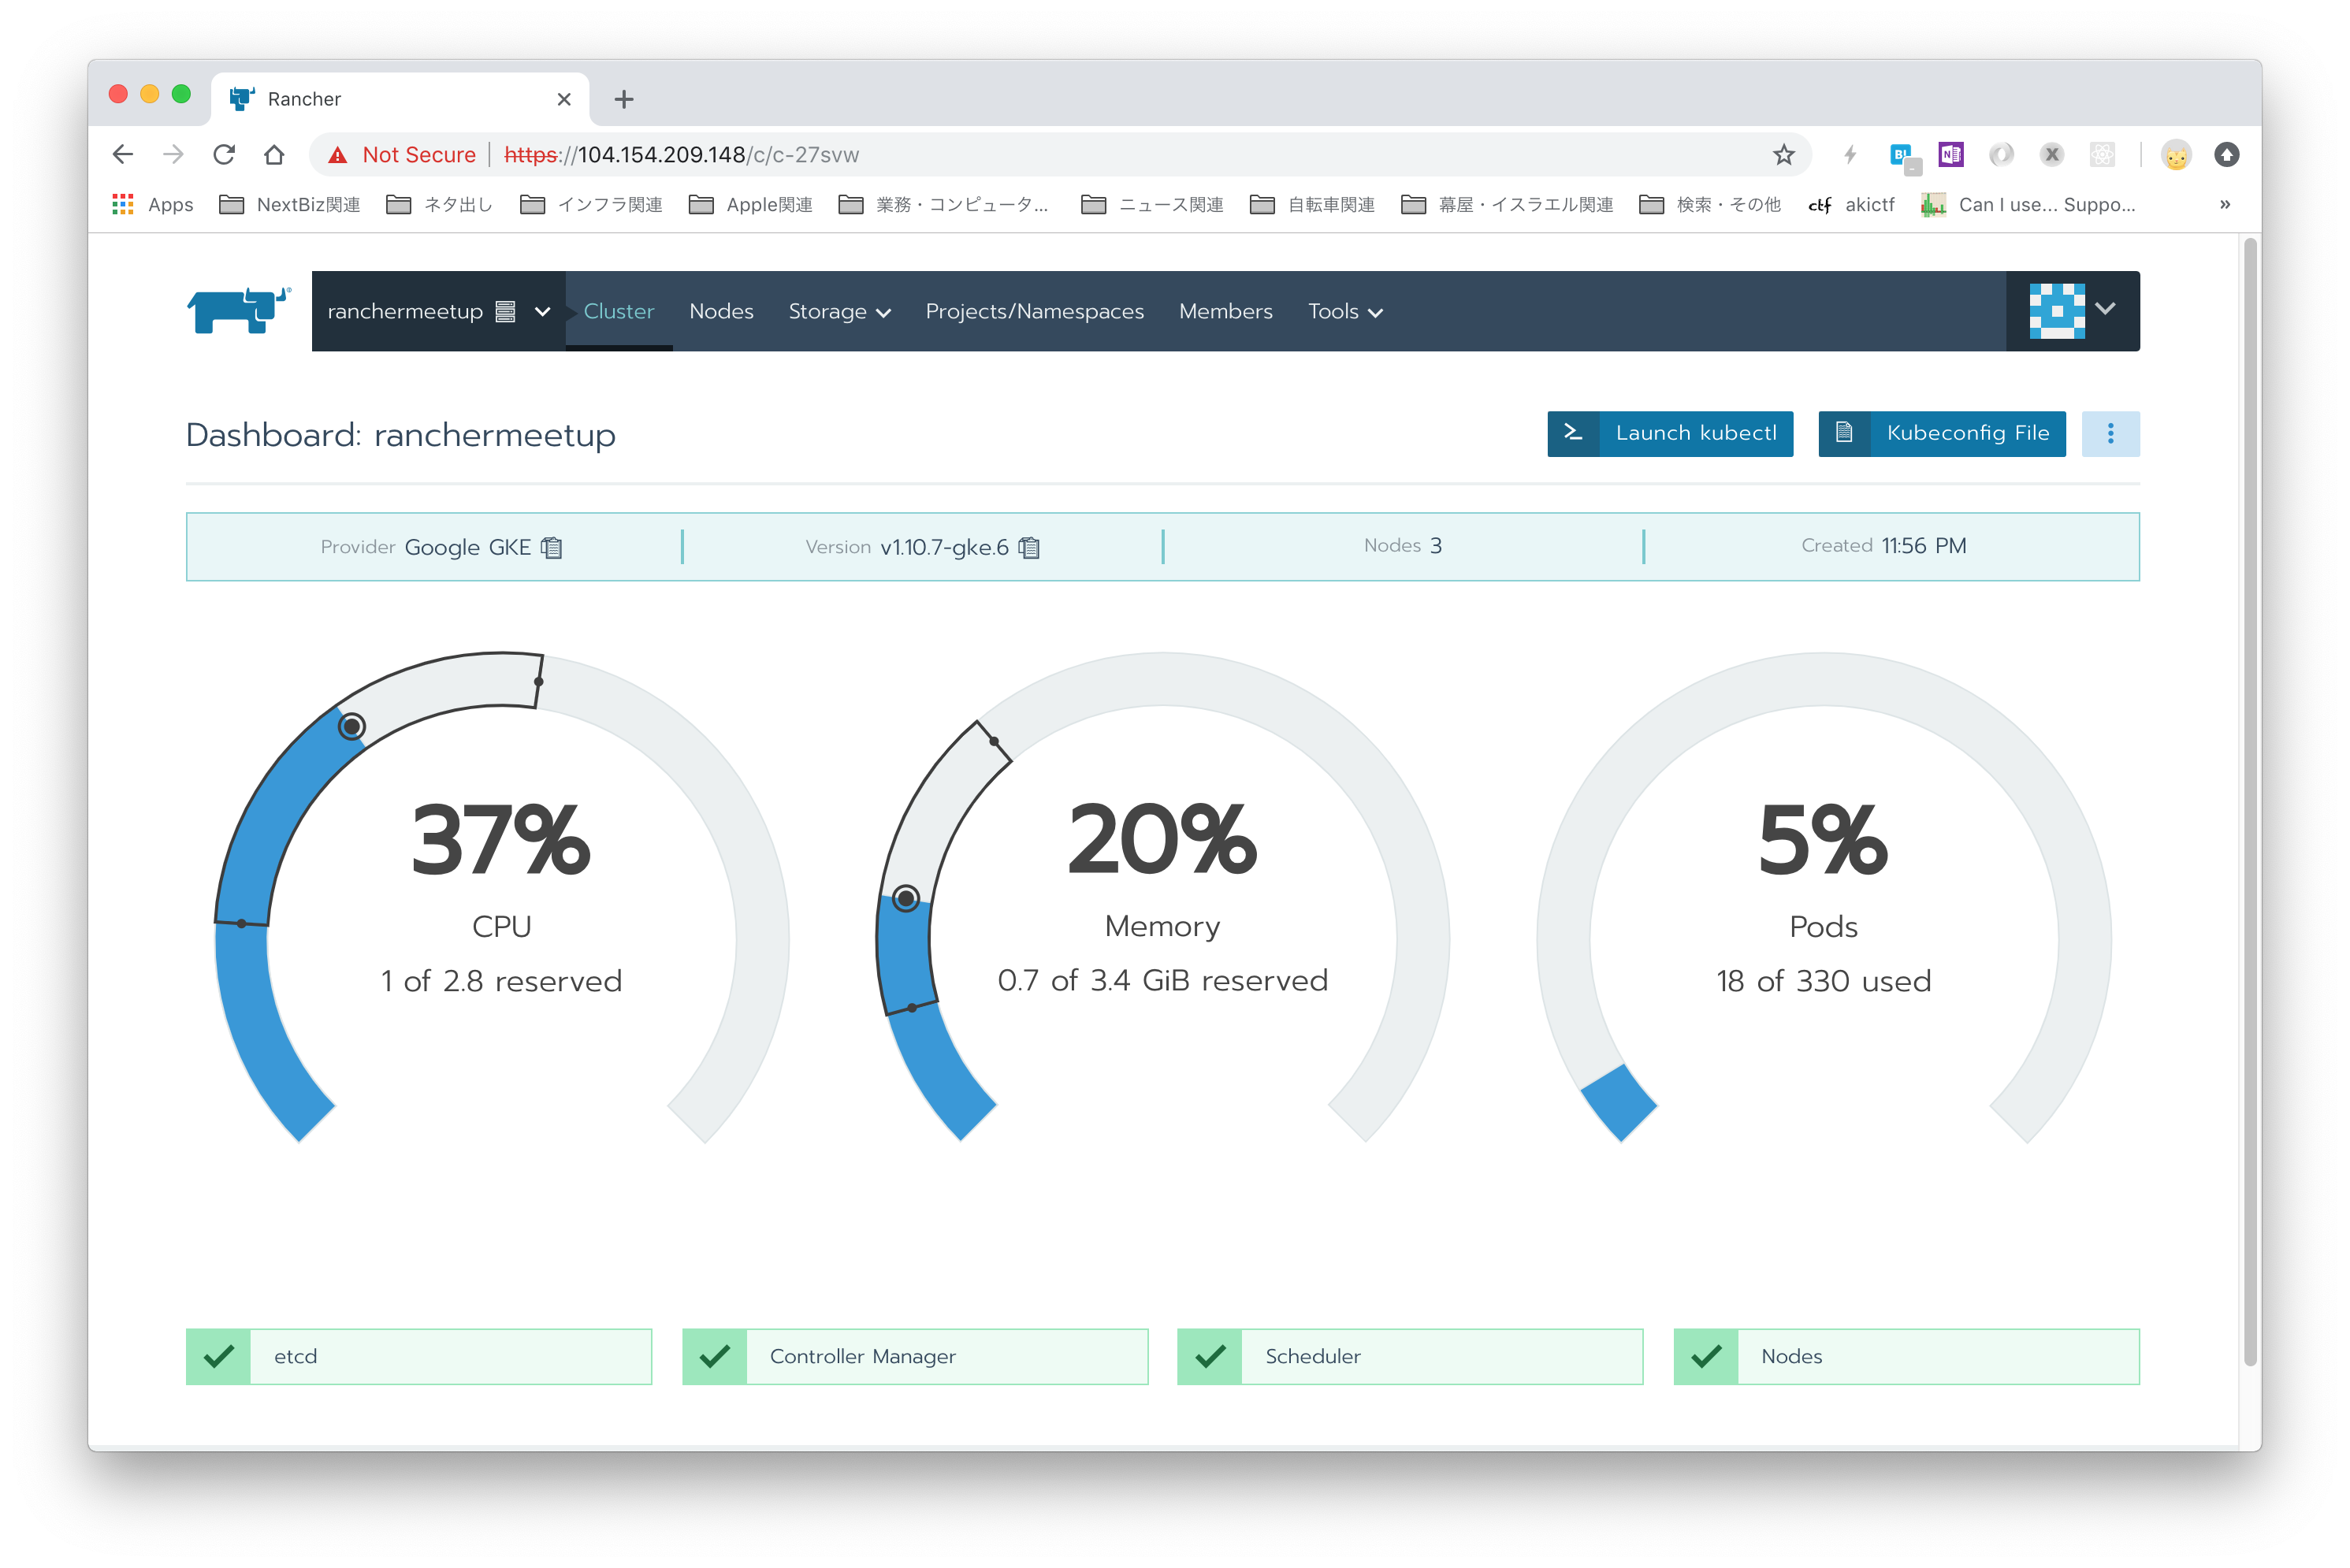
 3つのNodeを持つ環境が構築されました。
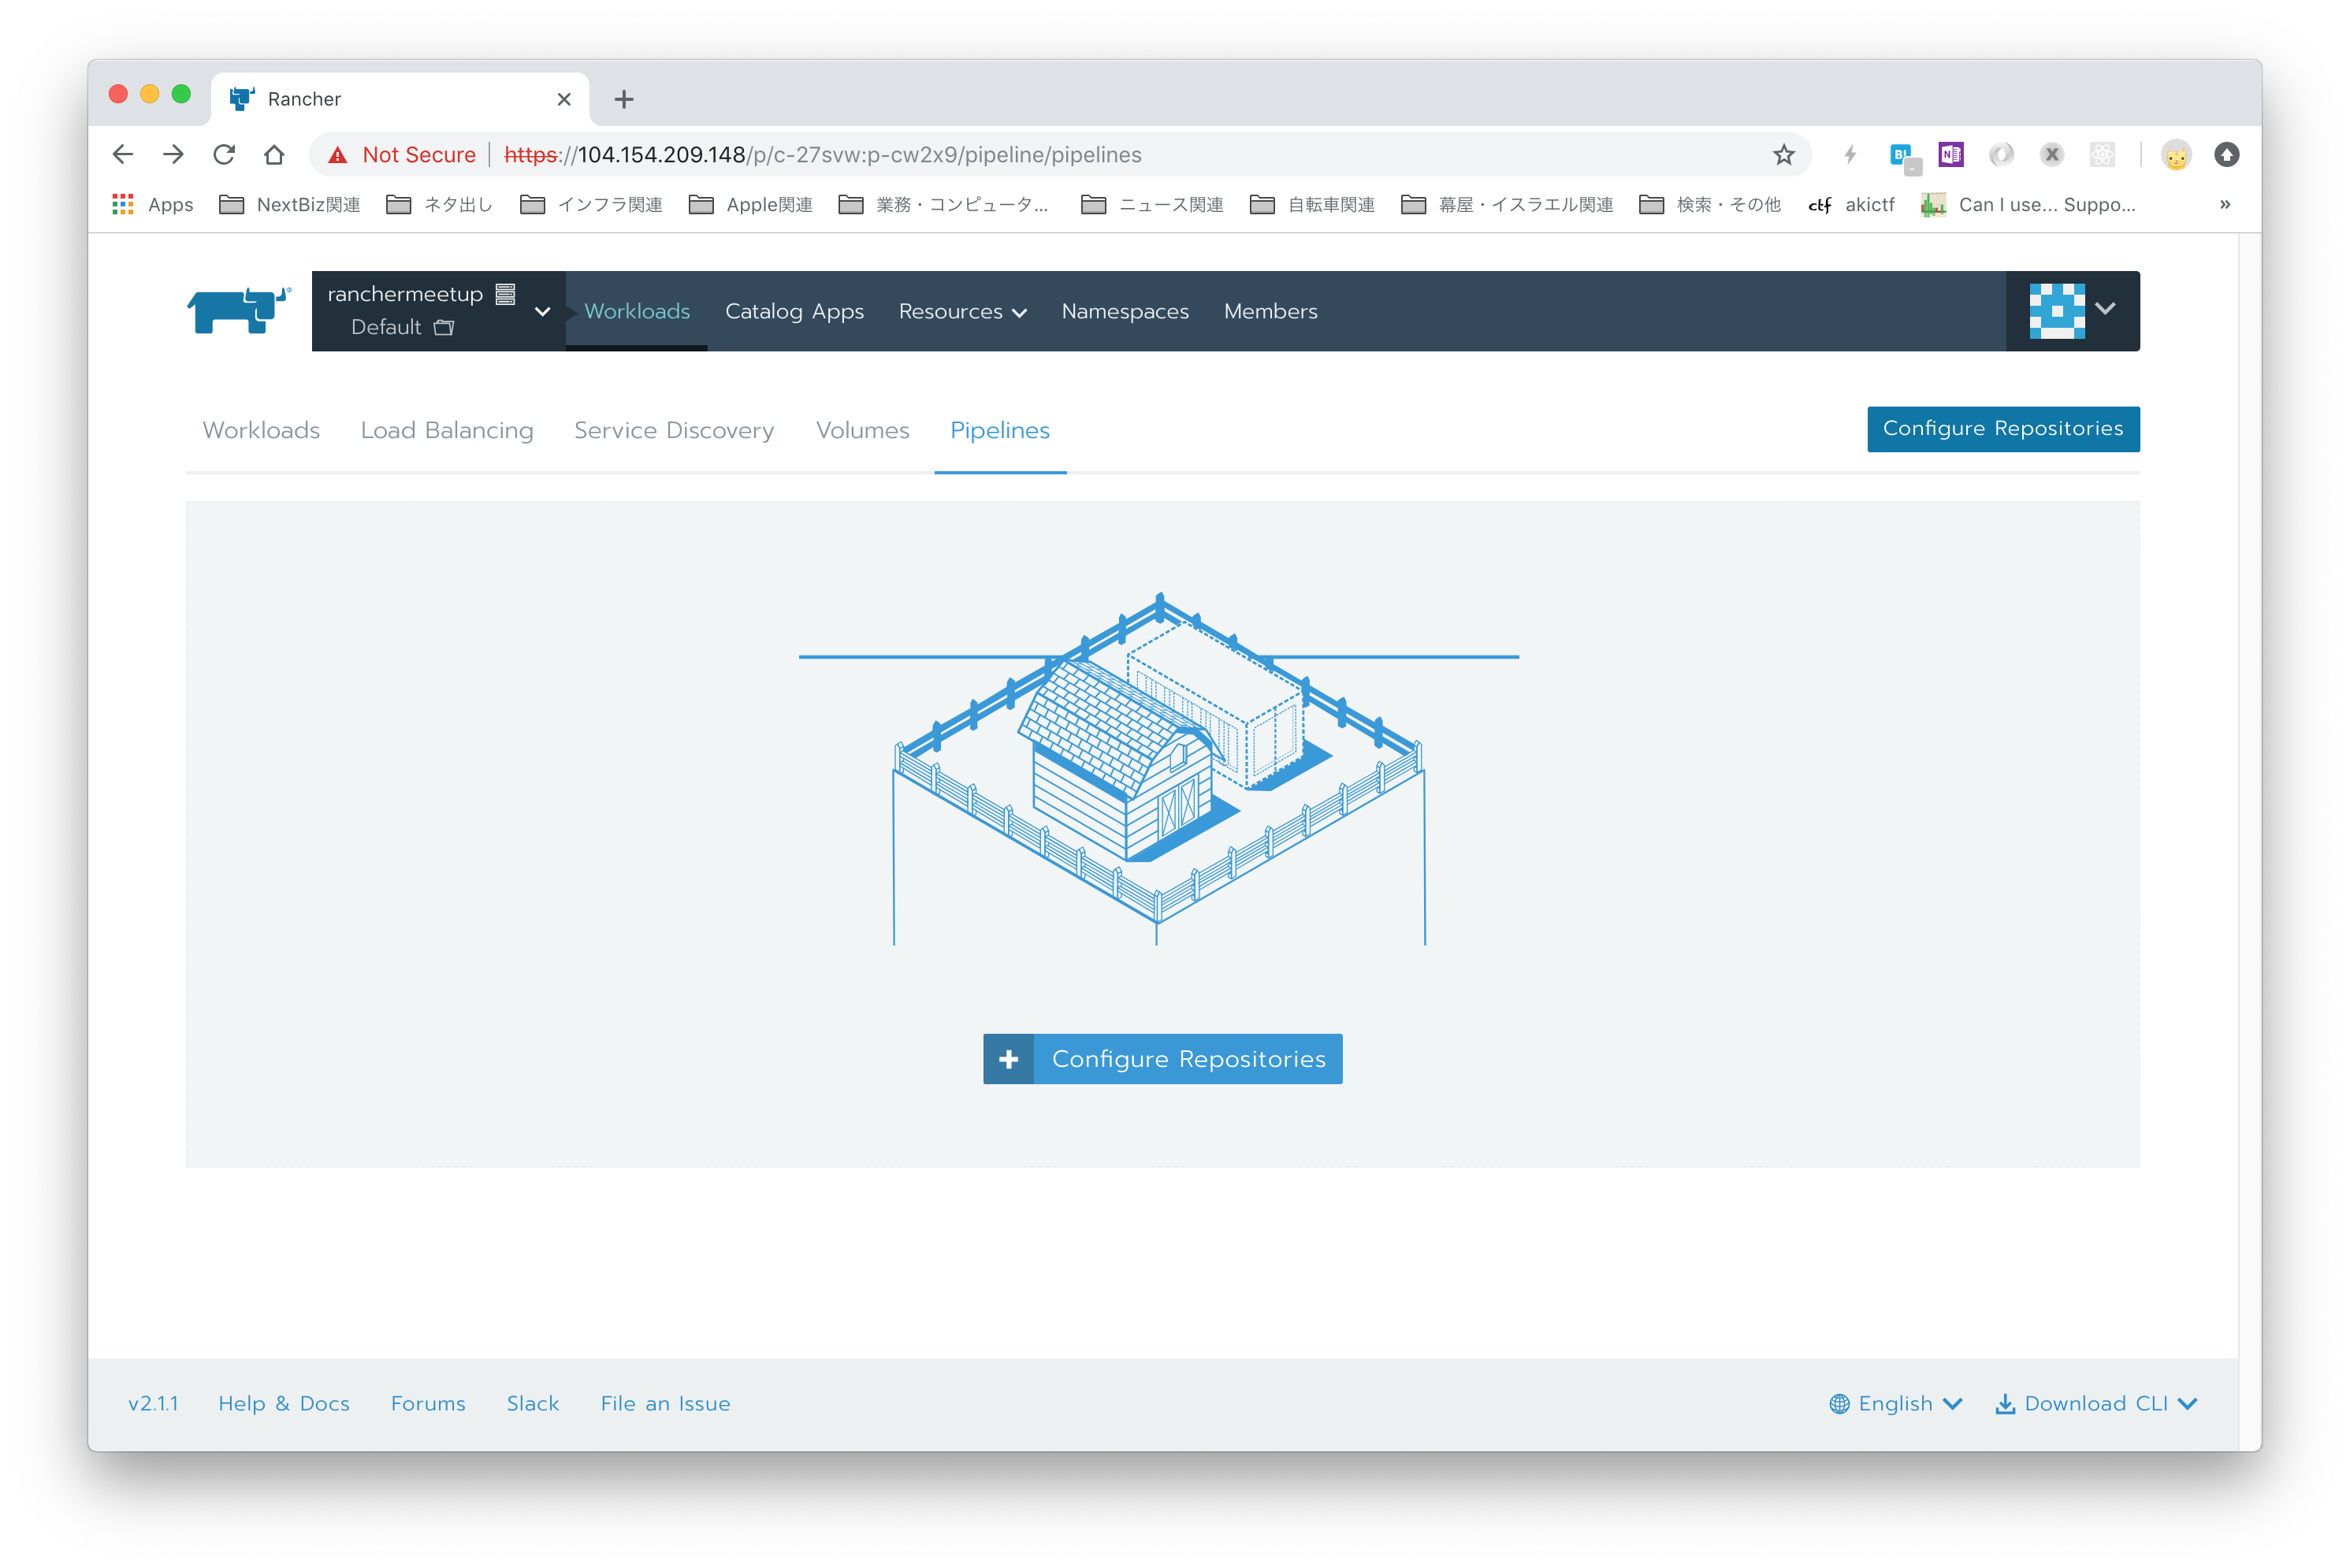
 5. GitLabのプロジェクト情報を取り込みます。
DefaultのNamespaceでPiplelinesを選択し、Configure Repositoriesを選択します。
 Authorize & Fetch Your Own Repositoriesを選択します。
 GitLabを選択します。
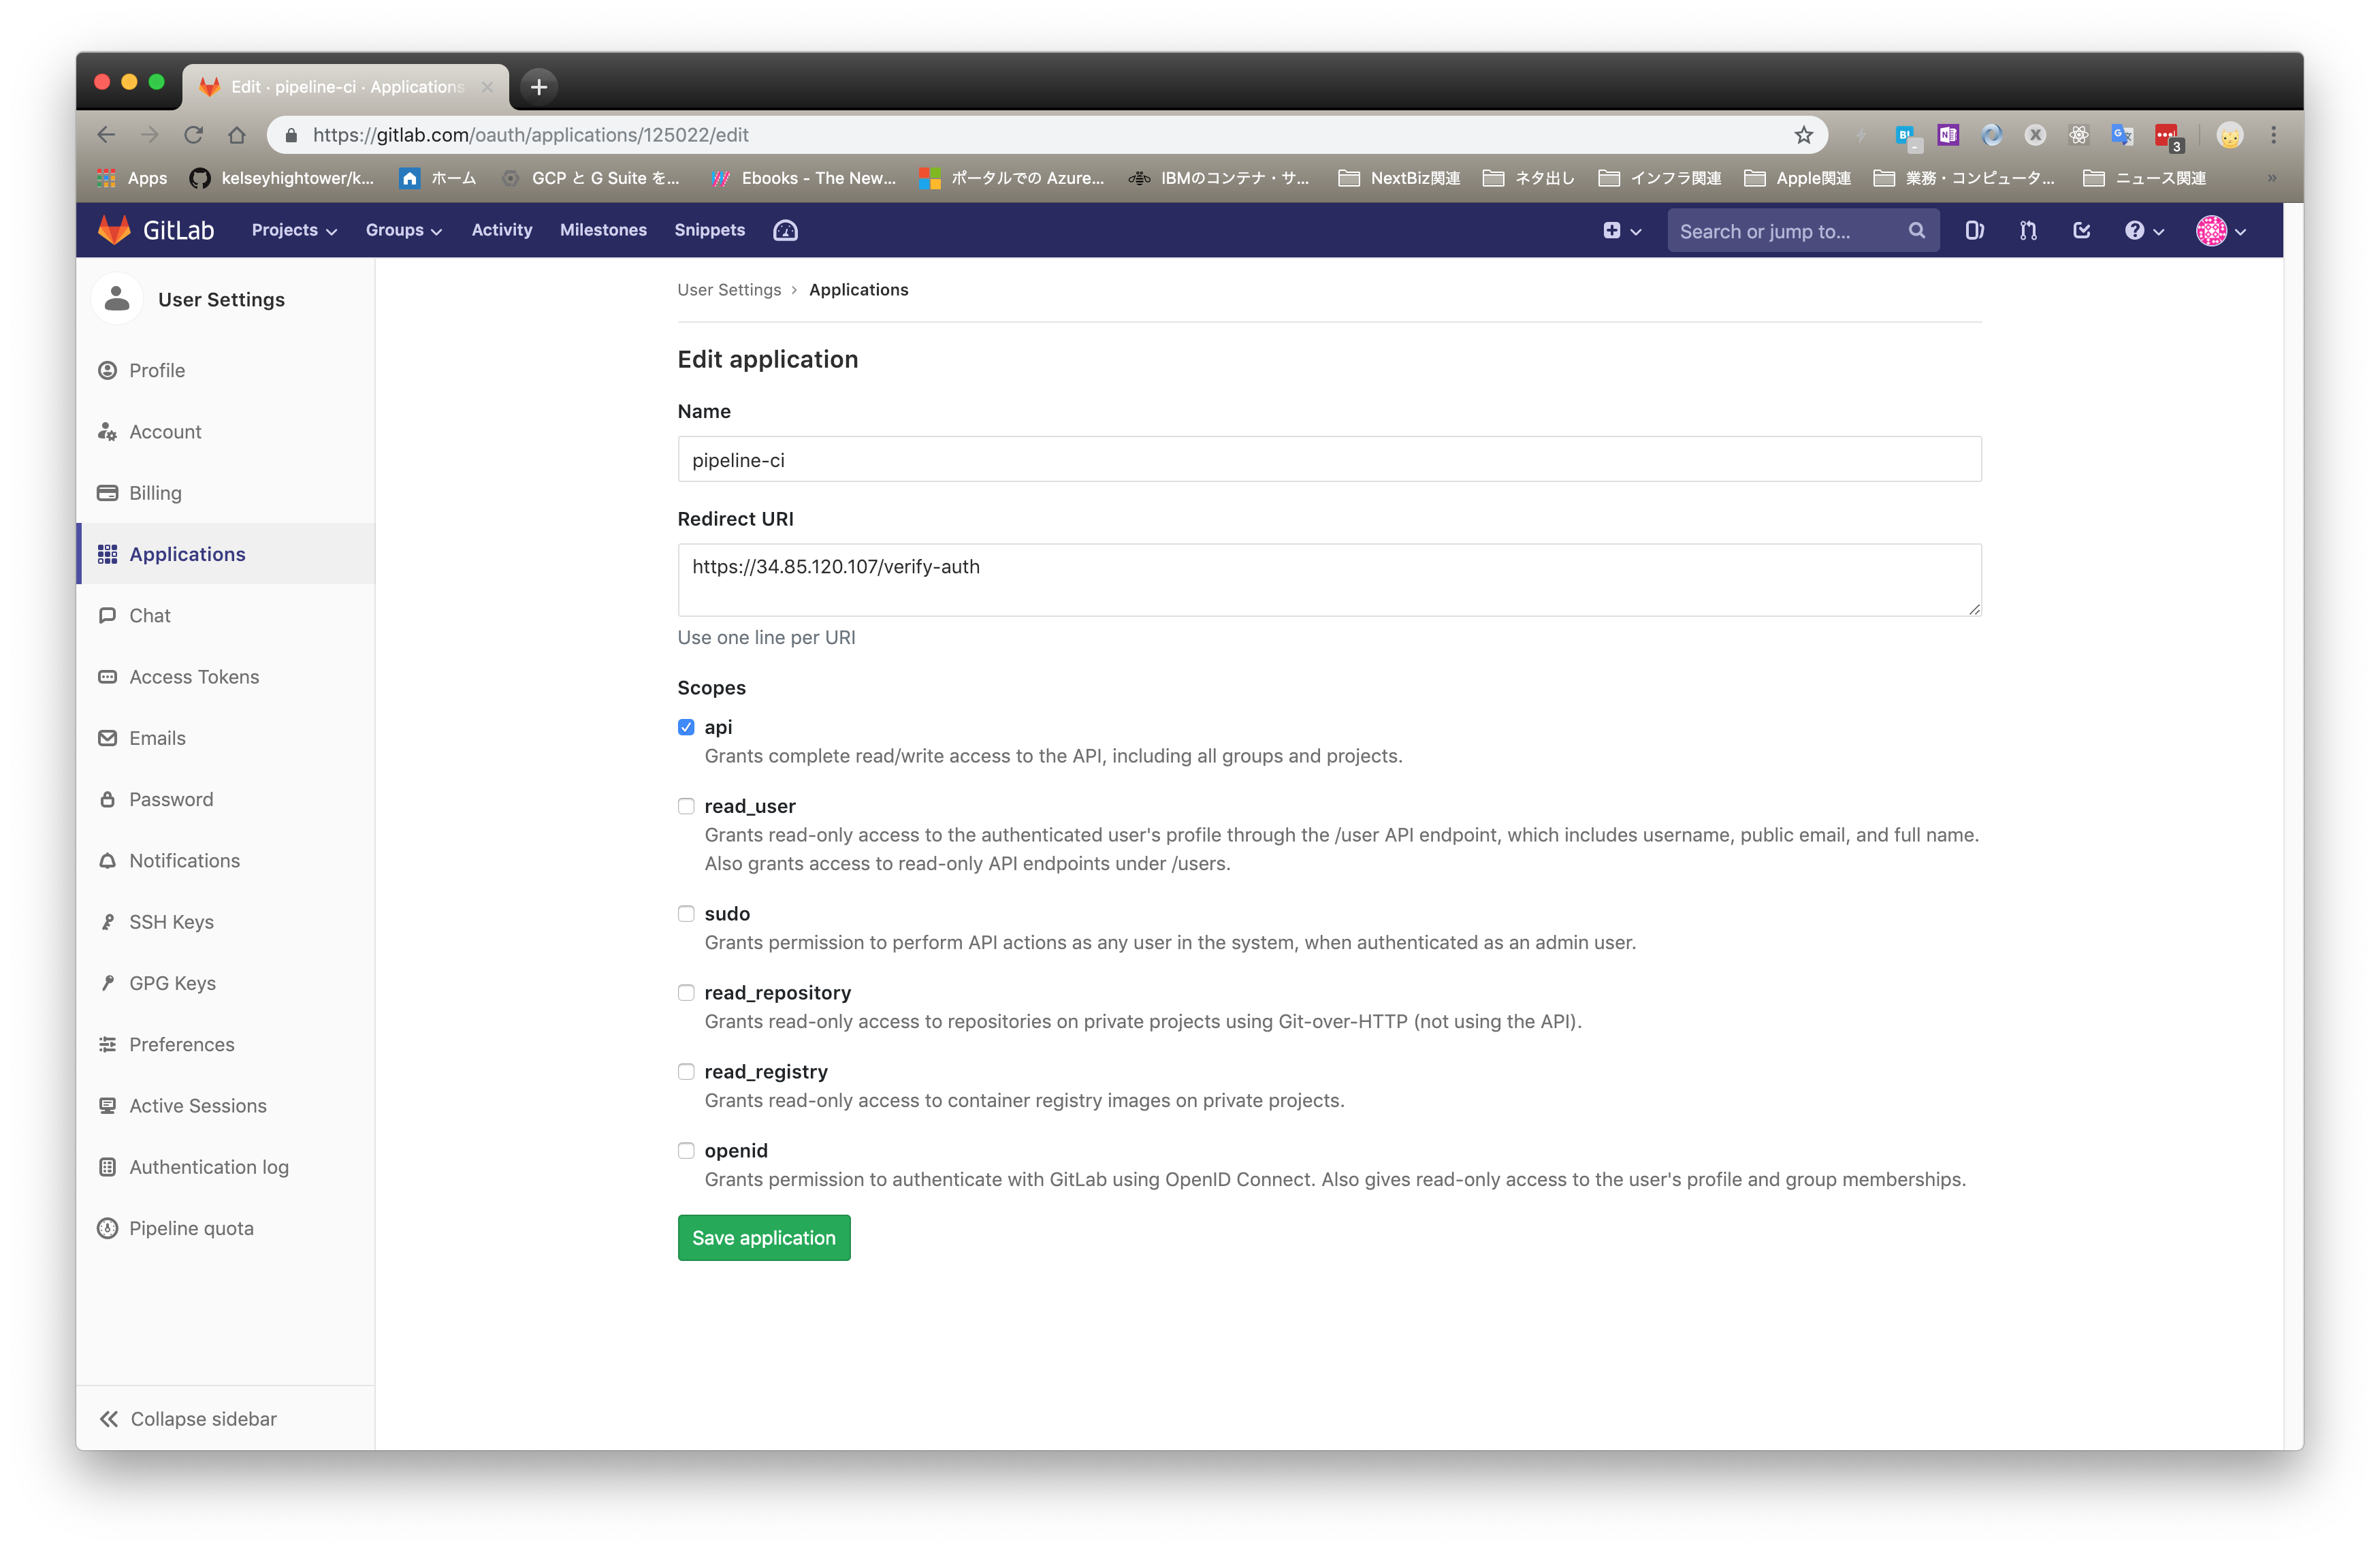
 GitLabにRancherの画面に表示されていた情報を設定します。
最初、「Redirect URIって何を設定するんだ?」と思いましたが、Rancherの画面で表示されているRedirect URIをそのまま貼るだけでした。楽ちん。
必要なScopesはapiだけのようです。
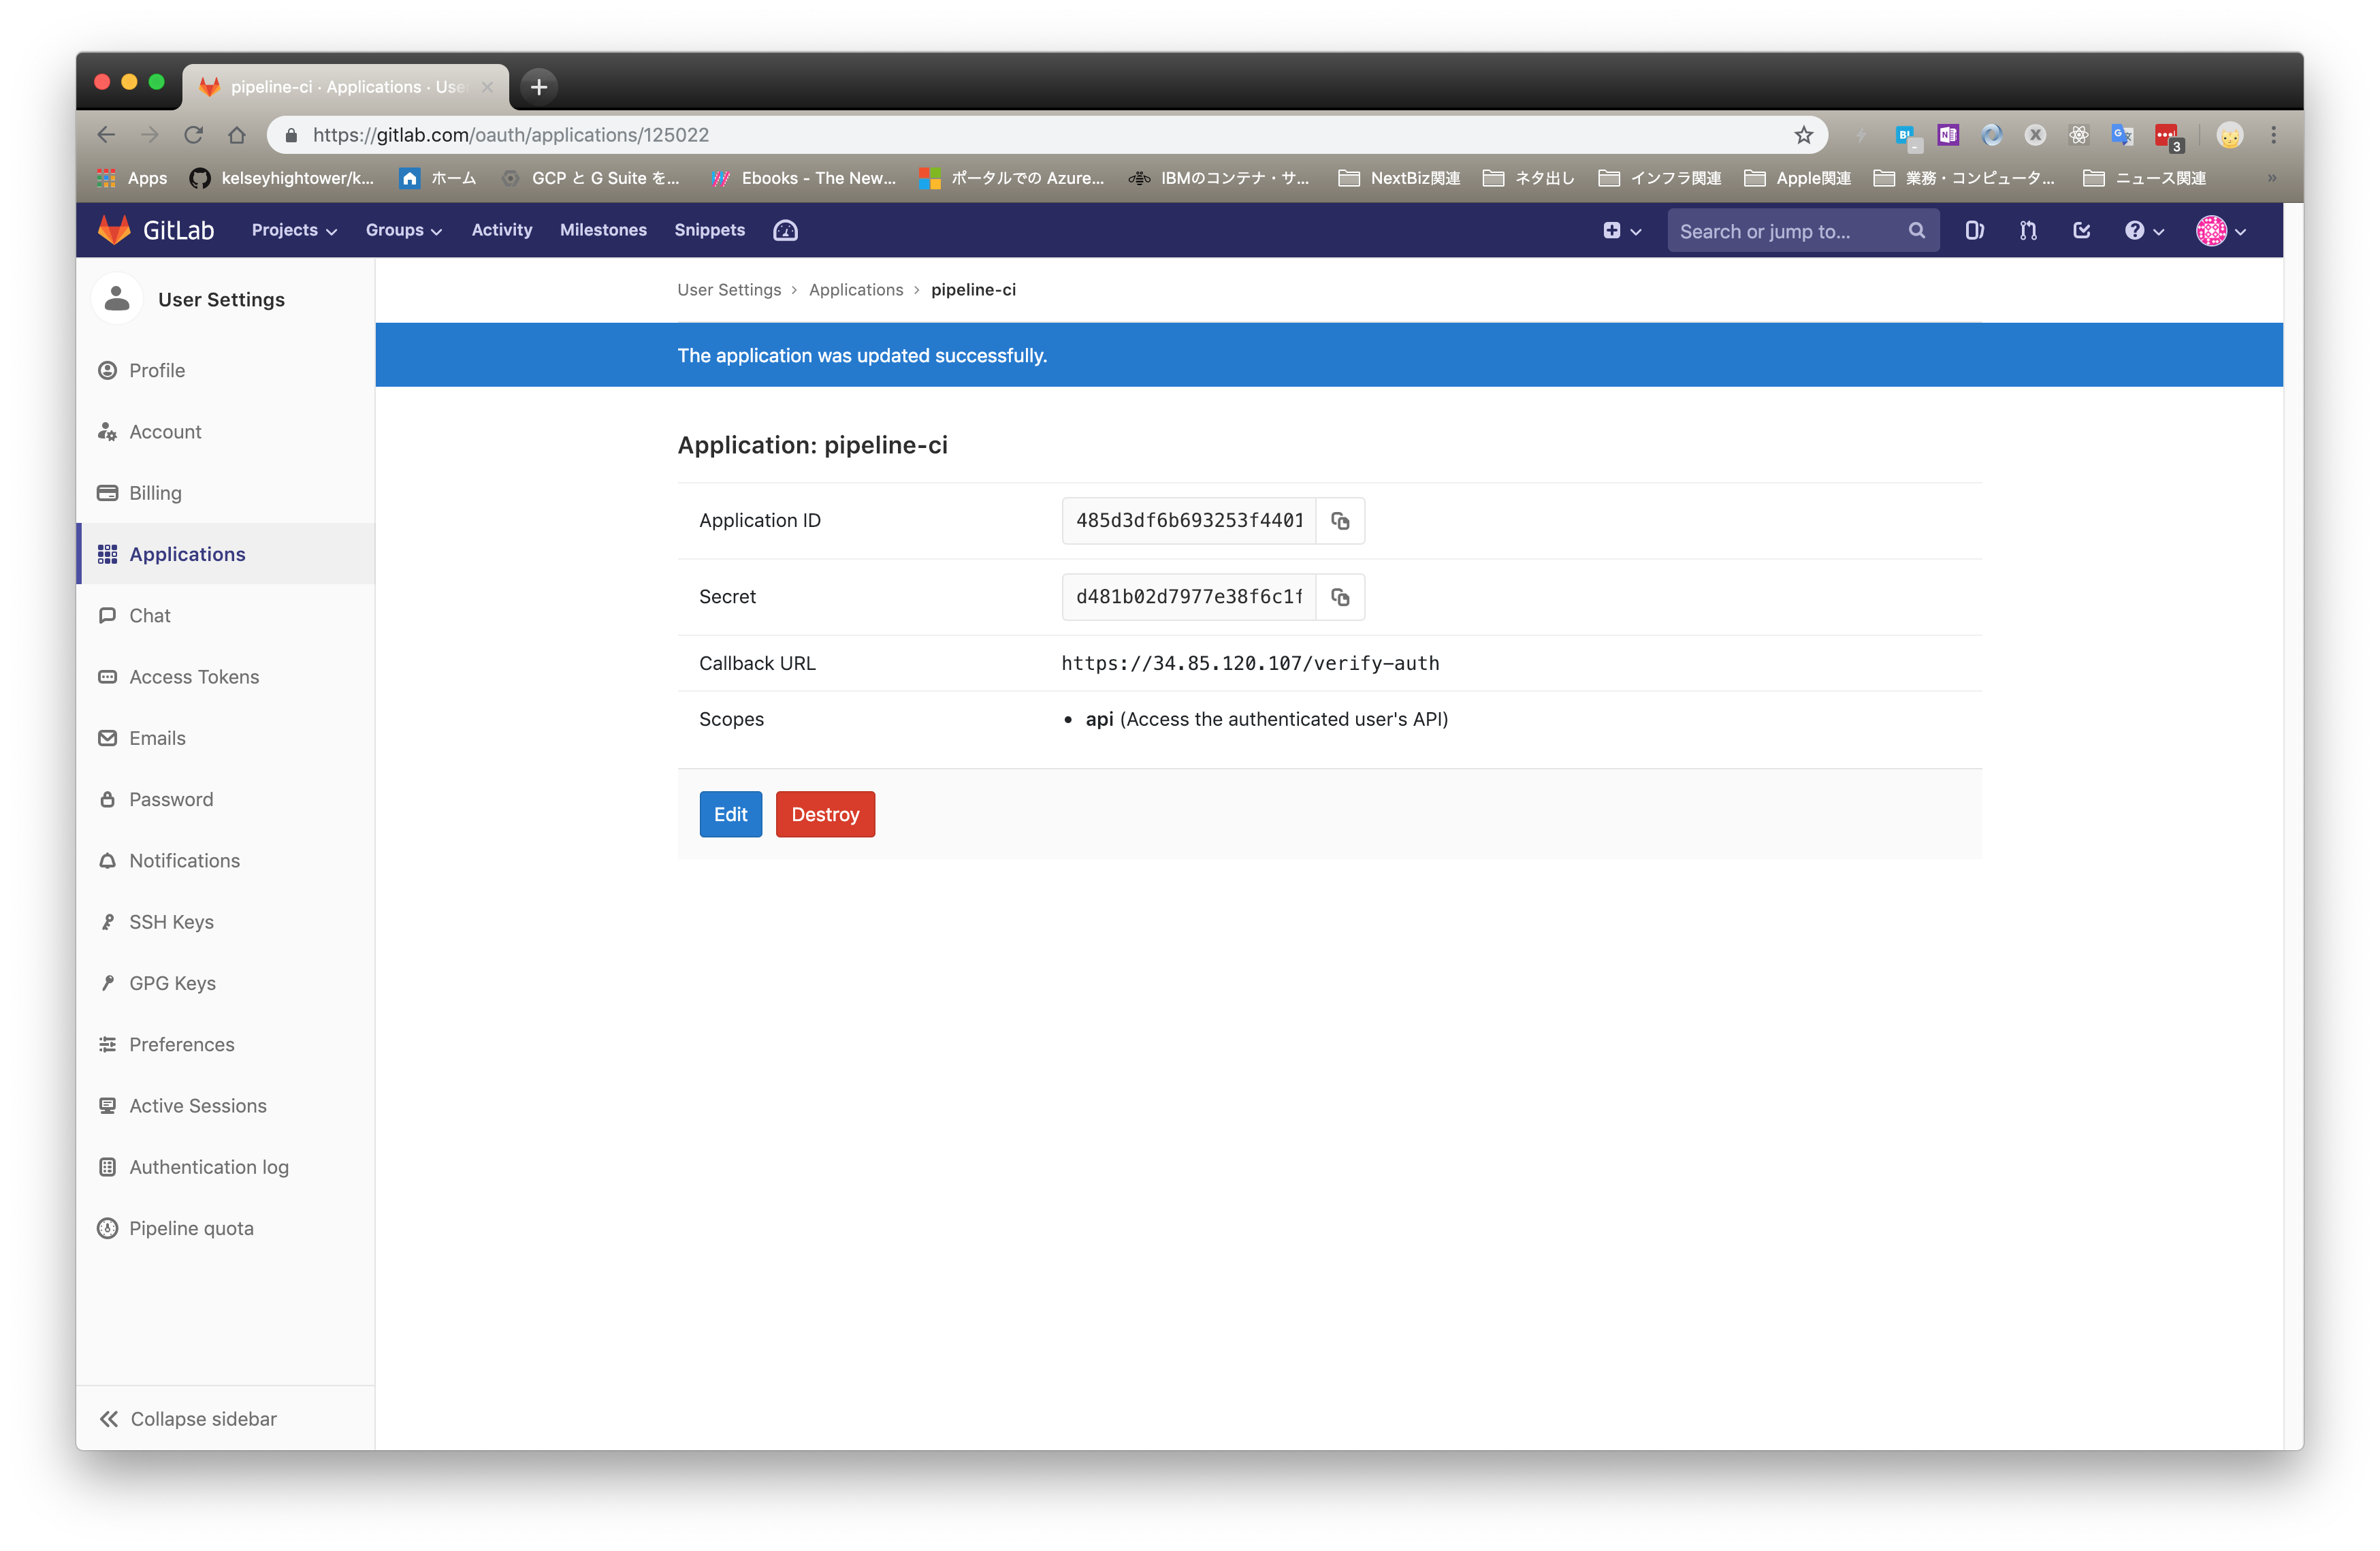 取得できたApplication IDとSecretをRancherに設定し、Authenticateを押します。
 GitLabの認証画面が出ますので、Authorizeを押します。
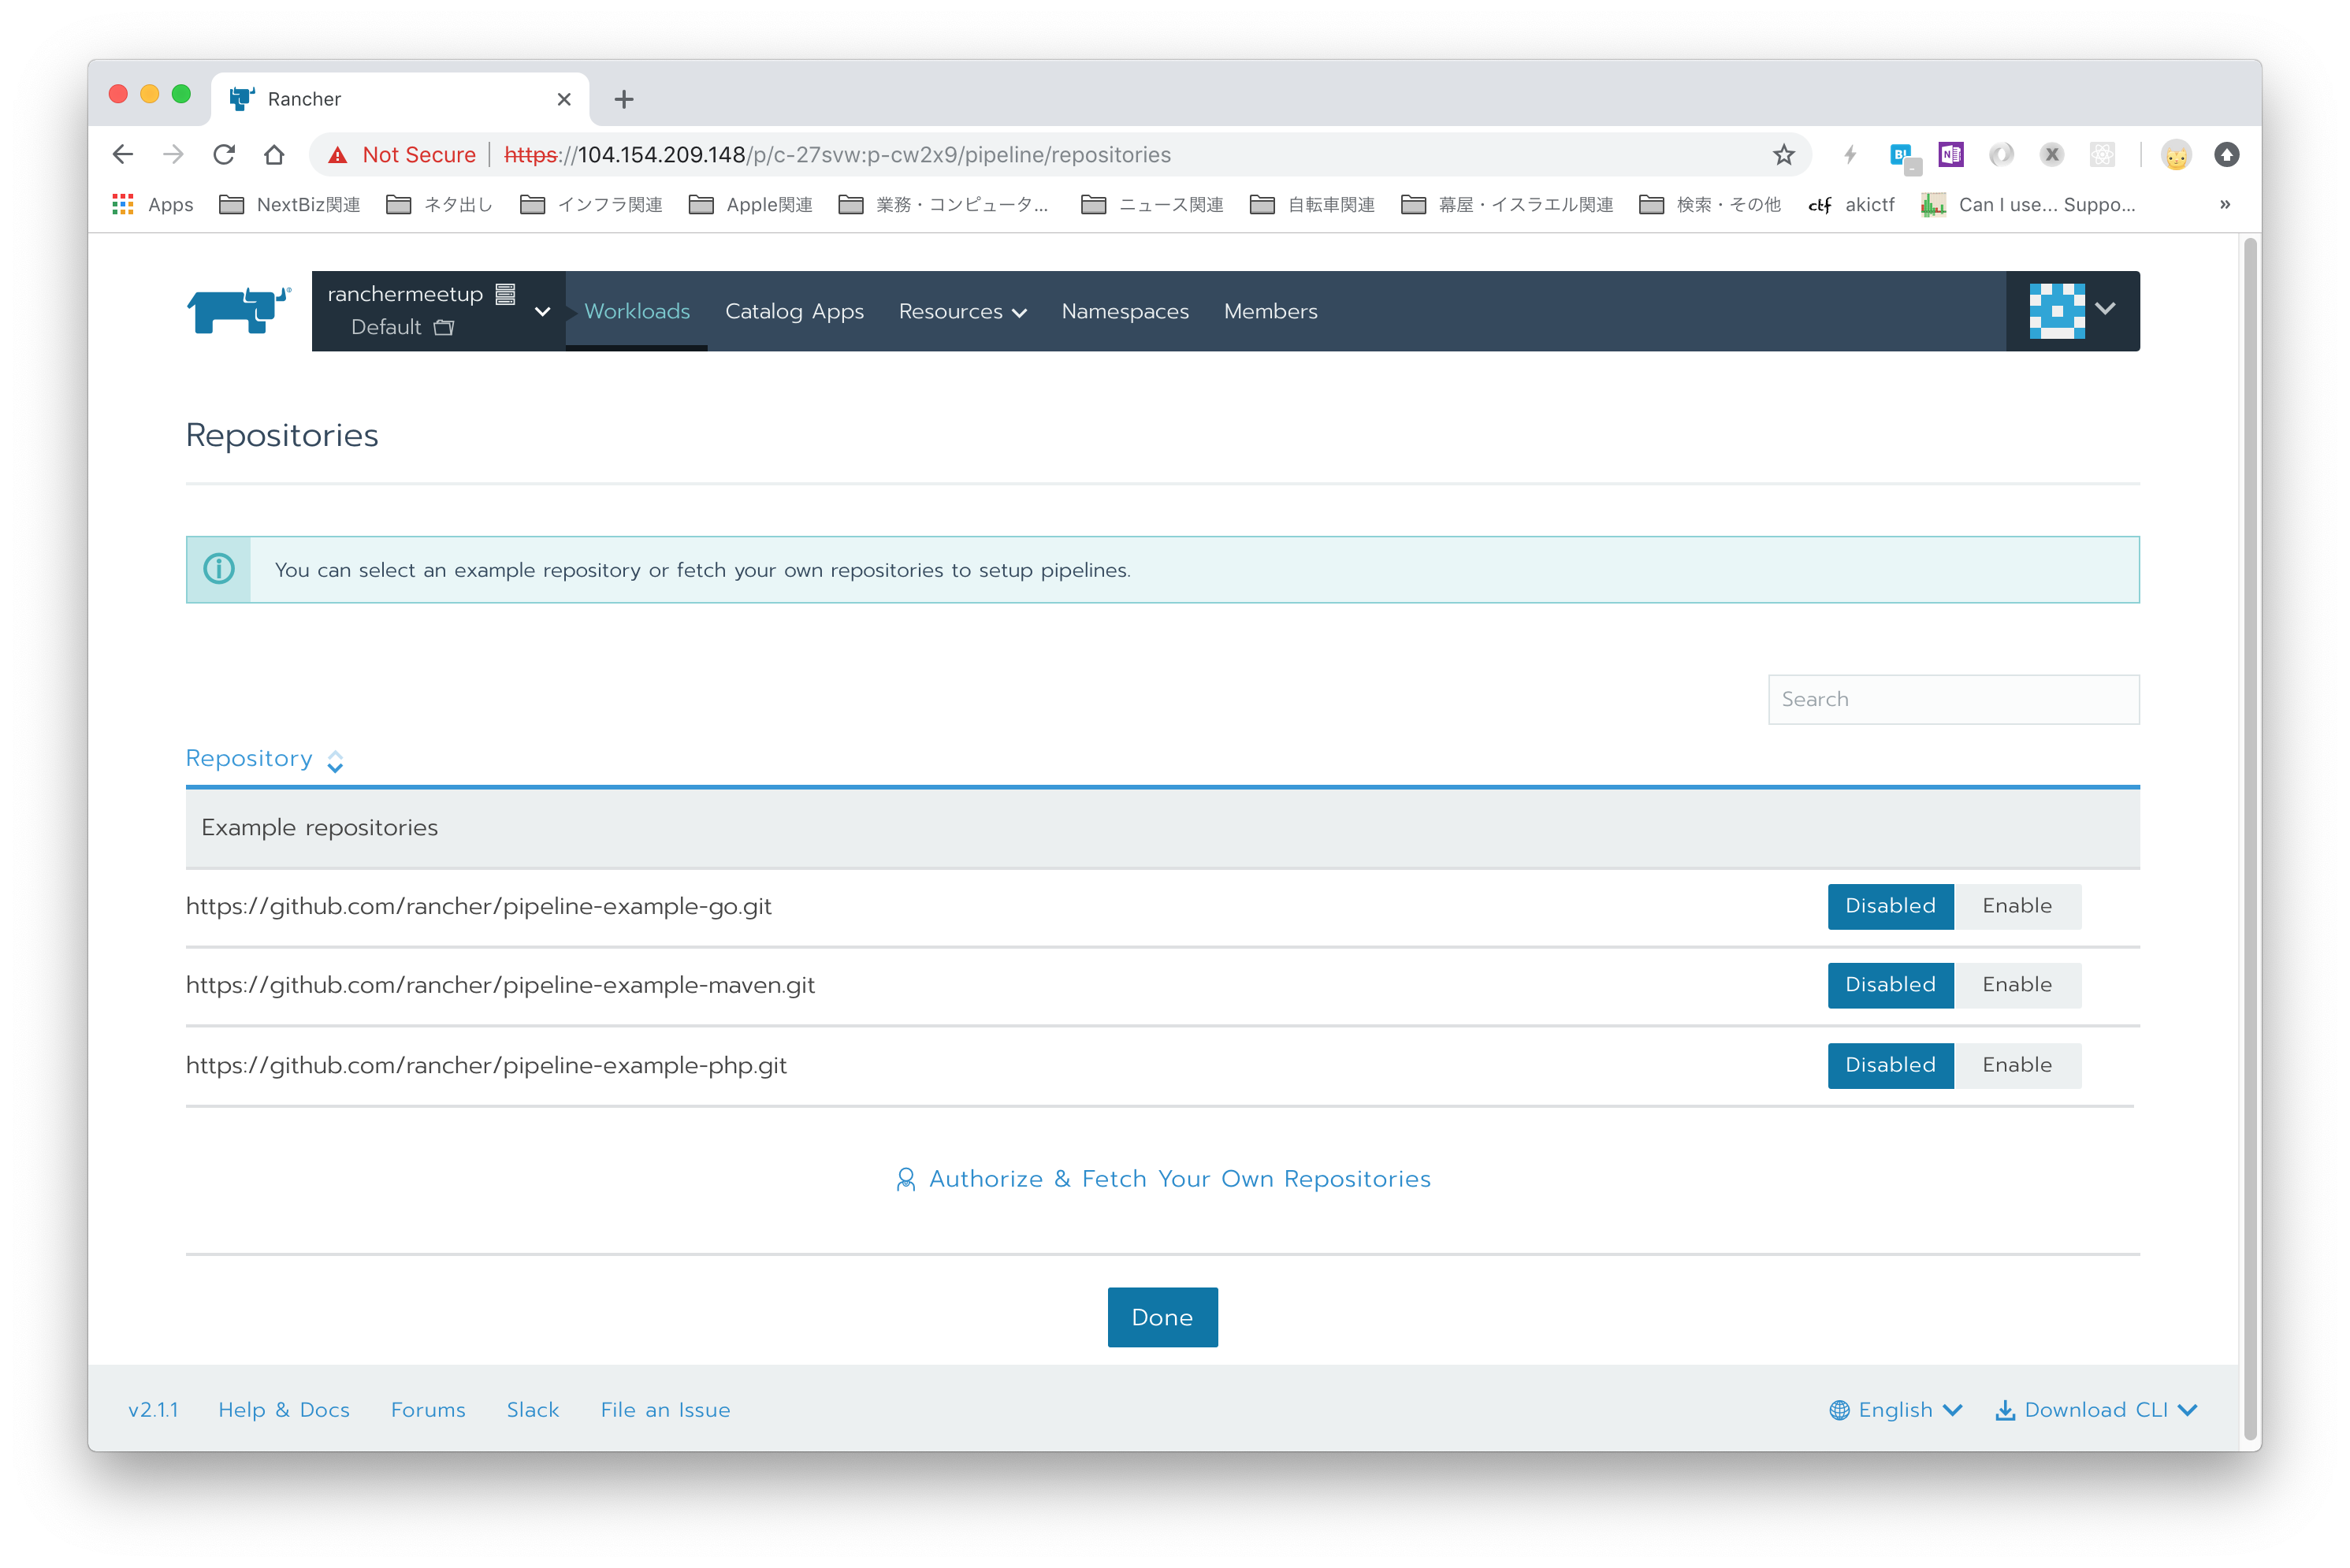
 使用できるRepositoriesが表示されますので、使用するRepositoryを選択してEnabledにします。
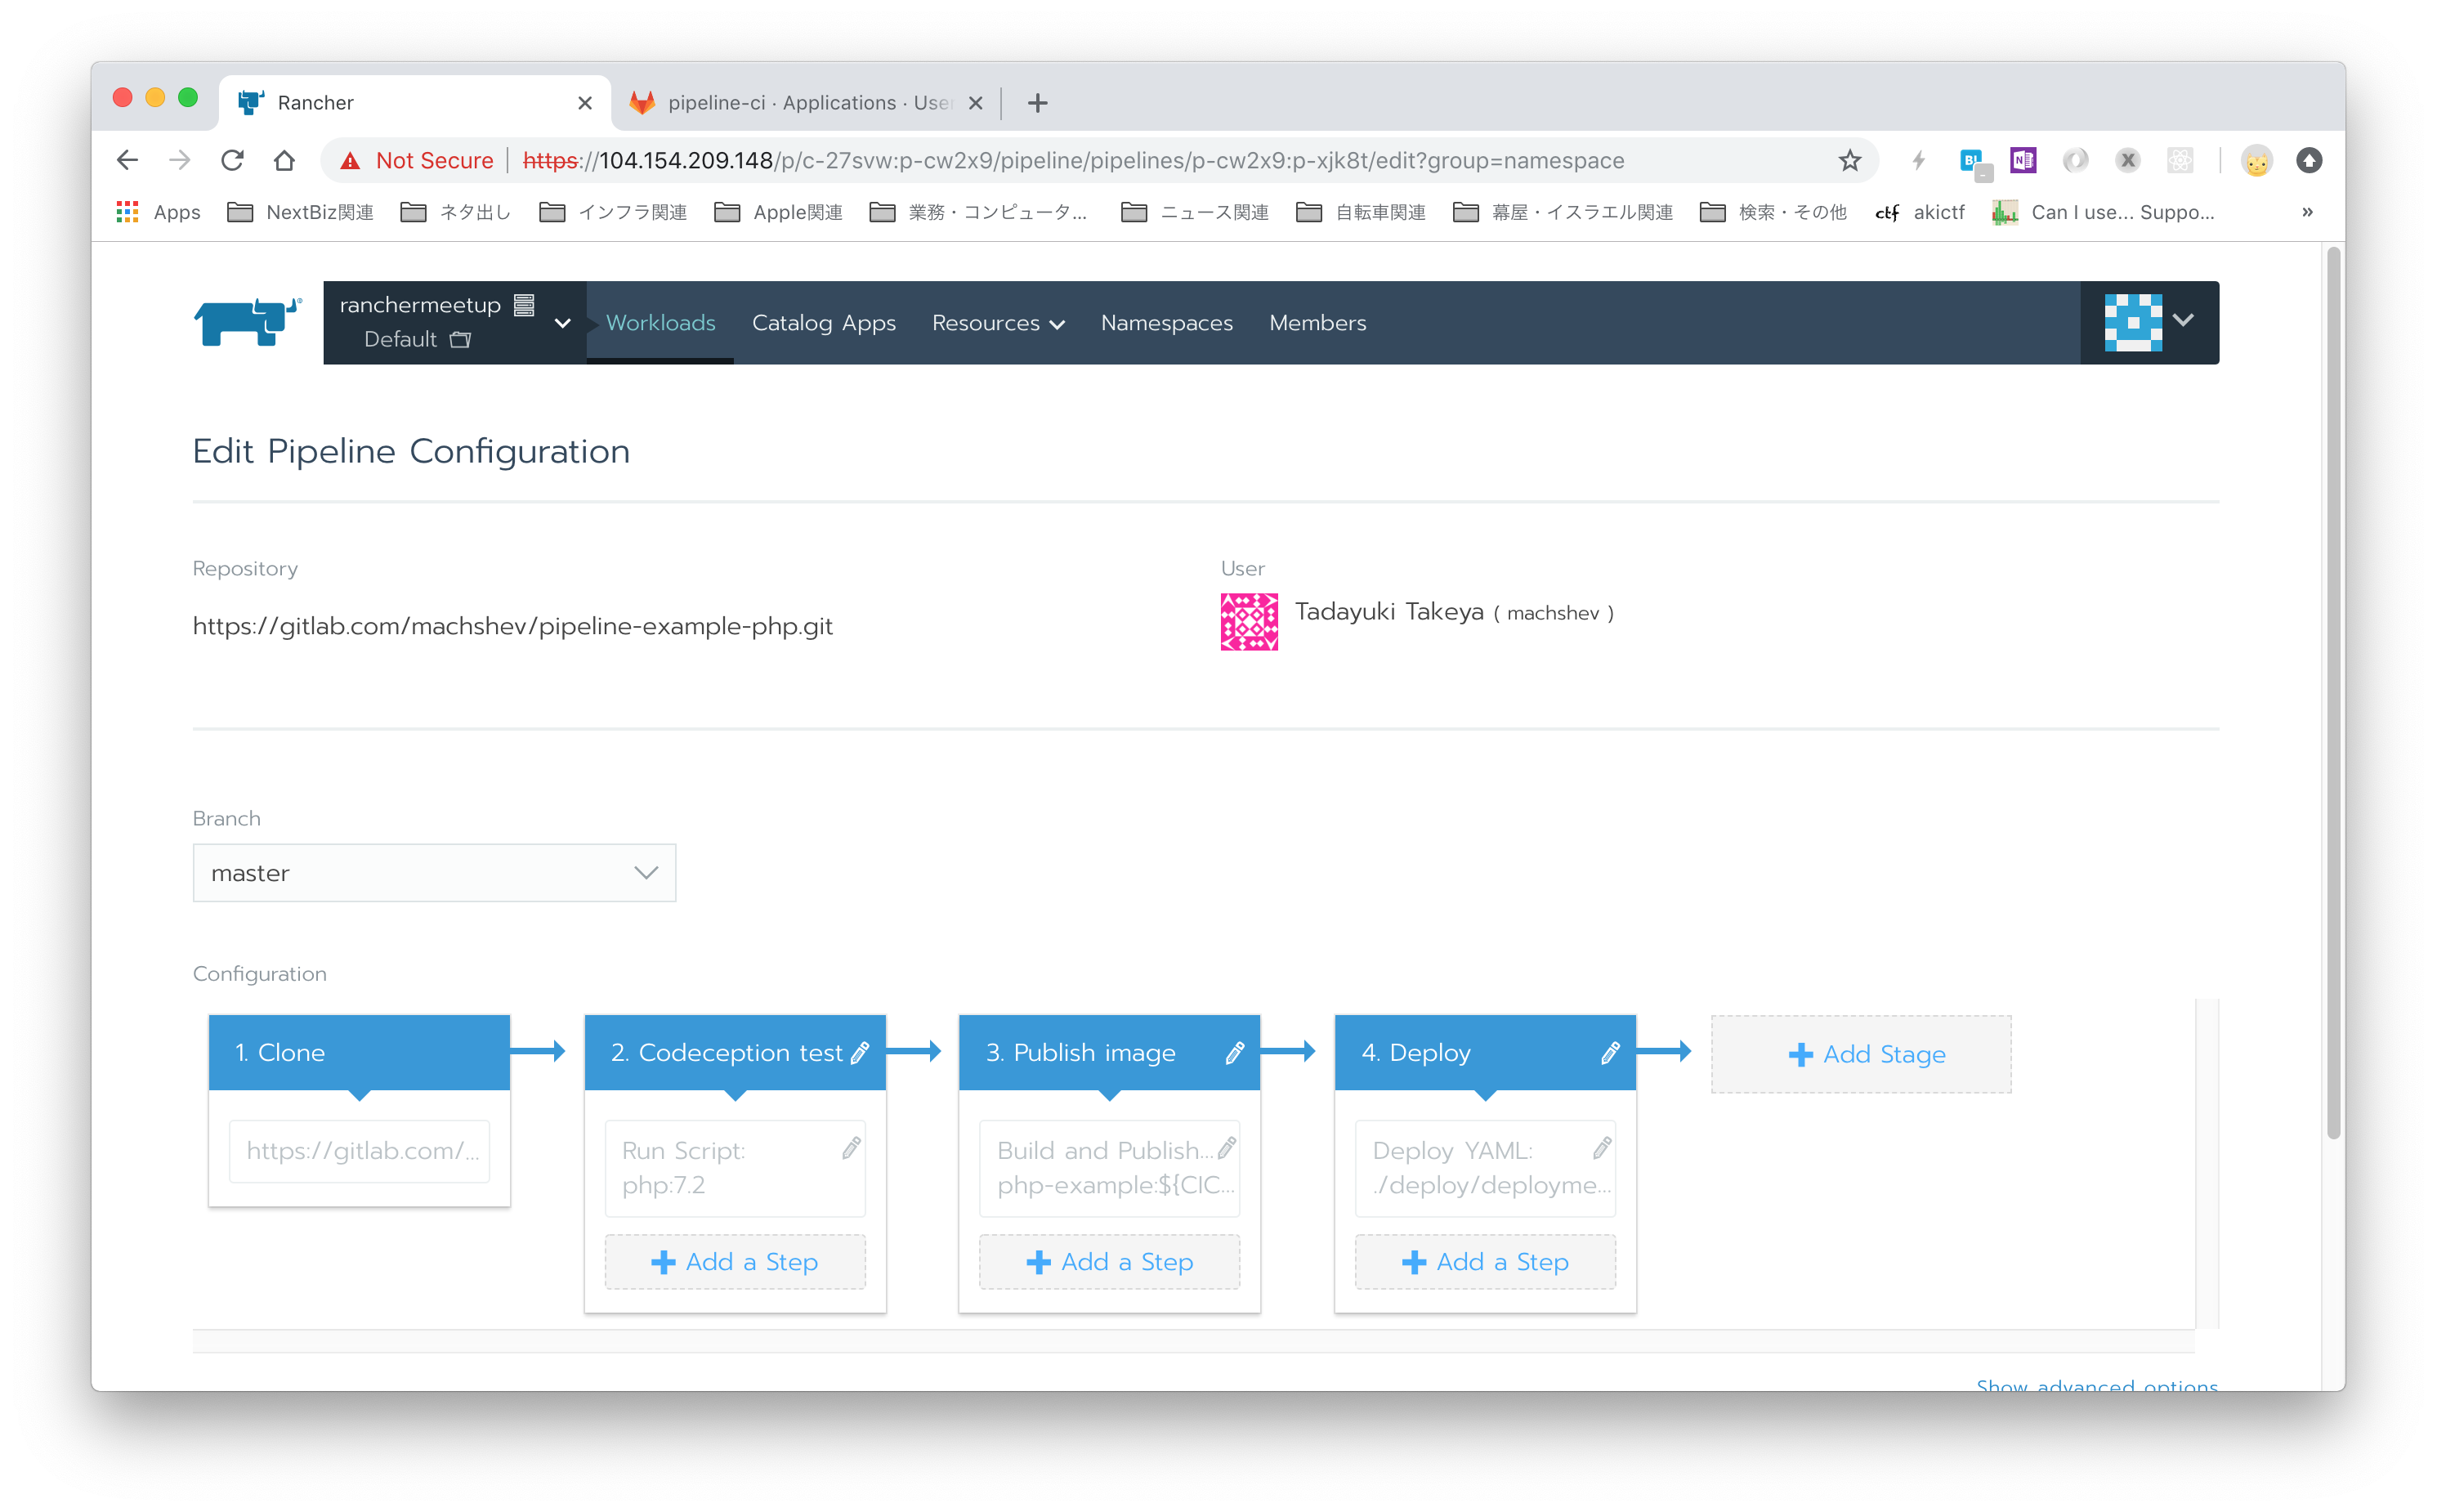
 6. Piplelineを編集します。
 7. Pipelineを実行(Run)します。
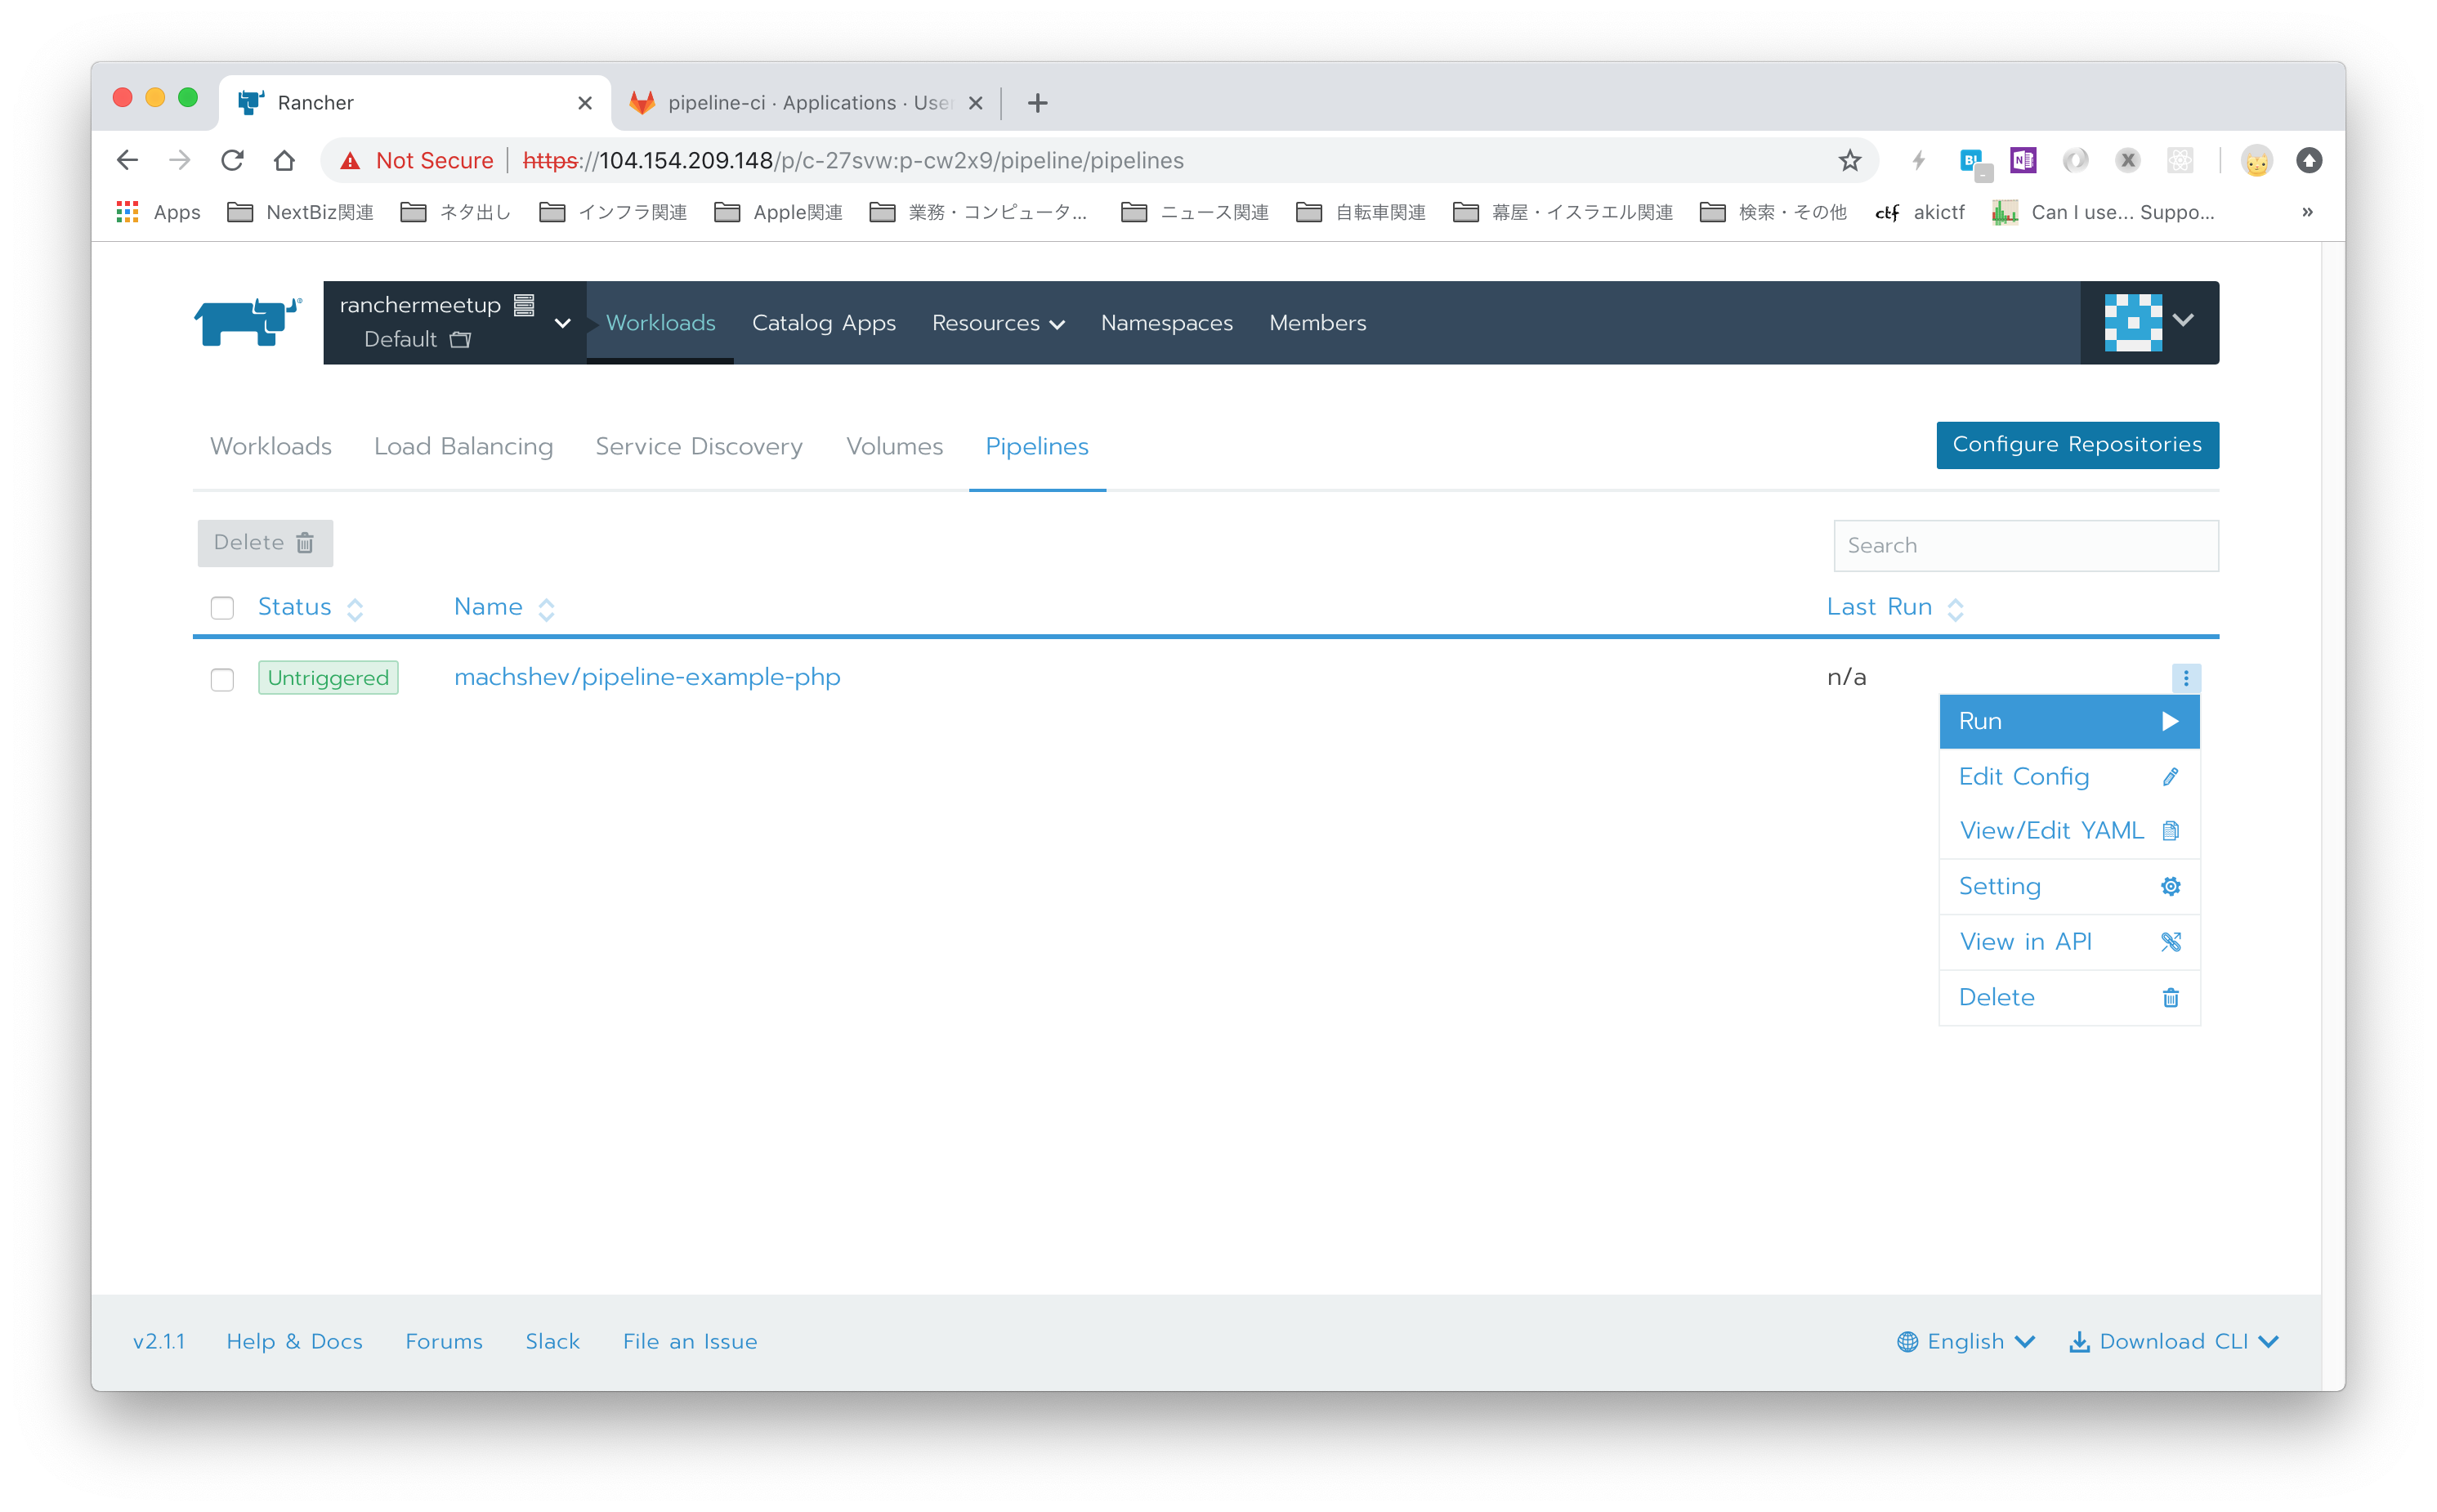 実際に内部で実行されるのはJenkinsです。


Kubernetesクラスタを作成した後の動作を動画にまとめましたので、合わせてご参照ください。
https://www.youtube.com/watch?v=xEi4Waonno4