WebGLでVertex Animation Textureを実験的にやってみた記事です。
環境
・Three.js
・gsap
・Houdini Indie 18
Houdiniの無料版でできるかは確認していません。
・Windows 10
Vertex Animation Texture について
VATとはそれぞれのピクセルに頂点の位置、回転などの情報を特定のフレーム分含めたテクスチャデータの事です。
テクスチャのサイズですが、ポイントの数、フレーム数が多くなるに連れてテクスチャサイズも大きくなります。
テクスチャのX軸が頂点番号になり、Y軸はフレーム数になります。
HoudiniでVertex Animation Textureを出力する
sidefxlabsをインストールすることでLabs Vertex Animation Textureを使うことができます。
CGデータの出力
Labs Vertex Animation TextureでポリゴンデータをFBXで出力することが可能ですが、
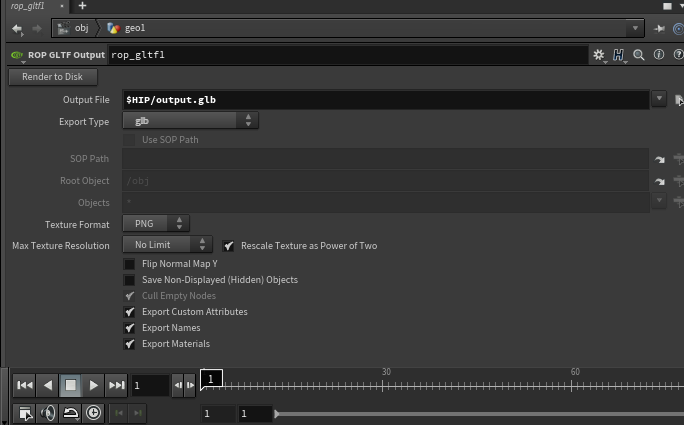
FBXのデータ構造の扱いにくさや、カスタムのアトリビュートを出力してくれなかったり、頂点の出力がwebGLで扱うには少し面倒な形になってたので ROP GLTF EXPOTを使用して出力した、GLTF形式でCGデータを使用します。
ROP GLTF EXPOTを使用した場合、カスタムアトリビュートも一緒にエクスポートしてくれます。
テクスチャデータについて
webGLで扱えるテクスチャの大きさは見る側の環境に依存します。
なので最大で4096pxにするのがいいと思います。
スマホとか考えると2048pxのほうがいいかもですが。
最大で4096pxとなると頂点の数は4096個以内に収めないといけません。
フレーム数も4096px以内になります。
Labs Vertex Animation Textureで出力されつテクスチャデータは、
exr形式で32bitの画像ファイルになります。
web上でexr形式で32bitを扱うのは、調べたところできそうになかったので、
photoshopなどでpngなどに変換して使用します。
threejs内のライブラリでexrを扱うことができますが、うまく動かないことがあったので今回は除外します。
https://threejs.org/examples/webgl_loader_texture_exr.html
実際に作って読み込んでアニメーションさせてみる
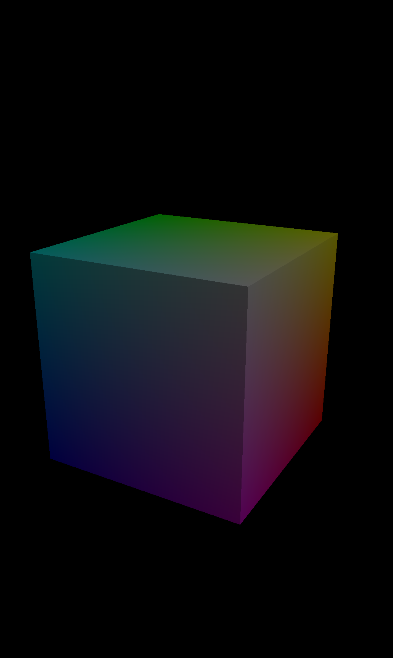
ブラウザで表示させる
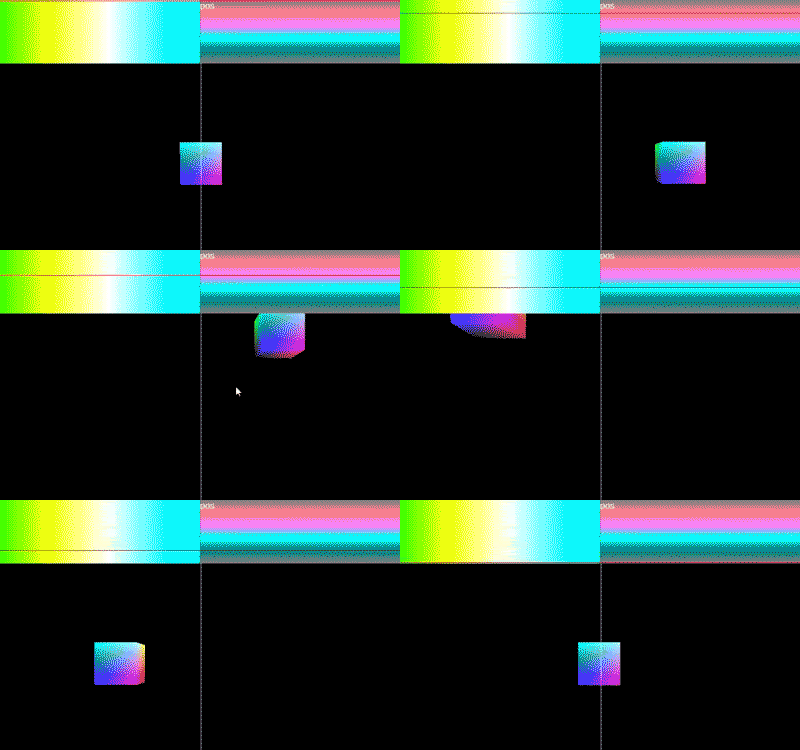
今回はテスト用にてっとり速く、確認できるデータを作成します。
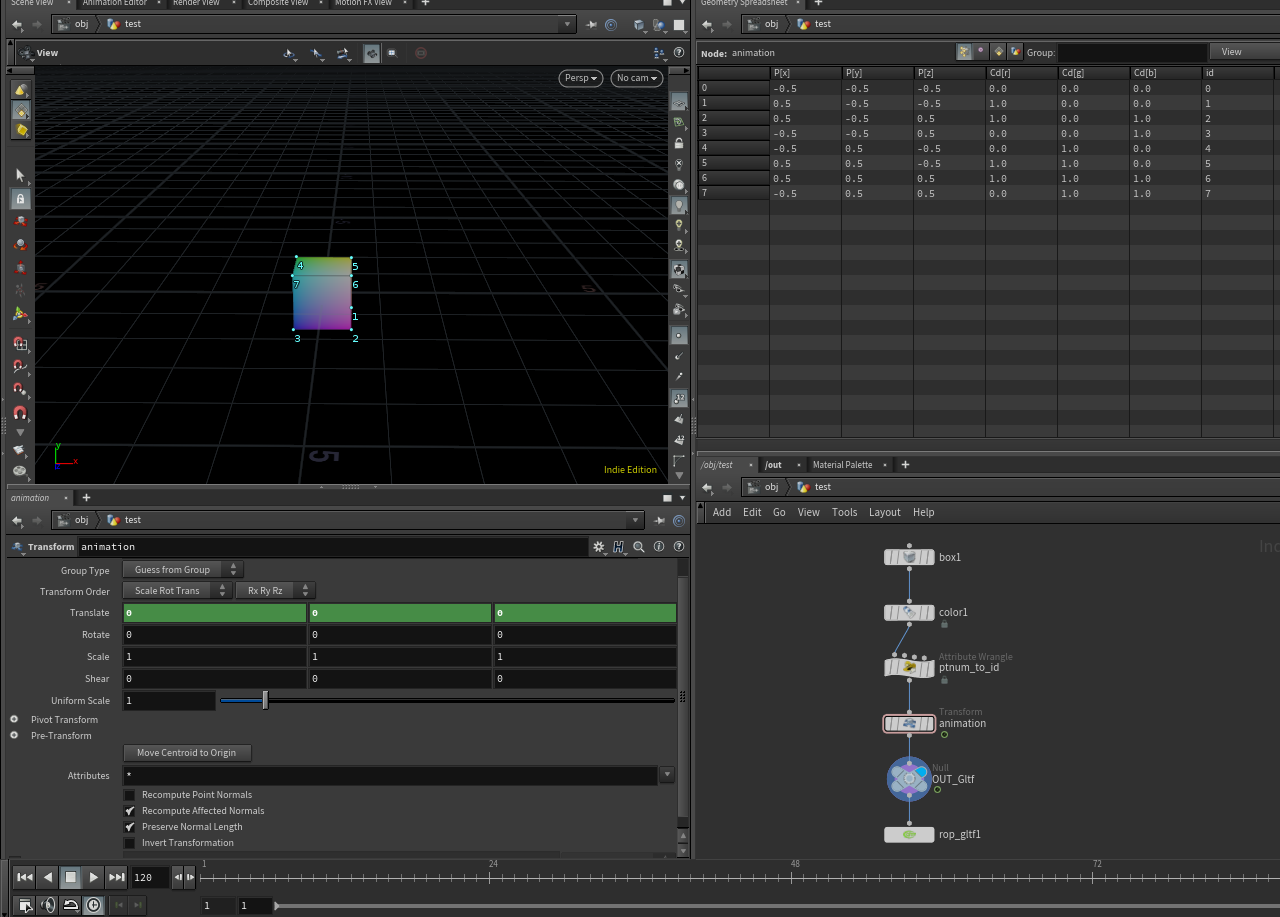
boxを作成し、適当に色をつけて、ポイントの番号をidにするvexを書いて、
適当にアニメーションをつけたものをgltfで出力し、ブラウザで表示します。
gltfで出力するとき、タイムラインを一番最初にしておく必要がある
f@id = @ptnum;
ptnumそのままいれるとint型なのでエラーになります。
Labs Vertex Animation Textureでtextureを出力させる
houdini outネットワークに入りLabs Vertex Animation Textureを使います。
今回がポジションをVATします。
一応カラーのVATも作成しておきます。
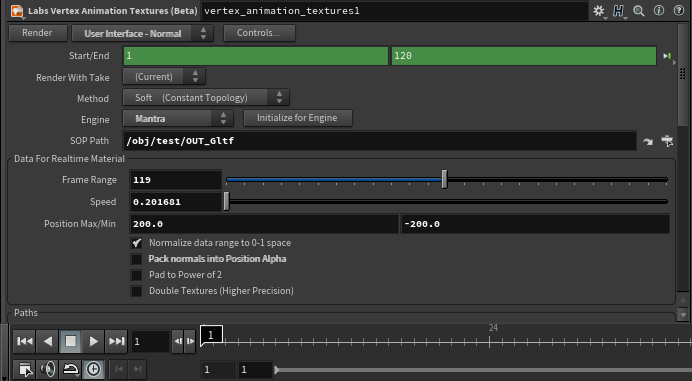
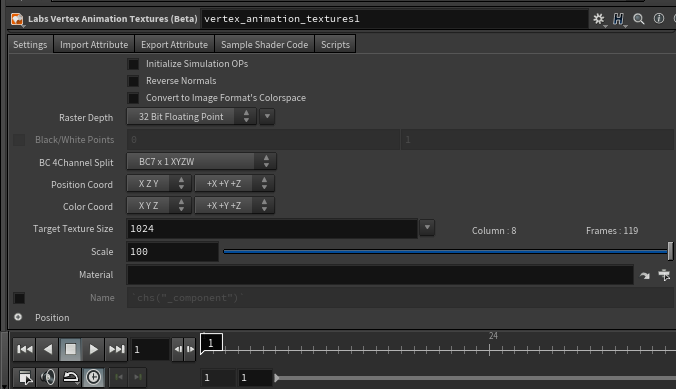
設定は変更箇所は太文字になってます。
・user interface -normalに変更
・engineをMantraに変更
・sop pathにつかうオブジェクトを選択
renderで出力させます。
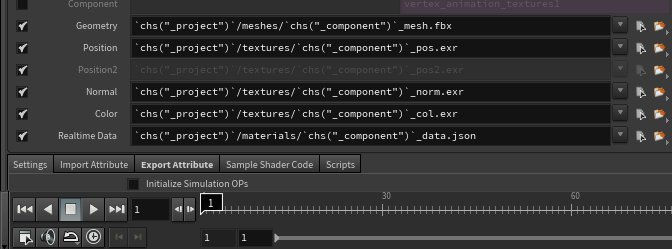
出力させるとexportフォルダの中にmaterials、meshs,texturesファルダが作成されます。
使用するのはmaterials,texturesの2つです。
materialsフォルダの中に謎のjsonが入ってます。
[
    {
        "Name": "Soft",
        "doubleTex": 0,
        "height": 0.1,
        "normData": 1,
        "numOfFrames": 119,
        "packNorm": 1,
        "packPscale": 1,
        "padPowTwo": 0,
        "paddedSizeX": 0,
        "paddedSizeY": 0,
        "pivMax": 0.0,
        "pivMin": 0.0,
        "posMax": 200.0,
        "posMin": -200.0,
        "scaleMax": 0.0,
        "scaleMin": 0.0,
        "speed": 0.201680672269,
        "textureSizeX": 0,
        "textureSizeY": 0,
        "width": 0.1
    }
]
texturesフォルダの中にtextureが入ってます。
vertex_animation_textures1_col.exr

vertex_animation_textures1_pos.exr

これで準備完了です。
texture情報をもとに頂点を動かす
ここからコードを書いていきます。
デバックしながら書いてたので、かなり適当な変数名だったりしますが、そんなにコード量もないのでそのままコピペします。
vertex.vsに
gl_Position = projectionMatrix * modelViewMatrix * vec4(vec3(testPos.r, testPos.b, testPos.g) + position, 1.0 );``` とあります。 testPos.r, testPos.b, testPos.g``の順番がおかしいのはhoudiniとwebglの座標系が違うからです。
import {
    BASE_DIR
} from "../constants.yml";
import * as THREE from "three";
import {
    OrbitControls
} from "three/examples/jsm/controls/OrbitControls.js";

import {
    GLTFLoader
} from "three/examples/jsm/loaders/GLTFLoader";

import vertex from "./shader/vertex.vs";
import fragment from "./shader/fragment.fs";

import {
    gsap
} from "gsap";


async function loadTexture(url) {
    const load = new THREE.TextureLoader();
    return new Promise((resolve, reject) => {
        load.load(
            `${BASE_DIR}model/${url}`,
            function (texture) {
                texture.generateMipmaps = false;
                texture.minFilter = THREE.LinearFilter;
                texture.magFilter = THREE.LinearFilter;
                const data = {
                    texture
                };
                resolve(data);
            }
        );
    });
}

async function loadConfigJson(url) {
    return new Promise((resolve, reject) => {
        fetch(`${BASE_DIR}model/${url}`)
            .then(function (response) {
                resolve(response.json())
            })
    });
}

async function loadGLTF(url) {
    const load = new GLTFLoader();
    return new Promise((resolve, reject) => {
        load.load(`${BASE_DIR}model/${url}`, function (object) {
            resolve(object);
        });
    });
}

const directory = 'cube';

async function init() {
    gsap.ticker.fps(24);
    let fps = 0;
    const json = await loadConfigJson(`${directory}/vertex_animation_textures1_data.json`);
    const jsonData = json[0]

    const colTexData = await loadTexture(`${directory}/vertex_animation_textures1_col.png`);
    const posTexData = await loadTexture(`${directory}/vertex_animation_textures1_pos.png`);
    const gltfData = await loadGLTF(`${directory}/output.glb`);

    const canvas = document.querySelector(".canvas");
    const border = document.querySelector(".border");


    const w = window.innerWidth;
    const h = window.innerHeight;

    const renderer = new THREE.WebGLRenderer({
        canvas
    });
    renderer.setSize(w, h);
    renderer.setPixelRatio(window.devicePixelRatio);
    renderer.setClearColor(0x000000);

    const camera = new THREE.PerspectiveCamera(60, w / h, 1, 1000);
    camera.position.z = 3;
    const scene = new THREE.Scene();

    const light = new THREE.DirectionalLight(0xffffff);
    light.position.set(1, 10, 10);
    scene.add(light);
    renderer.render(scene, camera);
    let mesh;
    gltfData.scene.traverse(child => {
        if (child.isMesh) {
            mesh = child;
            console.log(mesh);
            const material = new THREE.ShaderMaterial({
                wireframe: false,
                uniforms: {
                    colorMap: {
                        type: "t",
                        value: colTexData.texture
                    },
                    posMap: {
                        type: "t",
                        value: posTexData.texture
                    },
                    totalNum: {
                        type: "f",
                        value: 7.0
                    },
                    totalFrame: {
                        type: "f",
                        value: jsonData.numOfFrames
                    },
                    posMax: {
                        type: "f",
                        value: jsonData.posMax * 0.01
                    },
                    posMin: {
                        type: "f",
                        value: jsonData.posMin * 0.01
                    },
                    fps: {
                        type: "f",
                        value: fps
                    }
                },
                vertexShader: vertex,
                fragmentShader: fragment,
                side: THREE.DoubleSide
            });
            child.castShadow = true;
            child.receiveShadow = true;
            child.material = material;
        }
    });

    scene.add(gltfData.scene);

    var controls = new OrbitControls(camera, renderer.domElement);
    controls.update();

    function animate() {
        gsap.ticker.add(animate);
        controls.update();
        fps++;
        border.style.top = fps + 'px';

        mesh.material.uniforms.fps.value = fps;
        renderer.render(scene, camera);
        console.log(fps, jsonData.numOfFrames);

        if (fps == jsonData.numOfFrames) fps = 0
    }
    animate();
}
init();
precision highp float;
varying vec2 vUv;
varying vec4 vColor;
uniform sampler2D colorMap;
uniform sampler2D posMap;
uniform float posMax;
uniform float posMin;
attribute float _id;
uniform float fps;
uniform float totalNum;
uniform float totalFrame;


void main() {
    vUv = uv;
    float frag = 1.0 / totalNum;
    float range = posMax + (posMin * -1.0);
    float pu = frag * _id;

    // float test = 1.0;
    // float pv = 1.0 -fract(test/totalFrame);
    float pv = 1.0 -fract(fps/totalFrame);

	vec3 tPosition = texture2D(posMap,vec2(pu, pv)).rgb;
    vec3 calcPos = vec3(tPosition.r * range, tPosition.g * range, tPosition.b * range);
    vec3 testPos = vec3(posMin + calcPos.r, posMin + calcPos.g, posMin + calcPos.b);

    vec3 tColor = texture2D(colorMap, vec2(pu, pv)).rgb;
    vColor = vec4(tColor, 1.0);

    gl_Position = projectionMatrix * modelViewMatrix * vec4(vec3(testPos.r, testPos.b, testPos.g) + position, 1.0 );
}
precision highp float;
varying vec2 vUv;
varying vec4 vColor;
void main() {
  vec4 color = vColor;
  gl_FragColor = color;
}
これで動かすことができます。
実際に見ると位置が開始が中心ではなく少しずれていると思います。
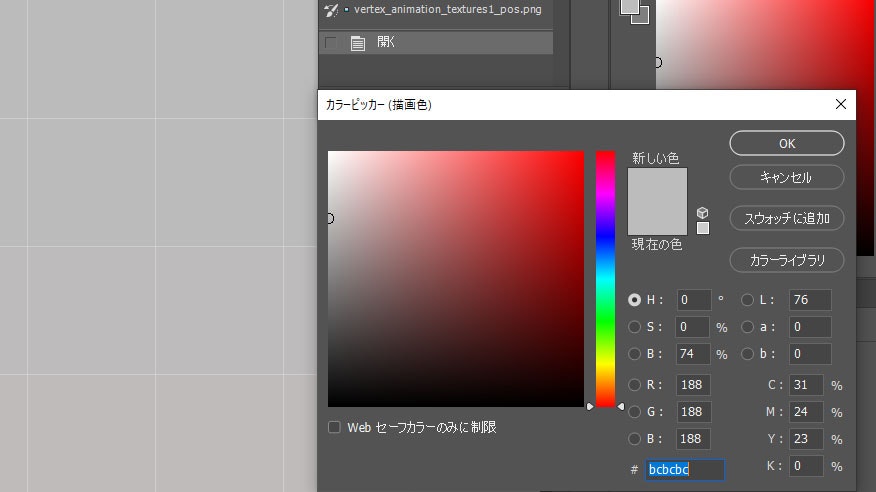
これはexrをphotoshopでbit数を下げてpngで出力すると何故か変に劣化するからです。
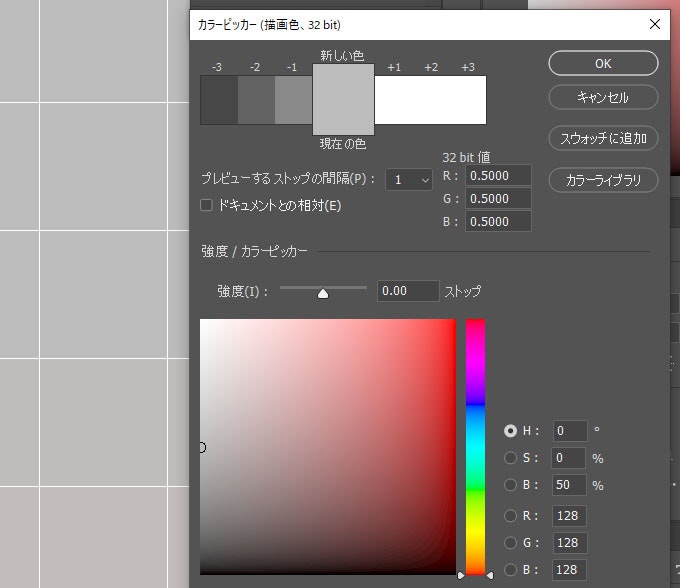
1フレーム目は中心なので、アニメーションにもやりますが、今回はx軸に最大200,最小-200なので中心を正規化すると0.5になります。なので1フレームは0.5で灰色になるはずですが、photoshopでpngに変換することでなぜ値がずれます。
これを解決するには
https://convertio.co/ja/exr-png/
というサービスを利用してexrをpngに変換した場合、うまくいきます。
しかしこれを読み込ませてもずれます。
これはexrデータを16bit pngをさらに8bit pngにすると何故かうまくいきます。
そして8bit pngに変換するのにphotoshopを使います。
これでうまくいきます。
ですが、32bitから8bitにしたことでかなり劣化します。
結果、頂点の位置がかなりぷるぷるします。
ズームするとよくわかります。
もともとゲーム開発などに使われる技術なので、web向けにするには
値を補完したり、pythonで独自にファイルを出力するコードをhoudiniに
書く必要がありそうです。
大量の頂点を動かす
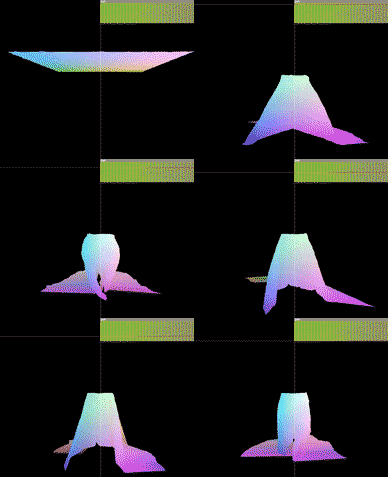
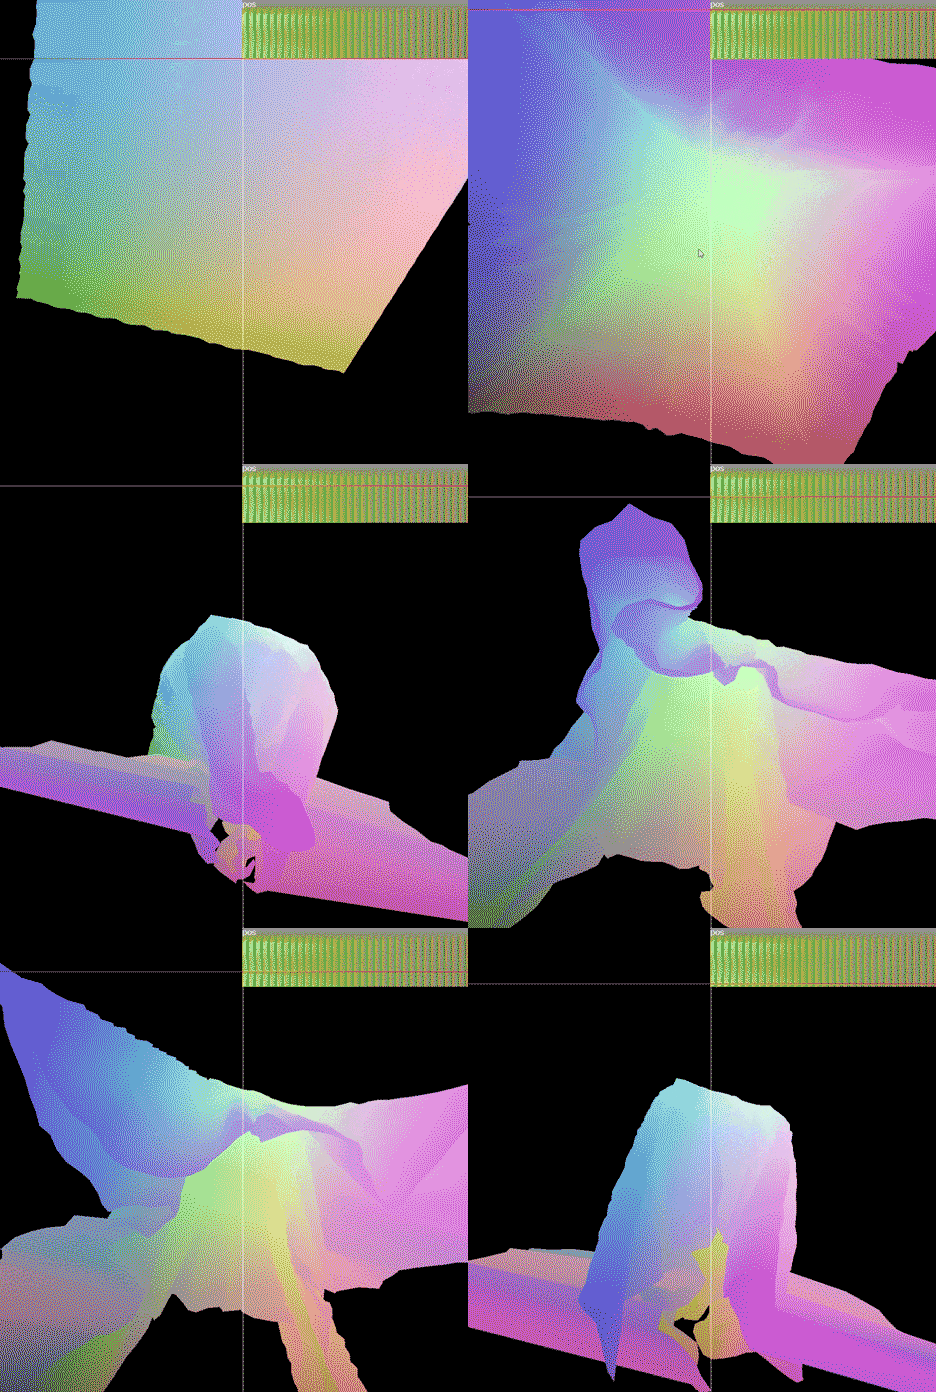
houdini上でclothの物理演算を行いそれをブラウザで再現して見ます。
こんな感じになります。
たぶん精度の問題で破綻してる部分がありますが、一応再現できていると思います。
githubはこちら
https://github.com/machilda/houdini-to-three-vertex-animation


