TouchDesignerでもFirebaseのRealtime Databaseがしたい!
TouchDesigner Advent Calendar 2018 12/24の記事です。
クリスマスイブですね。
寒いです。
みなさんGPUで暖を取りながらこの記事をみましょう。
さて本題に入りましょう。
Firebaseとは
Googleが運営しているmBaaSで、iOS/AndroidアプリからWebサービスまで幅広く使えます。
https://firebase.google.com/?hl=ja
mBaaSってなんやねんというかた
https://boxil.jp/mag/a3651/
色々機能はありますが、今回使うのは
Cloud Firestore(Realtime Database)
リアルタイムで同期ができるデータベース。現時点ではまだベータ版。
似たものでRealtime Databaseというものがあります。
Cloud Storage
Firebase向けのGoogle Cloud Storage
ユーザー作成した画像やファイルをアップロード/ダウンロードできます。
やること
特定のウェブサイトからFirebaseにアクセス、データベースにデータプッシュし、
TouchDesigner側で表示するコンテンツ
これだけだと、「いや、全部Webでやったほうが楽だ。」とか言い出す無粋な人もいますが、
無駄なことに趣があるのですよ。
とりあえず動かす
環境は
・Mac book pro
・TouchDesigner non-commercial
・anaconda
・python3系
今回は誰でも試せるようにnon-commercialで、
Firebaseも無料枠でやります。
anacondaは無くていいと思います。とりあえず、python3系が動けばおk
筆者はPythonには全く詳しくないので、コードの書き方は適当です(無責任)
TouchDesigner内部で使えるプログム言語は、non-commercialだとPythonだけのはず(違ったらごめんなさい)
なので、PythonでFirebaseにアクセスします。
Pythonのライブラリが何個かあります。
https://firebase.google.com/docs/database/rest/start?hl=ja
James Childs-Maidment 氏による Pyrebase
Özgür Vatansever 氏による python-firebase
Michael Huynh 氏による python-firebase
今回はPyrebaseを使います。
Pyrebaseのインストールにはpipを使います。
https://www.python.jp/install/windows/pip.html
$ pip3 install Pyrebase
これでok
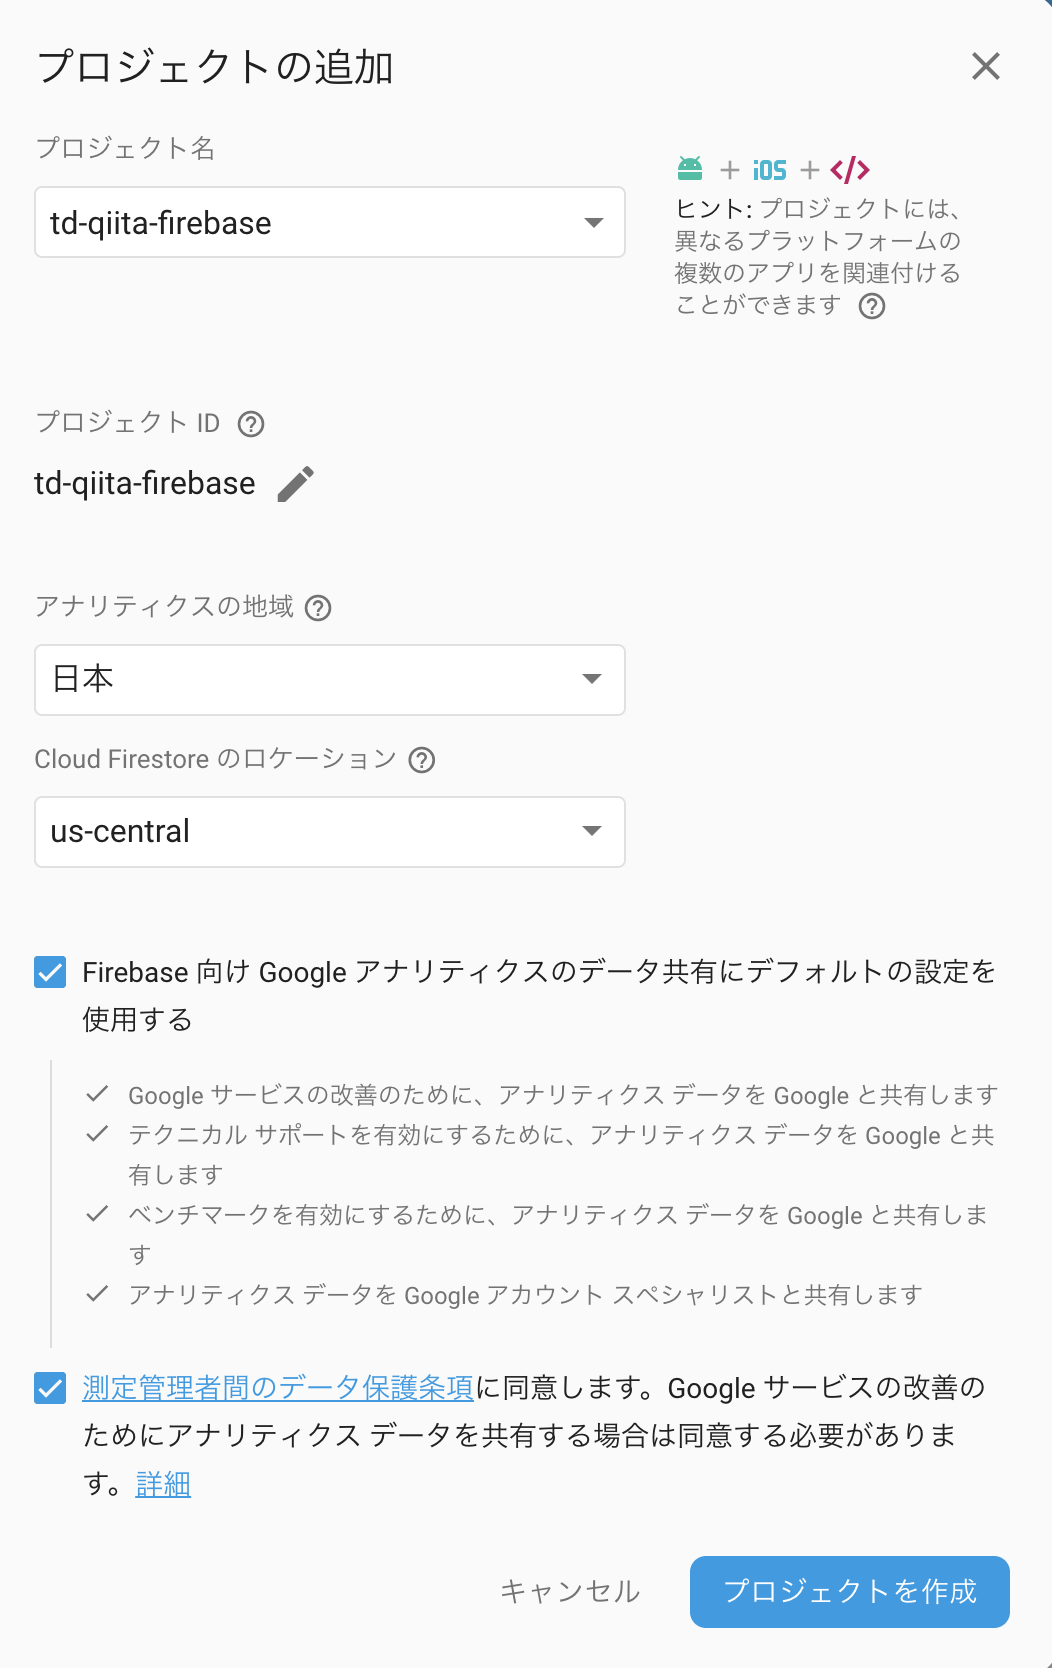
次にfirebaseにログインして「コンソールからプロジェクトを追加」をします。

プロジェクト作成後、「ウェブアプリにFirebaseを追加」
からconfig情報を取得しましょう。
firebaseの場合、apikeyを晒してもセキュリティのリスクはないらしいですが、一応隠しておきます。
var config = {
  apiKey: "●●●●●●●●●●●●●●●●●●●●●●●●●●●●●",
  authDomain: "td-qiita-firebase.firebaseapp.com",
  databaseURL: "https://td-qiita-firebase.firebaseio.com",
  projectId: "td-qiita-firebase",
  storageBucket: "td-qiita-firebase.appspot.com",
  messagingSenderId: "●●●●●●●●●●●●●●●●●"
};
右の開発からdatabaseに行って、databaseを作成します。
database作成時にテストモードにします。
databaseのルールは適当に、誰でも読み書きできる設定にしておきます。
{
  "rules": {
    ".read": true,
    ".write": true
  }
}
次にTouchDesignerにPythonのモジュール(Pyrebase)を読み込ませます。
Generalタブ内のPython 64-bit Module Pathに 64-bit Pythonのsite-packagesを追加するだけですね。
外部moduleまでpathがわからない場合は
$ pip3 show Pyrebase

Name: Pyrebase
Version: 3.0.27
Summary: A simple python wrapper for the Firebase API
Home-page: https://github.com/thisbejim/Pyrebase
Author: James Childs-Maidment
Author-email: UNKNOWN
License: MIT
Location: /Library/Frameworks/Python.framework/Versions/2.7/lib/python2.7/site-packages
Requires: requests, gcloud, oauth2client, requests-toolbelt, python-jwt, pycryptodome
でわかります。
Moduleの詳しい話はこちらで
https://qiita.com/oishihiroaki/items/e11dfa90638a13e2a5f5
↑これでうまく行かない場合、スクリプトでパスを指定してあげましょう
text.datを作成
setModule と名前をつけます。
import sys
mypath= '/Users/machida-yosuke/.pyenv/versions/anaconda3-4.2.0/lib/python3.5/site-packages'
if mypath not in sys.path:
	sys.path.append(mypath)
print(sys.path)
Pyrebaseを読み込ませることができるか確かめましょう。
text.datを作成
initPyrebase と名前をつけます。
import pyrebase

# firebaseのconfigから一部をコピペ
config = {
  "apiKey": "●●●●●●●●●●●●●●●●●",
  "authDomain": "td-qiita-firebase.firebaseapp.com",
  "databaseURL": "https://td-qiita-firebase.firebaseio.com",
  "storageBucket": "td-qiita-firebase.appspot.com"
}

firebase = pyrebase.initialize_app(config)
db = firebase.database()
print(db)
⌘ + Rで実行すると、
<pyrebase.pyrebase.Database object at 0x121a80748>
おっ、アクセスできました。
つぎにdatabaseにデータを突っ込みましょう。
text.datを作成
pushDatabase と名前をつけます。
import initPyrebase
def push():
	data = {
		"name": "TD kanzen ni rikai sita",
		'time': absTime.frame
	}
	initPyrebase.db.child("users").push(data)
push()
おっ、動きますね。TouchDesigner側からのpushは成功です。
まあ、TouchDesigner側からfirebaseにpostすることはほぼないでしょう。
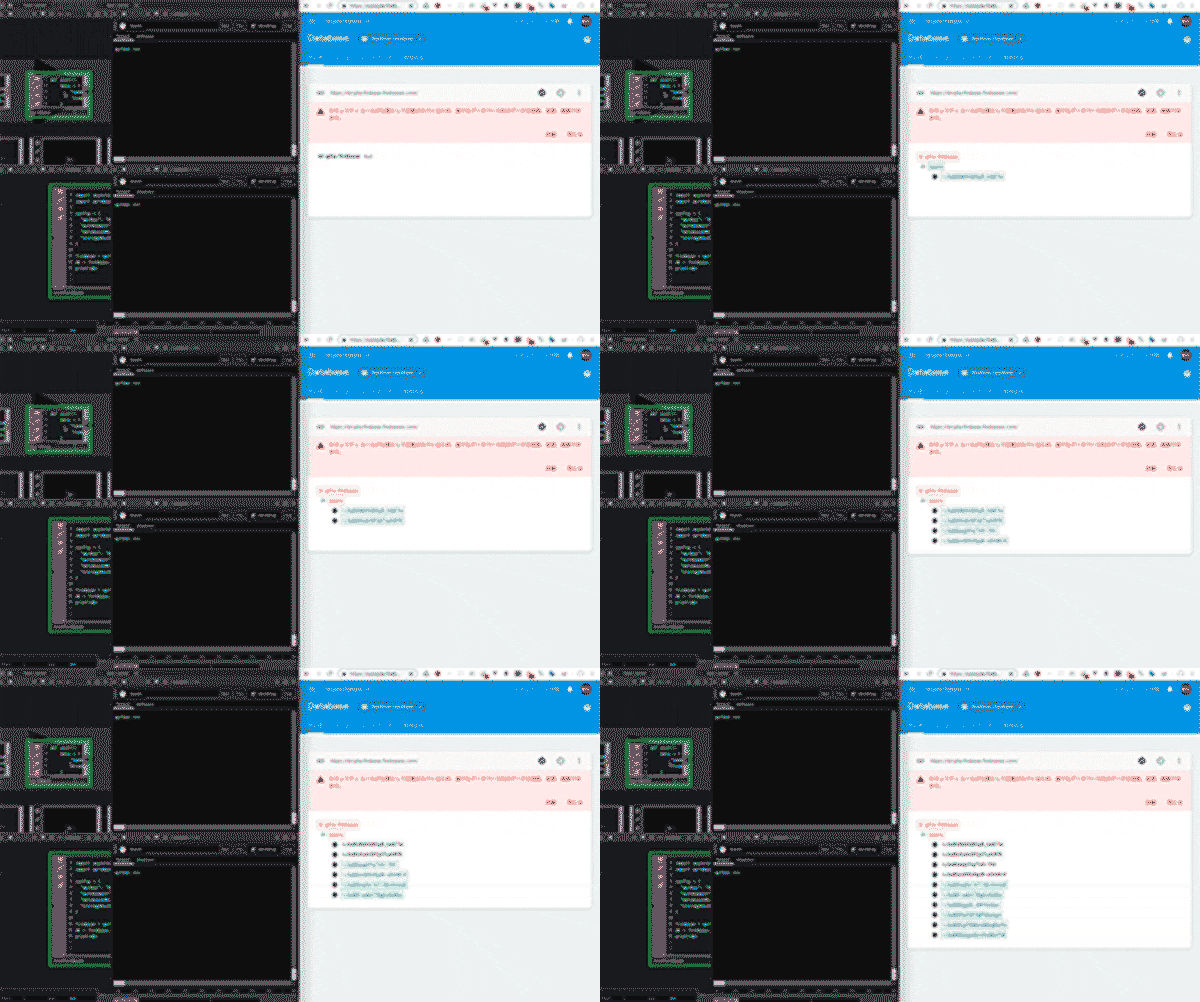
次にdatabase(/users)に変更があった場合、getするようにしましょう。
ここで問題があり、なぜかpostやget時にフレームレートがかなり落ちます。
なので、Pyrebaseを使わず、node.jsとOSCでdatabaseの変更をTouchDesigner側に送ります。
さよならPyrebase
まず、適当に画像と名前をpostできるwebサイトと、node.jsでoscを飛ばします。
webサイト
<!DOCTYPE html>
<html lang="ja">
  <head>
    <meta charset="UTF-8" />
    <meta name="viewport" content="width=device-width, initial-scale=1.0" />
    <meta http-equiv="X-UA-Compatible" content="ie=edge" />
    <title>Document</title>
  </head>
  <body>
    <div class="input-text"><input type="text" /></div>
    <div class="input-image"><input type="file" accept="image/*" /></div>
    <img class="imege-preview"></img>
    <div class="button">送信</div>
    <script src="./bundle.js"></script>
  </body>
</html>
import * as firebase from "firebase/app";
import "firebase/database";
import "firebase/storage";
import config from "./config";
import "./style.scss";

firebase.initializeApp(config);
let filename;
let filetype;
let blob;
let inputValue;
const storageRef = firebase.storage().ref();
const databaseRef = firebase.database().ref("/users");

const reader = new FileReader();
const button = document.querySelector(".button");
const preview = document.querySelector(".imege-preview");
const imgaeInput = document.querySelector(".input-image input");

imgaeInput.addEventListener(
  "change",
  e => {
    const file = e.target.files[0];
    filename = file.name;
    filetype = file.type;
    reader.readAsDataURL(file);
  },
  false
);

reader.addEventListener(
  "load",
  () => {
    const ImageBase64 = reader.result;
    blob = toBlob(ImageBase64);
    preview.src = window.URL.createObjectURL(blob);
  },
  false
);

button.addEventListener(
  "click",
  () => {
    inputValue = document.querySelector(".input-text input").value;
    if (inputValue.length === 0 || !preview.src) {
      return;
    }
    postImage();
  },
  false
);

async function postImage() {
  const uploadRef = await storageRef.child(filename);
  const snapshot = await uploadRef.put(blob);
  const url = await uploadRef.getDownloadURL();
  const createdTime = Date.now();
  databaseRef.push({
    url,
    name: inputValue,
    time: createdTime
  });
}

function toBlob(base64) {
  var bin = atob(base64.replace(/^.*,/, ""));
  var buffer = new Uint8Array(bin.length);
  for (var i = 0; i < bin.length; i++) {
    buffer[i] = bin.charCodeAt(i);
  }
  try {
    var blob = new Blob([buffer.buffer], {
      type: filetype
    });
  } catch (e) {
    return false;
  }
  return blob;
}
node.js側
node-oscを使います。
var osc = require("node-osc");
var firebase = require("firebase");
var config = require("./config.js");

var firebaseConfig = config.config;
var dt = Date.now();

var app = firebase.initializeApp(firebaseConfig);
var oscClient = new osc.Client("localhost", 6000);
var messagesRef = app
  .database()
  .ref()
  .child("users");

messagesRef.on("child_added", function(snapshot) {
  var msg = snapshot.val();
  if (dt > msg.time) {
    return;
  }
  console.log("追加されたぞ", msg);
  oscClient.send("/", msg.url, msg.name, function() {});
});
TouchDesigner側は、
text topと
moviefilein topと
DatからOSC Inを追加します。
oscin_callbackに
def onReceiveOSC(dat, rowIndex, message, bytes, timeStamp, address, args, peer):
	op('text1').par.text = args[1]
	op('moviefilein1').par.file = args[0]
	return
と書けば終わりです。
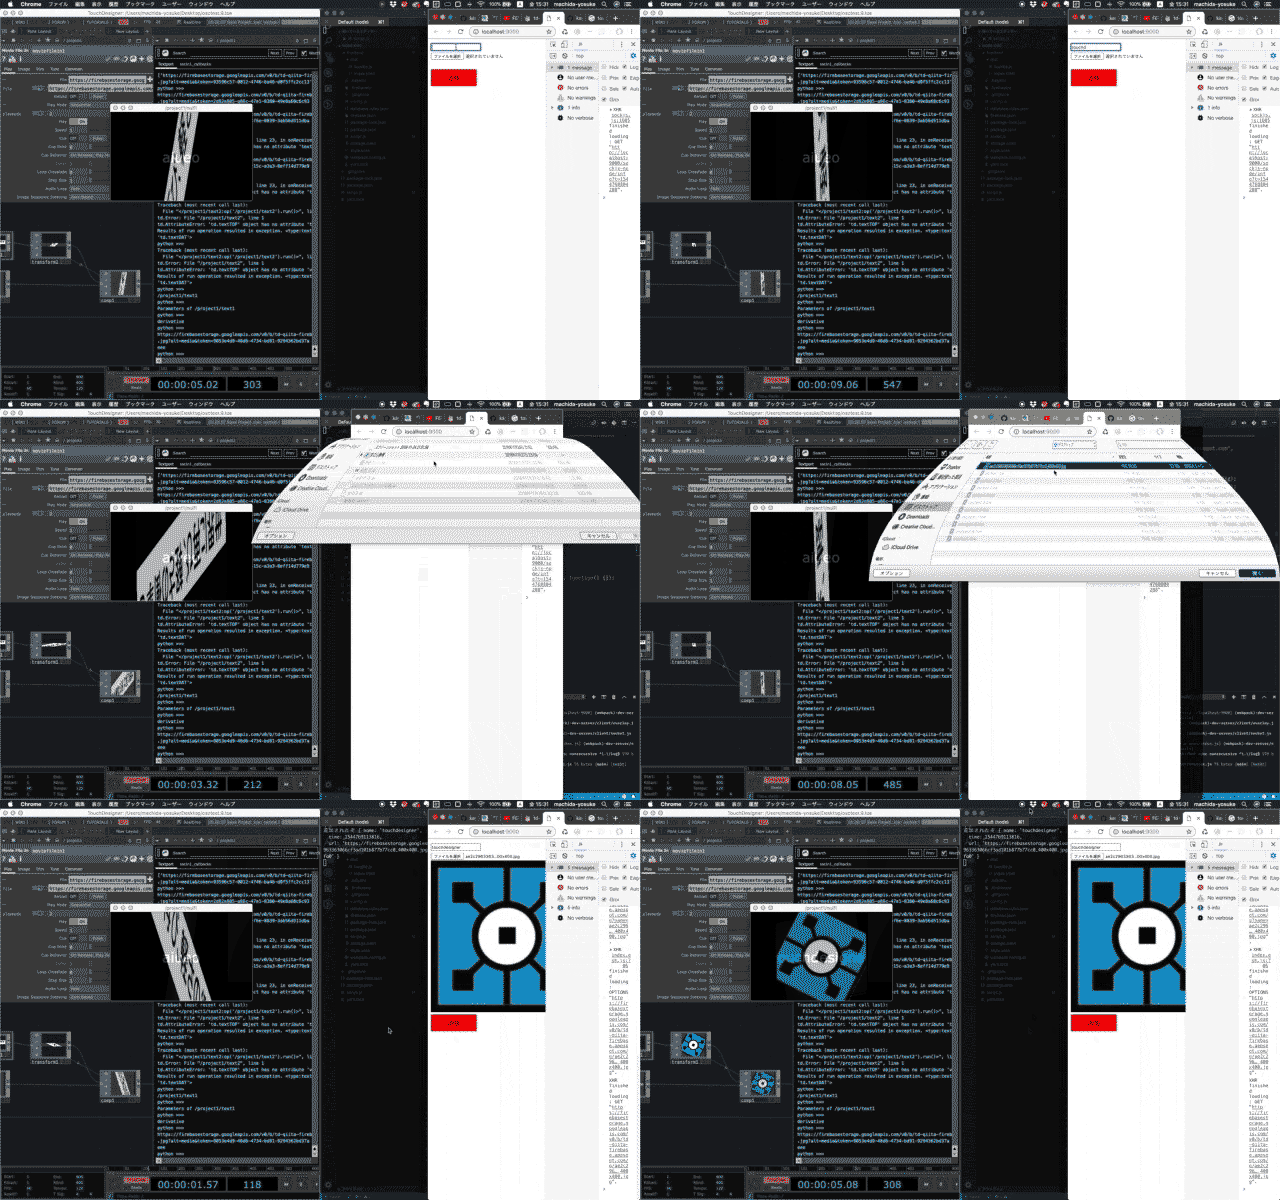
webサイトからfirebaseに画像と文字列postして、
nodeでdatabaseの変更を感知して、oscでTouchDesignerにおくり、
TouchDesignerで表示させましょう。
できた。
画像ロード時にフレームレートが落ちてしまうので、moviefileinを二つ用意して、ロードが終わったらSwitchで切り替えるとかしたほうがいいですね。
githubはこちら
https://github.com/machida-yosuke/node-osc
まとめ
OSCは便利ということ

