#はじめに
wingetで開発環境作りをしてみた際に、Intellijがインストール出来ることに気付いたため、コマンドラインだけで開発環境を作ってみます
| Soft | Ver |
|---|---|
| Windows11 | 21h2で確認 |
| IntelliJ IDEA | Ultimate2022.2確認 |
#IntelliJ IDEAインストール前準備
一応Git,OpenJDKをインストールしておく
PowerShellを管理者モードで起動しておいたほうが楽です。
ユーザーモードでもUACをはいを連打すれば良いのだけどね
winget install -h -e --id Git.Git
winget install -h -e --id Microsoft.OpenJDK.11
#IntelliJ IDEAのインストール&音声不具合対応&コマンドラインで日本語化
無料版のCommunity
winget install -h -e --id JetBrains.IntelliJIDEA.Community
Invoke-WebRequest -uri https://plugins.jetbrains.com/files/13964/202548/ja.222.168.zip -outfile ~\ja.222.168.zip
Expand-Archive -Path ~\ja.222.168.zip -DestinationPath ~\AppData\Roaming\JetBrains\IdeaIC2022.2\plugins\
Remove-Item ~\ja.222.168.zip
学生の方はEducational
winget install -h -e --id JetBrains.IntelliJIDEA.Edu
Invoke-WebRequest -uri https://plugins.jetbrains.com/files/13964/202548/ja.222.168.zip -outfile ~\ja.222.168.zip
Expand-Archive -Path ~\ja.222.168.zip -DestinationPath ~\AppData\Roaming\JetBrains\IdeaIE2022.2\plugins\
Remove-Item ~\ja.222.168.zip
有料版をご購入の方はUltimate
winget install -h -e --id JetBrains.IntelliJIDEA.Ultimate
Invoke-WebRequest -uri https://plugins.jetbrains.com/files/13964/202548/ja.222.168.zip -outfile ~\ja.222.168.zip
Expand-Archive -Path ~\ja.222.168.zip -DestinationPath ~\AppData\Roaming\JetBrains\IntelliJIdea2022.2\plugins\
Remove-Item ~\ja.222.168.zip
#日本語化プラグインのインストール(GUIで日本語化)
コマンドラインで日本語化した方は飛ばしてください
ここからの手順はWindowsもmacOSも同じです。なんで、わかりにくい場合は他のサイトを参照してもらっても構いません。正し、2019.3以前の記事は参考にならないので注意です。
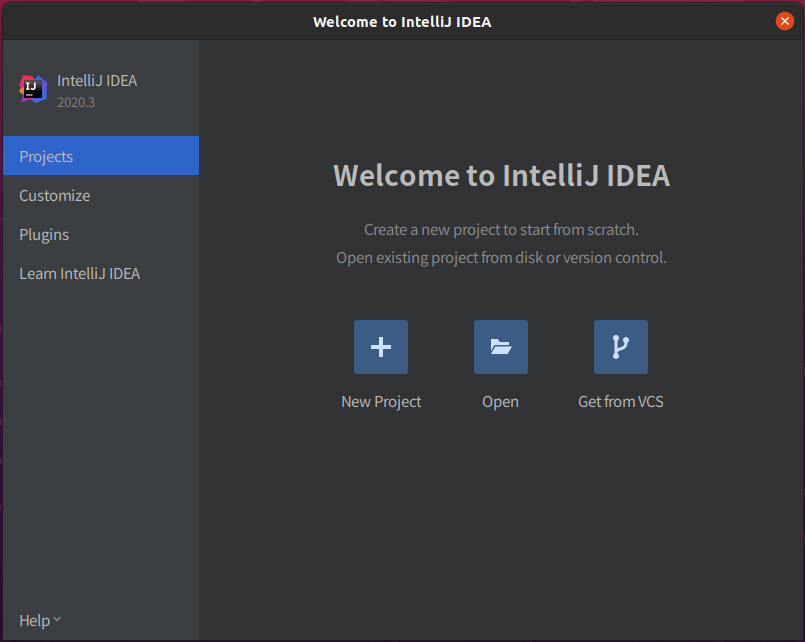
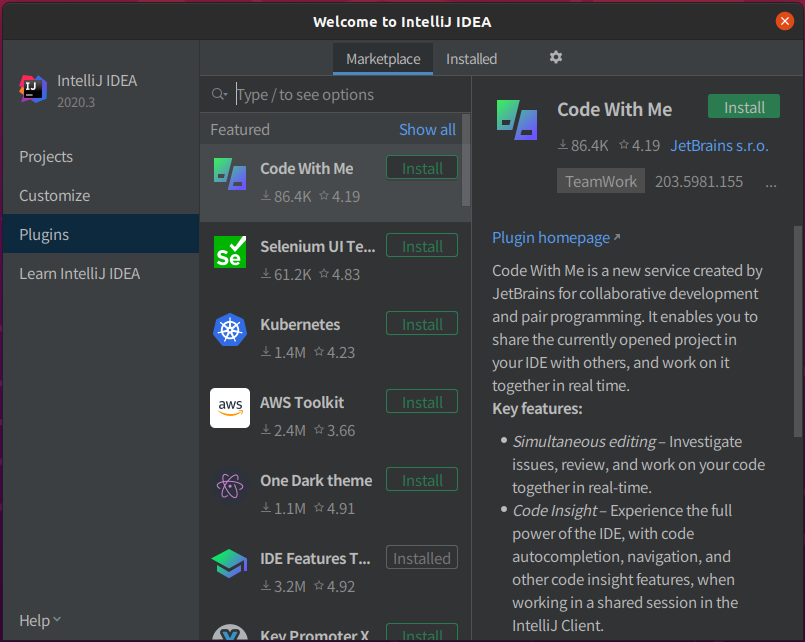
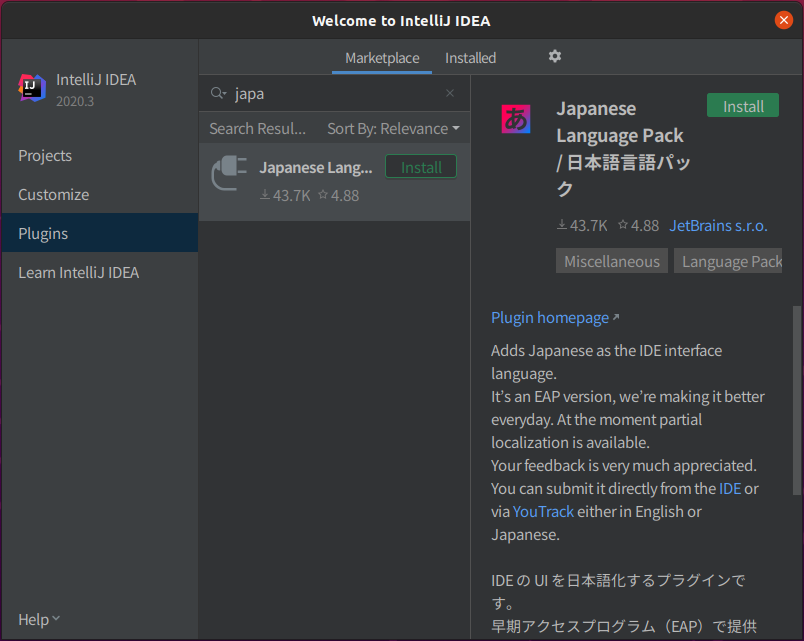
Welcaome画面 > Pluginsから「Japanese Language Pack」をインストール。
プラグインをインストールするとIDEAの再起動をかける必要があるため、他のプラグインもインストールしたい場合は、ここで追加する。
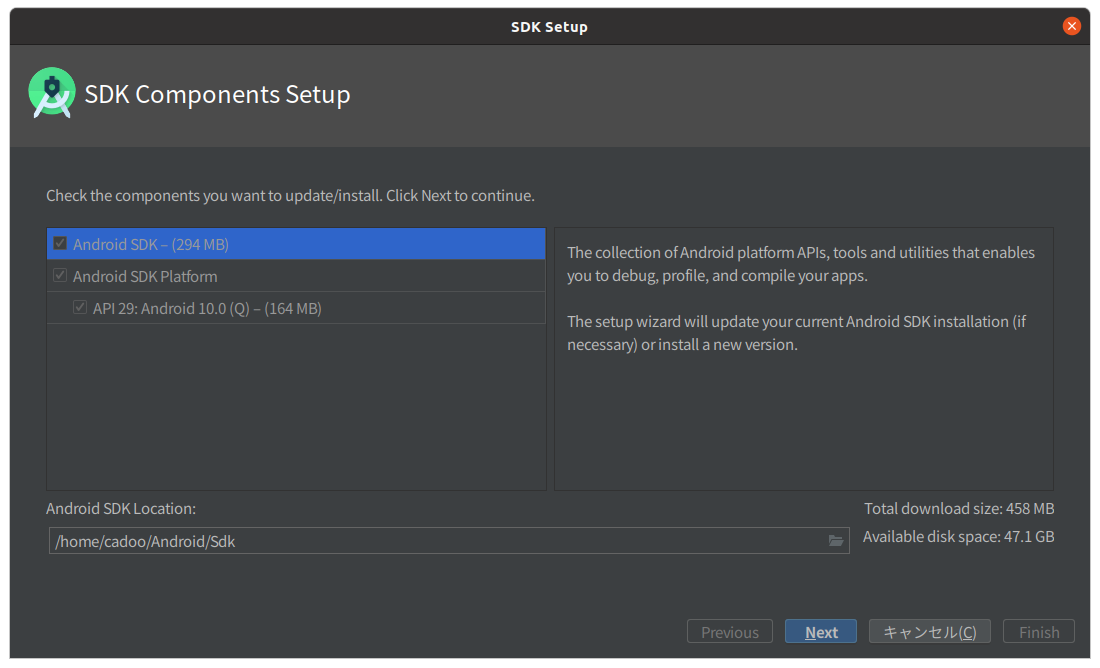
#Android SDKインストール
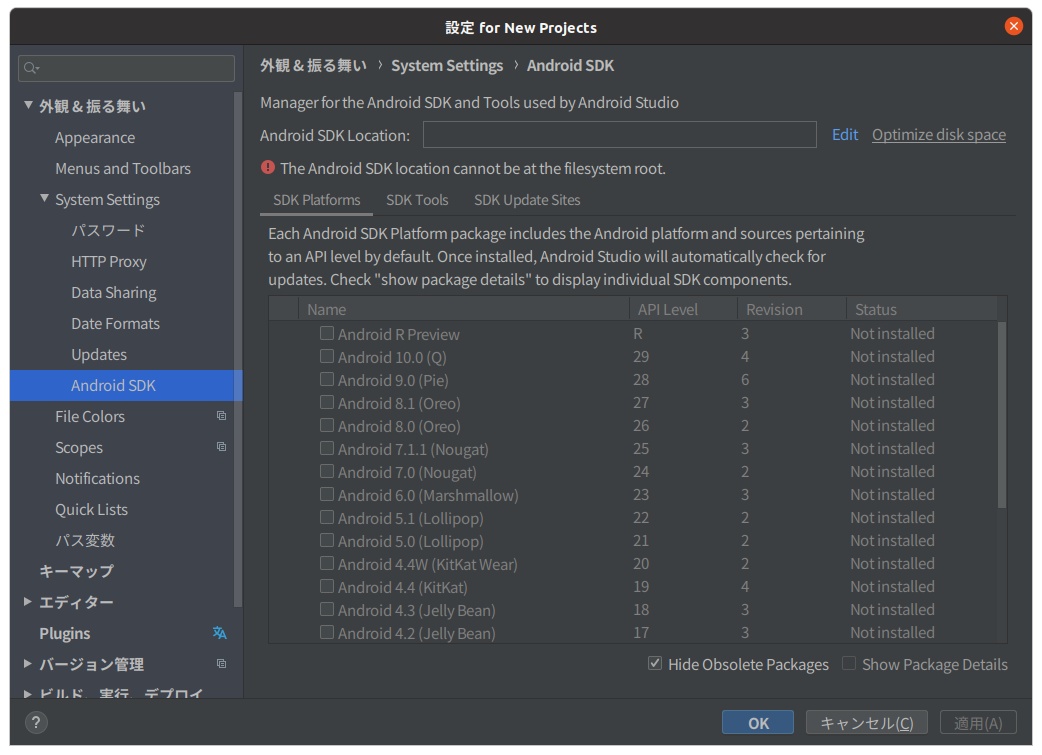
Welcaome画面 > カスタマイズ > すべての設定 から設定画面を開く。
Appearance & Behavior > System Settings > Android SDKのAndroid SDK LocationのEditをクリック。
SDK Components Setup画面で次を連打。

#(おまけ1)アップデート
パッケージのアップグレードはコマンド一発です。
Windowsでもこんな日が来るなんて・・・
winget upgrade --all
#(おまけ2)
Ubuntuと違いFlutter環境はコマンド一発とは行きませんので省略
#所感
wingetでかなりWindowsの環境作りが楽になってきましたね。