luatos ESP32について
LuatOSは、ESP32-C3を使用したコア開発ボードで使用できるOSです。詳細な使用方法やチュートリアルは、LuatOSの公式ウィキ3で提供されています。
https://wiki.luatos.org/chips/esp32c3/board.html
この記事ではarduino IDEとPlatformIOでESP32-C3を開発する環境を構築します。
Arduino IDE
Arduino IDEに独自のボードライブラリを追加するため、設定を行います。
File -> Preferences
Additional boards manager URLsのテキストボックスにhttps://raw.githubusercontent.com/espressif/arduino-esp32/gh-pages/package_esp32_dev_index.json
と入力し決定してください。
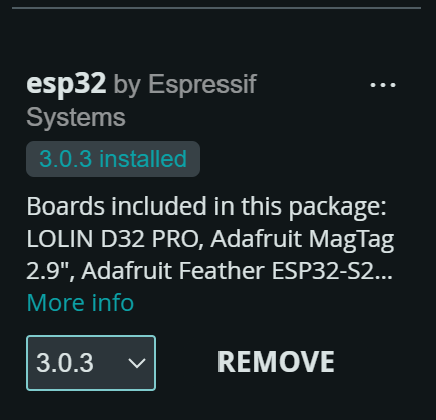
次にBoards ManagerにESP32と入力しesp32をinstallしてください

Tools -> Boards
ESP32C3 Dev Moduleを選択
Tools
USB CDC on Bootを選択 Enableに変更
Flash ModeをDIOに変更
これで設定は終わりです。
テスト用コードを添付します
#include <Arduino.h>

#define LED_PIN 12

void setup() {
  // LEDピンの設定
  pinMode(LED_PIN, OUTPUT);

  // シリアルモニタの初期化
  Serial.begin(115200);
  Serial.println("Starting LED blink test...");
}

void loop() {
  // LEDを点灯
  digitalWrite(LED_PIN, HIGH);
  Serial.println("LED ON");
  delay(1000); // 1秒間点灯

  // LEDを消灯
  digitalWrite(LED_PIN, LOW);
  Serial.println("LED OFF");
  delay(1000); // 1秒間消灯
}
PlatformIO
プラットフォームIOをインストールし、以下の画面に移動してください

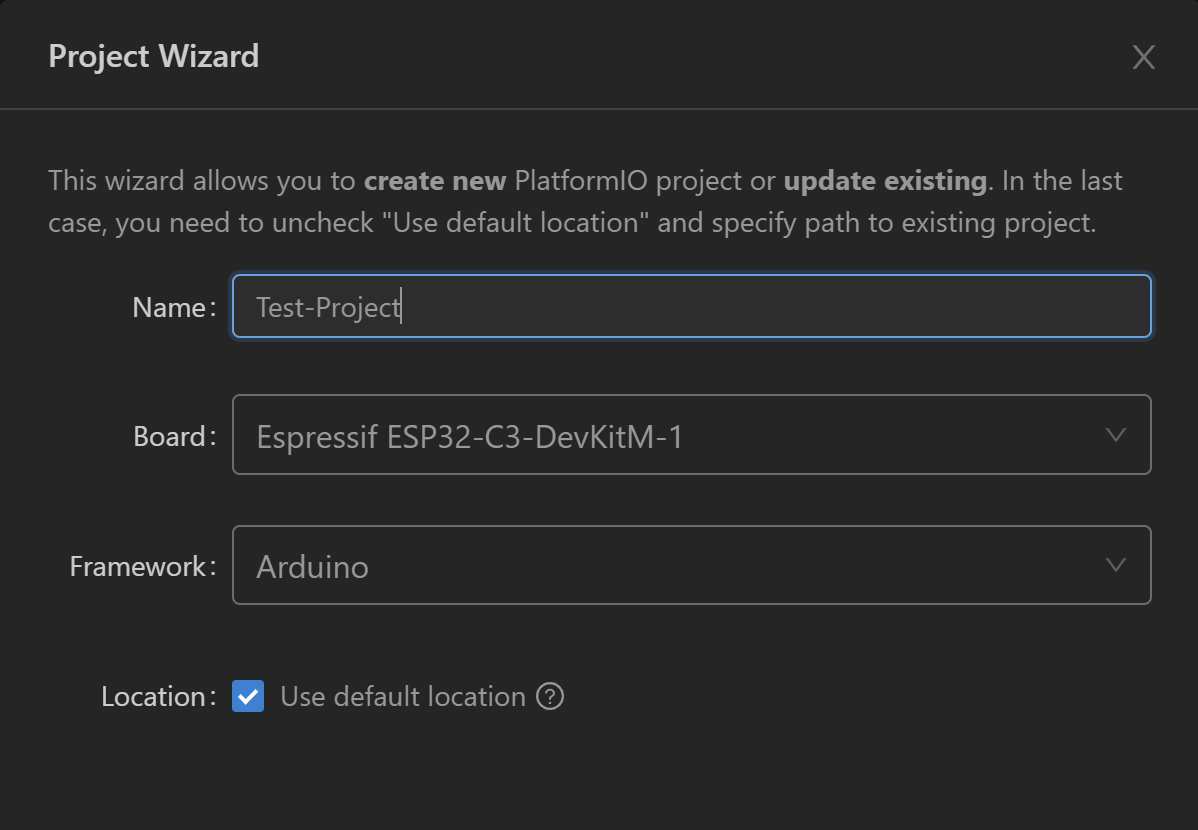
New Projectを選択し以下のように選択してください

構築したプロジェクトのplatformio.iniに
[env:esp32-c3-devkitm-1]
platform = espressif32
board_build.flash_mode = dio
board = esp32-c3-devkitm-1
framework = arduino
monitor_speed = 115200
を追加し保存してください
これで設定は終わりです。
さいごに
参考にしたサイトです
公式サイト↓
私が購入したESP32 C3です
中国系のサイトに飛びます。