概要
技術調査でAndroidからAWS Amplify API(GraphQL)を利用してみたので、その際のメモ書きです。
やりたいこと
Amplify API(GraphQL)から「イベント」一覧をAndroidアプリで取得したい。
環境
- Android Studio(4.1.1)
- Mac OS
- AWSアカウント登録済み
※Amplifyの利用はAndroid Studio 4.0以降が必要です。
Install Android Studio version 4.0 or higher
実施した手順
基本的に公式Docを見ながら実施しました。その中で必要なところを掻い摘んでメモ。
-
チュートリアル
https://docs.amplify.aws/start/getting-started/setup/q/integration/android#prerequisites -
API(GraphQL)
https://docs.amplify.aws/lib/graphqlapi/getting-started/q/platform/android
1. AmplifyのCLIツールのインストール
npm install -g @aws-amplify/cli
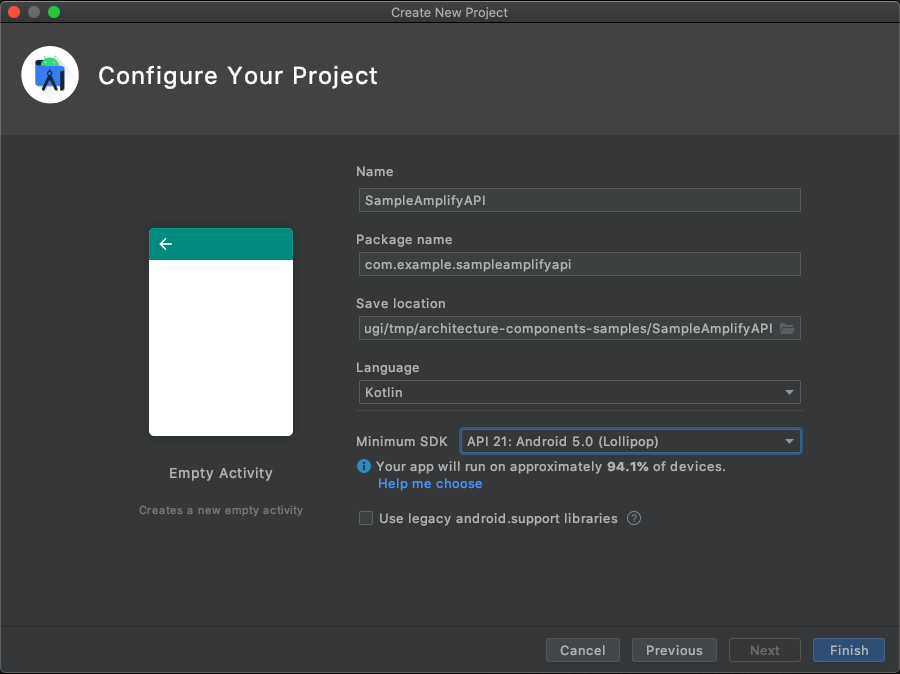
2. サンプルプロジェクトの用意
プロジェクトを作成したら依存設定も行いましょう。
build.gradle(project)
buildscript {
   repositories {
       google()
       jcenter()
   }

   dependencies {
       classpath 'com.android.tools.build:gradle:4.0.1'
       classpath 'com.amplifyframework:amplify-tools-gradle-plugin:1.0.2'
   }
}

allprojects {
   repositories {
       google()
       jcenter()
   }
}

apply plugin: 'com.amplifyframework.amplifytools'
com.amplifyframework:amplify-tools-gradle-plugin:1.0.2
をclassPathに追加し、最後に
apply plugin: 'com.amplifyframework.amplifytools'
を足しましょう。
build.gradle(app)
dependencies {
    implementation 'com.amplifyframework:aws-api:1.6.4'
    implementation 'com.amplifyframework:aws-datastore:1.6.4'
}
dependeciesには上記の項目を追加します。
ここまで実施してGradle Syncに成功すればOK。
Modelの作成
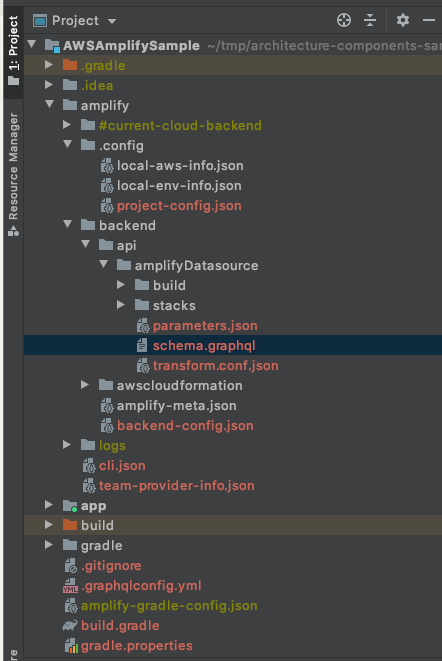
ここまで実施すると、「amplifyPush」「modelgen」タスクが実施可能になり、同時にプロジェクト内に「amplify」フォルダが作成されています。
上記スクショのamplifyフォルダ内の「schema.graphql」を変更します。
enum Priority {
  LOW
  NORMAL
  HIGH
}

type Event @model {
  id: ID!
  name: String!
  priority: Priority
  description: String
}
今回は「イベント」を扱いたいので上記のようなModelにしています。
schema.graphqlを作成できたら「modelgen」を開始します。
IAMユーザの作成
ここまでの手順で、アプリのローカルではデータが保持できるようになっています。
今回はサーバサイドのAPI(GraphQL)から取得する構図にしたいので、AWS AppSync APIを作成します。
amplify configure
上記コマンドを実行するとAWS Management Consoleが起動するので、AppSync APIを管理するIAMユーザを作成しましょう。
その後、CLI上でリージョンやIAMユーザの名前等を聞かれるので答えていきます。
Specify the AWS Region
? region:  # Your preferred region
Specify the username of the new IAM user:
? user name:  # User name for Amplify IAM user
Complete the user creation using the AWS console

...
Enter the access key of the newly created user:
? accessKeyId:  # YOUR_ACCESS_KEY_ID
? secretAccessKey:  # YOUR_SECRET_ACCESS_KEY
This would update/create the AWS Profile in your local machine
? Profile Name:  # (default)

Successfully set up the new user.
APIの設定とモデルの反映
次にAPIの設定をします。
amplify add api
を実行し、必要な情報を入力していきましょう。
? Please select from one of the below mentioned services:
    `GraphQL`
? Provide API name:
    `apiName`
? Choose the default authorization type for the API
    `API key`
? Enter a description for the API key:
    `description`
? After how many days from now the API key should expire (1-365):
    `7`
? Do you want to configure advanced settings for the GraphQL API
    `No, I am done.`
? Do you have an annotated GraphQL schema?
    `No`
? Do you want a guided schema creation?
    `Yes`
? What best describes your project:
    `Single object with fields (e.g., “Todo” with ID, name, description)`
? Do you want to edit the schema now?
    `No`
認証タイプ等を聞かれますが、開発調査なので今回は「API Key」を指定しました。
API Keyを指定する場合は、有効期限も同時に設定します。
ここまでの作業が完了したら「amplifyPush」を実行します。
基本的にそのまま実行すれば成功しますが、Profile Name等を設定したりした場合は、適宜「local-aws-info.json」等を編集しましょう。
{
    "amplify": {
        "configLevel": "project",
        "useProfile": true,
        "profileName": "default"
    }
}
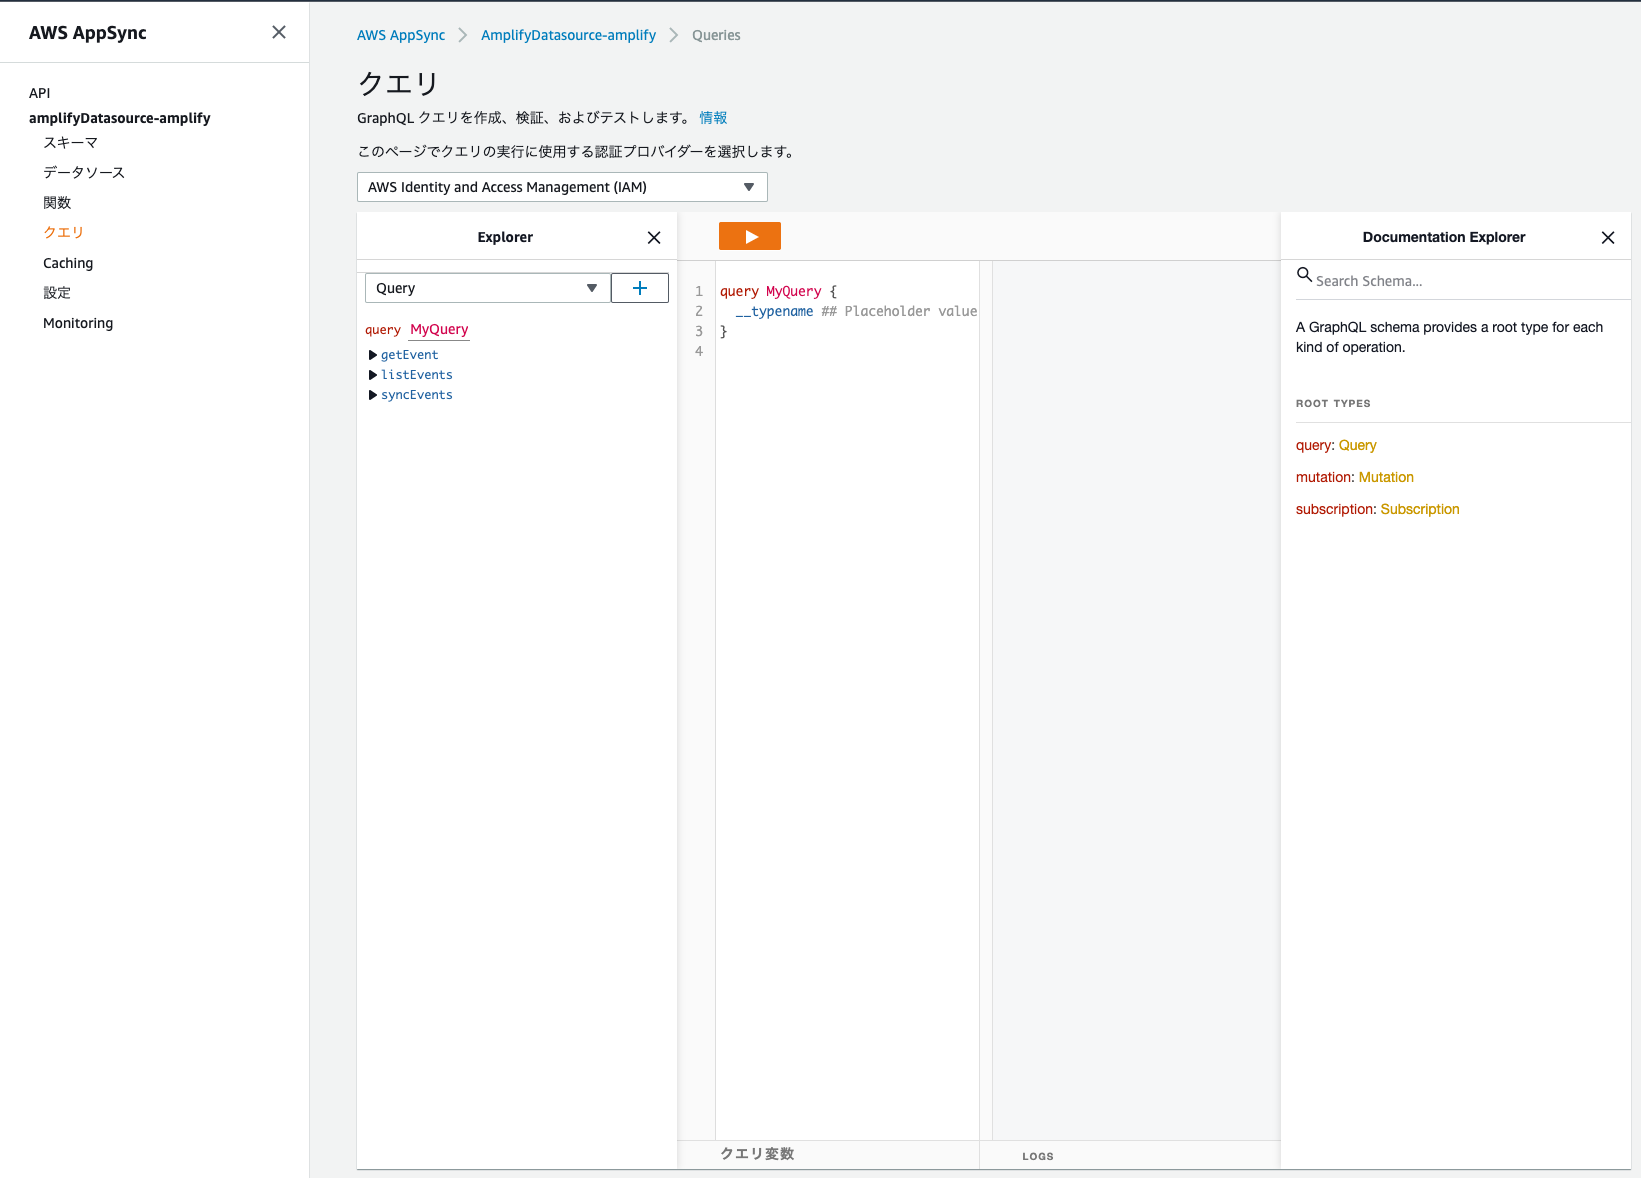
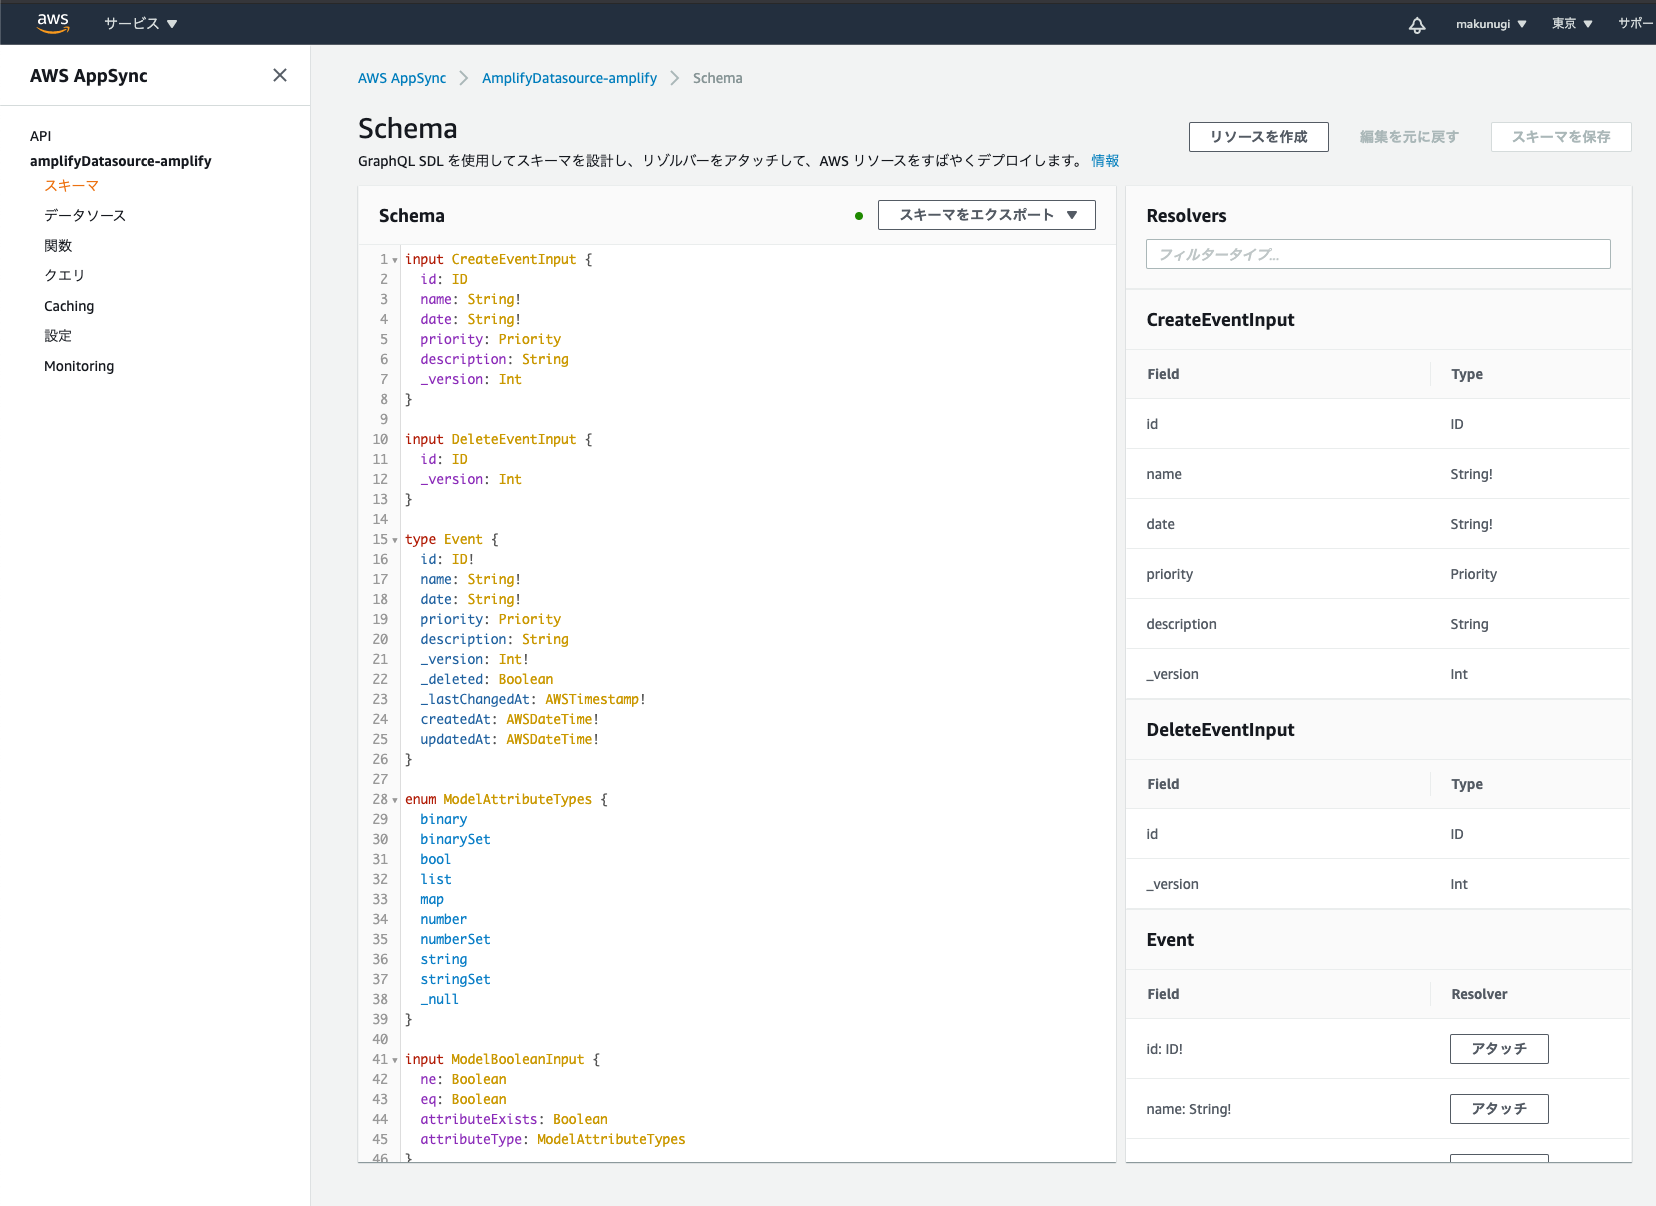
amplifyPushが成功すると、AWS AppSyncのページで設定されたgraphqlのスキーマが確認できるようになっています。
イベント情報の追加
試しに先ほど用意したモデルにイベント情報を追加してみます。
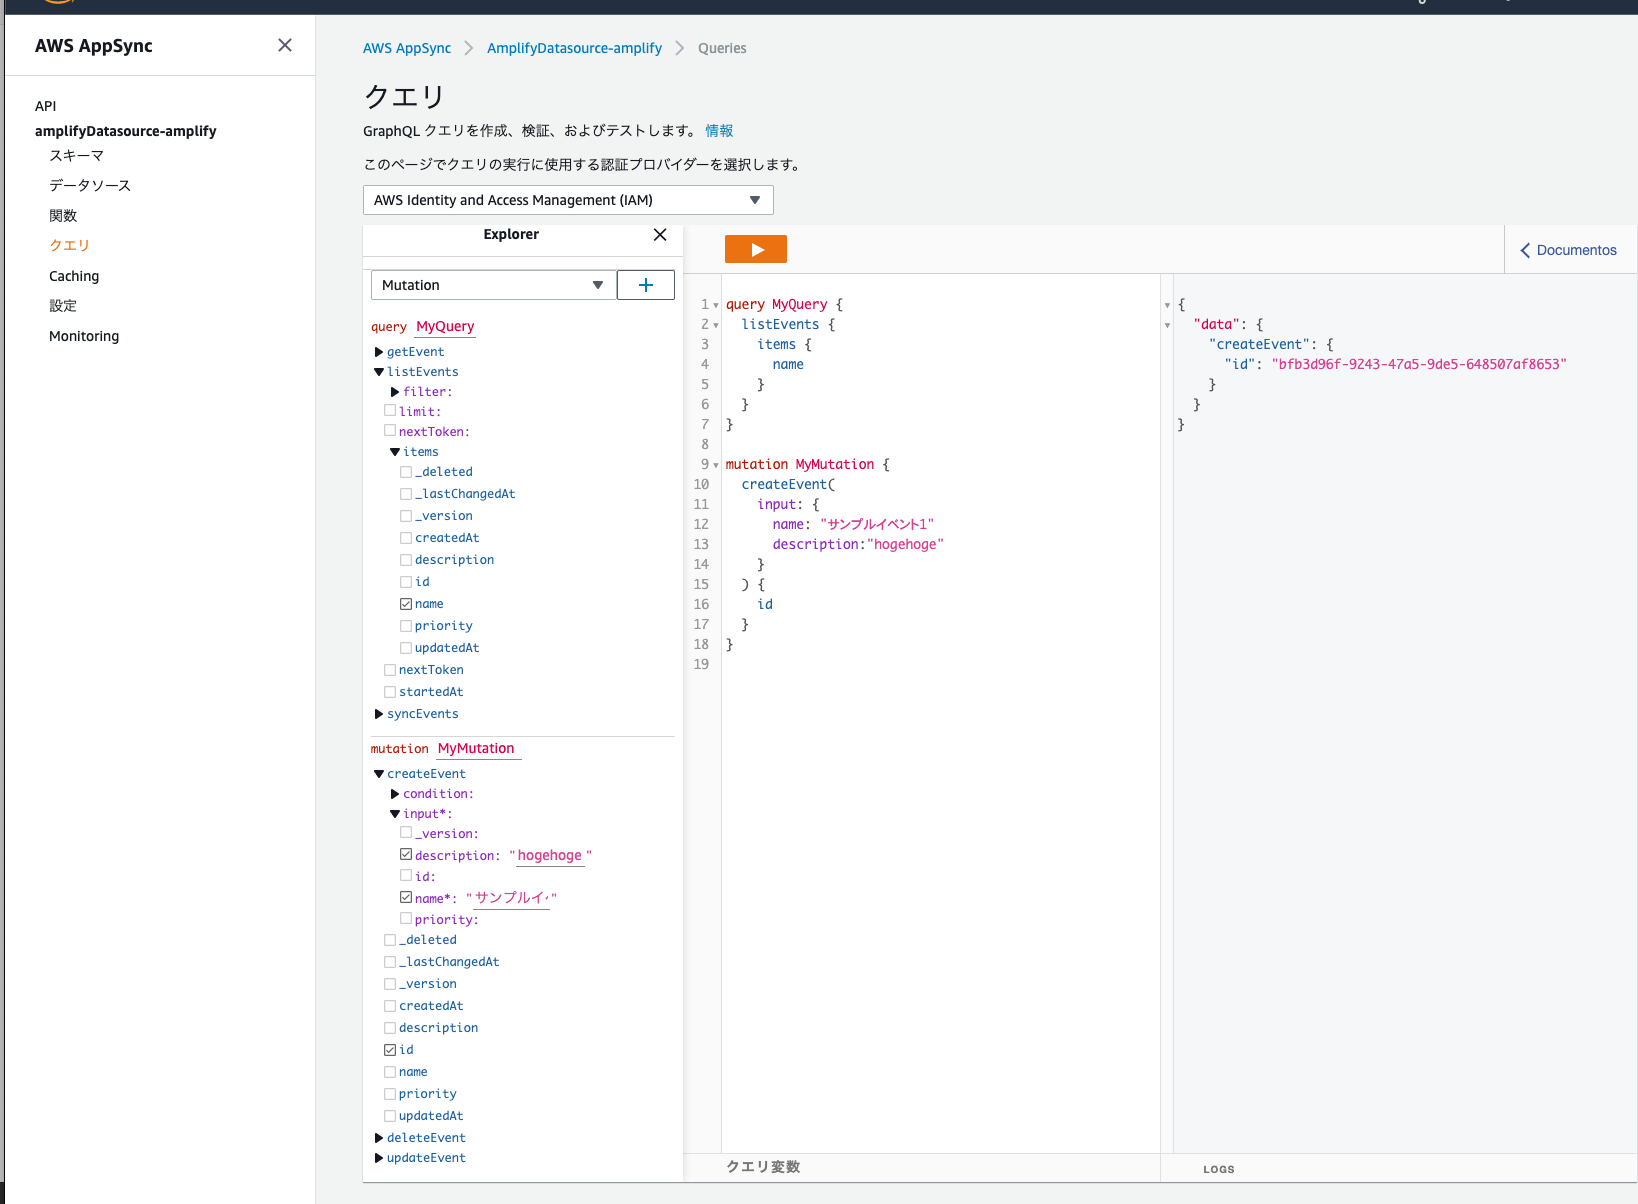
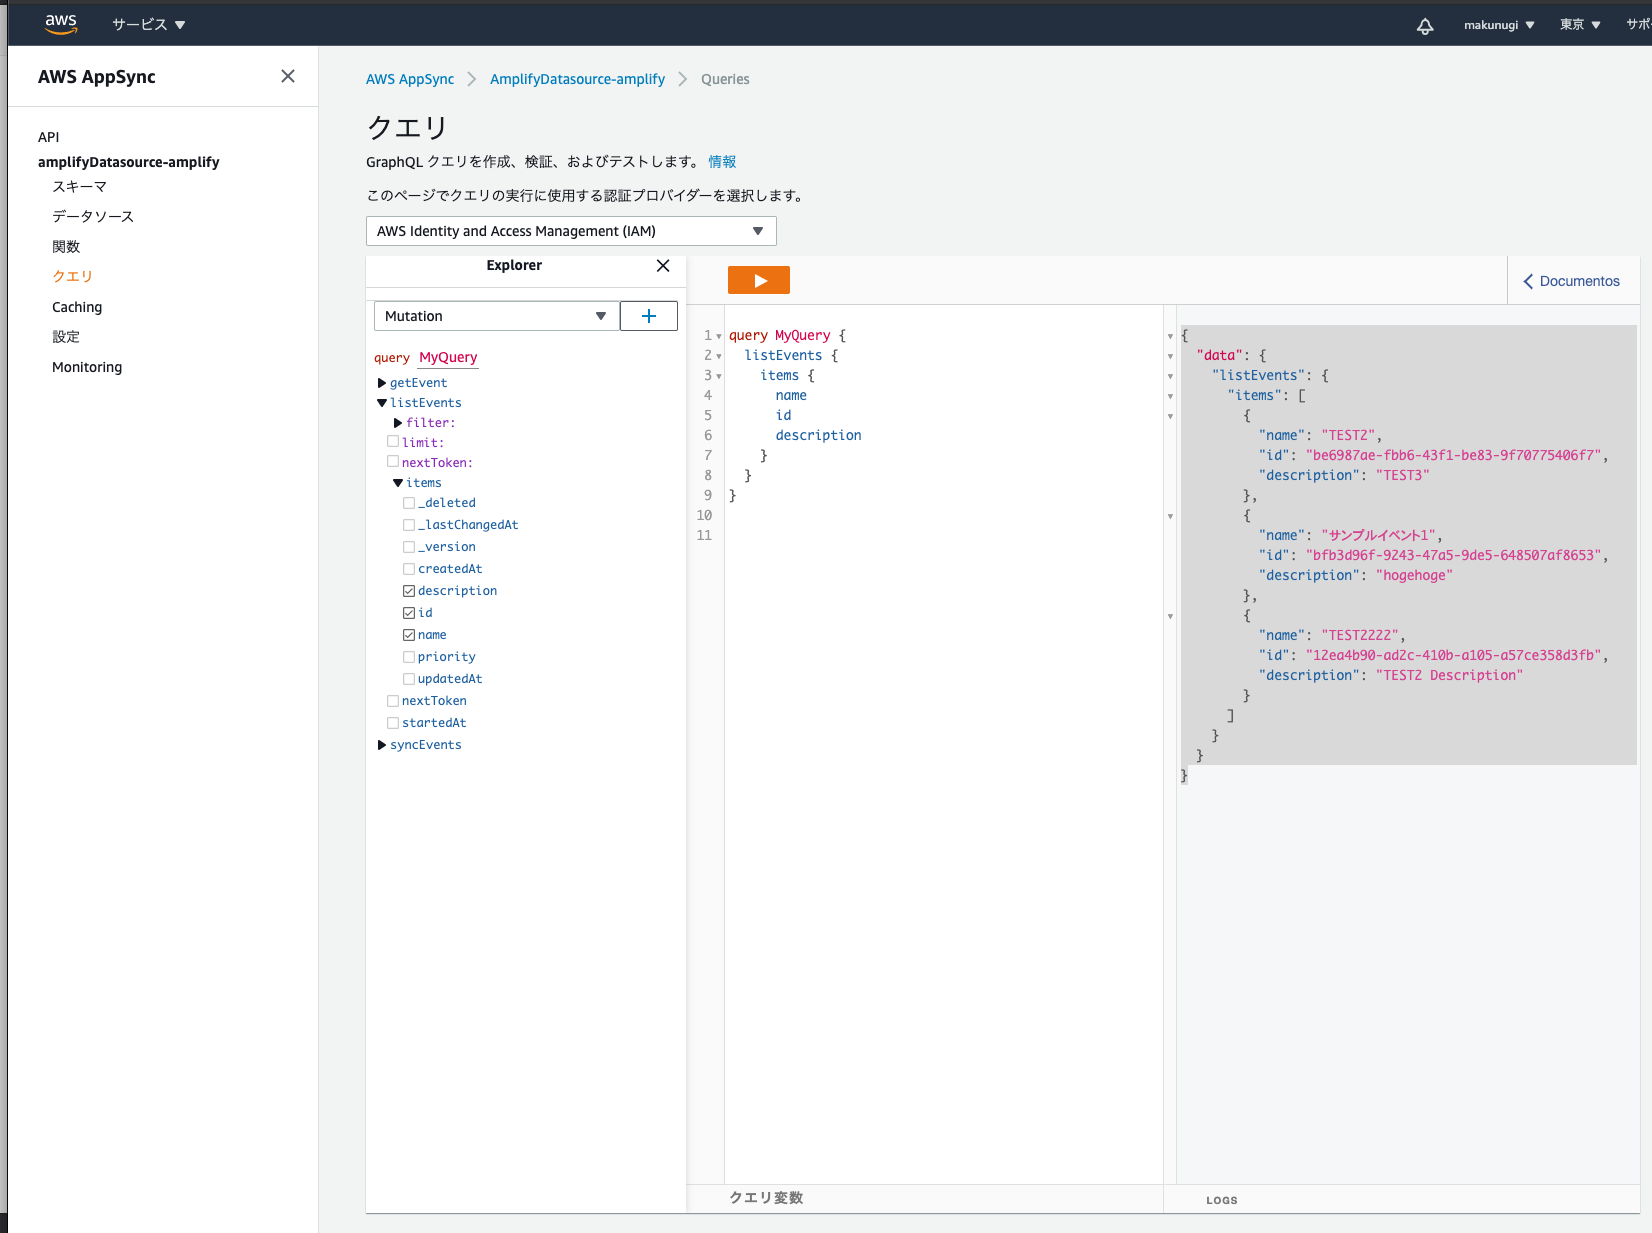
AWS AppSyncの作成されたDatasourceの「クエリ」を開きます。
Exprolerで「Mutation」を選択して「+」を押下します。
Mutationで任意の情報を追加しましょう。
これでAPI(GraphQL)の準備が整いました。
アプリの実装
最後にアプリ側でAPIからイベント情報を取得してみます。
まずは、Applicationクラスを継承したSampleApplicationクラスを用意します。(Android Manifestへの登録も忘れずに)
import android.app.Application
import android.util.Log
import com.amplifyframework.AmplifyException
import com.amplifyframework.api.aws.AWSApiPlugin
import com.amplifyframework.core.Amplify
import com.amplifyframework.datastore.AWSDataStorePlugin

class SampleApplication: Application() {
    override fun onCreate() {
        super.onCreate()
        try {
            Amplify.addPlugin(AWSApiPlugin())
            Amplify.addPlugin(AWSDataStorePlugin())
            Amplify.configure(applicationContext)
            Log.i("Tutorial", "Initialized Amplify")
        } catch (failure: AmplifyException) {
            Log.e("Tutorial", "Could not initialize Amplify", failure)
        }
    }
}
onCreateメソッド内でAmplifyを利用する初期設定を行っています。
初期設定がうまくいくかどうか、まずは実行して試してみましょう。
私の環境では、NoSuchMethodErrorが出たので、一旦Javaのバージョンを設定して回避しました。
java.lang.NoSuchMethodError: No static method metafactory(Ljava/lang/invoke/MethodHandles$Lookup;Ljava/lang/String;Ljava/lang/invoke/MethodType;Ljava/lang/invoke/MethodType;Ljava/lang/invoke/MethodHandle;Ljava/lang/invoke/MethodType;)Ljava/lang/invoke/CallSite; in class Ljava/lang/invoke/LambdaMetafactory; or its super classes (declaration of 'java.lang.invoke.LambdaMetafactory' appears in /apex/com.android.runtime/javalib/core-oj.jar)
        at com.amplifyframework.util.FieldFinder.findModelFieldsIn(FieldFinder.java:61)
   compileOptions {
        sourceCompatibility JavaVersion.VERSION_1_8
        targetCompatibility JavaVersion.VERSION_1_8
    }

    kotlinOptions {
        jvmTarget = "1.8"
    }
アプリ起動時に
Log.i("Tutorial", "Initialized Amplify")
が出力されていれば成功です。
最後に任意の場所でquery処理を実装します。
class MainActivity : AppCompatActivity() {
    override fun onCreate(savedInstanceState: Bundle?) {
        super.onCreate(savedInstanceState)
        setContentView(R.layout.activity_main)

        Amplify.API.query(
            ModelQuery.list(Event::class.java, Event.NAME.contains("サンプル")),
            { response ->
                for (event in response.data) {
                    Log.i("Amplify Response", event.name)
                }
            },
            { error -> Log.e("Amplify Response", "Query failure", error) }
        )

    }
}
この状態でアプリを実行し、正常にイベント情報がAPIから取得できていれば成功です。
まとめ
一旦サンプルとしてAmplify APIからアプリでイベント情報を取得することができました。
実際に運用していくには、認証周りの設定などやらないといけないことがまだありますが、スピーディーにGraphQLのAPIを構築して簡単にアプリで利用できる素晴らしいツールだと感じました。必要に応じて活用していきたいです。手順にミス等ありましたら、ご指摘いただけると幸いです。
