macOSにVagrantとVirtualBoxを使用した仮想環境を構築し、その中にLinuxをインストールする方法の覚え書きです。
流れ
- Vagrant ダウンロード・インストール
- VirtualBox ダウンロード・インストール
- Linux インストール
- Linux を使う
Vagrant ダウンロード・インストール
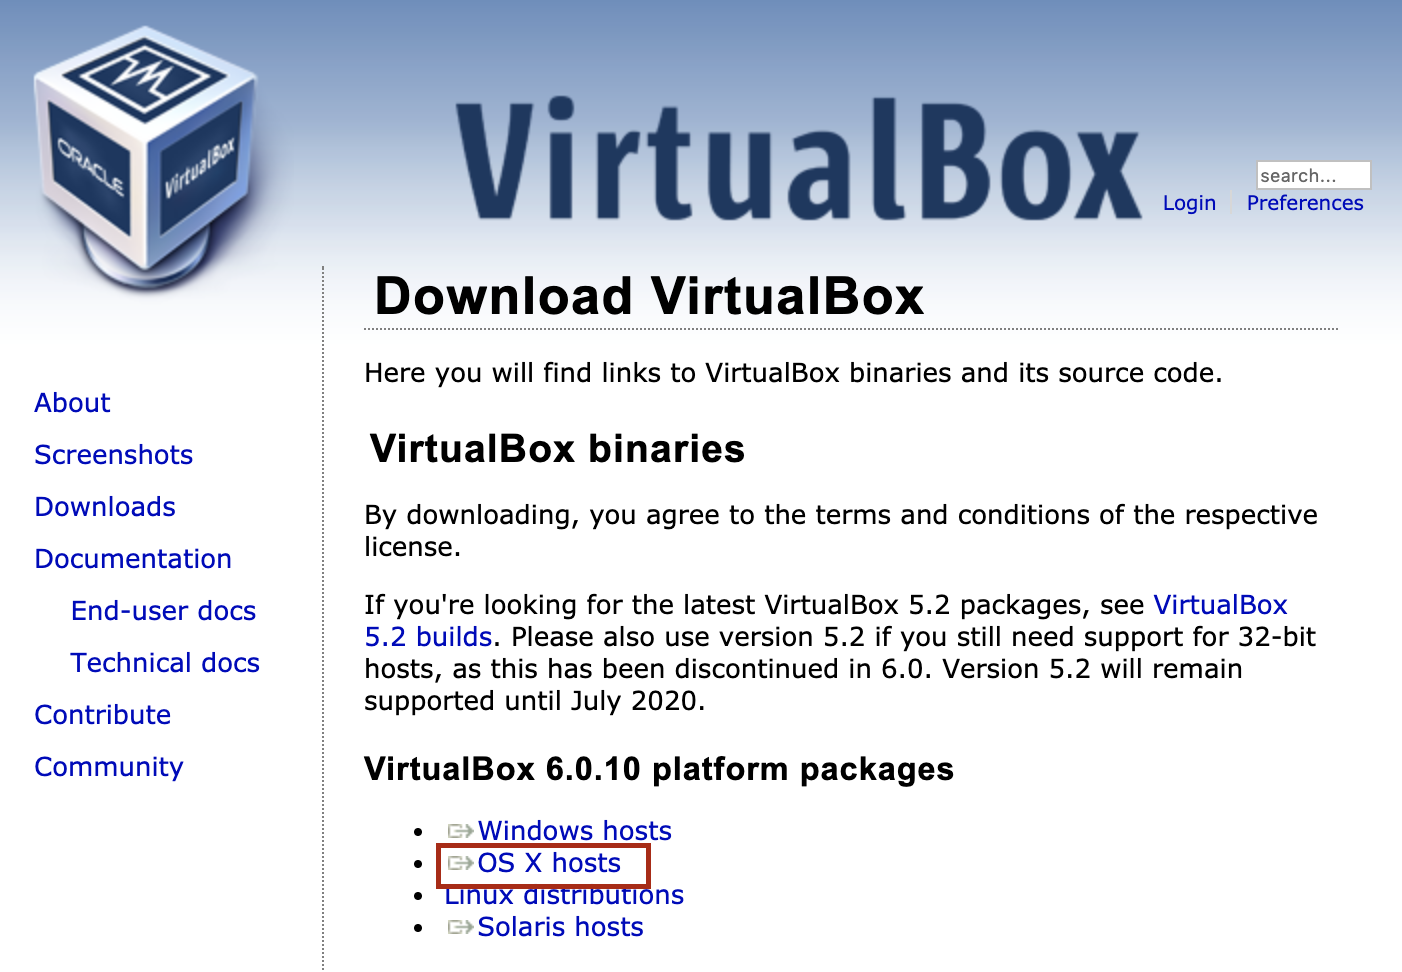
VirtualBox ダウンロード・インストール
https://www.virtualbox.org/wiki/Downloads

セキュリティ環境設定でブロックされたら許可してから再度インストール。
Linux インストール
Linux仮想環境をインストールするためのディレクトリを作成
mkdir -p ~/vagrant/ubuntu64_16
cd ~/vagrant/ubuntu64_16
Vagrantを実行してLinuxを仮想環境にインストール
vagrant box add ubuntu/xenial64
上記のダウンロード元は「Vagrant Cloud」という以下のサイト
末尾にURLをつけなければ最新版がダウンロードされる
https://app.vagrantup.com/ubuntu/boxes/xenial64
Vagrantを実行して仮想マシンの設定ファイルを作成
vagrant init ubuntu/xenial64
Linuxを使う
Vagrantを実行して仮想マシン上のLinuxを起動
vagrant up
SSH接続
$ vagrant ssh
Welcome to Ubuntu 16.04.6 LTS (GNU/Linux 4.4.0-154-generic x86_64)

 * Documentation:  https://help.ubuntu.com
 * Management:     https://landscape.canonical.com
 * Support:        https://ubuntu.com/advantage

0 packages can be updated.
0 updates are security updates.

New release '18.04.2 LTS' available.
Run 'do-release-upgrade' to upgrade to it.


vagrant@ubuntu-xenial:~$
SSH接続切断
exit
Vagrantを実行して仮想マシン終了
vagrant halt