RaspberryPiにelabFTWをインストールする際に、インターネット公開を含めて、苦労したので、インストール手順を記録する。elabFTWやdockerを参考にして作成してみました。
前提状態:
- ドメインを取得済み(Dynamic DNS等)
- ポートフォワードにて、RaspberryPiにポート80と443にフォワード済み
Dockerのインストール
Dockerのインストールのためのレポジトリを追加し、インストールsudo apt-get update
sudo apt-get install ca-certificates curl
sudo install -m 0755 -d /etc/apt/keyrings
sudo curl -fsSL https://download.docker.com/linux/debian/gpg -o /etc/apt/keyrings/docker.asc
sudo chmod a+r /etc/apt/keyrings/docker.asc
echo \
"deb [arch=$(dpkg --print-architecture) signed-by=/etc/apt/keyrings/docker.asc] https://download.docker.com/linux/debian \
$(. /etc/os-release && echo "$VERSION_CODENAME") stable" | \
sudo tee /etc/apt/sources.list.d/docker.list > /dev/null
sudo apt-get update
sudo apt-get install docker-ce docker-ce-cli containerd.io docker-buildx-plugin docker-compose-plugin
インストール後、Dockerを起動し、正常に動作するかを確認する。
sudo docker run hello-world
実行すると、
Unable to find image 'hello-world:latest' locally
latest: Pulling from library/hello-world
c9c5fd25a1bd: Pull complete
Digest: sha256:7e1a4e2d11e2ac7a8c3f768d4166c2defeb09d2a750b010412b6ea13de1efb19
Status: Downloaded newer image for hello-world:latest

Hello from Docker!
This message shows that your installation appears to be working correctly.

To generate this message, Docker took the following steps:
 1. The Docker client contacted the Docker daemon.
 2. The Docker daemon pulled the "hello-world" image from the Docker Hub.
    (arm64v8)
 3. The Docker daemon created a new container from that image which runs the
    executable that produces the output you are currently reading.
 4. The Docker daemon streamed that output to the Docker client, which sent it
    to your terminal.

To try something more ambitious, you can run an Ubuntu container with:
 $ docker run -it ubuntu bash

Share images, automate workflows, and more with a free Docker ID:
 https://hub.docker.com/

For more examples and ideas, visit:
 https://docs.docker.com/get-started/
のように、"Hello from Docker!"と表示されると、正常にインストールされています。
Docker composeのインストール
elabFTWでは必須ではありませんが、推奨されています。複数のDockerコンテナを管理・実行するために必要なツールです。最近のバージョンでは、現時点のelabFTWは一部対応していないので、elaftw.ymlを編集する必要がある(UbuntuなどのほかのLinuxでも同じです)。sudo apt-get install docker-compose
インストールは終了
elabFTWのインストール
必要なものをインストールsudo apt-get install curl dialog borgbackup
elabFTWのダウンロードして、配置
curl -sL https://get.elabftw.net -o elabctl && chmod +x elabctl
sudo mv elabctl /usr/local/bin/
インストールを開始します。
sudo elabctl install
表示されるGUIに従って、自分の環境にあわせて設定してください。
私は、Let's Encryptにて、自鯖の証明書を入手する方法にしました。
インストール後に、/etc/elabftw.ymlが生成されるので、それを編集します。
+ version: '3' #先頭行に追加

+ #name: elabftw
- name: elabftw

+ - PHP_MAX_CHILDREN=50
- #- PHP_MAX_CHILDREN=50

+ - PHP_MAX_EXECUTION_TIME=120
- #- PHP_MAX_EXECUTION_TIME=120

+ - MAX_PHP_MEMORY=2G
- #- MAX_PHP_MEMORY=2G
最初のversionとnameは、docker-composeのフォーマットにあわせるためのものなので、docker-composeをインストールしていない場合には修正は不要となる。
以外にも必要に応じて、自分の環境にあわせて編集してください。
elabFTWのバージョンによっては、mysqlのバージョンが8.0に対応していない場合がありますその際は、mysql:8.0をmysql:5.7に変更してください。インストールするelabFTWに依存します。
elaFTWを起動する
sudo elabctl start
しばらくコンテナの作成が行われます。
その後、データベースを作成する必要がありますので、以下を実行してください。
sudo elabctl initialize
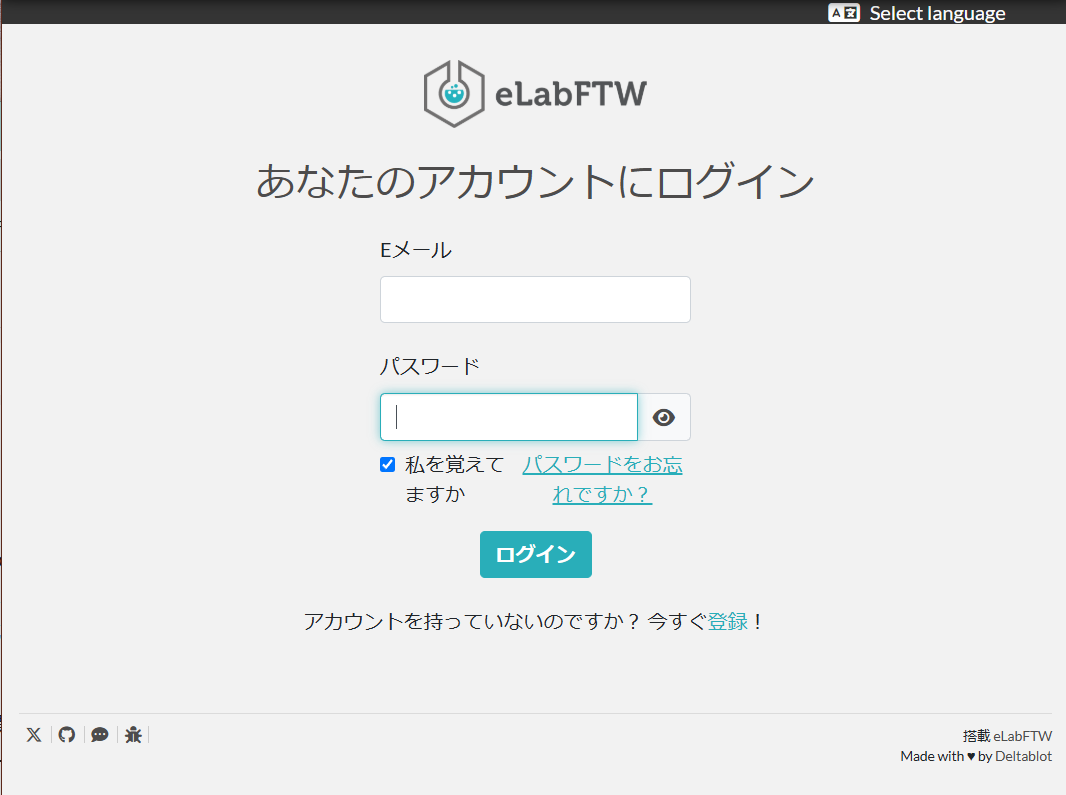
実行後に、設定したアドレスにアクセスすると、ログイン画面が表示されます。
Let's EncryptによるSSL認証
自鯖用のSSL認証をLet's Encryptにて行う。cerbotを用いて、認証を行うが、apt-getでインストールするとうまく動作しない可能性があるので、snap経由で行う。
sudo apt-get install snapd
sudo snap install core
sudo snap refresh core
sudo snap install --classic certbot
sudo ln -s /snap/bin/certbot /usr/bin/certbot
認証を行う。
sudo certbot certonly --standalone -d ドメイン名
認証が成功すると、/etc/letsencrypt/live/ドメイン名 が生成され、認証キーがダウンロードされる。
elabftw.ymlを編集し、Let's Encryptを使う設定にする。
- DISABLE_HTTPS=false
- ENABLE_LETSENCRYPT=true
- /etc/letsencrypt:/ssl
認証は90日間であるので、認証が切れた際に再度認証を自動的に行わせるためには、
sudo certbot renew --deploy-hook "sudo elabctl restart"
を実行しする。
一つのドメインで、頻繁に認証を行うと、ペナルティがるので、ミスがある場合は注意してください。
テストしたい場合は、--dry-runを付けてください。
sudo certbot certonly --standalone --dry-run -d ドメイン名