TypeScript 4.1 で使えるようになる template string types が話題ですね
人類の悲願である Swagger/OpenAPI から静的型操作のみで使える型安全なクライアントを作製した猛者も現れました
できました。
— ノーン (@nkowne63) September 1, 2020
「型オンリーで」SwaggerのJSONを解析し、型安全なAPIクライアントを錬成しています。(URLが長すぎたので短縮してます)
これはtemplate string typeなしではASTによるコード生成をしなければ達成できませんでした。https://t.co/jW98GIqMfz
この記事では template string types とは全く関係ない、上記ツイートでいうところの「 AST によるコード生成」によって型安全な HTTP リクエストを実現する「aspida」と Vercel 社製の React Hooks である「SWR」を組み合わせて使う方法を紹介します
Next.js + TypeScript のインストール
せっかく SWR を使うので同じ Vercel 社製の Next.js で React の環境構築を進めていきます
yarn を使っていますが、 npm でもインストール可能です
$ npx create-next-app next-ts # "next-ts" の部分は好きなディレクトリ名で
$ cd next-ts
$ yarn add --dev typescript @types/react @types/node # Next.js のTS化に必要なモジュールを追加
pages ディレクトリに生成される index.js ファイルの拡張子を tsx に変えると Next.js に TypeScript 環境だと認識されます
pages/index.js -> pages/index.tsx
dev コマンドで tsconfig.json と next-env.d.ts が生成されてアプリが起動します
$ yarn dev
http://localhost:3000 で以下の画面が開けるはずです
API の型定義生成と aspida のインストール
通常、 aspida は自分で型定義ファイルを記述してからコード生成コマンドで HTTP クライアントを作るのですが、今回はネットに公開されている Petstore の Swagger から一発で生成します
$ npx openapi2aspida -i https://petstore.swagger.io/v2/swagger.json
Next.js のルートディレクトリで上記のコマンドを打つと、 api ディレクトリに型定義ファイル一式と HTTP クライアント ($api.ts) が生成されます
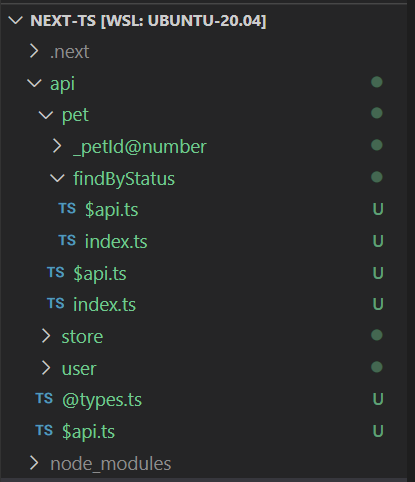
ディレクトリ名が API のエンドポイントに対応しています
これらのファイルをアプリケーションで扱うために aspida と SWR のモジュールを追加します
$ yarn add @aspida/fetch @aspida/swr swr
SWR と aspida で型安全に fetch する
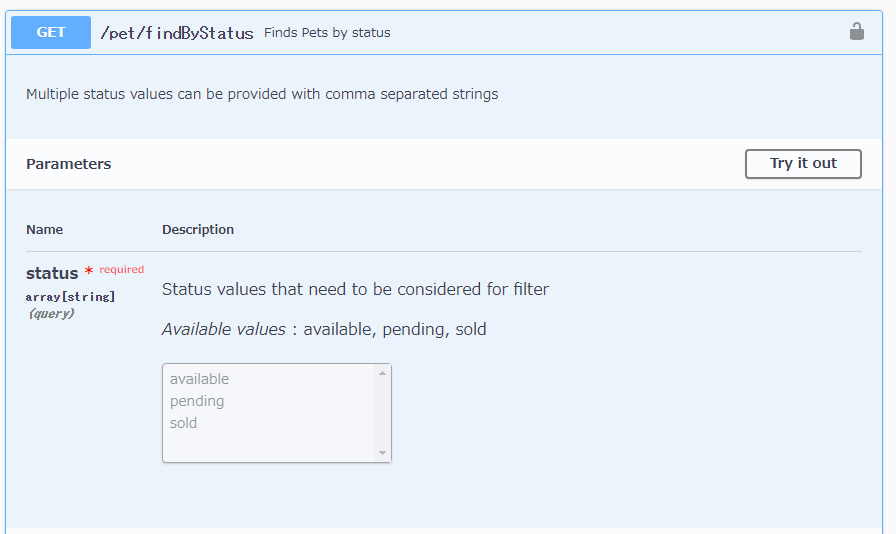
今回は Petstore の API でクエリを付けて簡単に GET 出来る以下のエンドポイントを叩くコードを書いていきます
pages/index.tsx の冒頭に以下のコードを追記します
return 以降は元のままです
import Head from 'next/head'
import useAspidaSWR from '@aspida/swr'
import aspida from '@aspida/fetch'
import api from '../api/$api'
import styles from '../styles/Home.module.css'
const client = api(aspida())
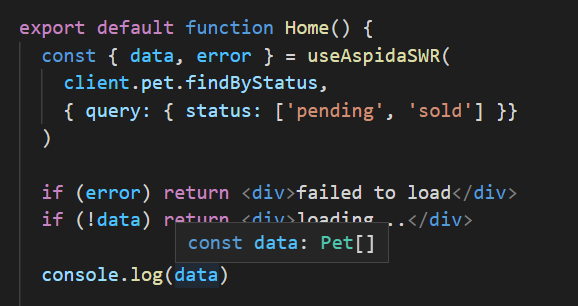
export default function Home() {
const { data, error } = useAspidaSWR(
client.pet.findByStatus, // GET: /pet/findByStatus
{ query: { status: ['pending', 'sold'] }}
)
if (error) return <div>failed to load</div>
if (!data) return <div>loading...</div>
console.log(data)
return (
<div className={styles.container}>
<Head>
<title>Create Next App</title>
<link rel="icon" href="/favicon.ico" />
</Head>
...
たったこれだけで返り値の data に Pet[] という型が推論されていることがわかります
当然 query にも型が強制されていて status には ("available" | "pending" | "sold")[] が必須です
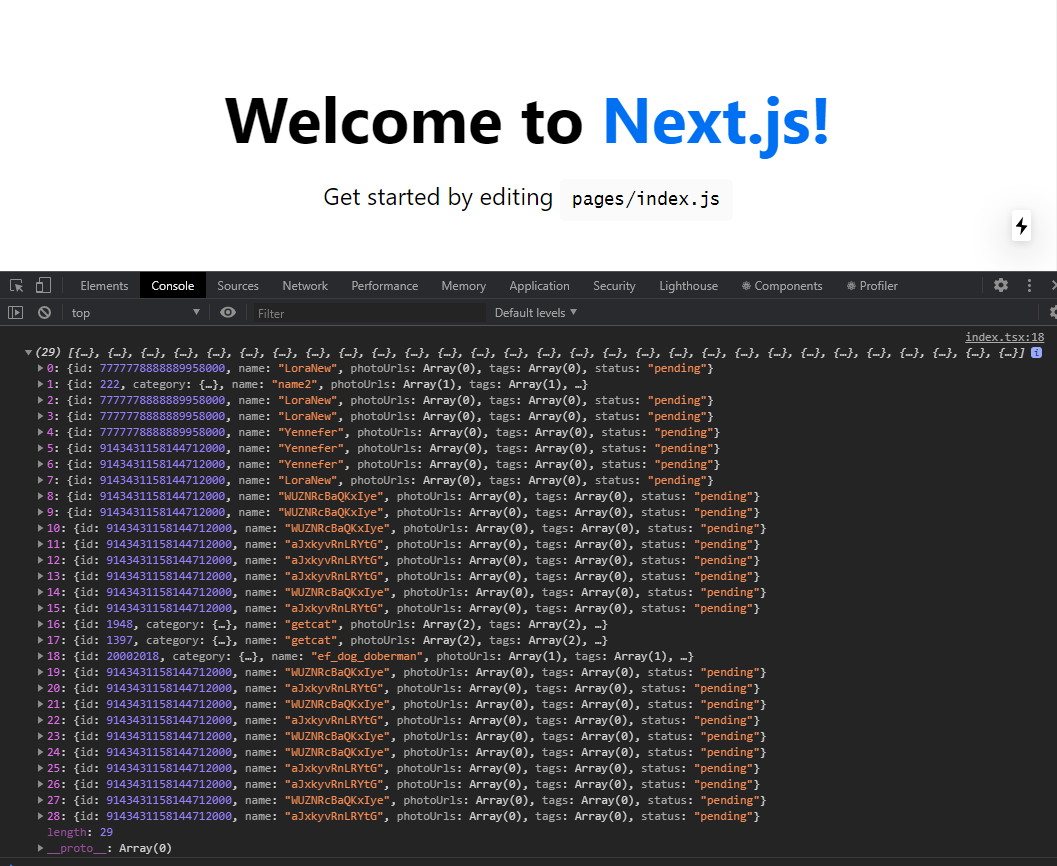
console に出力するだけなので画面は変わりませんが、以下のように配列でペットの情報を取得出来ています
useAspidaSWR の返り値は SWR そのものです
第一引数のクライアントからパス文字列を取り出して、第二引数のクエリとともに SWR に cache key として渡しています
const { data, error } = useAspidaSWR(
  client.pet.findByStatus, // GET: /pet/findByStatus
  { query: { status: ['pending', 'sold'] }}
)
GET: /pet/{petId} のようなパス変数を取るエンドポイントはアンダースコアで始まる関数を使います
query が不要なエンドポイントなので引数は一つだけです
const { data, error } = useAspidaSWR(client.pet._petId(123))
今回は Swagger から生成しましたが、 aspida を使うと社内 API にも比較的手軽に型定義が出来るのでぜひ試してみてください
aspida 解説記事:HTTPリクエストを型安全にする手法とOSS
useAspidaSWR に SWR 本来のオプションを渡す方法などはリポジトリの README を読んでください
GitHub: @aspida/swr