LightGBMのインストール方法はいろいろあります。
condaで一発で入れる場合
以下のコマンドで入ります。
conda install -c conda-forge lightgbm
が、私みたいに普段Pythonのライブラリ入れるときに何も考えずにpip installで入れてる人はちょっと危険かも...
conda側とpip側でライブラリが競合とかしてPythonが動かんくなったりしたことがあります。
pip で入れる
公式ドキュメントに従ってpipで入れる方法もあります。
https://github.com/microsoft/LightGBM/tree/master/python-package
が、この方法で入れるとlightgbmを呼び出すとき警告が出てしまいます。(私の環境だけかもしれません。)
$ python
Python 3.7.3 (default, Mar 27 2019, 16:54:48)
[Clang 4.0.1 (tags/RELEASE_401/final)] :: Anaconda, Inc. on darwin
Type "help", "copyright", "credits" or "license" for more information.
>>> import lightgbm
/Users/hogeuser/.pyenv/versions/anaconda3-5.3.1/lib/python3.7/site-packages/lightgbm/__init__.py:46: UserWarning: Starting from version 2.2.1, the library file in distribution wheels for macOS is built by the Apple Clang (Xcode_8.3.3) compiler.
This means that in case of installing LightGBM from PyPI via the ``pip install lightgbm`` command, you don't need to install the gcc compiler anymore.
Instead of that, you need to install the OpenMP library, which is required for running LightGBM on the system with the Apple Clang compiler.
You can install the OpenMP library by the following command: ``brew install libomp``.
  "You can install the OpenMP library by the following command: ``brew install libomp``.", UserWarning)
メッセージ通りbrew install libompするんですが、なぜかうまくインストールできませんでした。
一応このままでも使えるのですが、なんかちょっと気持ち悪いです。
kaggle公式のdocker imageを使う
重いので時間はかかりますが、一番楽だと思います。
導入方法は以下の記事に全部書かれています。
爆速でKaggle環境を構築する
この記事通りにdocker imageをpullします。
$ docker pull kaggle/python
Using default tag: latest
latest: Pulling from kaggle/python
85b1f47fba49: Pull complete
603f9c6eacba: Pull complete
501f1d57b2bc: Pull complete
6db69dab30a3: Pull complete
7e0c1f2e5202: Pull complete
a597896ec52f: Pull complete
db522ad41f01: Pull complete
2ce3f519da00: Pull complete
33cfffa71bfd: Pull complete
cb696a4f9985: Pull complete
5ab5d32c1bd8: Pull complete
d819e5d6cd96: Pull complete
736f815255b9: Pull complete
9d968c807e17: Pull complete
35b8d20d6e5f: Pull complete
291b7c7237cf: Pull complete
eab1f4c2dc72: Pull complete
40352610c86c: Pull complete
bc5ee550f10b: Pull complete
7faeb9844b36: Pull complete
31dae83127fb: Pull complete
e690ec05ad3d: Pull complete
7a426790211b: Pull complete
33f8fbbd0578: Pull complete
de694f917791: Pull complete
Digest: sha256:d21eb1160babb4fbc5fe674d600ca99f61cf231015b5972d064a630e4f09889a
Status: Downloaded newer image for kaggle/python:latest
$ docker images
kaggle/python                    latest              adf19646ac46        9 months ago        17.6GB
記事通りに.bash_profileとかにjupyter notebook呼び出し用のコマンド用意しておいて、docker経由でjupyter notebookを呼び出します。
$ kaggle_jupyter
[I 14:02:25.314 NotebookApp] Writing notebook server cookie secret to /root/.local/share/jupyter/runtime/notebook_cookie_secret
[I 14:02:25.608 NotebookApp] JupyterLab extension loaded from /opt/conda/lib/python3.6/site-packages/jupyterlab
[I 14:02:25.608 NotebookApp] JupyterLab application directory is /opt/conda/share/jupyter/lab
[I 14:02:25.617 NotebookApp] Serving notebooks from local directory: /tmp/working
[I 14:02:25.617 NotebookApp] 0 active kernels
[I 14:02:25.617 NotebookApp] The Jupyter Notebook is running at:
[I 14:02:25.618 NotebookApp] http://2f692fff2e21:8888/?token=6fe573e2bcf213276c208af80b53628569144c0fb7b5bdd5
[I 14:02:25.618 NotebookApp] Use Control-C to stop this server and shut down all kernels (twice to skip confirmation).
[C 14:02:25.618 NotebookApp]

    Copy/paste this URL into your browser when you connect for the first time,
    to login with a token:
        http://2f692fff2e21:8888/?token=6fe573e2bcf213276c208af80b53628569144c0fb7b5bdd5&token=6fe573e2bcf213276c208af80b53628569144c0fb7b5bdd5
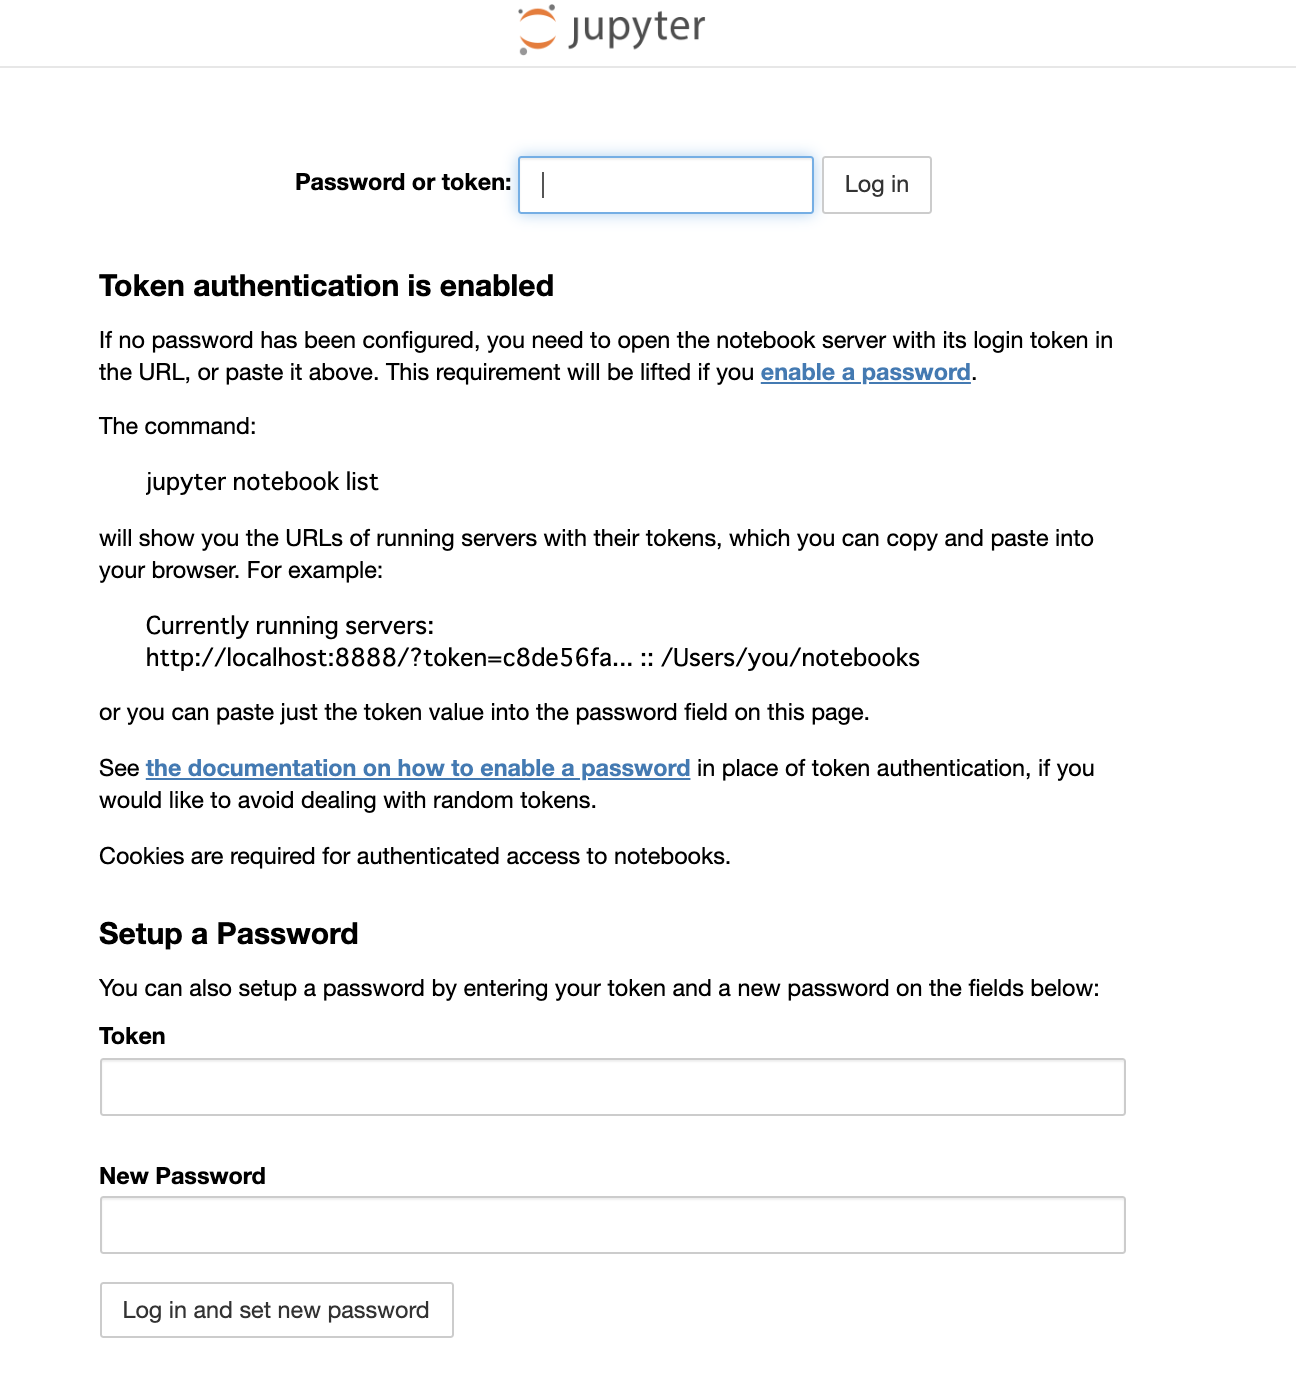
ブラウザでlocalhost:8888にアクセス。以下のページが表示されました。

Password or token のところにjupyter notebookを起動したときの出力にあるtokenを入力すればOK(今回の場合であれは「6fe573e2bcf213276c208af80b53628569144c0fb7b5bdd5」を入力)
これでjupyter notebook上でlightgbmが変な警告も出ることなく使えるようになります。
おわり