はじめに
新規でRailsのプロジェクトを立ち上げるときに、オプションを忘れてしまうことがしょっちゅうあるのでまとめてみました。
今回は「rails-sample」というプロジェクトを作ってサーバーを立ち上げるまでをやってみます。使っているオプションは僕の好みです。
前提
下記がインストール済み
- Ruby
- Bundler
- PostgreSQL
手順
Railsのインストール
プロジェクトのディレクトリを作成
$ mkdir rails-sample
$ cd rails-sample
Gemfileを生成
$ bundle init
Gemfileのrailsのコメントアウトを外す
$ vim Gemfile
gem "rails"
Railsをインストール
$ bundle install --path vendor/bundle --jobs=4
オプション解説
--path vendor/bundle
Gemをインストールするディレクトリを指定しています。
jobs=4
インストールの速度が上がるらしいのでつけてます。
プロジェクト作成
$ bundle exec rails new . -B --skip-test -d postgresql
途中でGemfile上書きしちゃっていい?みたいなことを聞かれます。上書きしていいので「y」をタイプします。
オプション解説
-B
bundle installをスキップします。使わないGemがインストールされるのはいやなのでつけてます。
--skip-test
minitest使わないよーと明示してあげてます。これをつけるとtestディレクトリが作成されなくなります。僕はテストはだいたいRSpecを使うのでこのオプションをつけています。
-d postgresql
使用するデータベースをPostgreSQLに指定しています。だいたいPostgreSQLかMySQLのどちらかにしてます。
その他オプション
--skip-turbolinks
turbolinksを無効にします。
--api
API専用モードになります。
お好みでGemfileを編集
$ vim Gemfile
Gemをインストール
$ bundle install
DBを作成
$ bin/rails db:setup
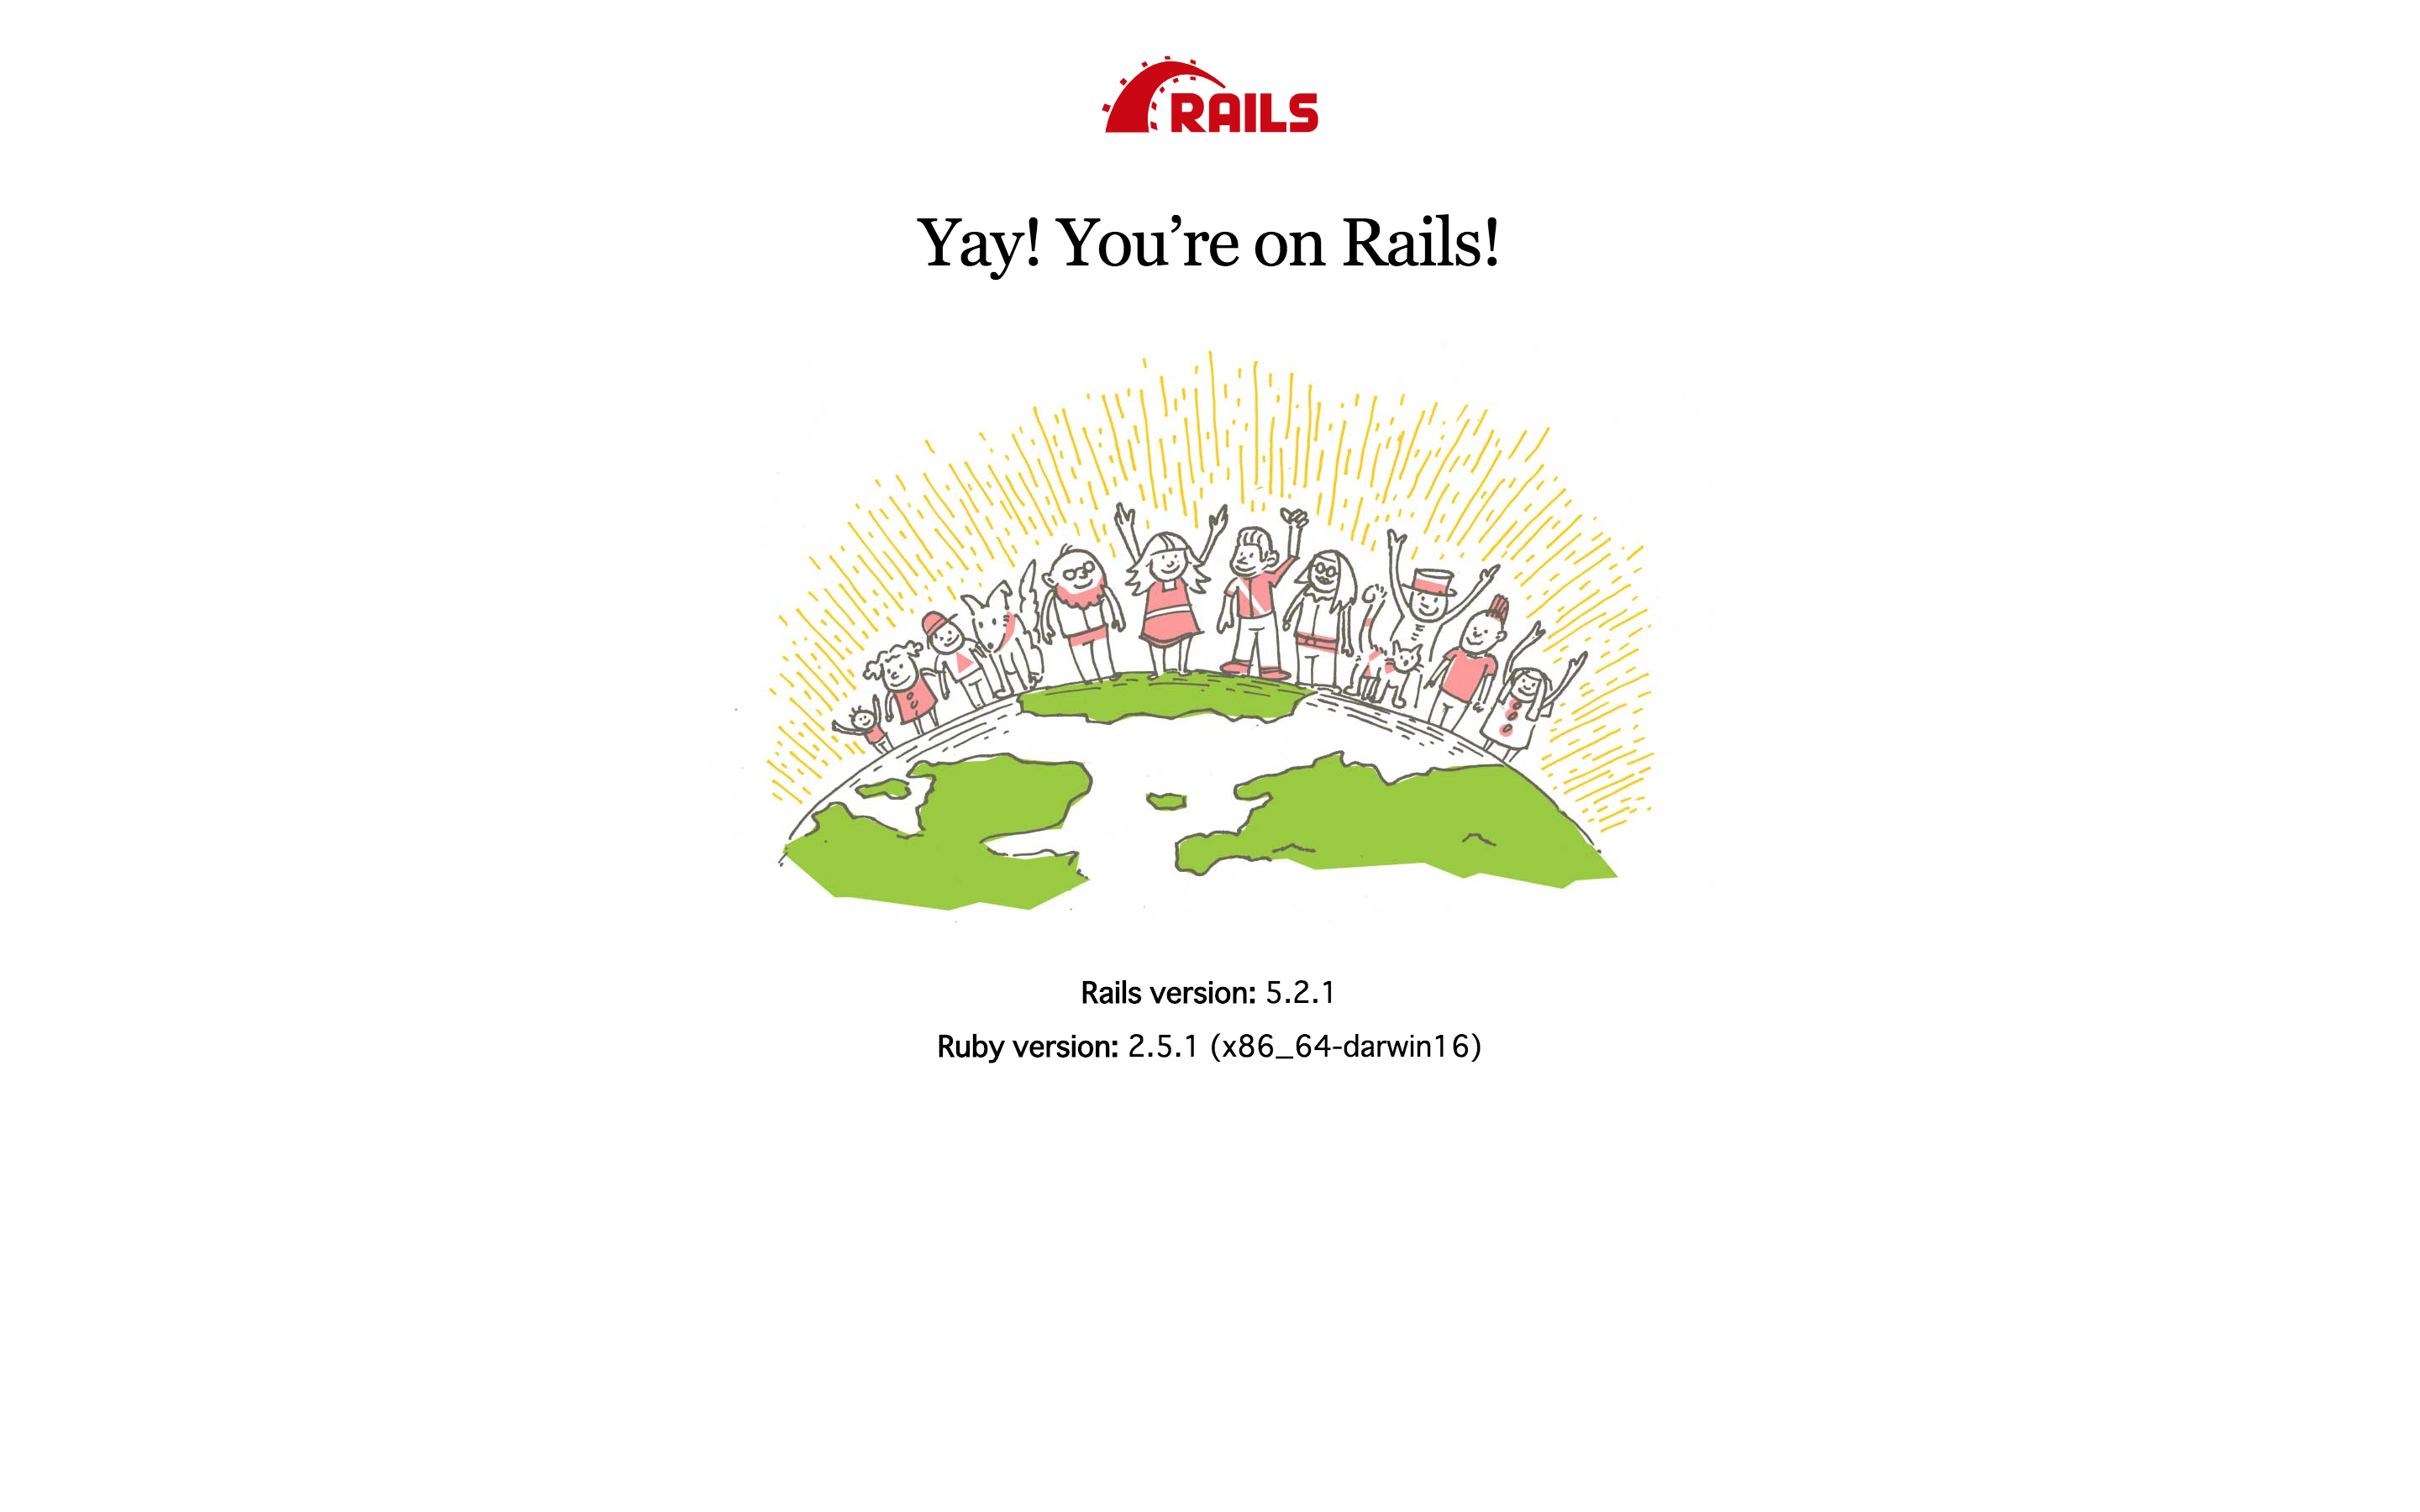
サーバーを立ち上げて確認
$ bin/rails s
ブラウザでアクセス
http://localhost:3000
OK!
