はじめに
OpenMediaVaultというNAS用OSでRaspberry Pi用のDisk Imageが提供されていたので、
自宅で転がっていたRapberry Piに導入してみました。
OpenMediaVaultとは?
- FreeNASプロジェクトから派生したNAS用のOS。
- ベースのOSはDebian
- 軽量な端末でも動作可能
事前準備
- サーバ端末:Raspberry Pi 3 modelB+
- SDカード:SanDisk microSDHC 32.0 GB (SDSQUAR-032G)
- 外付けSSD:250GB
- 設定用端末:MacBookPro(以下のソフトウエアをインストールした後、Disk Imageをダウンロード)
- ソフトウェア1:SD Card Formatter(https://www.sdcard.org/jp/downloads/formatter_4/)
- ソフトウェア2:Etcher(https://etcher.io/)
- Disk Image:https://sourceforge.net/projects/openmediavault/files/Raspberry%20Pi%20images/
OpenMediaVaultの導入
- 1:SD Card Formatterを用いてSDカードをフォーマット


- 2:Etcherを用いてSDカードにRaspberry Pi用Disk Imageを書き込み


- 3:SDカードをRaspberry Piに挿入して起動
- 4:rootユーザでログイン ※デフォルトのID/PWはroot/openmediavault
- 5:パスワードを変更
# passwd
- 6:IPアドレスの確認
# ip a
- 7:ブラウザから確認したIPアドレスでアクセス(http://xxx.xxx.xxx.xxx/)

- 8:WEB管理用ID/PWでログイン ※デフォルトのID/PWはadmin/openmediavault
- 9:[システム]→[一般設定]→[Web管理者パスワード]でパスワードを変更

OpenMediaVaultの基本設定の変更
- 1:[システム]→[日付と時刻]でタイムゾーンを
Asia/Tokyoに変更

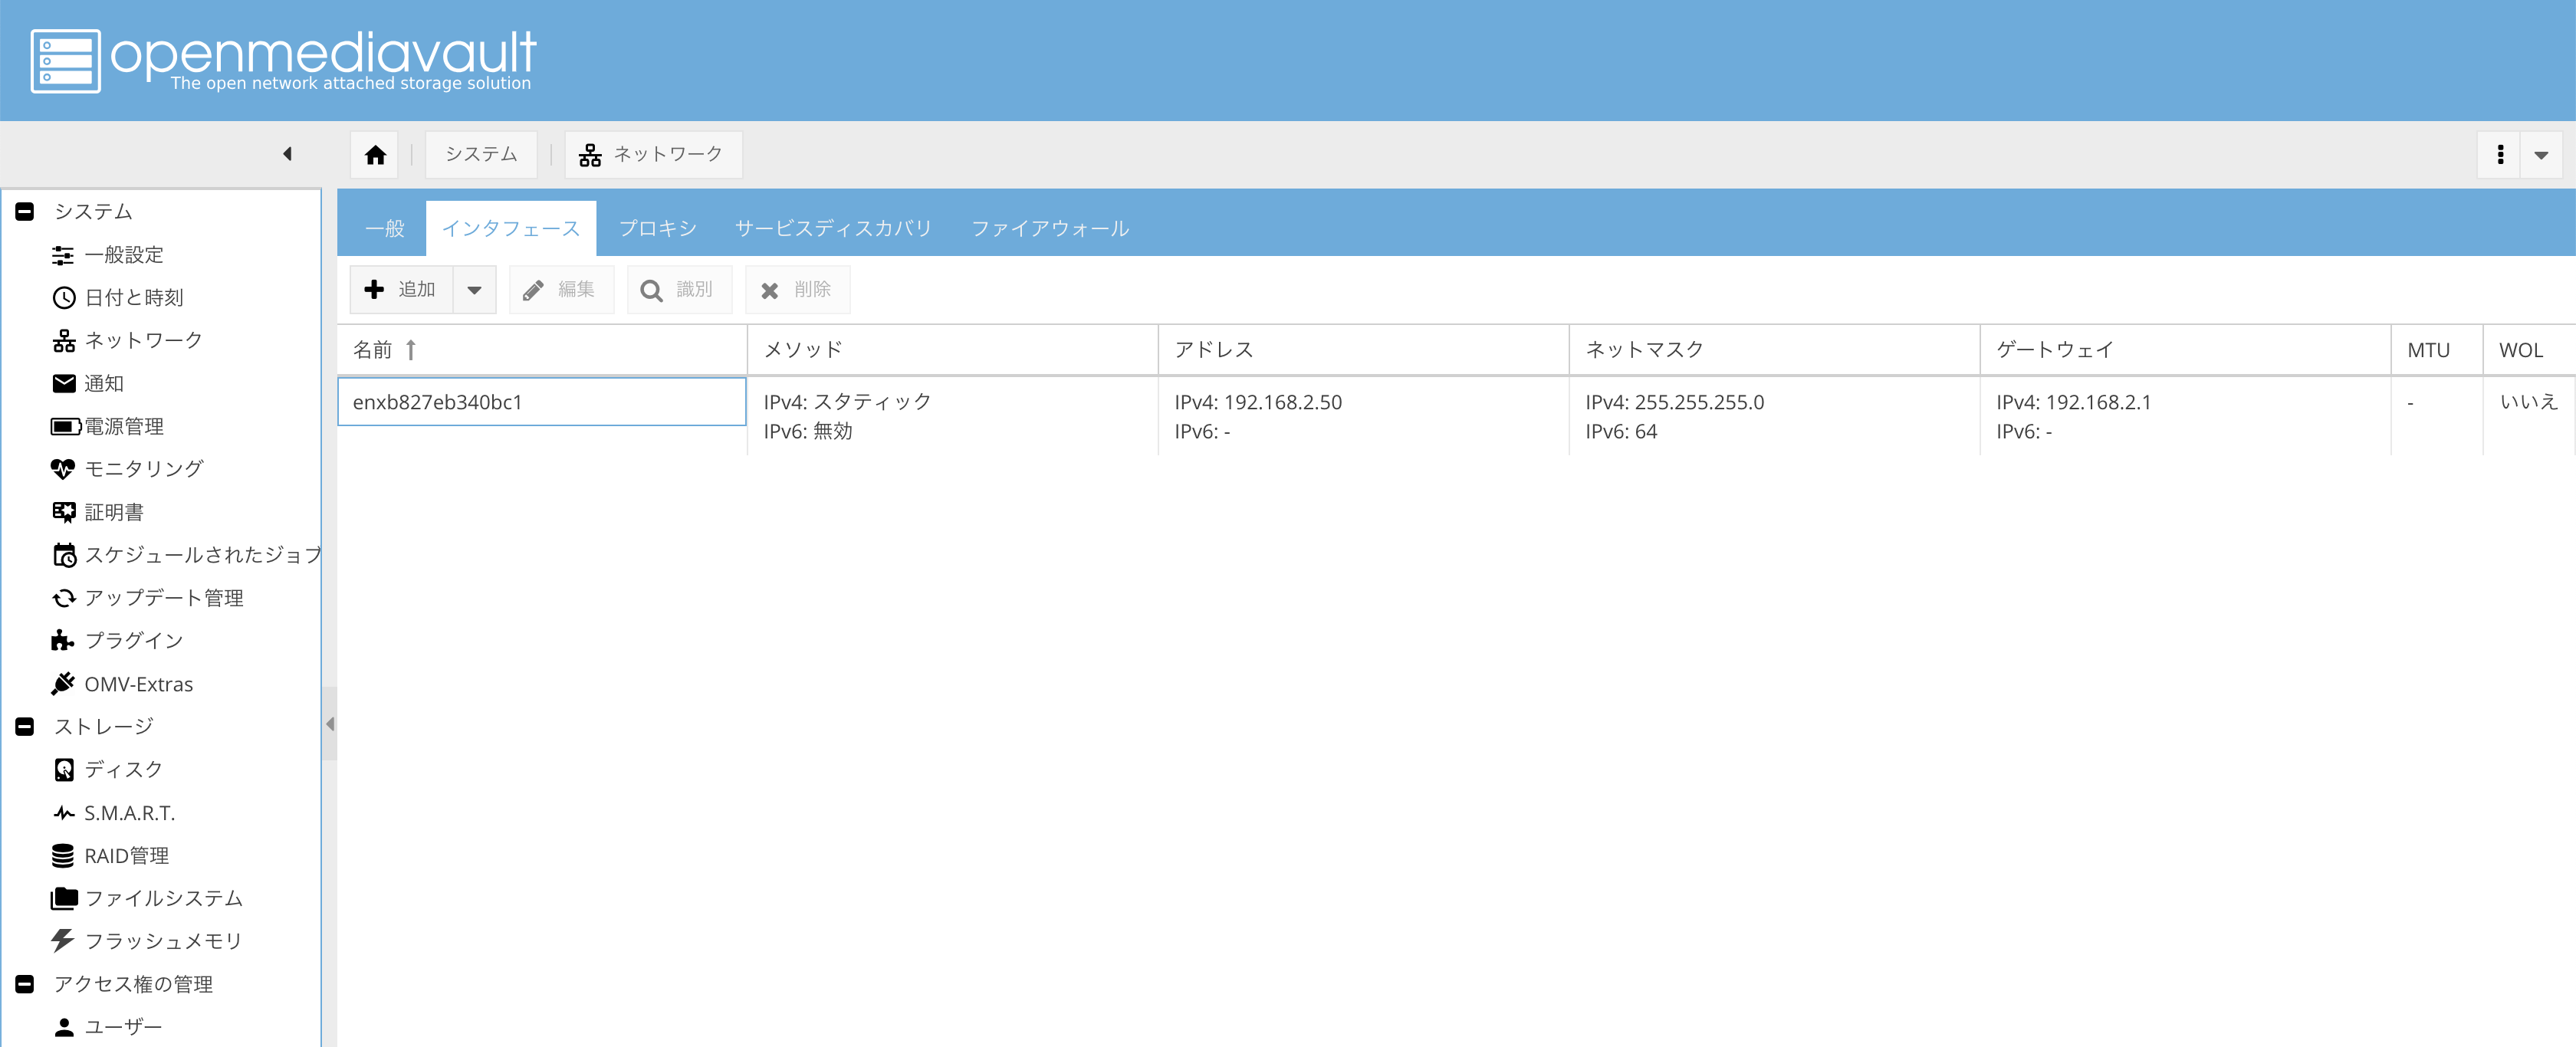
- 2:[システム]→[ネットワーク]→[インタフェース]で固定IPを設定 ※適宜環境に応じて変更してください

SMBの設定
- 1:[アクセス権の管理]→[ユーザ]でSMB用のユーザを追加


- 2:[サービス]→[SMB/CIFS]の一般設定が有効となっているか確認
- 3:[ストレージ]→[ディスク]でUSB接続のSSDをワイプ

- 4:[ストレージ]→[ファイルシステム]で作成を押下し、SSDを追加


- 5:[アクセス権の管理]→[共有フォルダ]で追加を押下し、共有フォルダを追加

- 6:[サービス]→[SMB/CIFS]→[共有]で5.で追加した共有フォルダを追加

動作確認
- 1:[Finder]→[サーバへ接続]

- 2:NASのIPアドレスを指定

- 3:SMBの設定の1.で作成したユーザで接続

終わりに
OpenMediaVaultのRaspberry Pi用Disk ImageはRaspberry Pi向けにカスタマイズされたOS設定が
既に設定済みであり、非常に短時間でNASを構築することが可能です。
今回もトータル20分程度の時間で簡単にNASを構築することができました。
余ったRaspberry Piがある方はNAS化を試してみてはいかがでしょうか??